

Span 51 cm / 20 in
Weight 10 g / 0.35 oz
The Yabhon United 40 also known as Yabhon Smart Eye 2 is an UAV which can fly either remotely controlled or autonomously. It is characterized as a medium altitude long endurance drone. The Yabhon United 40 which was first shown to the public in 2013 was developed and built by Adcom Systems in the United Arab Emirates. Operators so far have been or are currently the UAE, Egypt, Algeria and Russia. Length is 11.13 m / 36.5 ft, wingspan 20 m / 66 ft, max take off weight 1,500 kg / 3,300 lb and endurance up to five days. First series Yabhon United 40 were powered by a single engine in the rear in pusher configuration while newer examples have two conventional wing mounted power plants 115 hp each. The Yabhon United 40 is capable of carrying 1,050 kg / 2,315 lb of a wide variety of weapons.
Building the chuck sheet glider Yabhon United 40
Materials:
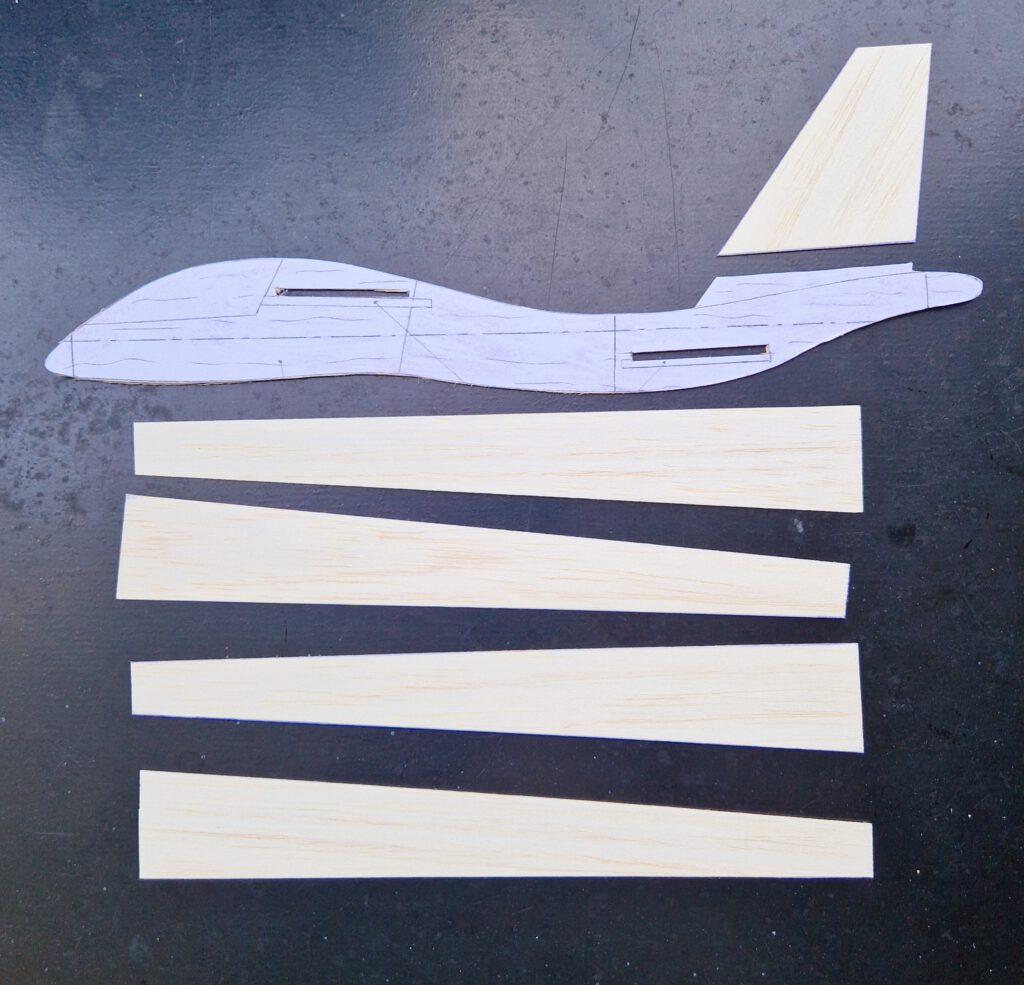
Fuselage: B 1.5; wing supports: B strips 3 by 3; fin; B 1.5; wings: hard B 1,5; Ballast: small piece of lead or scrap metal.
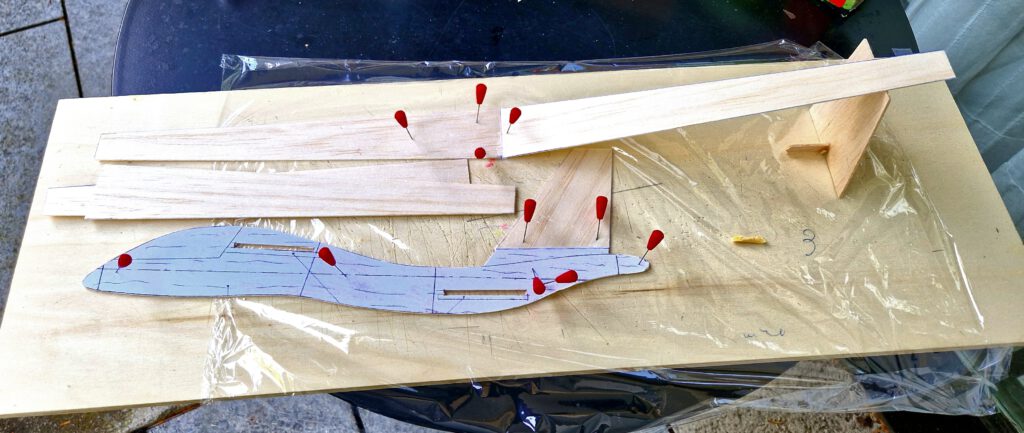
Assembly:
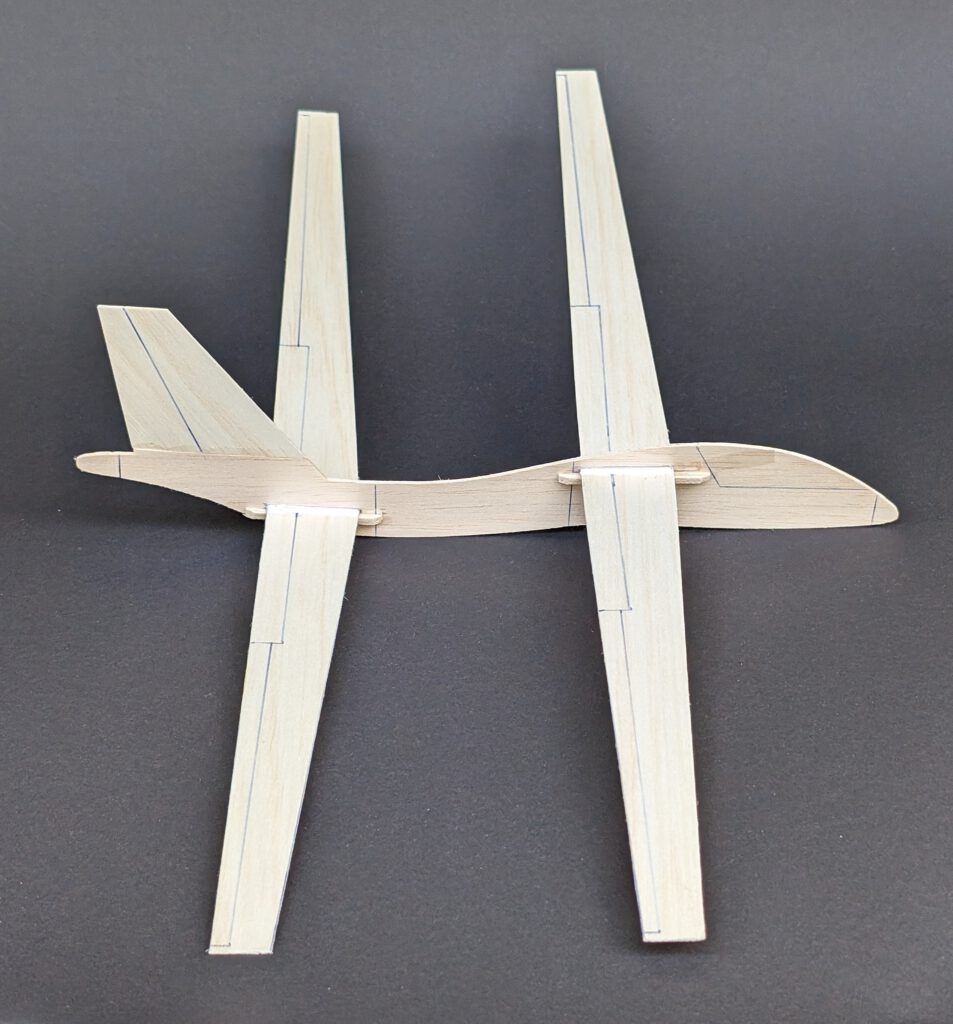
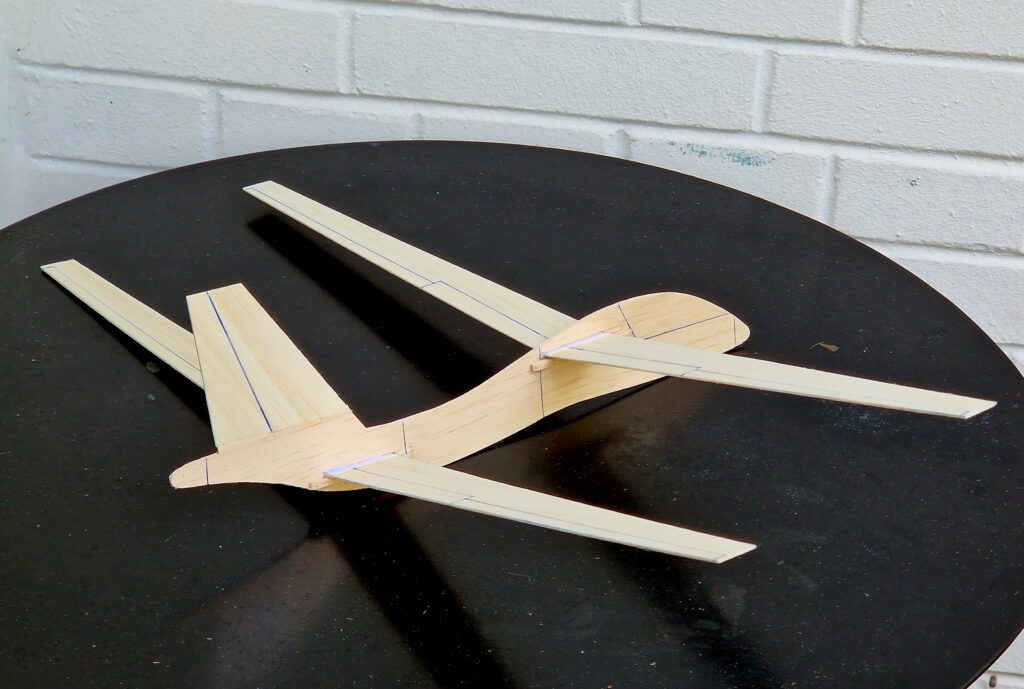
Cut out all balsa parts according to plan (photo). Sand well. Transfer outlines of cockpit, ailerons, elevators and rudder from paper to wood with pen.
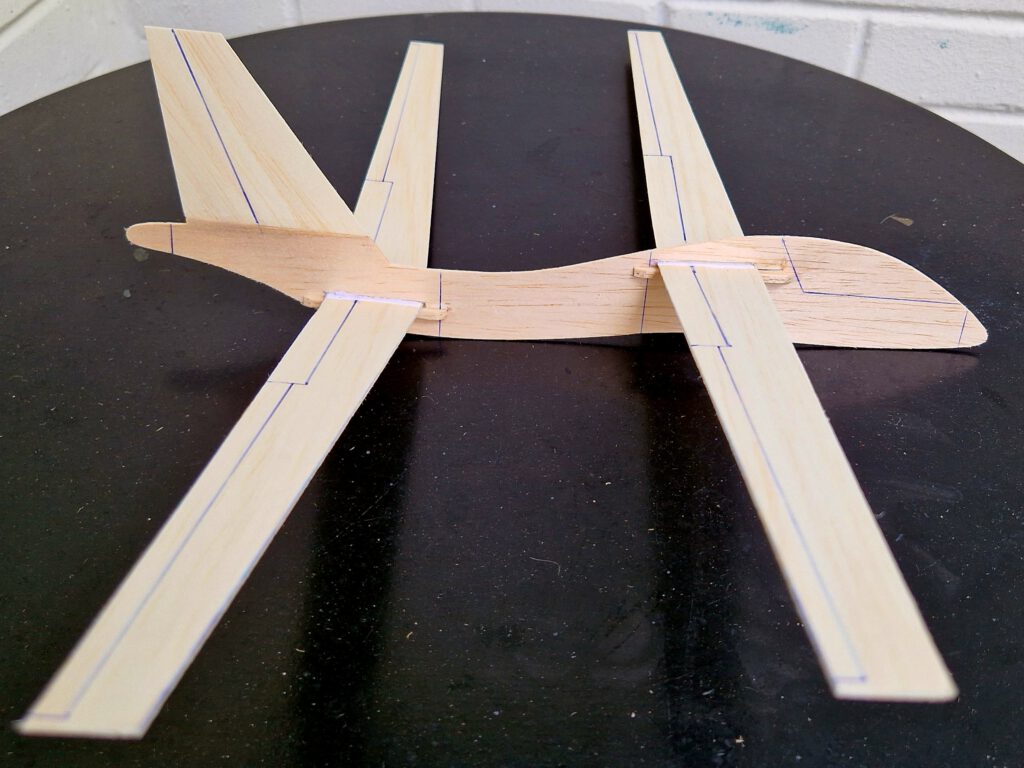
Wings:
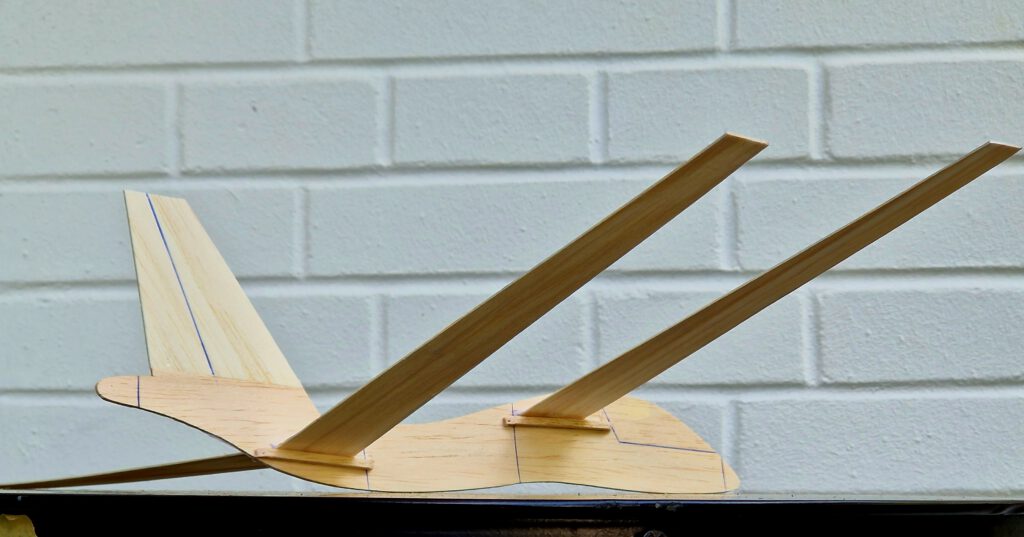
Fix one wing half on building board with needles. Underlay other wing half’s tip according to given dihedral and cement both halves (see photo). Linen tape can be used to strengthen wing center. Let dry. Repeat procedure for the second wing.
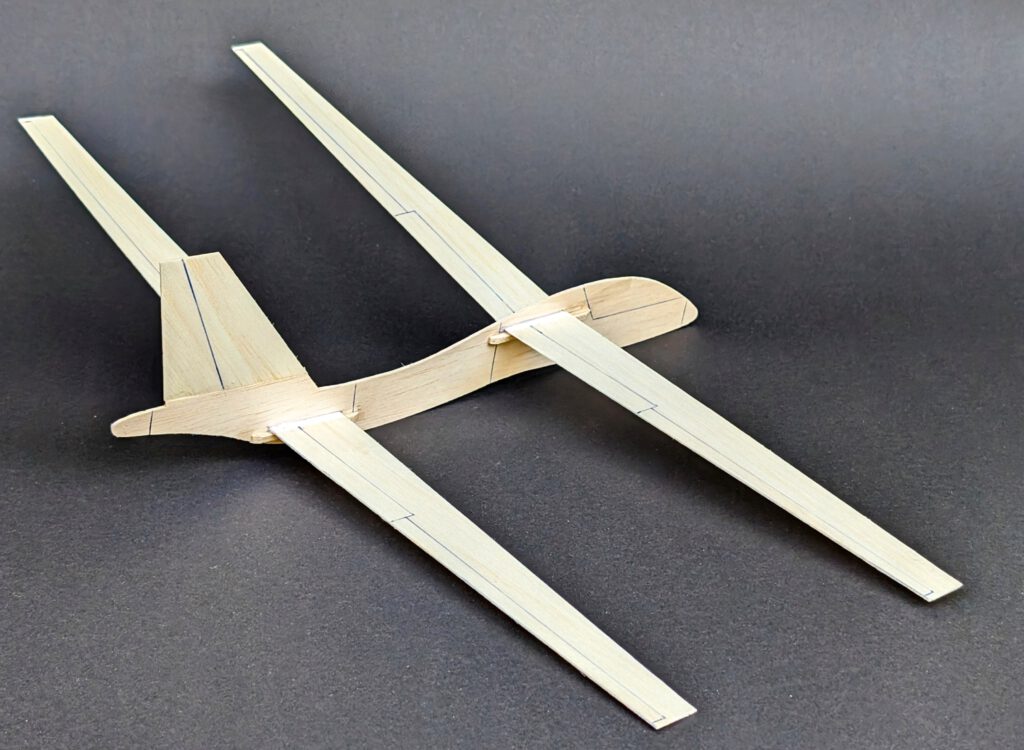
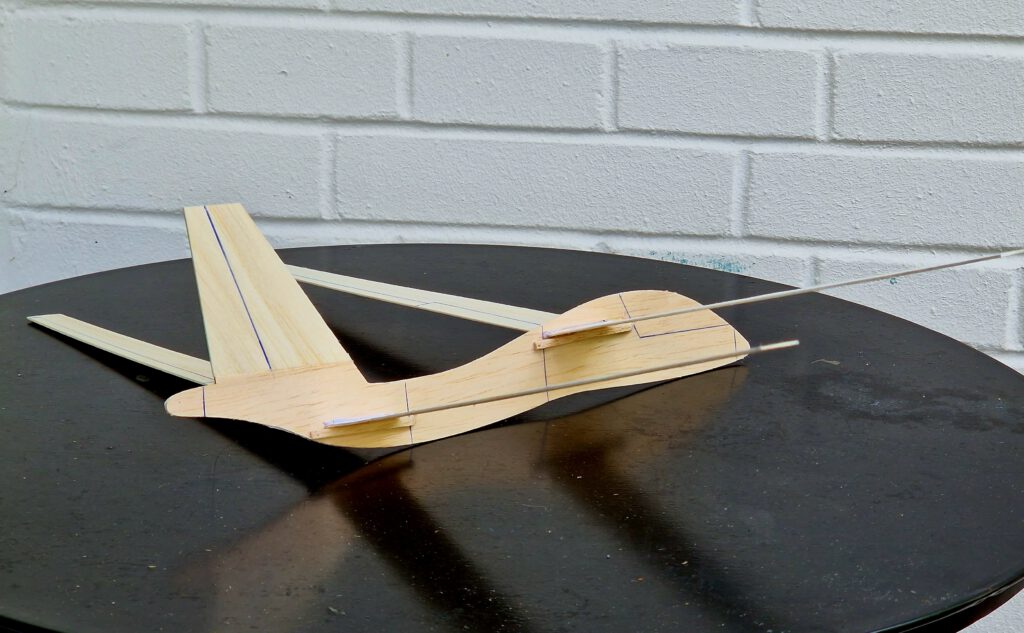
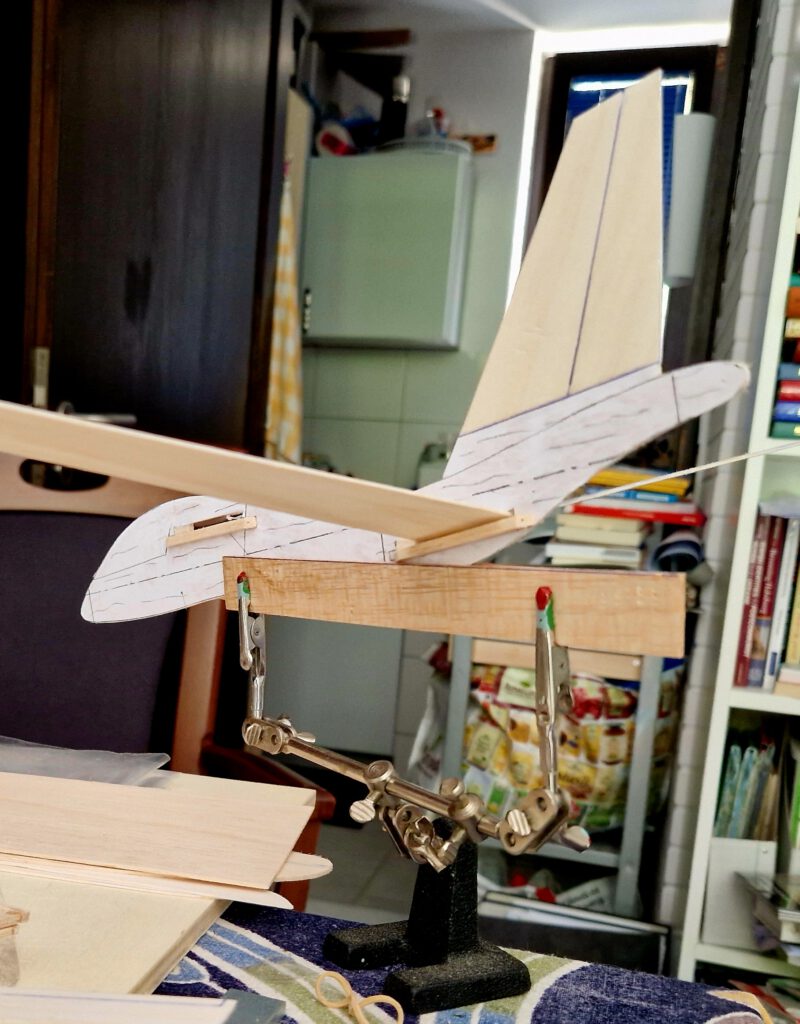
Fuselage:
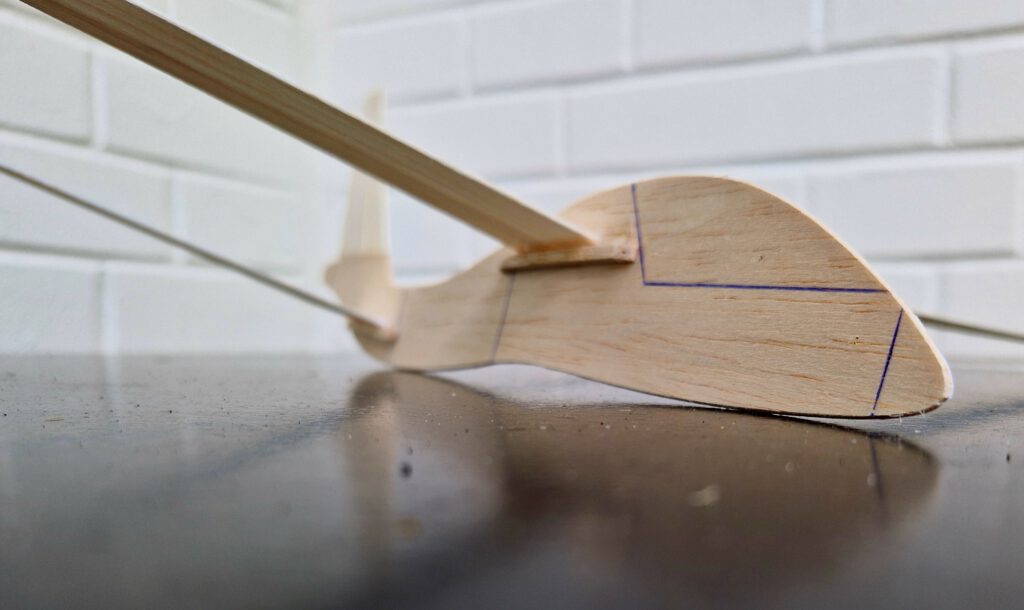
Cut out slots for both wings. Cement fin on fuselage. As latter both parts have different thickness underlay fin with thin cardboard or paper. Fin must sit centered and straight ahead on fuselage. Cement wing support strips in to their place on both sides of the fuselage for both wings. Use clamps or clothespins to hold in place. Prototype got paper stencil cemented on its left side for further strengthening (see photos) but this turned out to be not necessary.
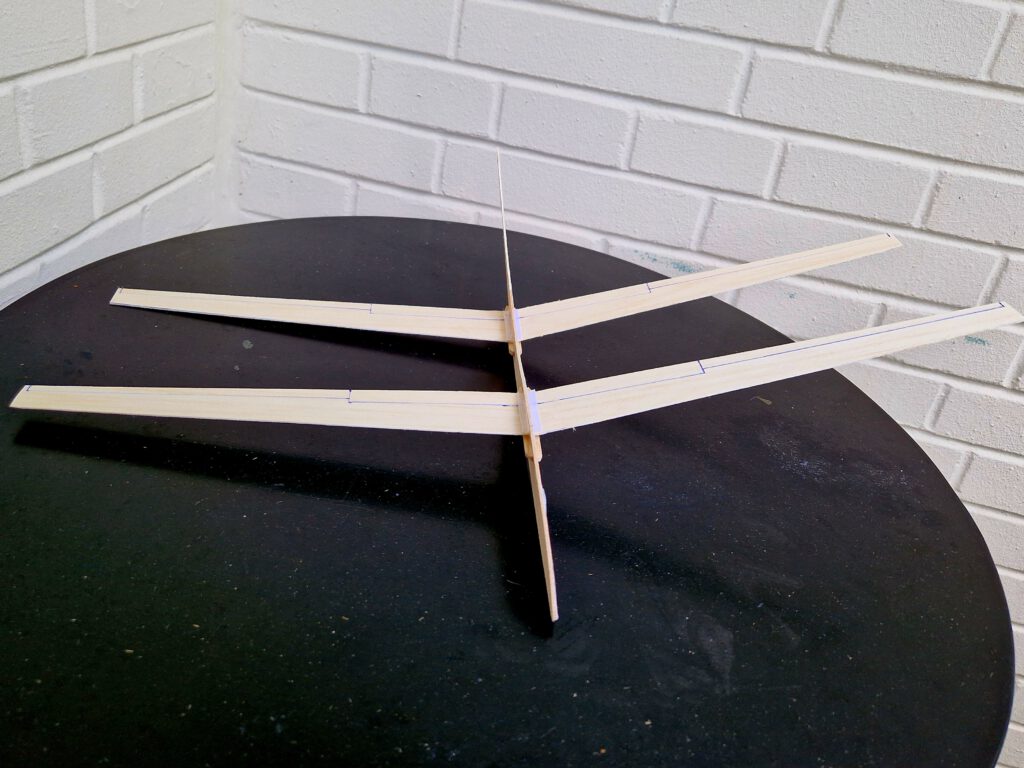
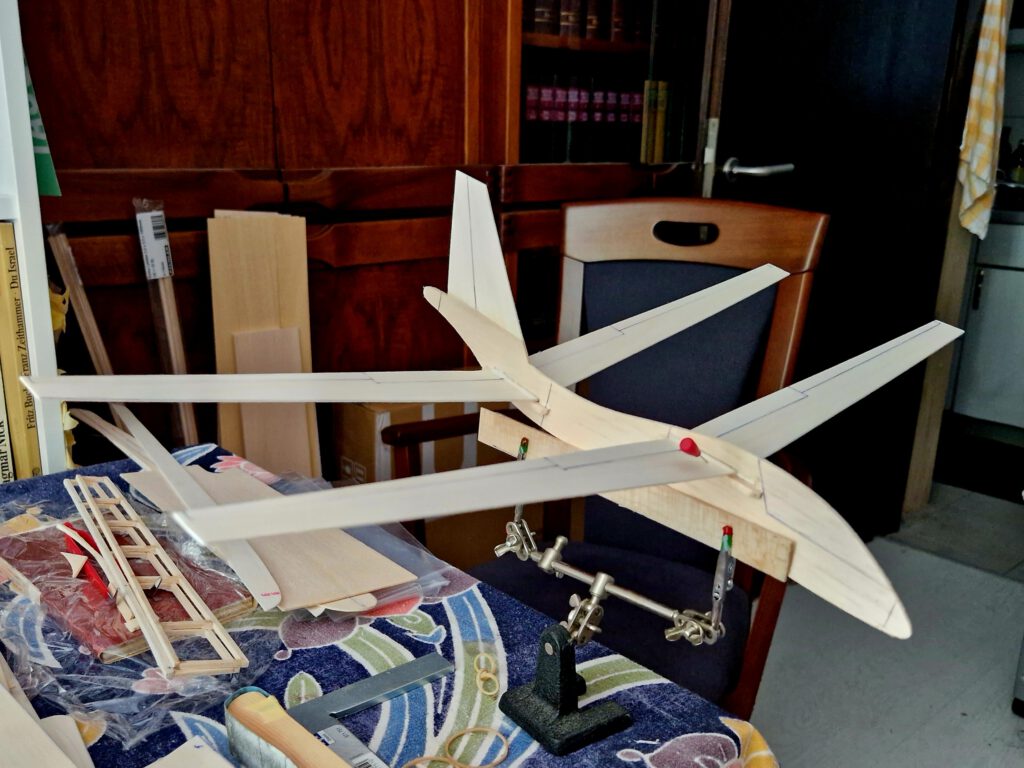
Final Assembly:
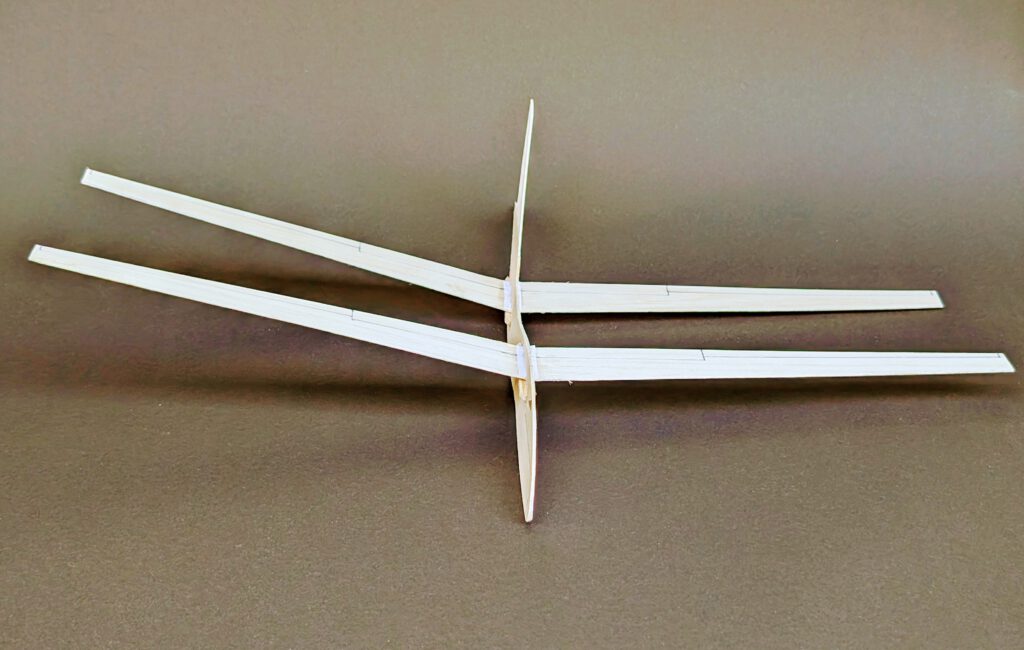
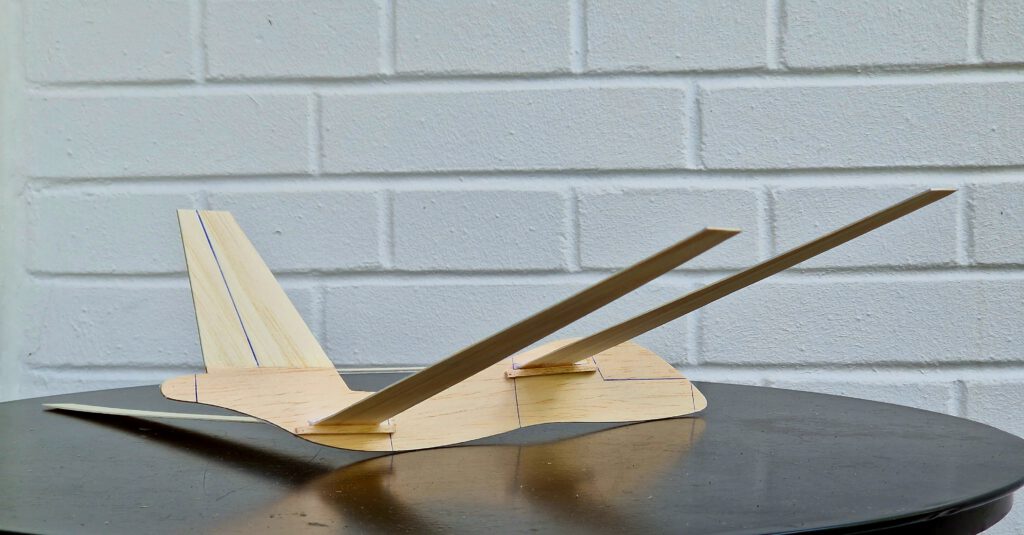
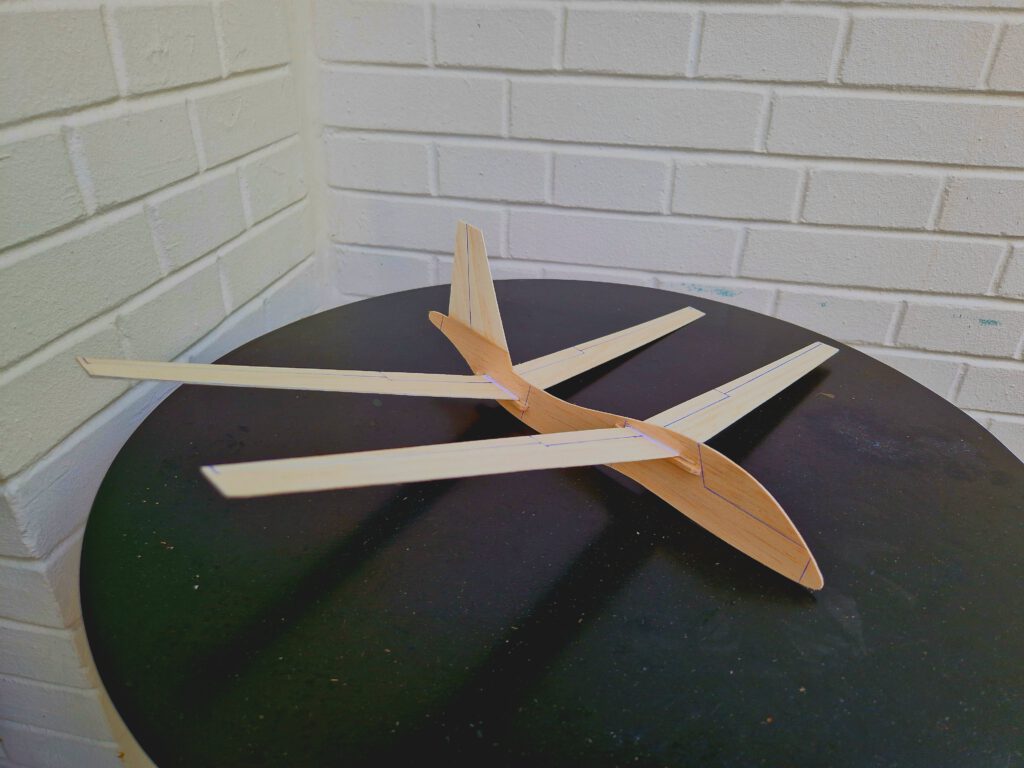
Use so called „third hand“ to facilitate building (see photo) for the following construction phase. Cement rear wing into fuselage slot using needles to hold in place. Remember to visual check from all sides as obtaining symmetry should be your main aim at this step. Now repeat this procedure for front wing. Let dry.
Balance model in accordance to given CG on plan.
Buon volo! (miłego lotu!)

Leave a Reply