


Span 48 cm / 19 in
Weight 27 g / 0.95 oz
The concept:
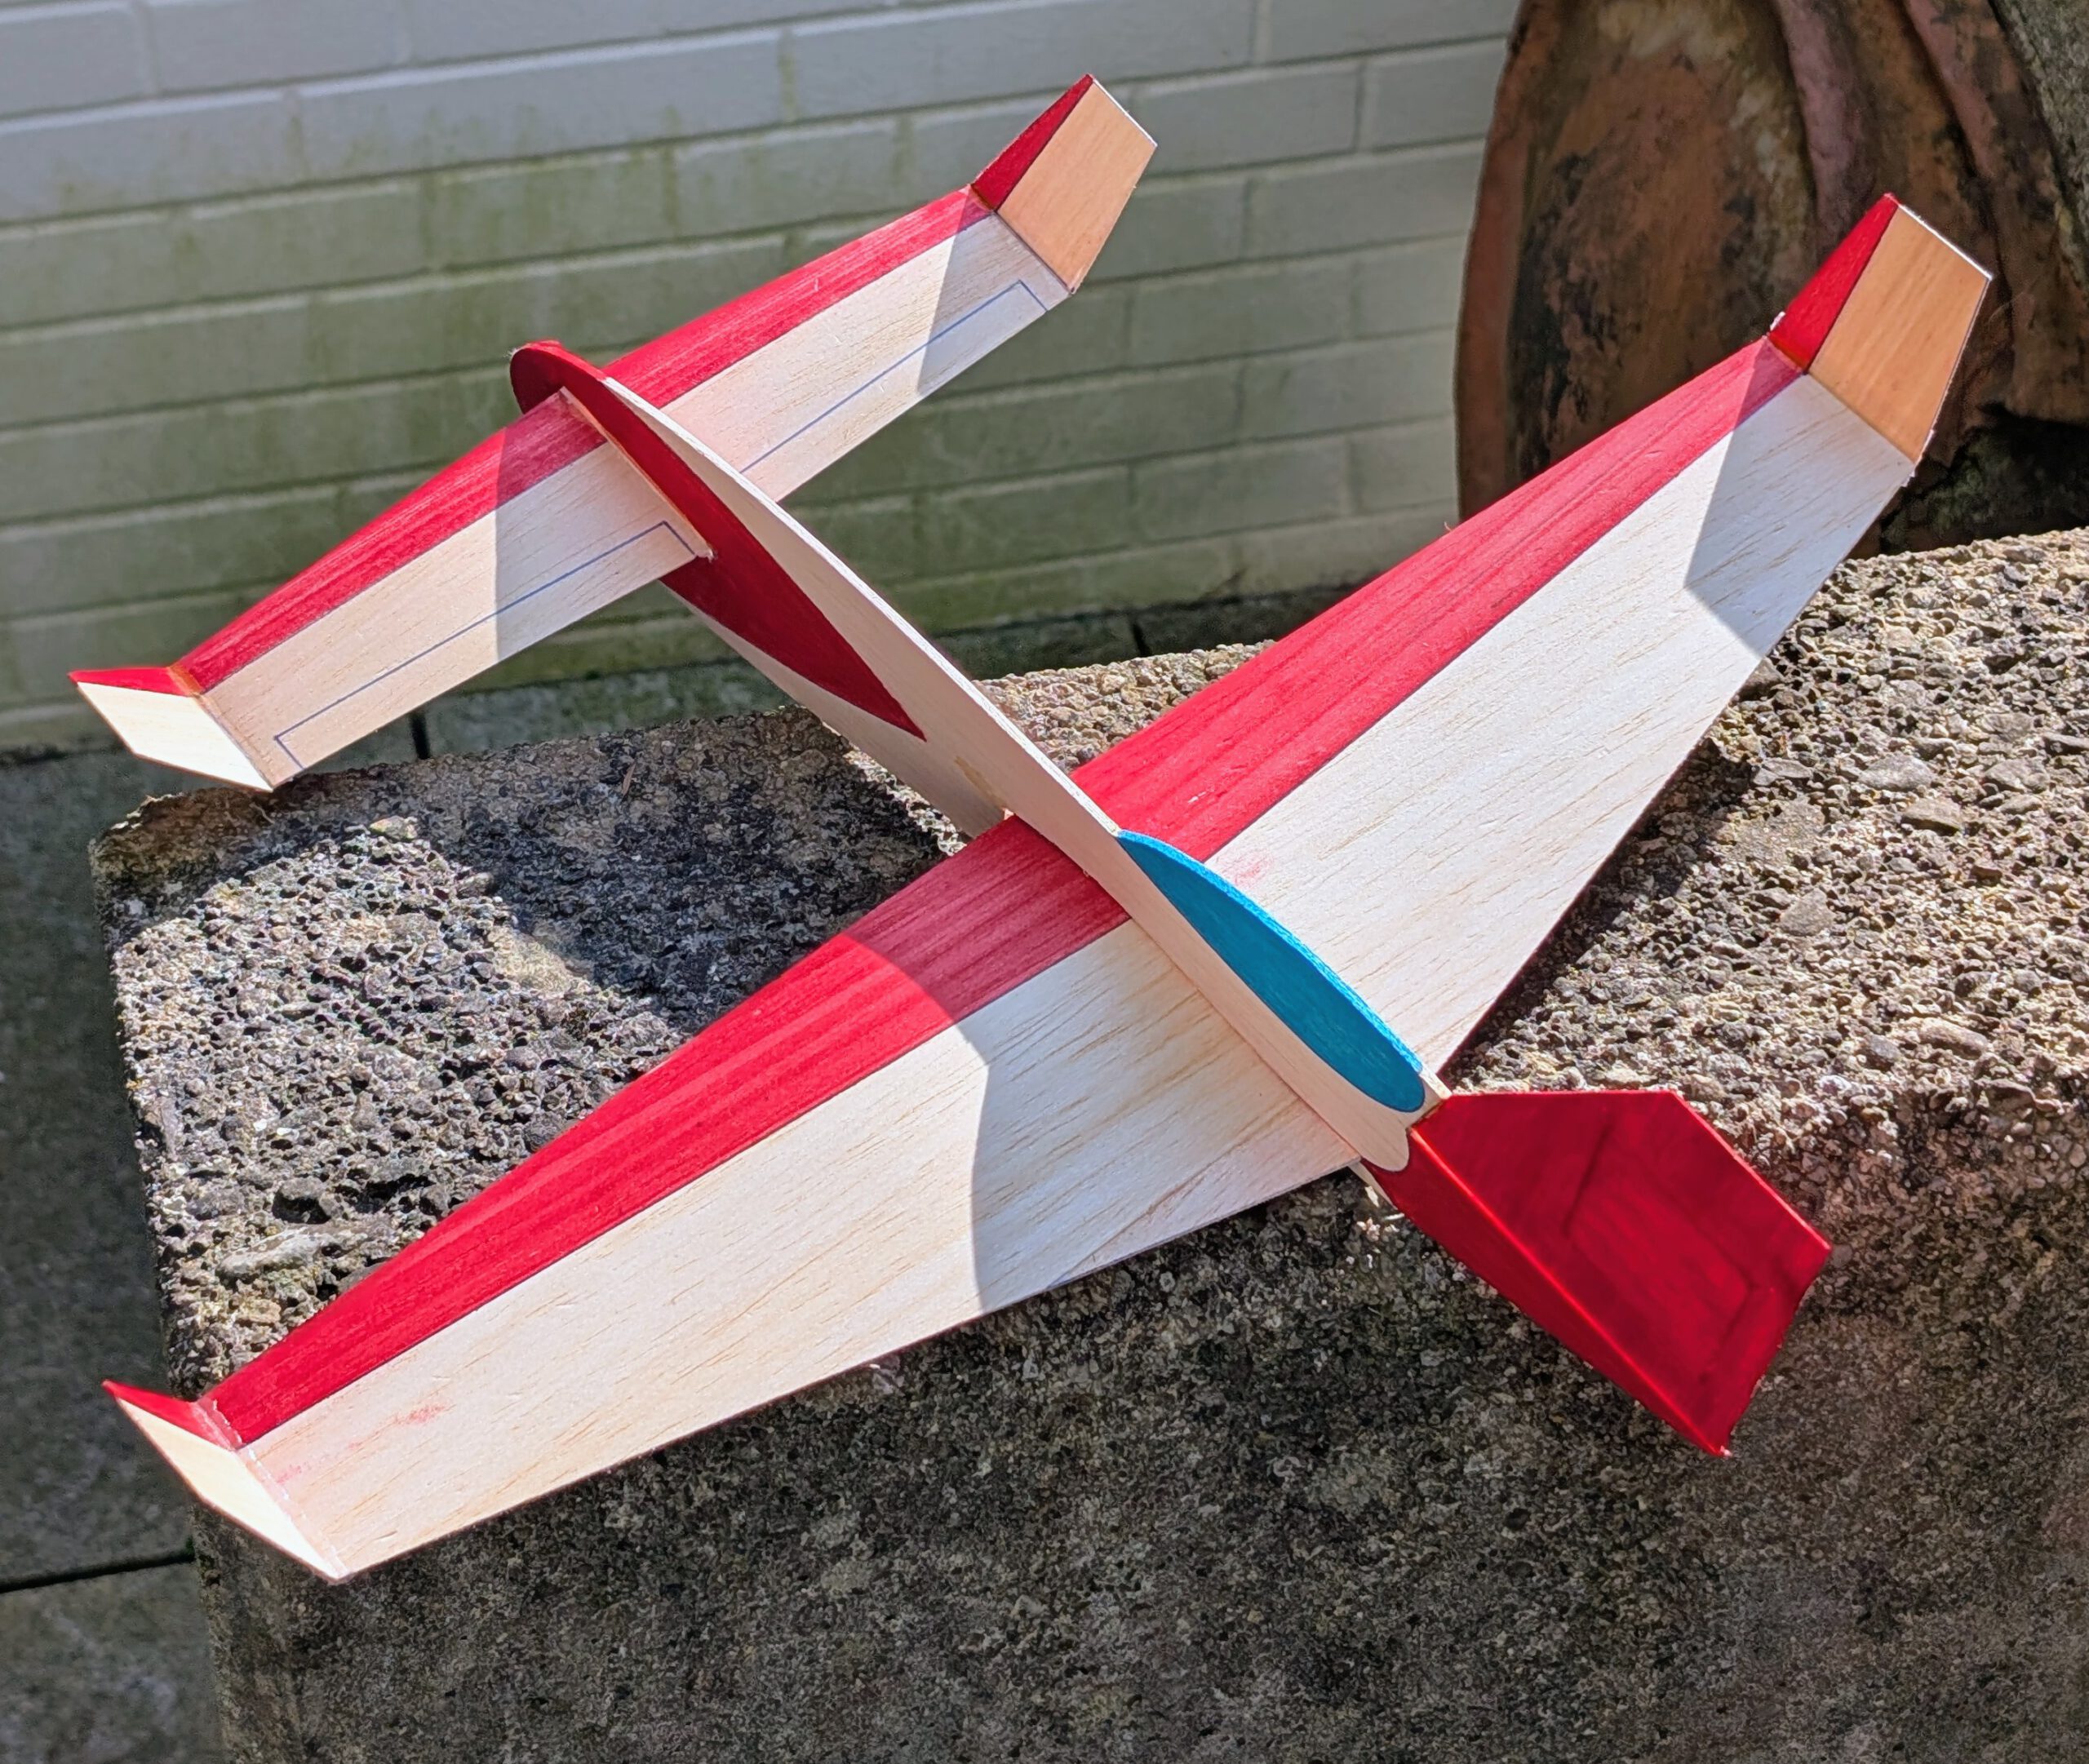
■ Middle sized canard
■ Stable flier
■ Easy to build
■ Unique outlines
■ S-shaped main wing profile
■ No dihedral (except for wing outer sections)
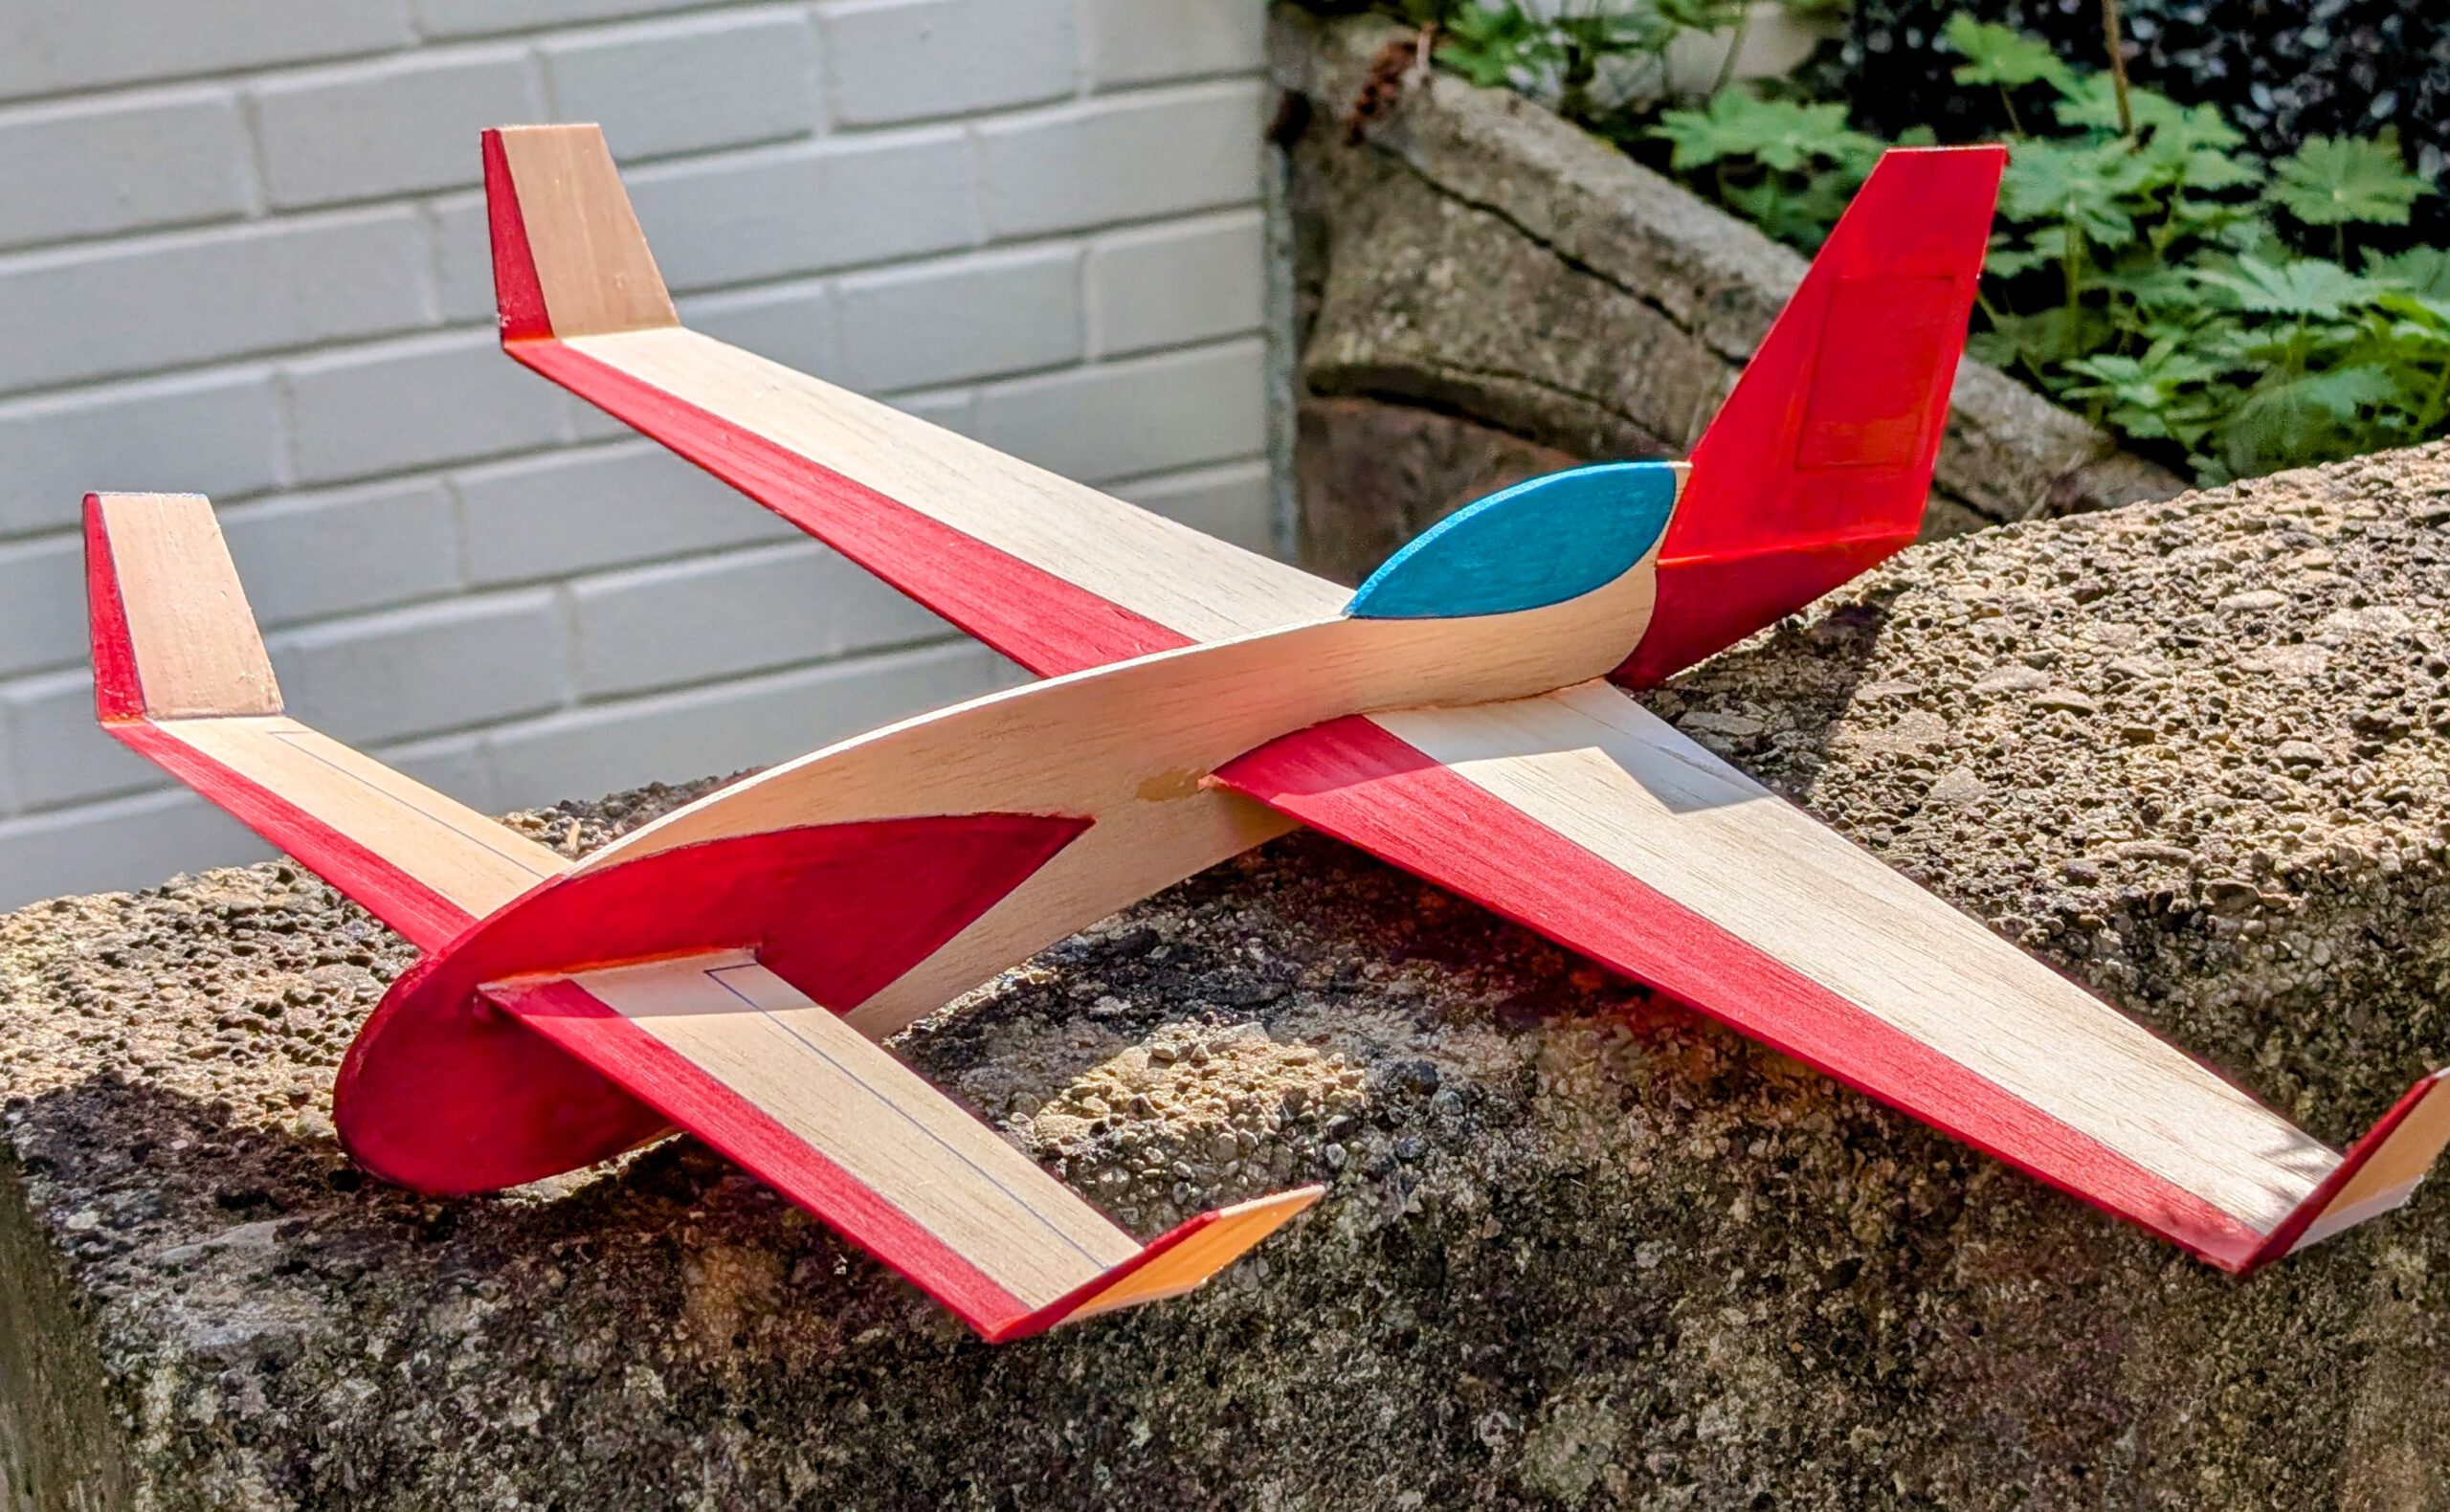
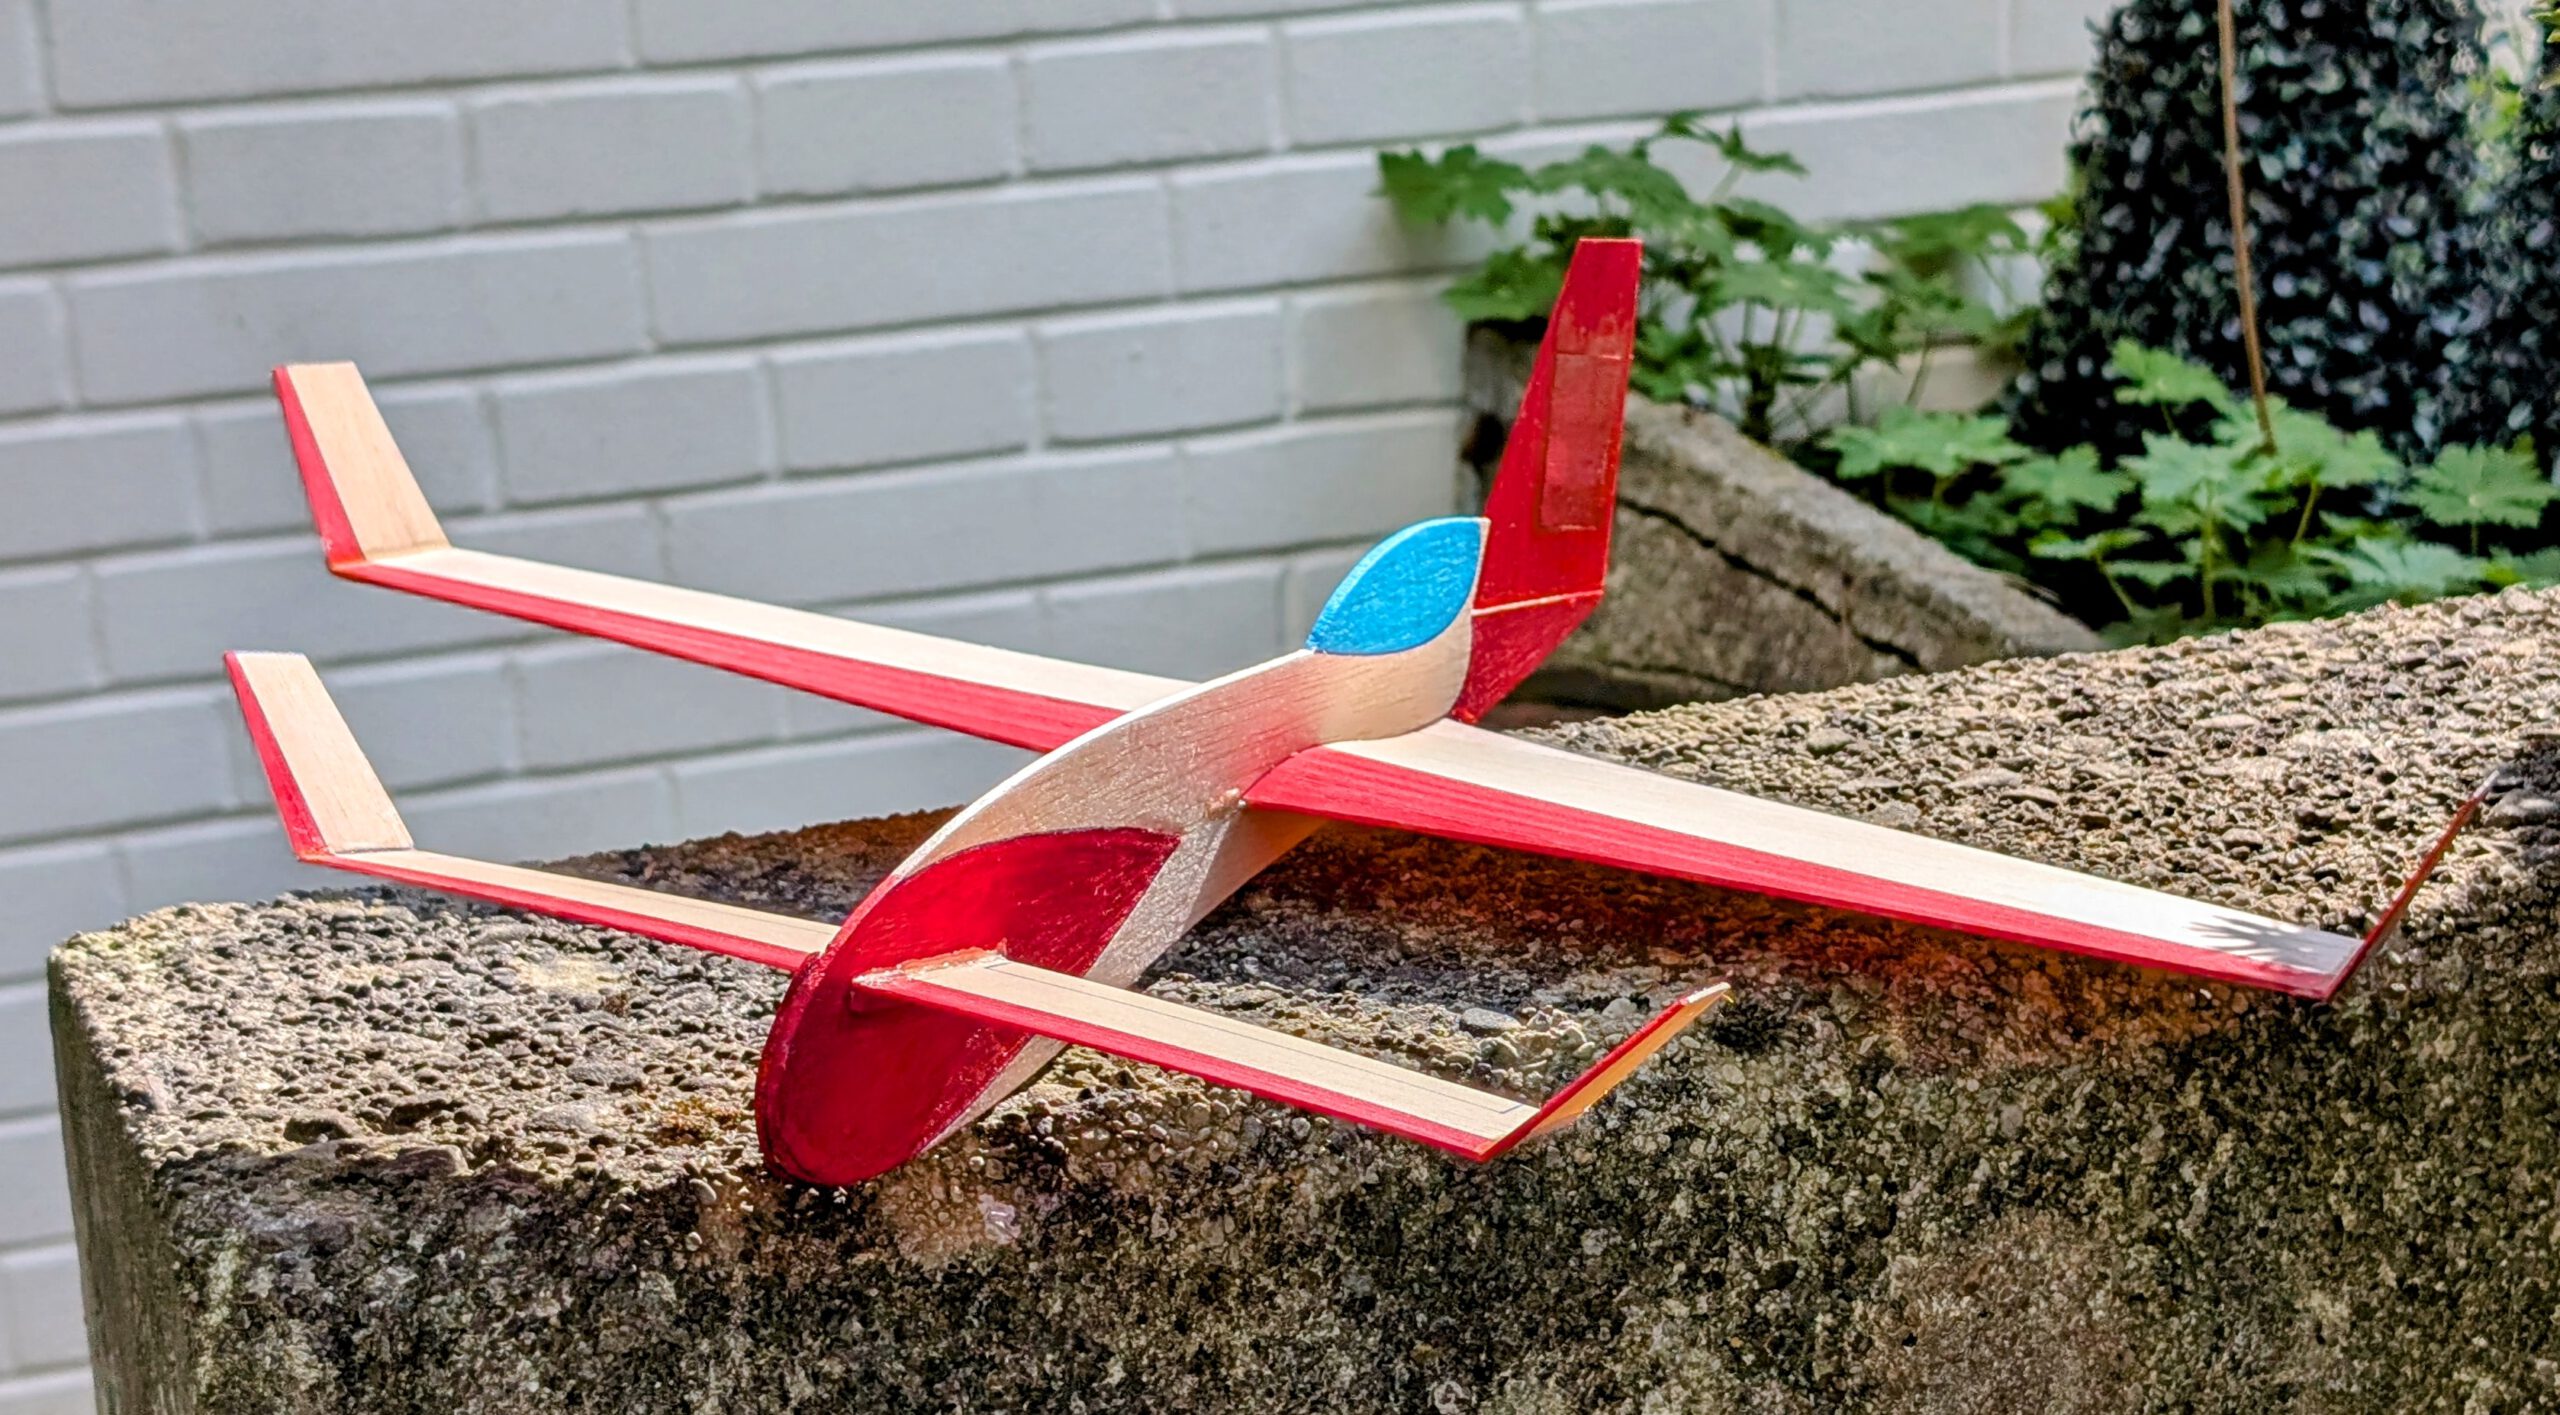
Result was a durable slope glider with docile flight characteristics that is not intended for speedy flights. After a gentle launch it glides quite smoothly and can even handle some wind.
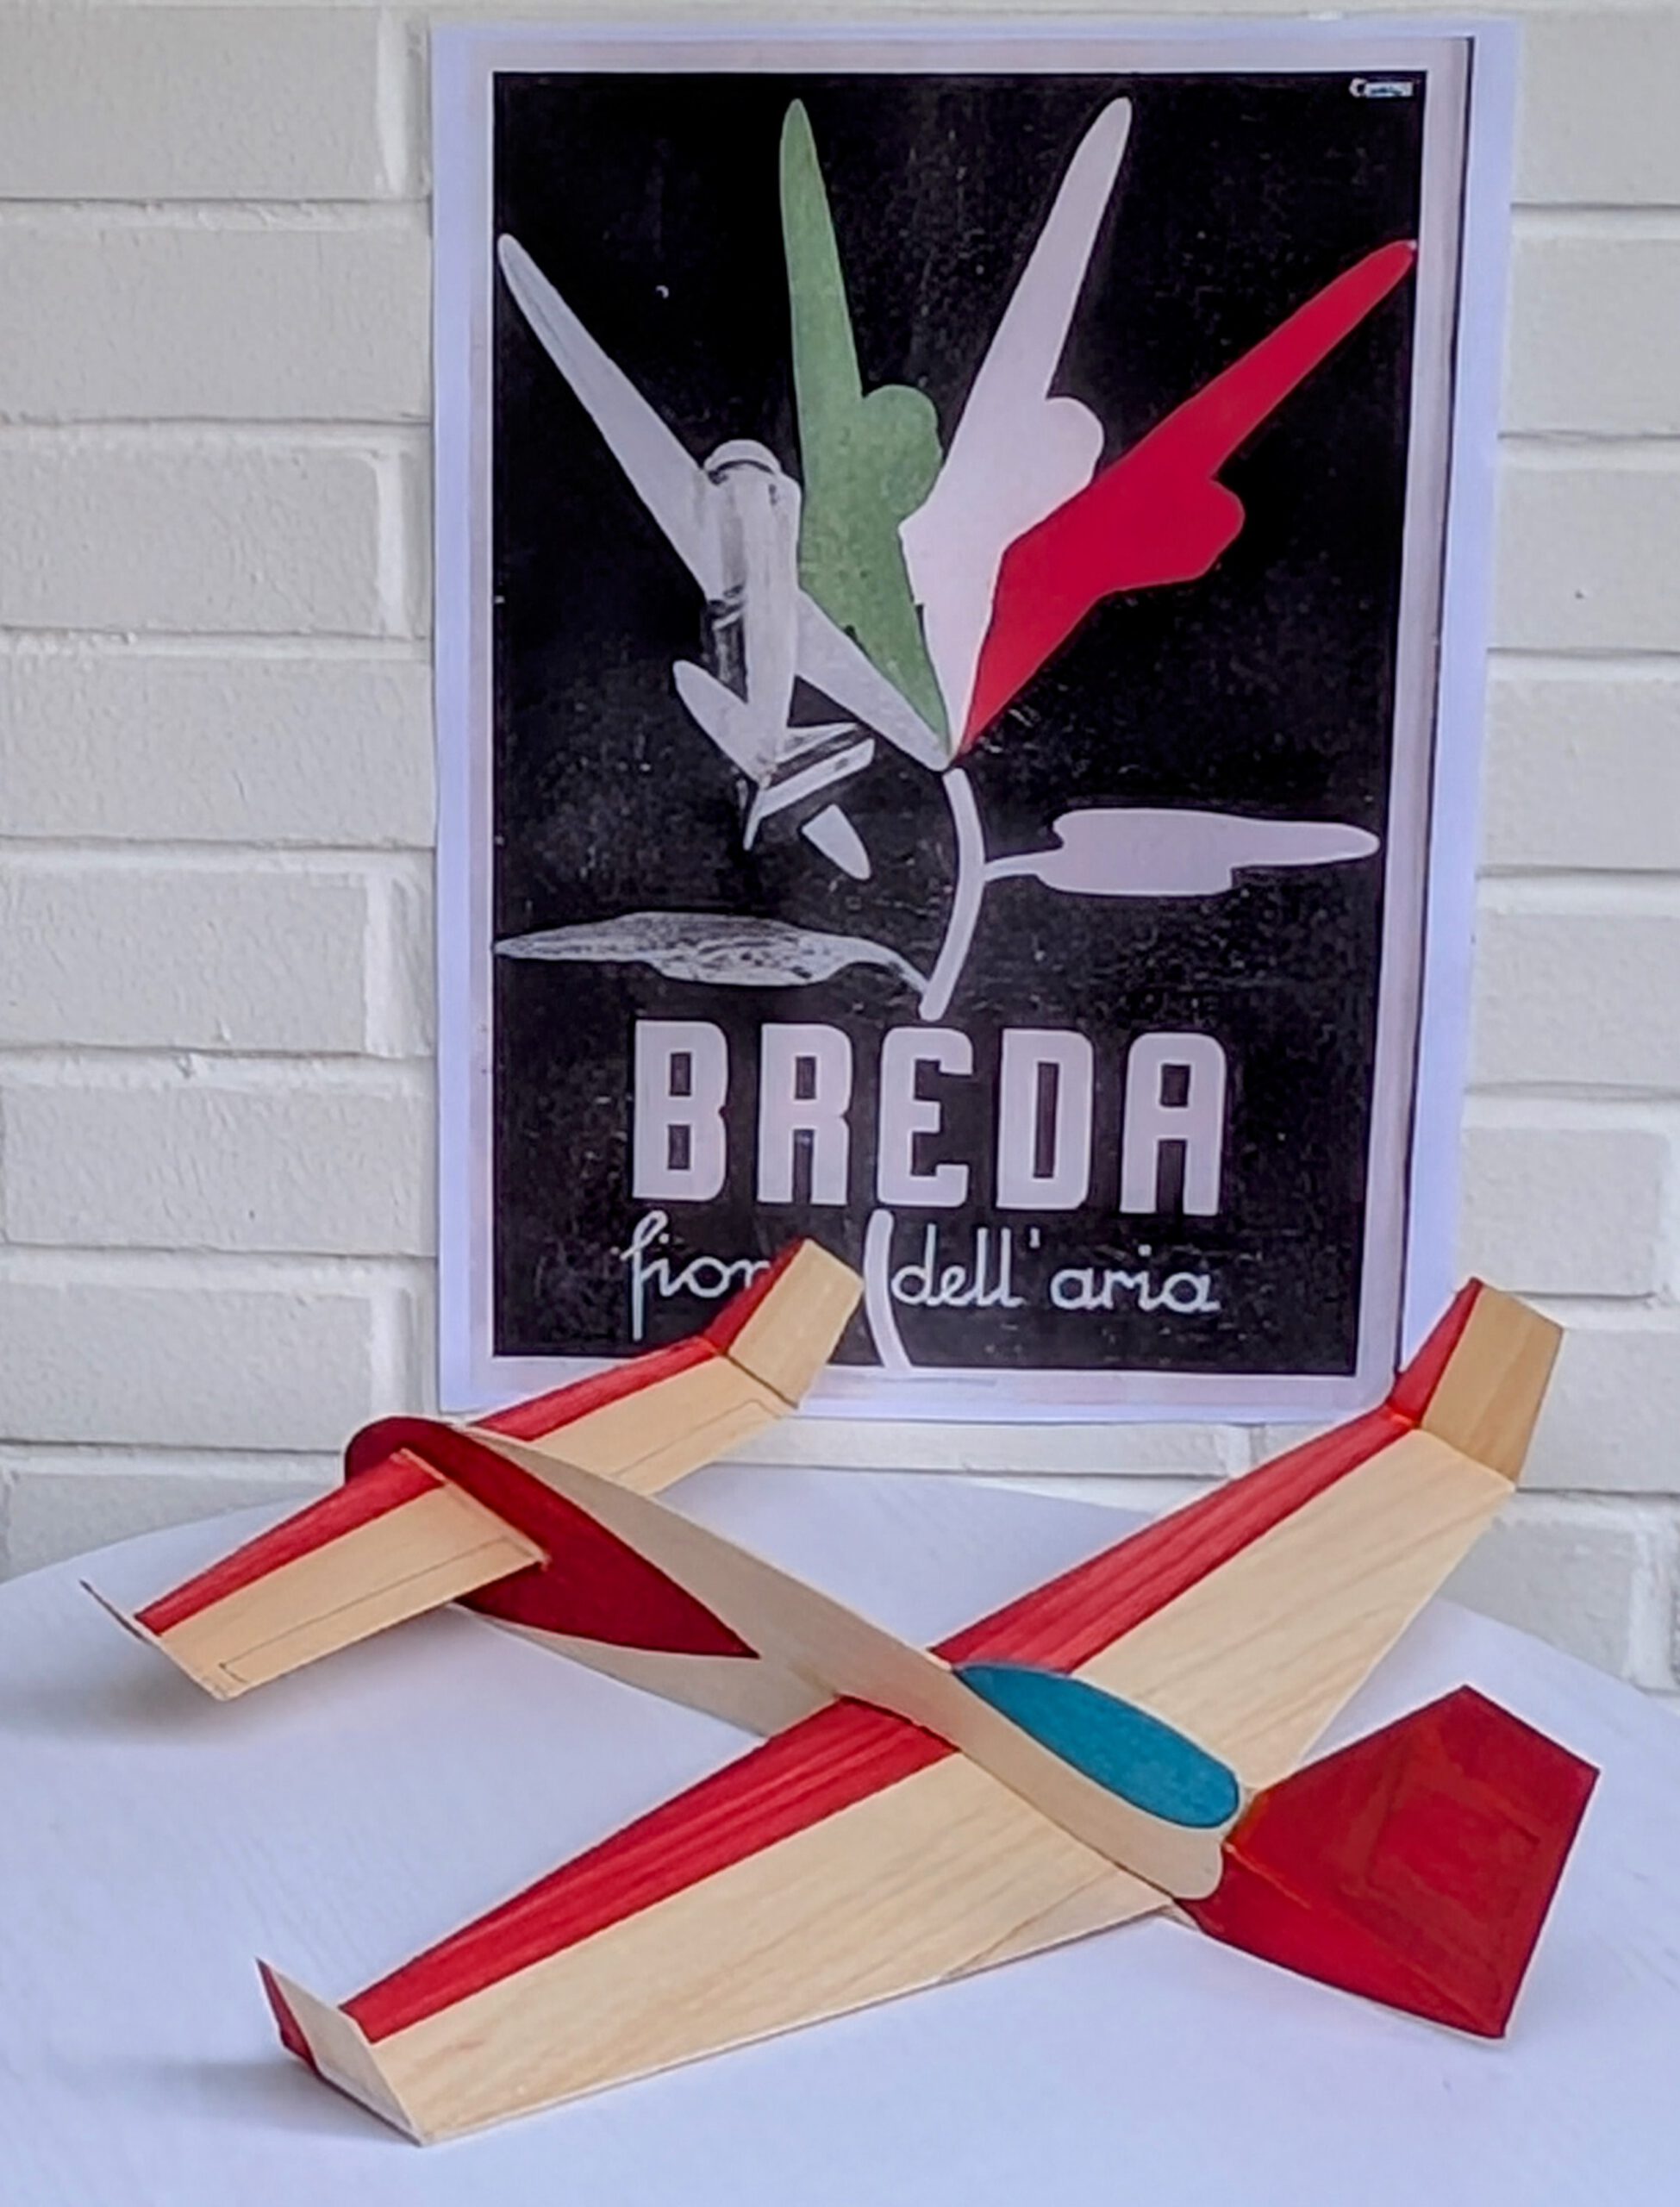
Name: Uccellone is Italian of course and stands for big bird and for big cock.
Building the sheet wing canard glider Uccellone.
Materials:
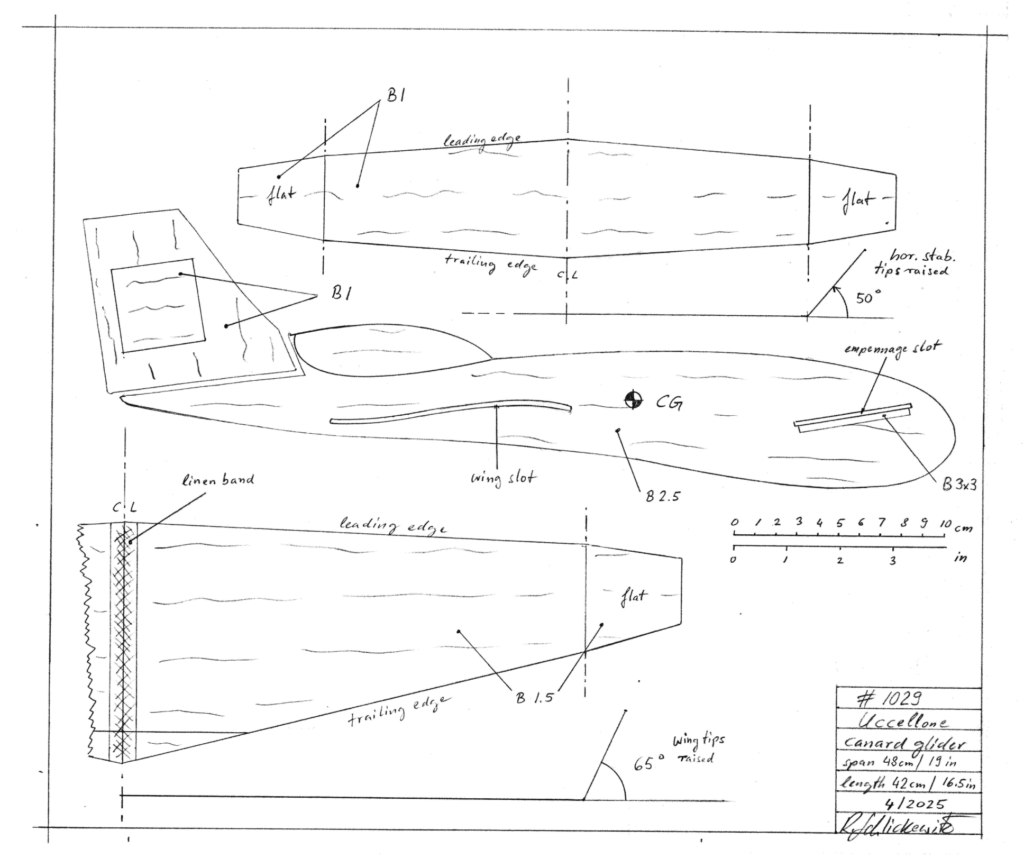
Fuselage: B 2.5; Wing: B 1.5; wing tips: B 1.5; horizontal stabilizer: stiff B 1; horizontal stab tips: stiff B 1; horizontal stab supports: B 3 x 3; vertical stab: B 1; linen band width 12 mm / ½ in; ballast – steel or lead.
Assembly:
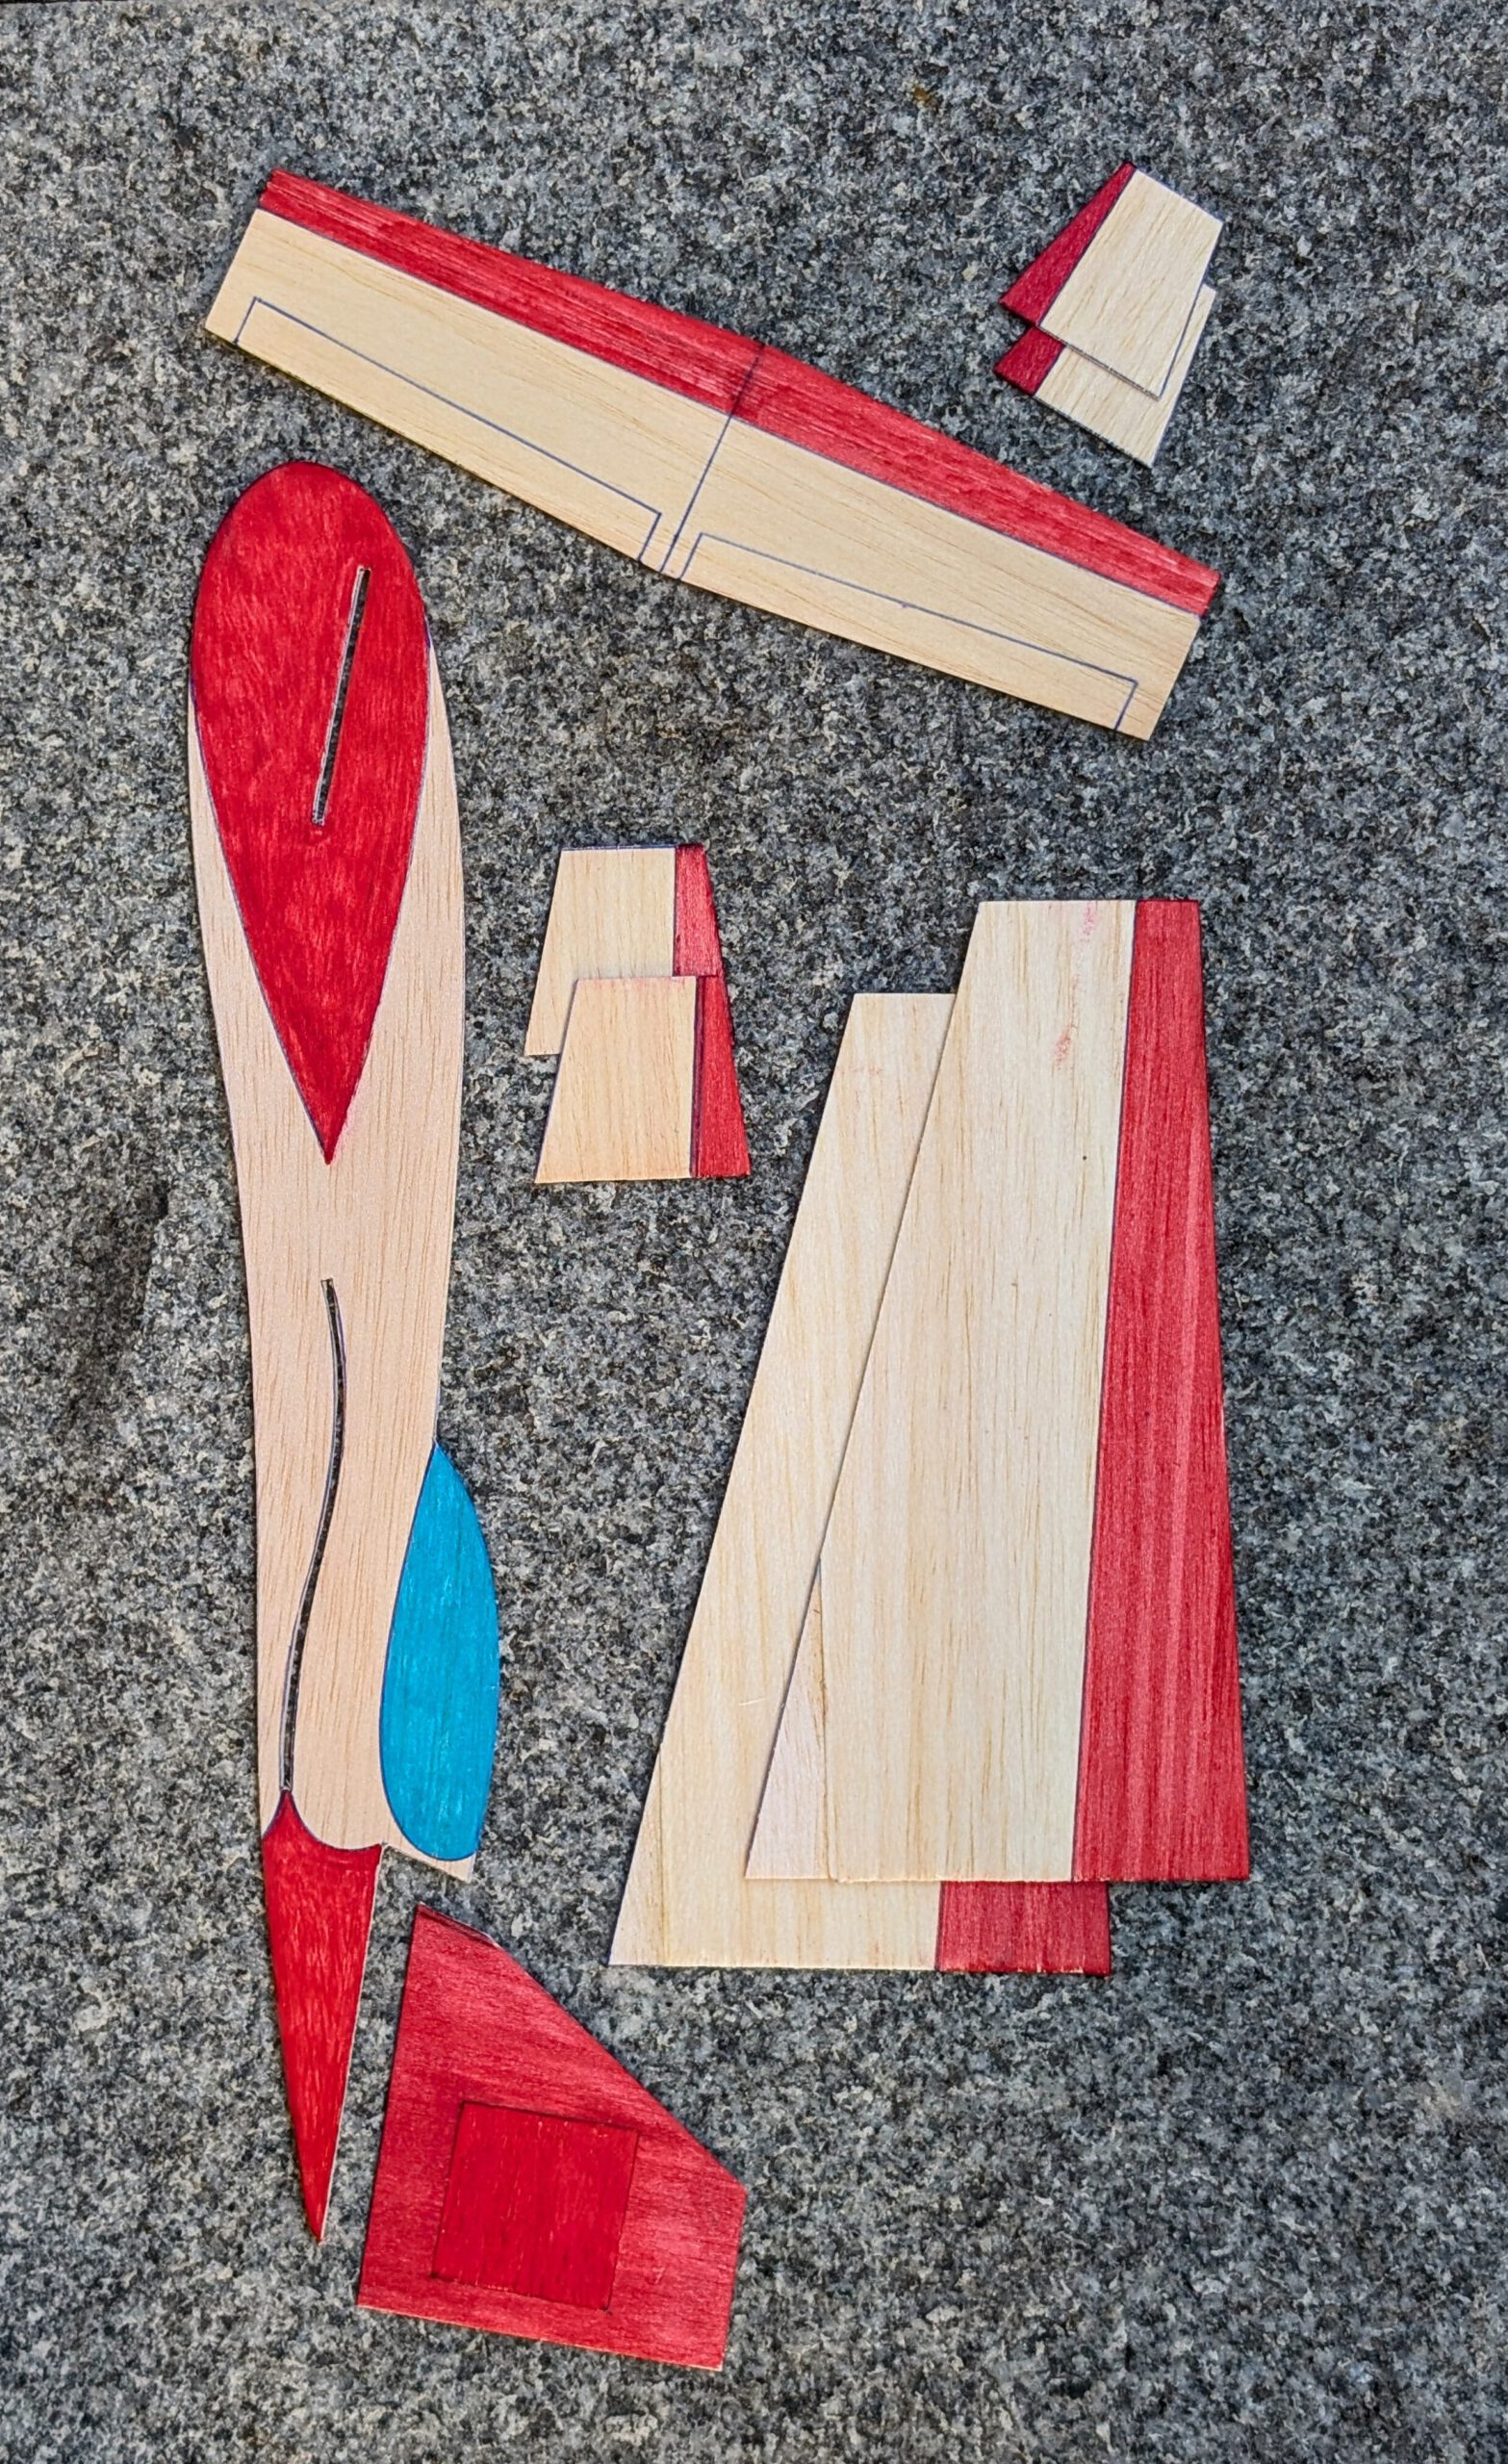
Cut out balsa parts in accordance to plan. Cut out slots for wing and empennage into fuselage part. Sand well. Colors can be applied at this stage already.
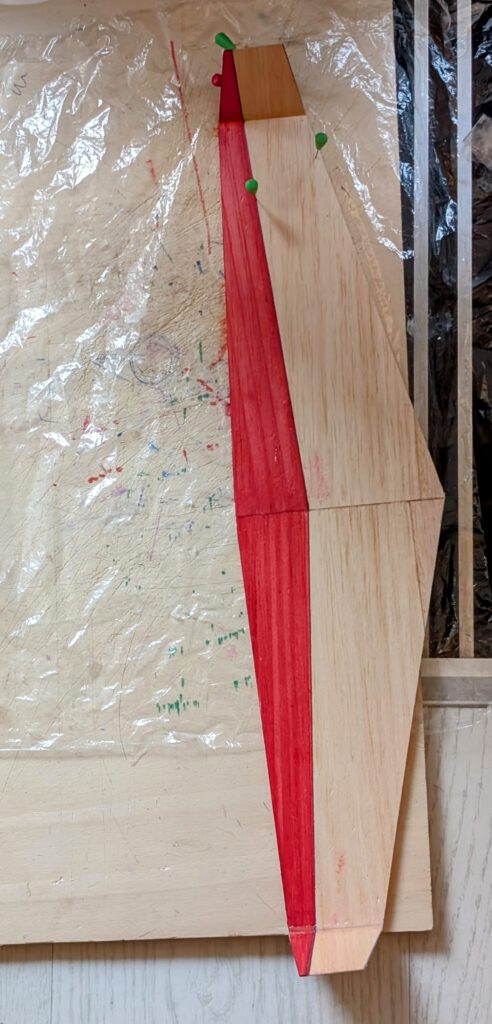
Wing:
Cement one wing half to the other and reinforce joining area with linen band (photo). Halves should be fixed with needles to building board. Later align wing tips at given angle and cement to wing. A balsa template – thickness 4 or 5 mm – can be here of great help (photo).
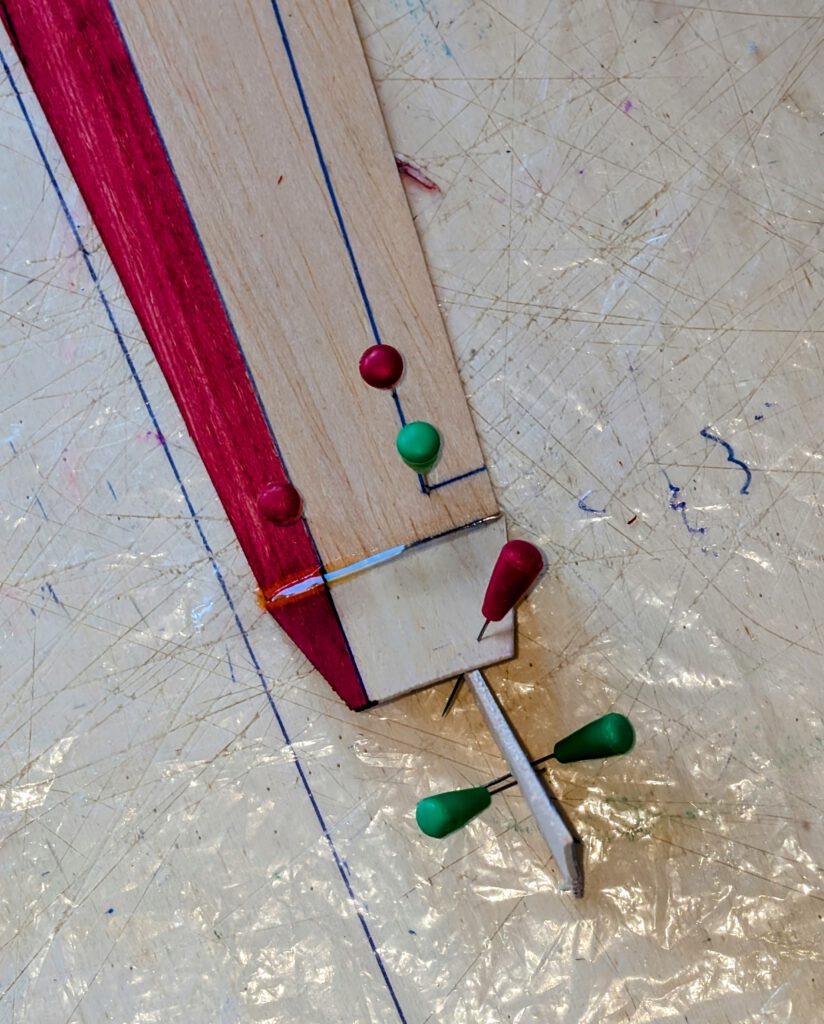
Empennage:
Fix main horizontal stab part on building board with needles and cement tips to itobserving the given dihedral angle. A suitable balsa template – thickness 4 or 5 mm – can be here also of great help (photo).
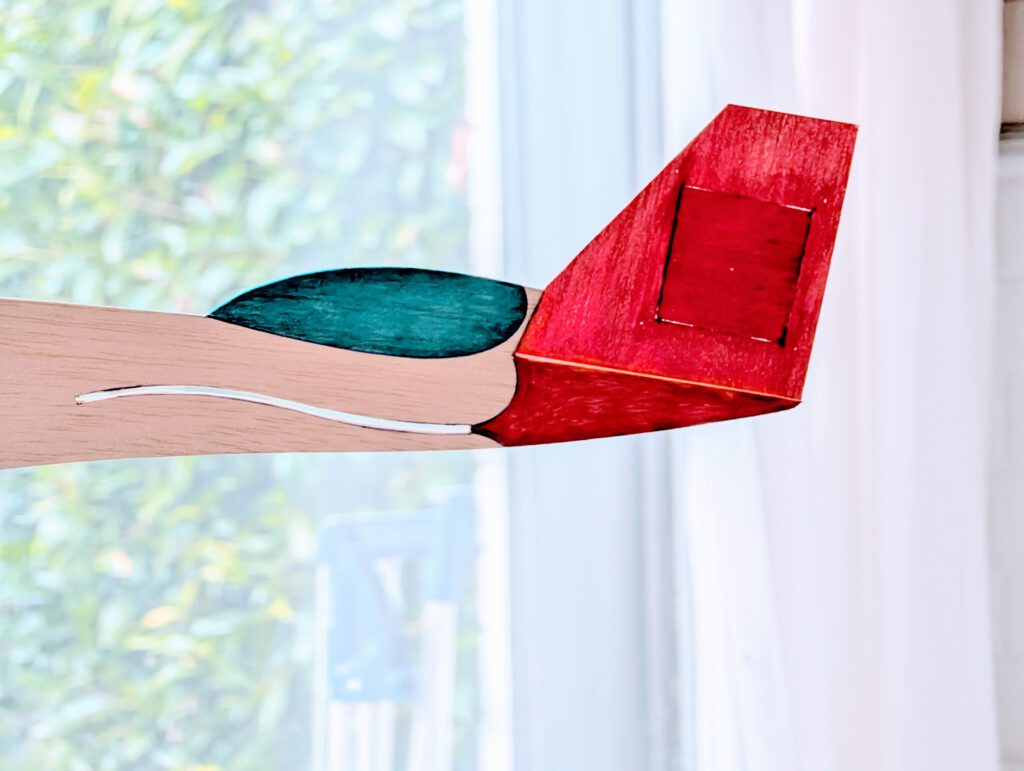
Cut out 40 by 40 mm opening into vertical stab part as shown on plan. Now fix vertical stab with needles on building board and cement cut out central part after having it turned by 90 °. This measure prevents part from warping.
Fuselage:
Cement vertical stab to fuselage. As both parts have not the same thickness underlaystab with thin cardboard to obtain a symmetrical result. Let dry.
Cement empennage support parts on both sides of fuselage and fix them with needlesuntil dry.
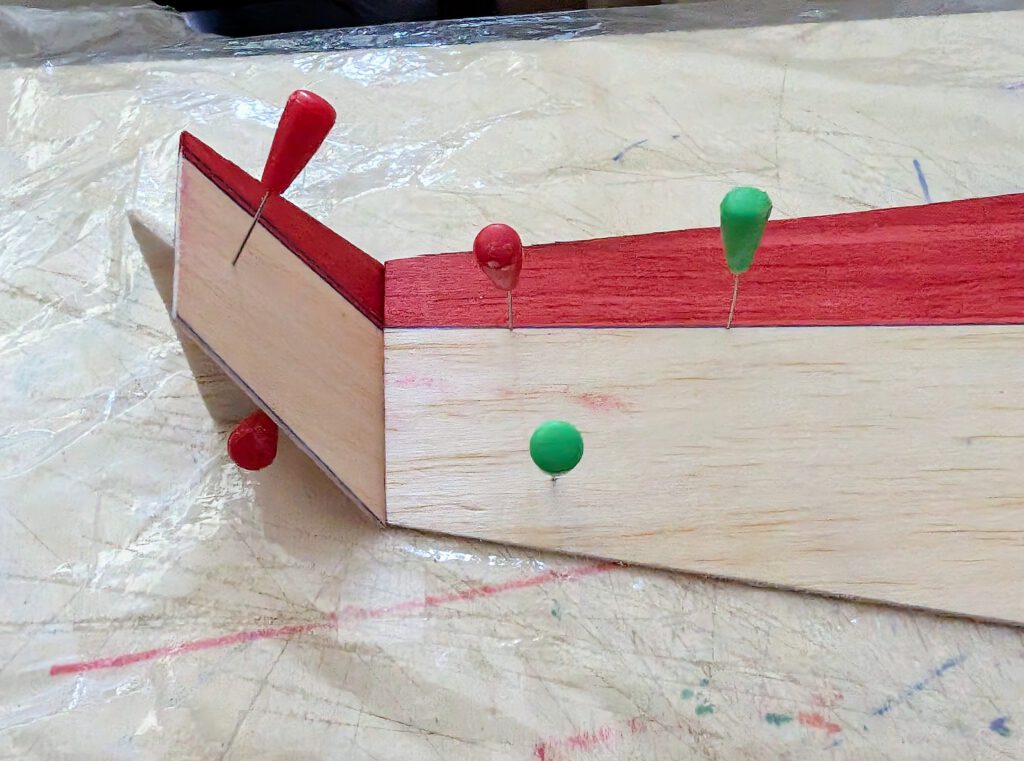
Final Assembly:
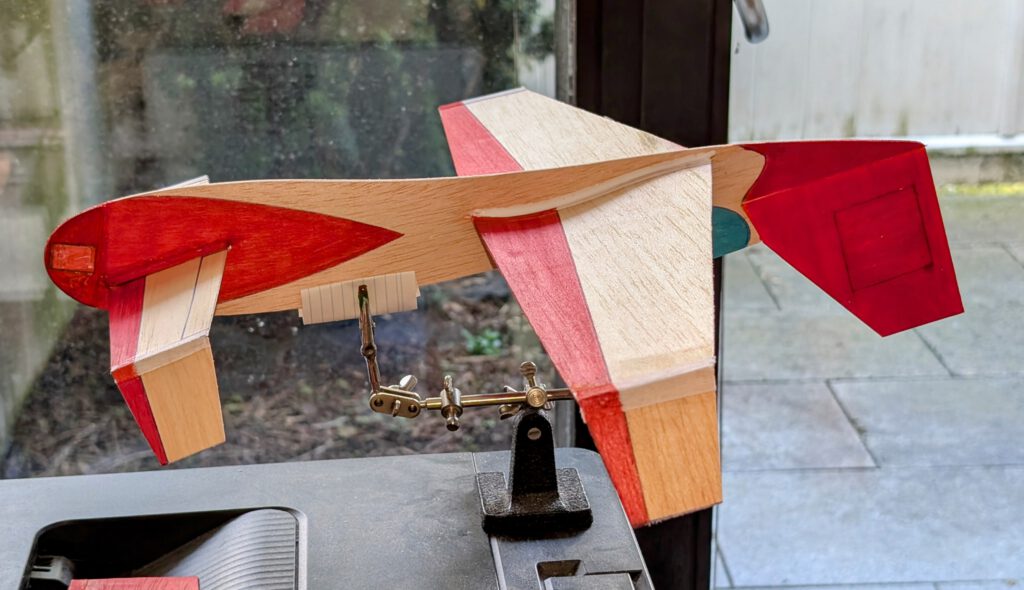
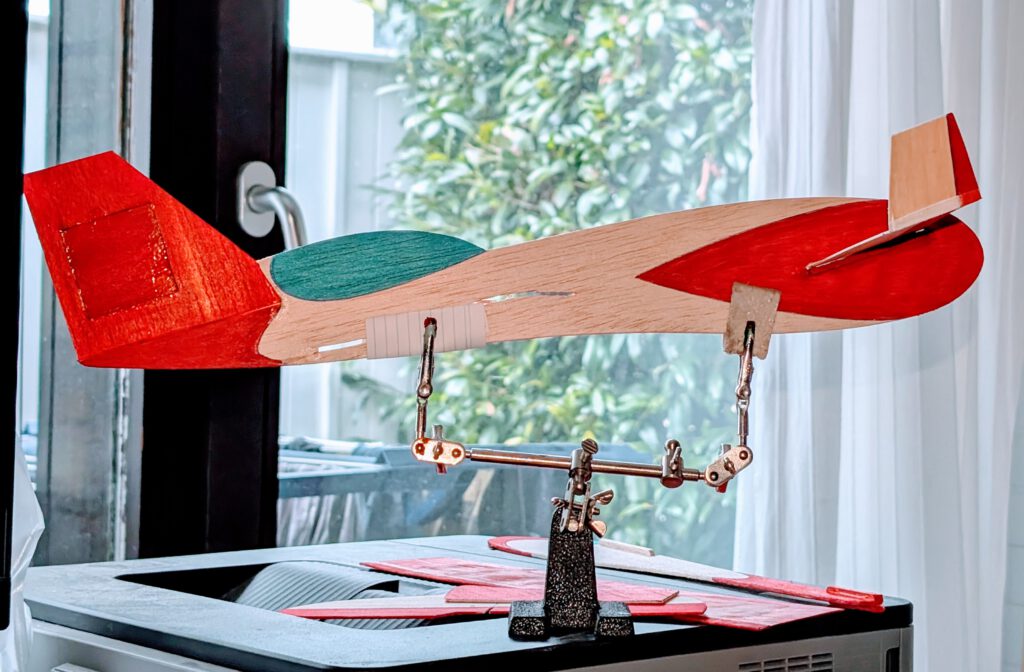
Fix fuselage on so called ‘third hand’. Carefully insert horizontal stab into its slot. Apply cement and align to obtain symmetry (photo). Use needles to hold in place until dry.
Turn assembly on its back and fix again on ‘third hand’. Now insert wing into its s-shaped slot taking care that wing tip bends but does not break (!).
See that best possible symmetry is obtained at this stage than cement. If necessary hold in place with needles and let dry entirely. (photo)
Balance your model with a small piece of lead or scrap metal as ballast. Remember that a correct center of gravity (CG) is essential for successful flights.
Test flights should take place over grassy terrain.
¡Muchos vuelos exitosos! (keni njё fluturim tё kёndshёm!)

Leave a Reply