

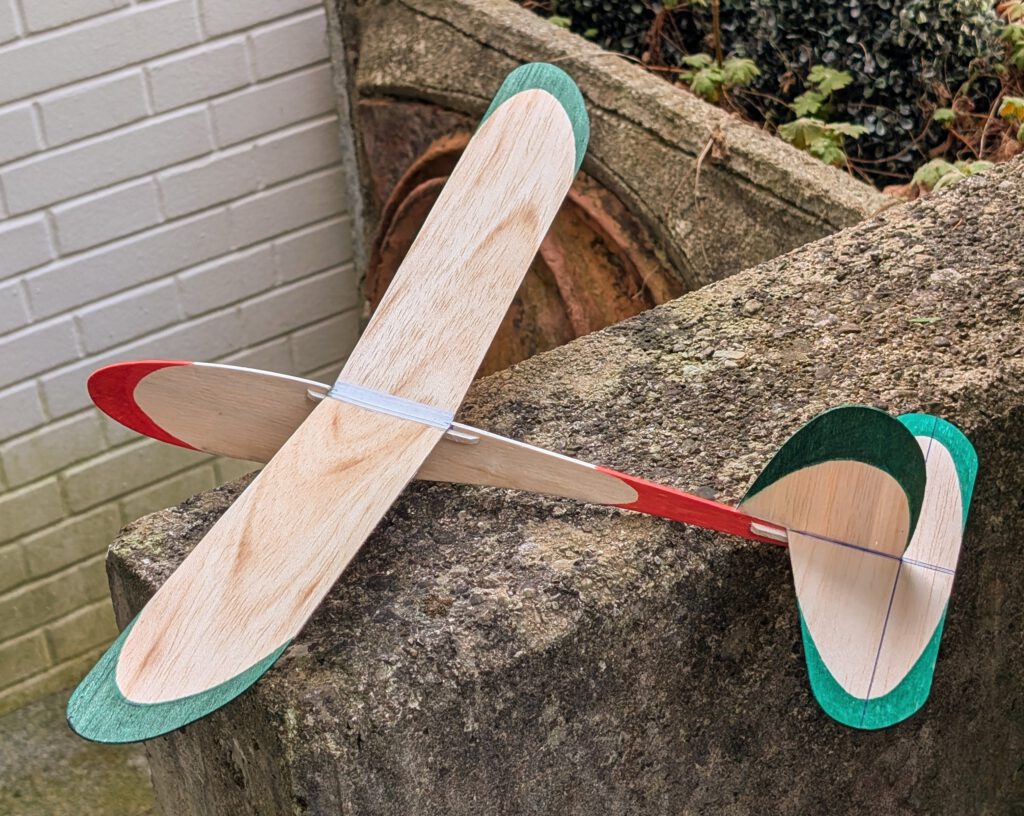
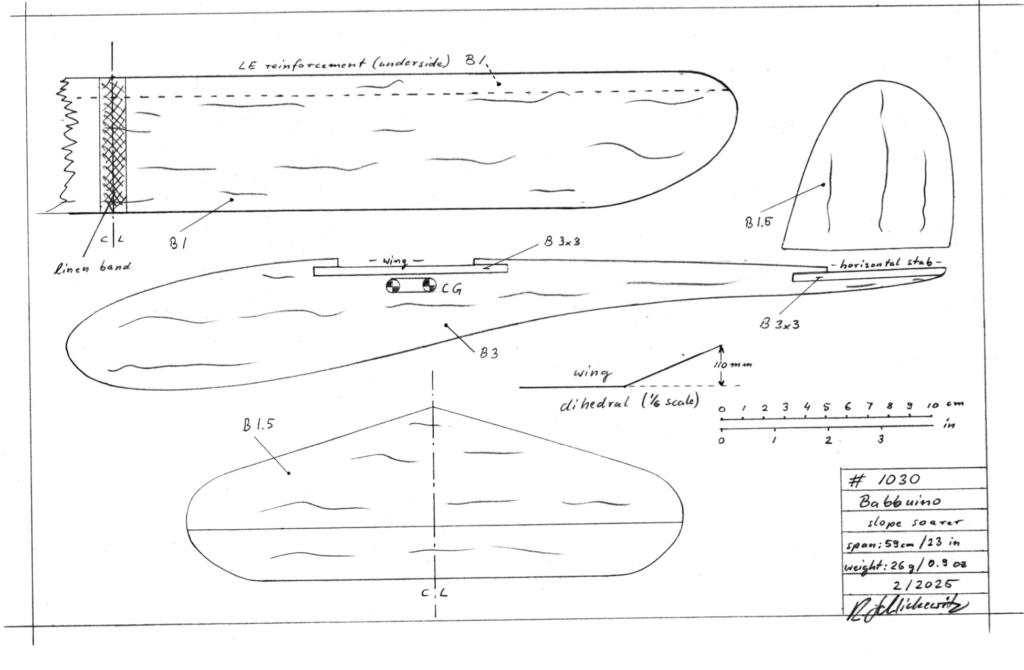
Span 18.5 cm / 7.3 in
Weight 18 g / 0.65 oz


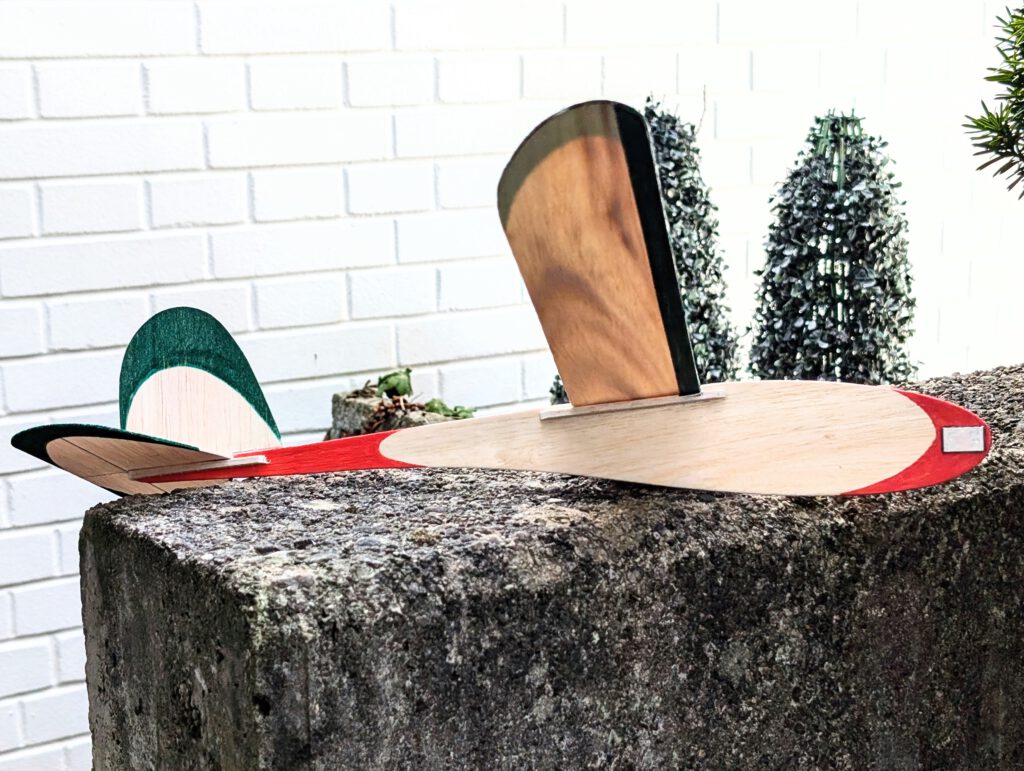
The concept:
• Slope soarer
• Light weight yet stable for good performance
• Easy to build
• Few parts
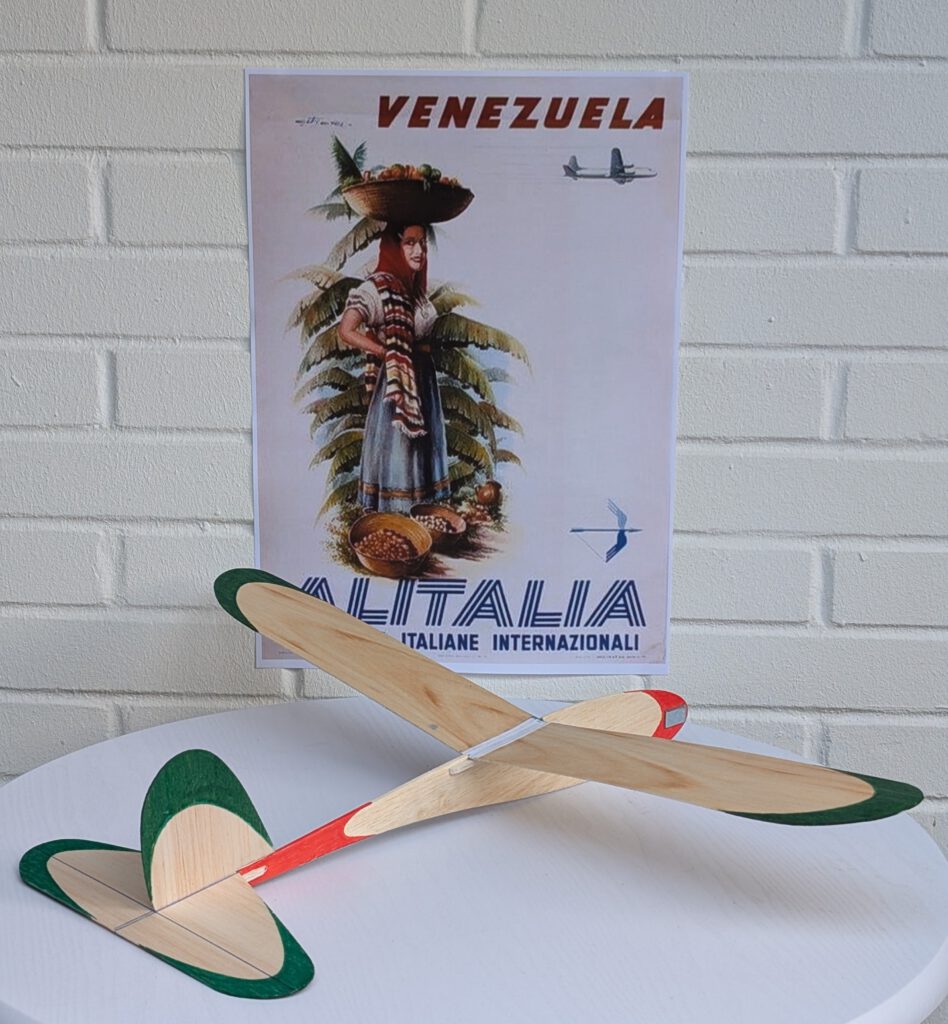
Name is Italian naturally and means baboon.
Baboons by themselves are interesting creatures but there is more in the name, for example a 16th-century sculpture in Rome is known by the name bab(b)uino. Even a street in the Città Eterna was named in honor of this statue. More on babbuino and babuinate find out by yourself. Be curious and try to broaden your personal horizons.
Building the balsa glider Babbuino
Materials
Fuselage: B 3; wing: stiff B 1; wing leading edge reinforcement: B 1; wing supports: B strips 3 x 3; horizontal stabilizer: stiff B 1 or 1.5; fin: B 1.5; horizontal stab supports: B 3 x 3; linen band width 12 mm / ½ in; ballast: small piece of scrap metal or lead.
Assembly
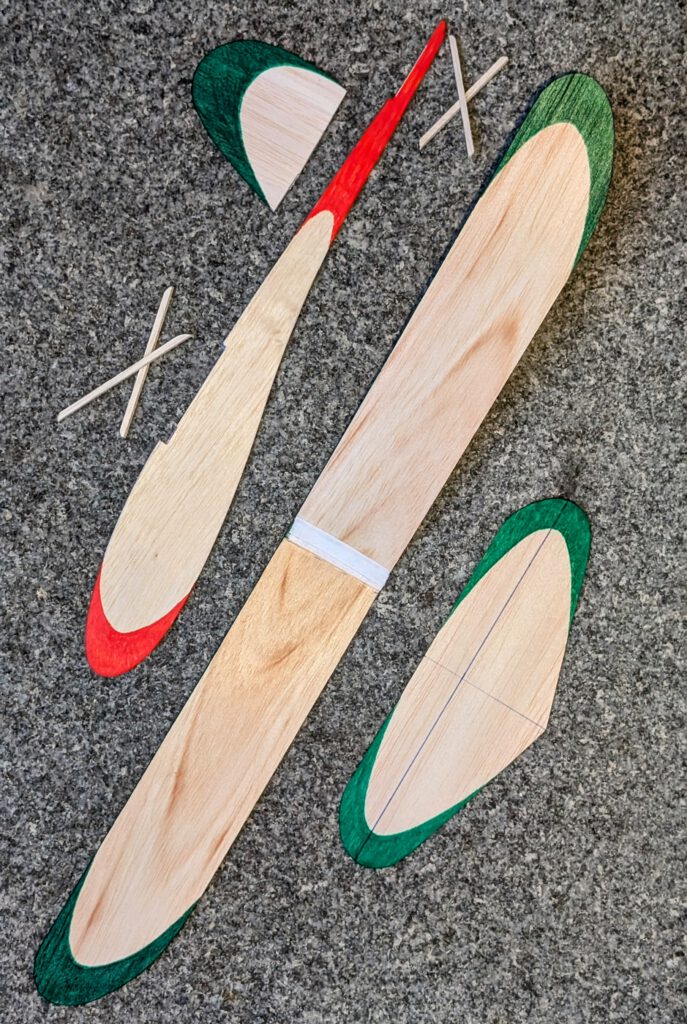
Cut out balsa parts in accordance to plan. Sand well (photo). Make templates and transfer outlines on fuselage, wings and empennage. Paint your model at this stage (photo).
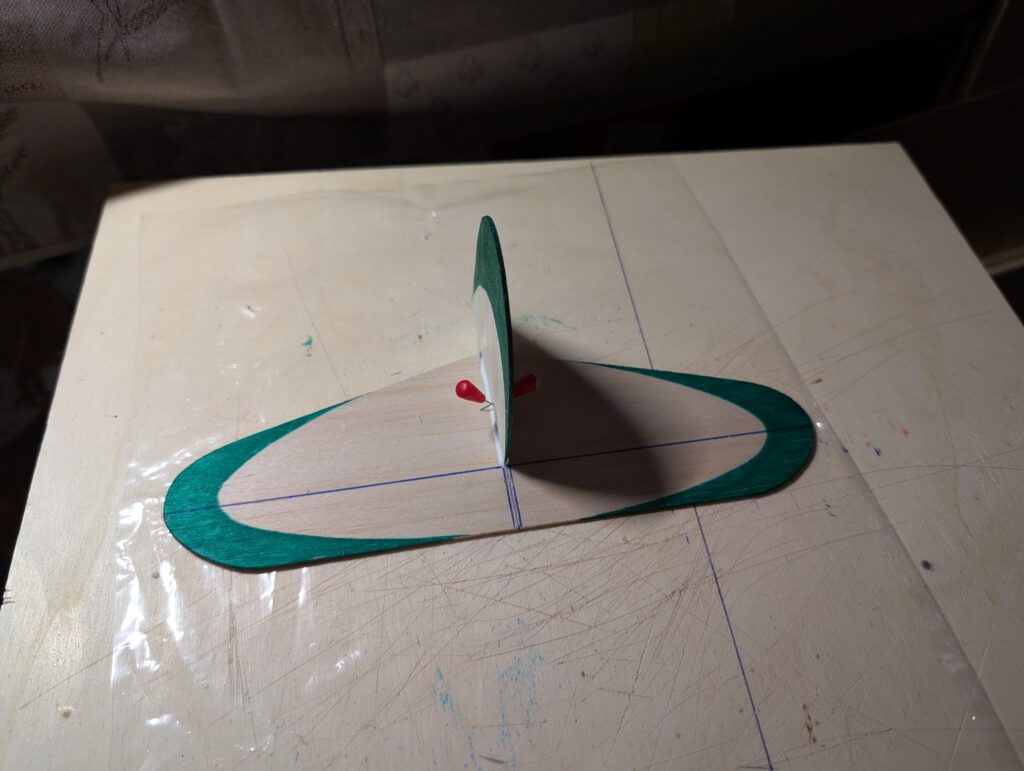
Wing:
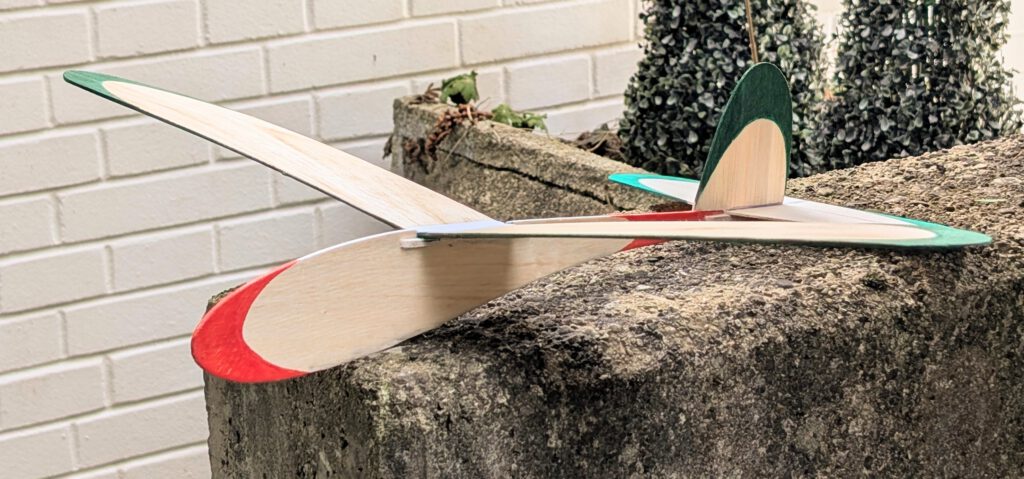
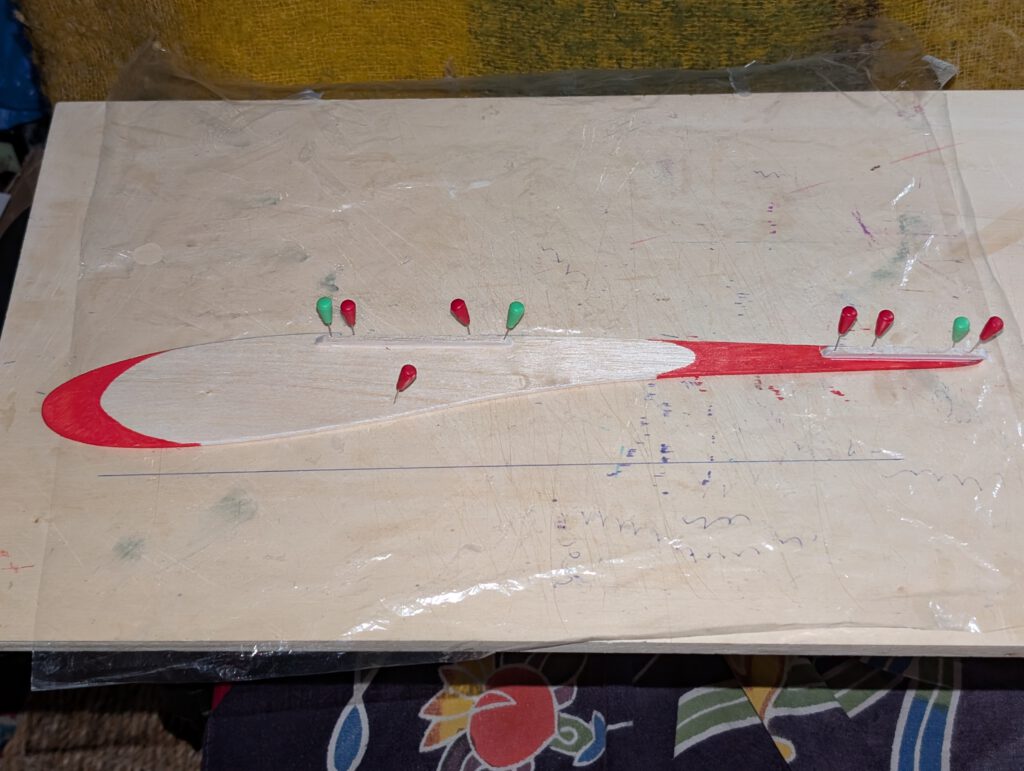
Wing consists of a right and a left wing half. Cement reinforcement strips on leading edge undersides of each wing half. When dry sand LE round. Fix one wing half on building board with pins. Cement corresponding half by paying attention to dihedral (11 cm) given in plan. When dry reinforce center joining area with linen band (photo) and let dry.
If wing has tendency to rest only on one side, then it is too heavy on this side. To compensate the imbalance, disperse a small amount of white wood glue on the opposite wing tip area and let dry. Do it, if necessary, twice until balance is obtained.
Fuselage:
Cement wing support strips and horizontals stab support strips into their given places. Hold with clamps or clothespins or with modelling pins.
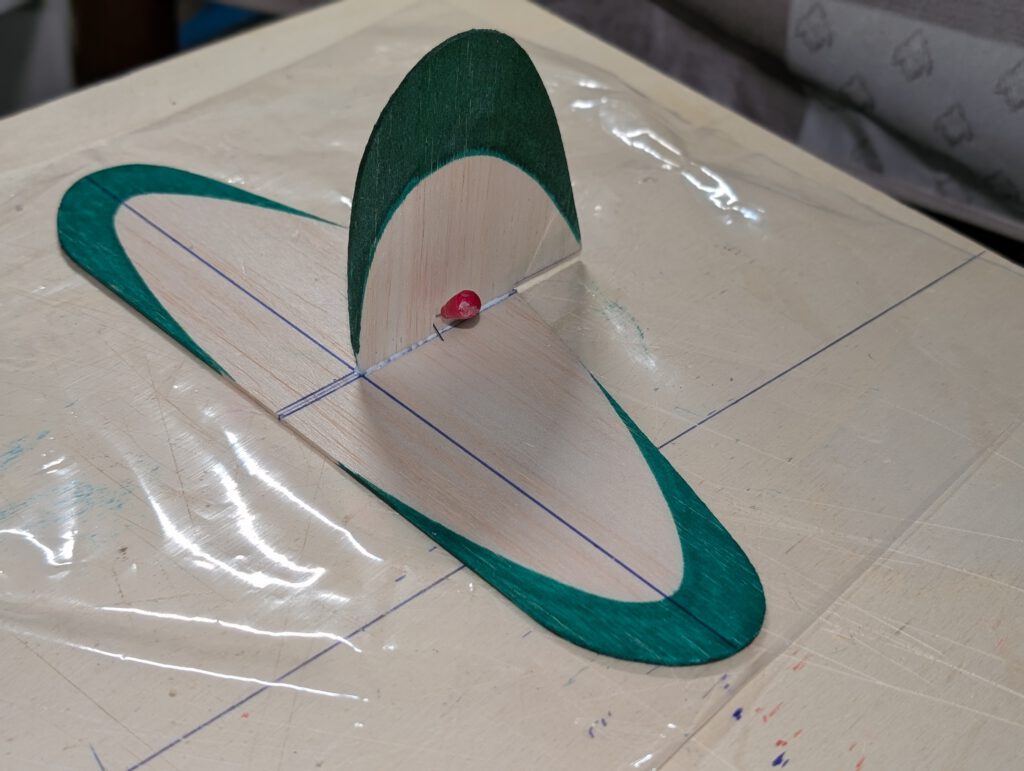
Empennage:
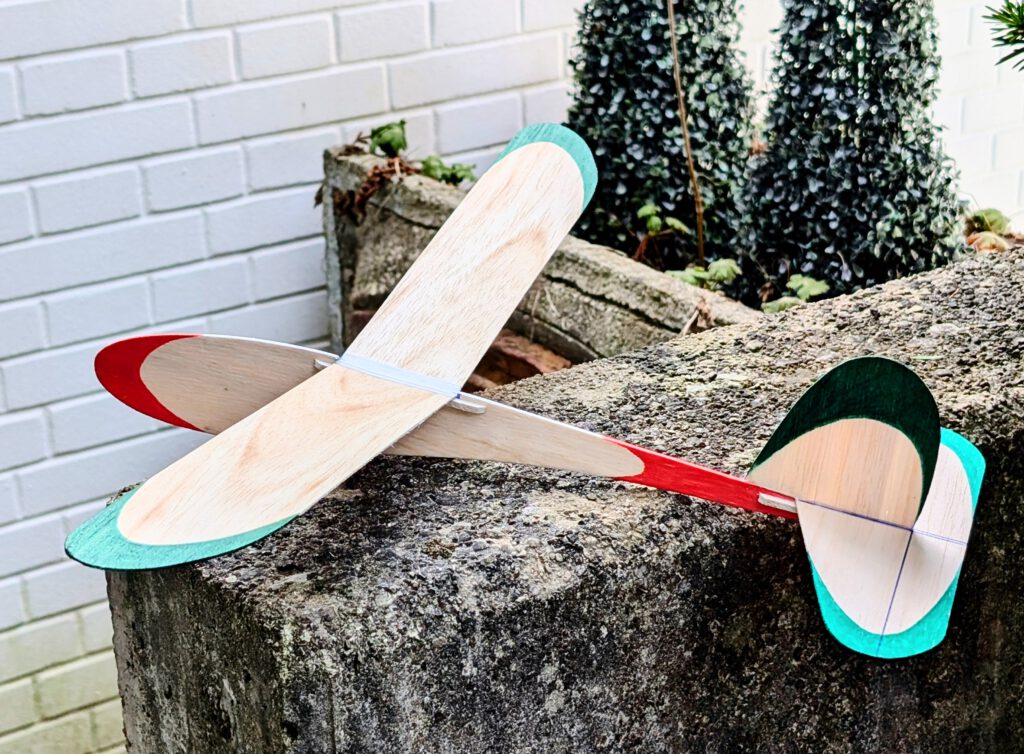
Cement fin on horizontal stab as shown on photos. Check symmetry and hold in place with pins. Let dry.
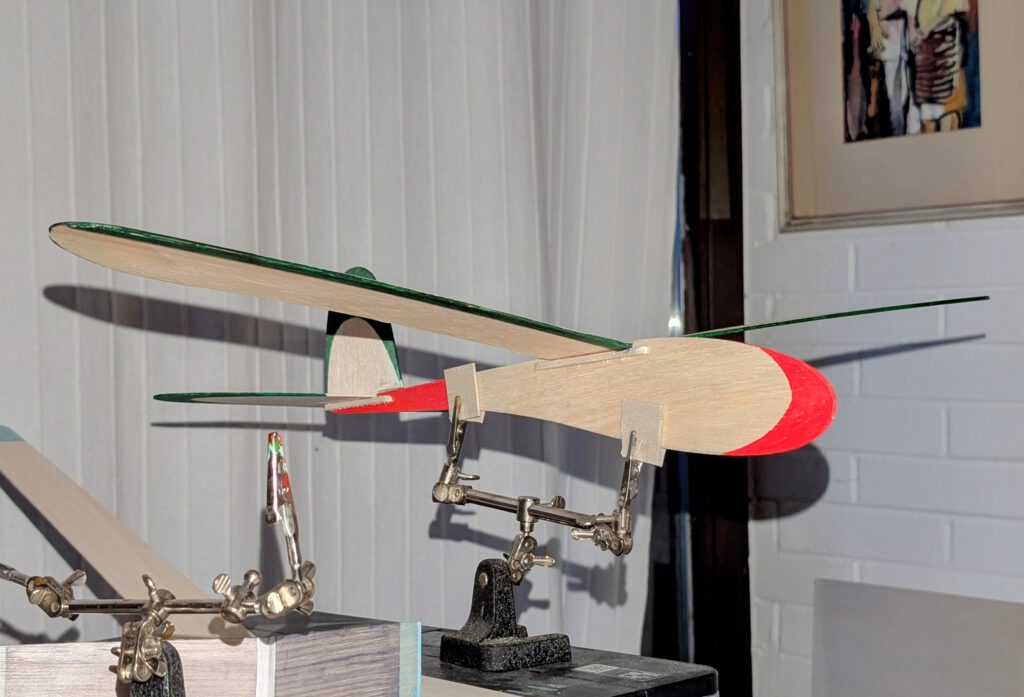
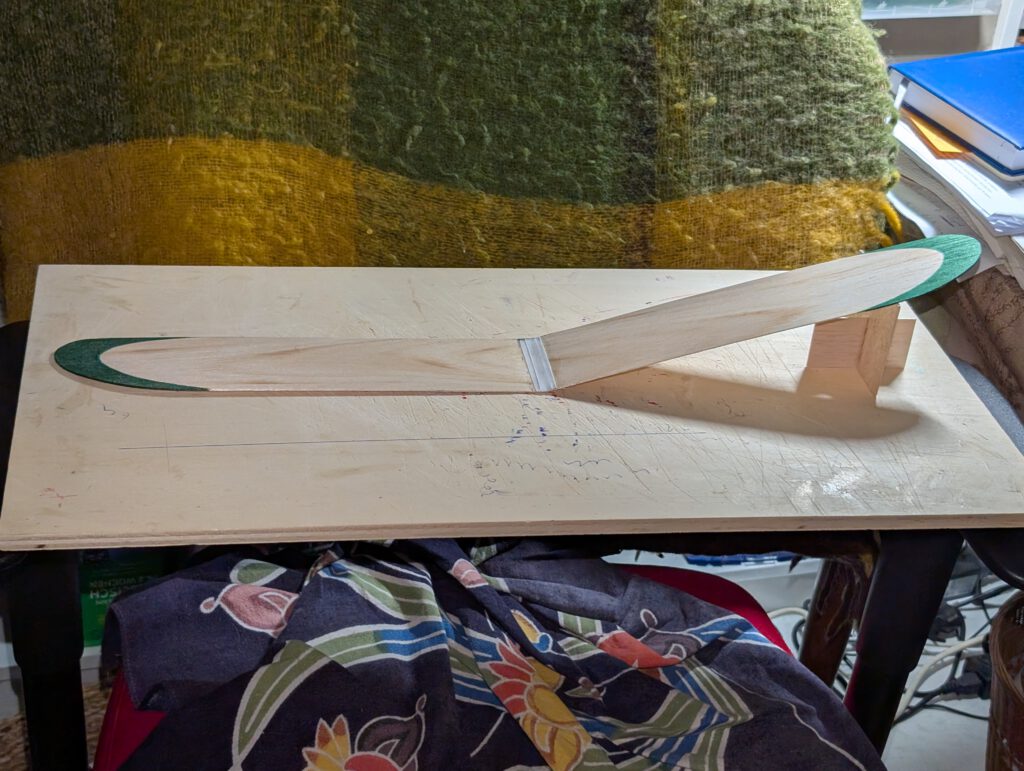
Fix fuselage on so called ‘third hand’ (photo). Cement empennage assembly into its place again using pins to hold. Visual check symmetry from all sides. Let dry.
Final Assembly:
Don’t remove fuselage from ‘third hand’. Cement wing on wing supports using one or two pins to hold in place. Doublecheck visually symmetry.
Remember correct center of gravity (CG) is essential for successful flights.
Make your first test glides over tall grass only.
Che tu possa divertirti e fare tanti voli di successo! (May you have fun and many successful flights!)
Leave a Reply