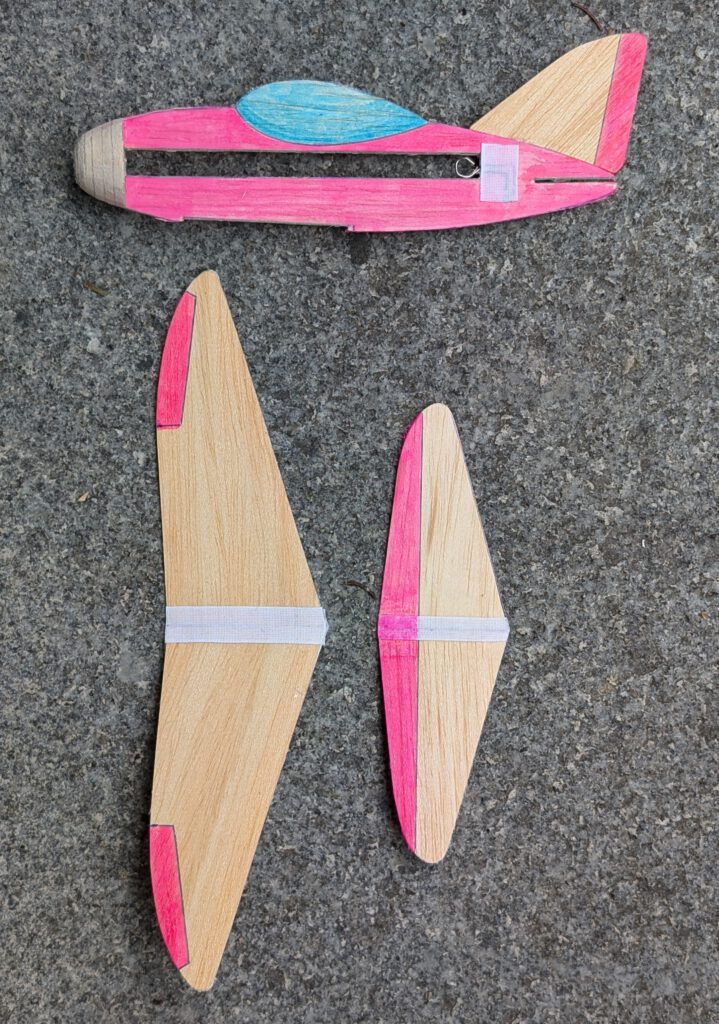
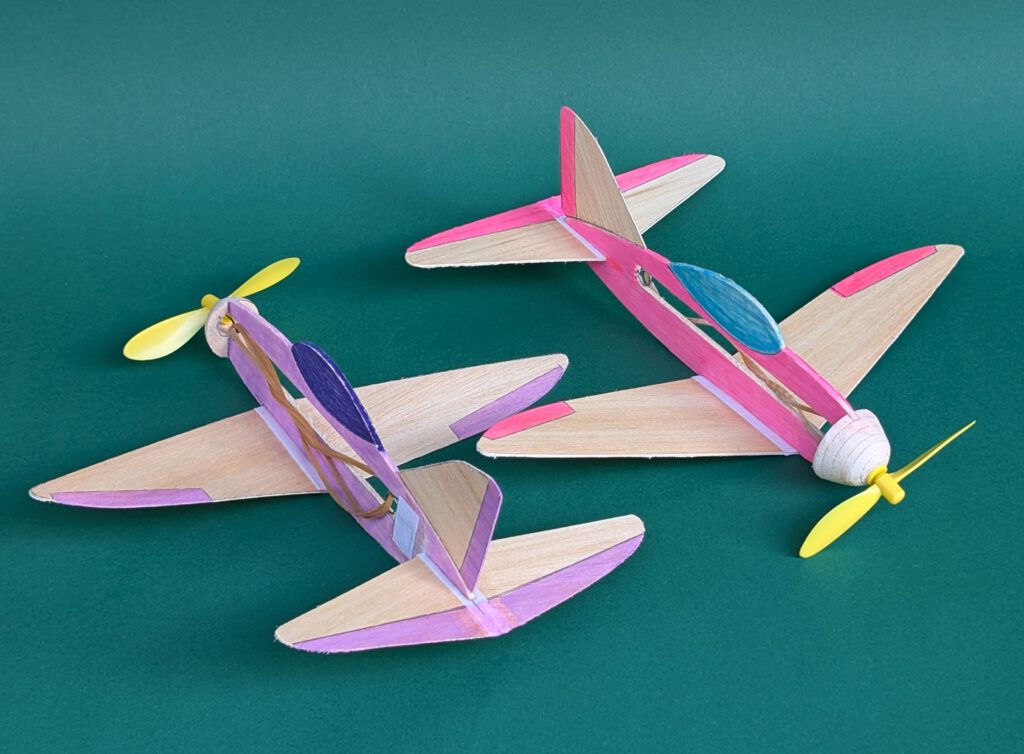
Pink Span: 33 cm / 13 in; Weight: 14 g / 0.5 oz
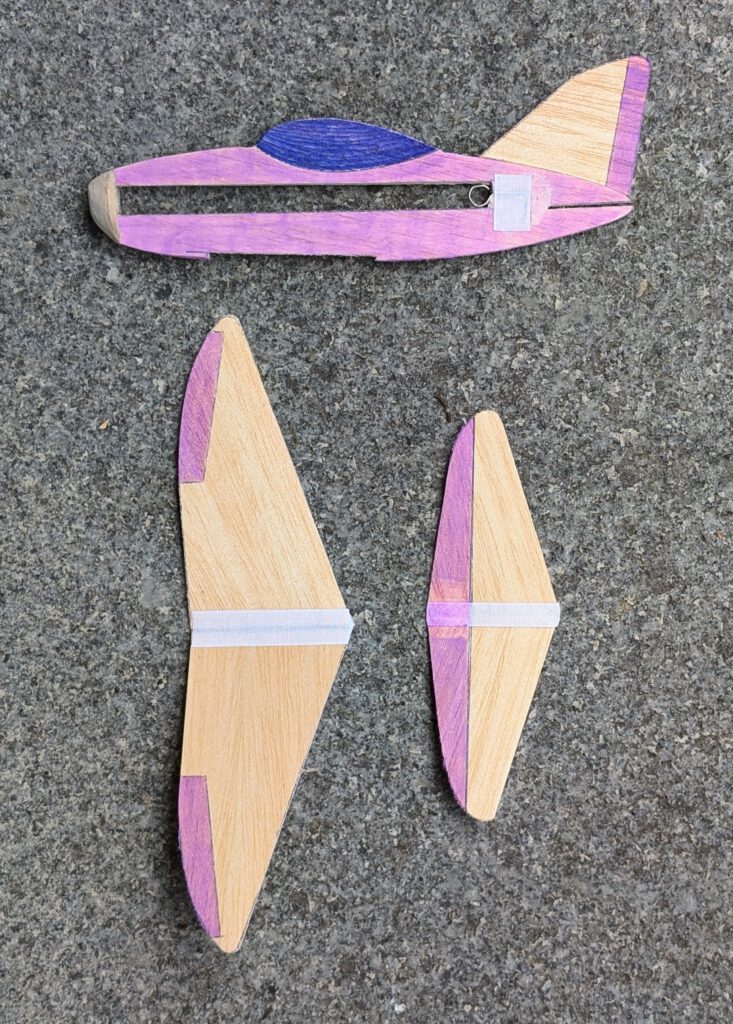
Purple Span: 29 cm / 11.5 in; Weight: 13 g / 0.46 oz
Violet Span: 26 cm / 10 in; Weight: 13 g / 0.46 oz
The concept:
- Small
- rubber powered
- 4 in / 10 cm airscrew, brown rubber
- good flight characteristics
- low-wing monoplane
- extravagant coloring
- easy to build
- few parts
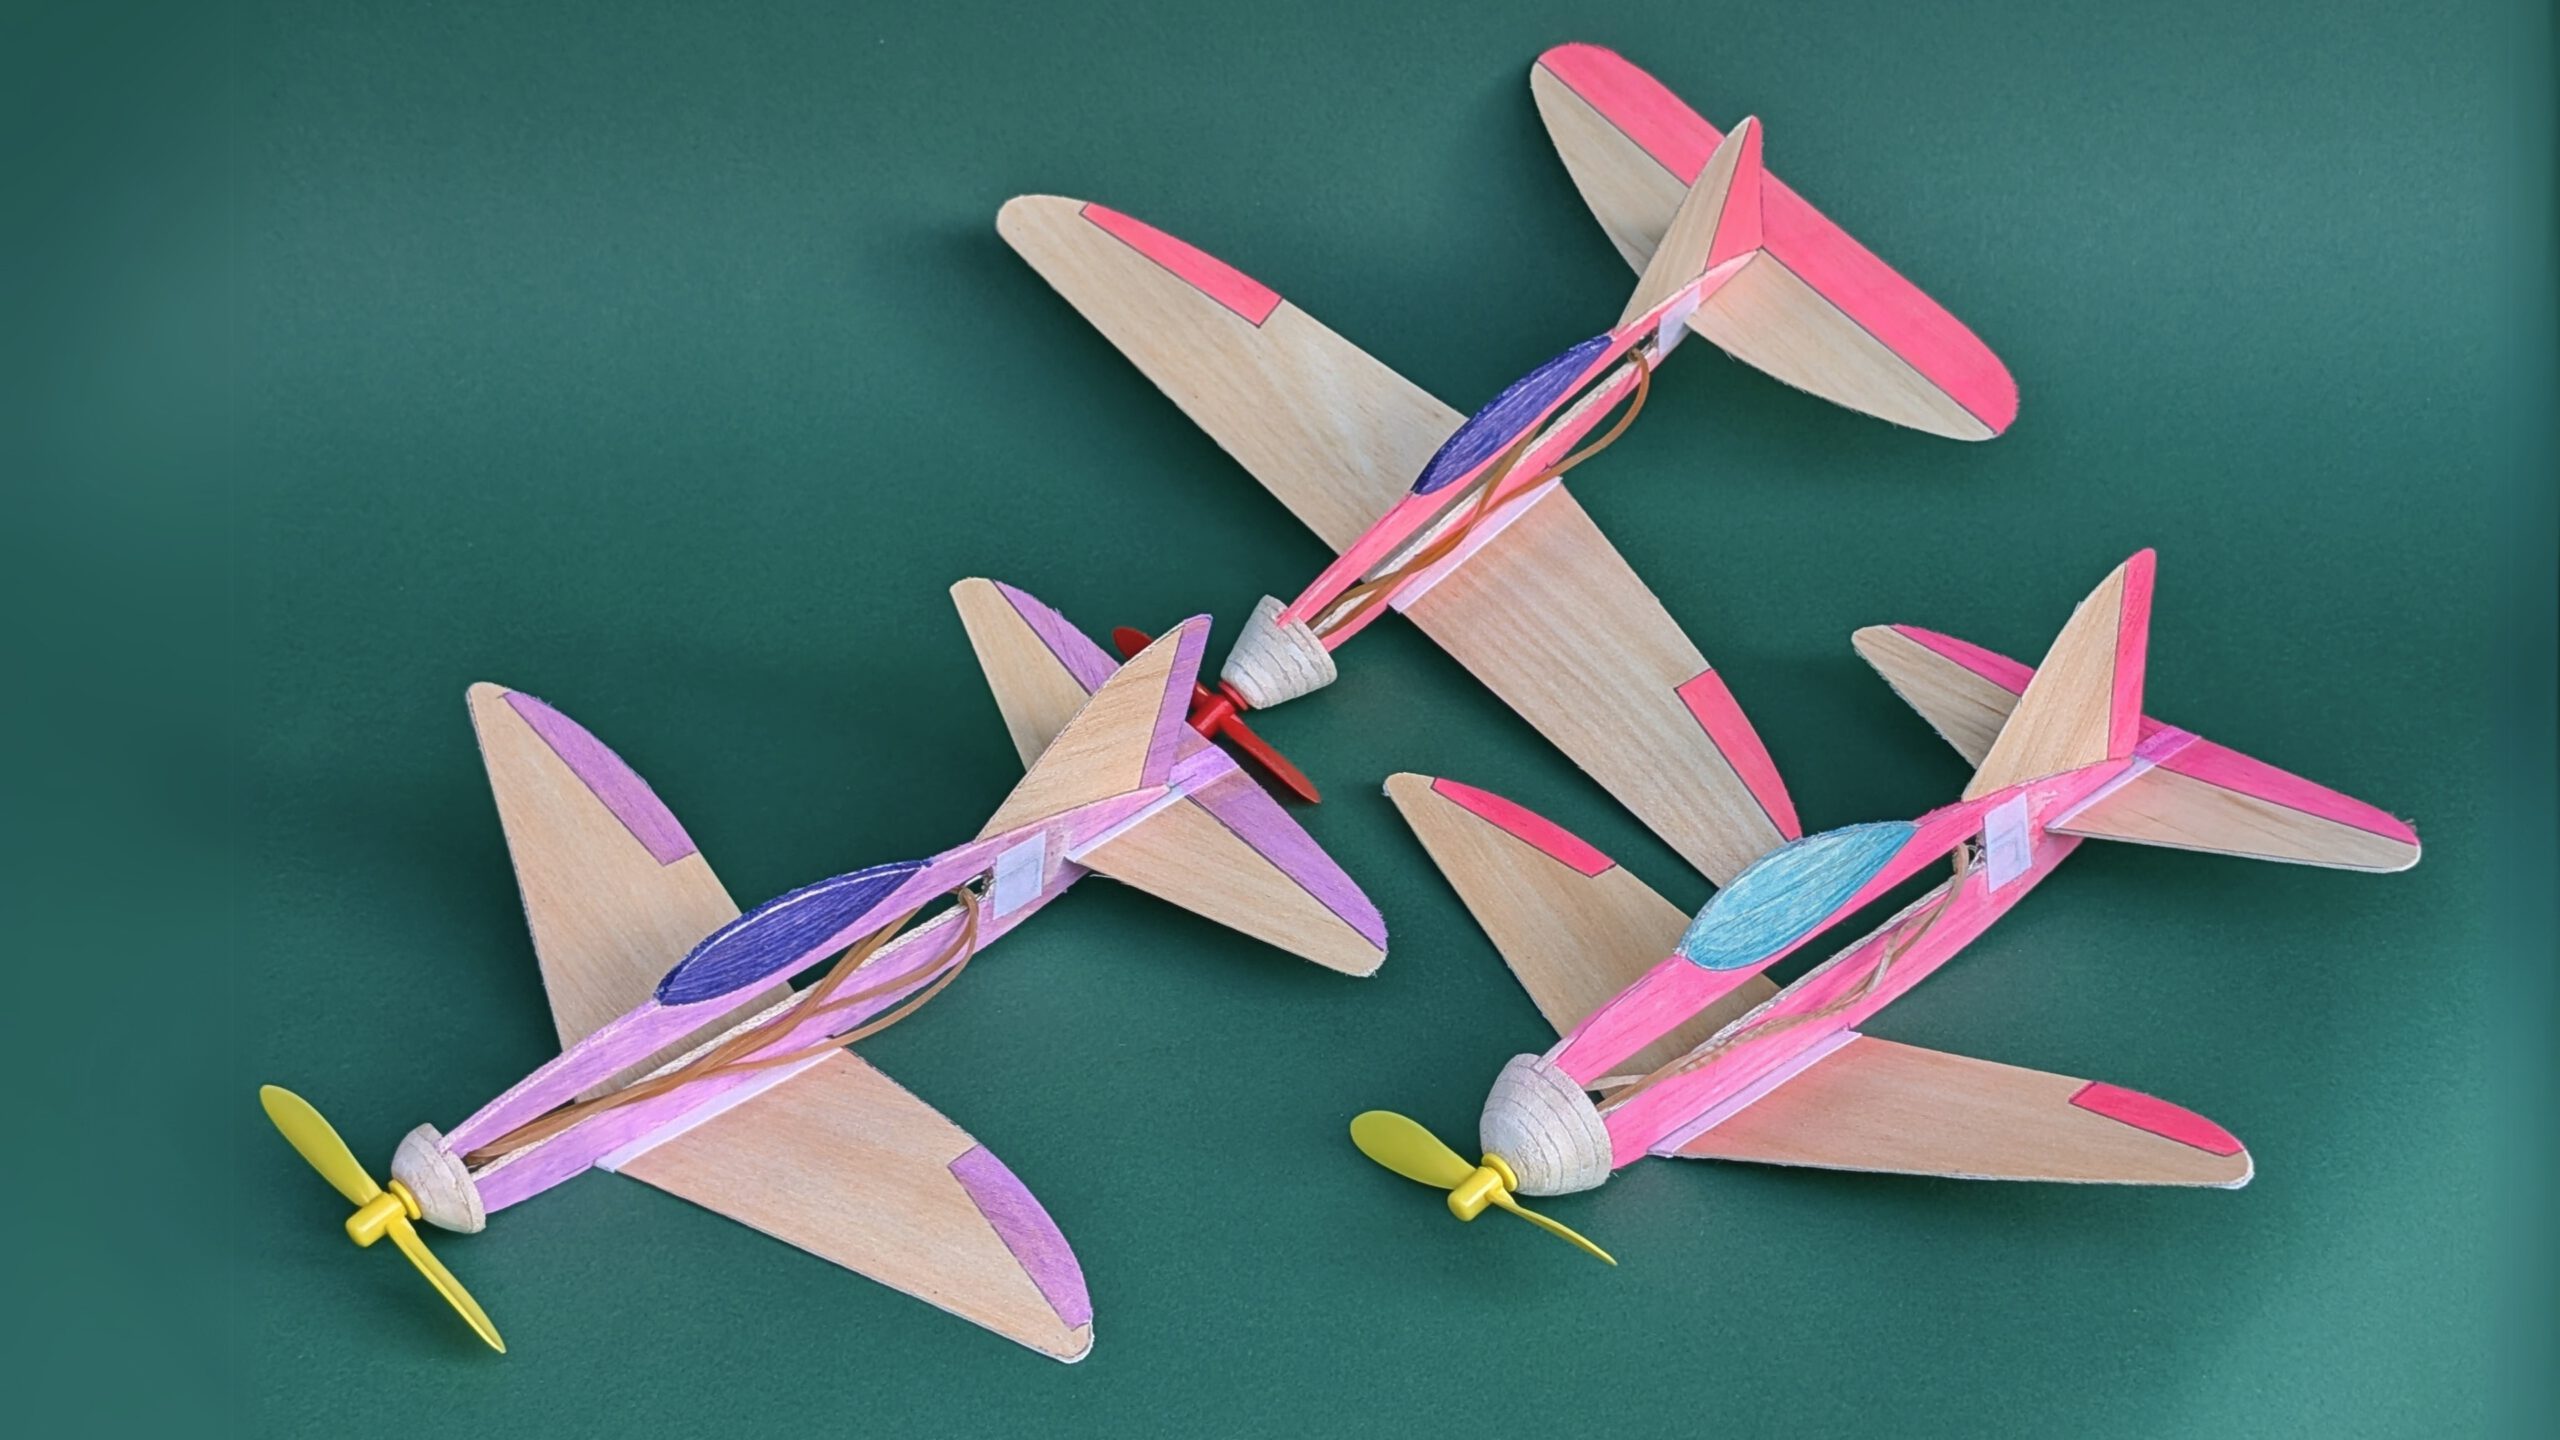
- three models with minor differences
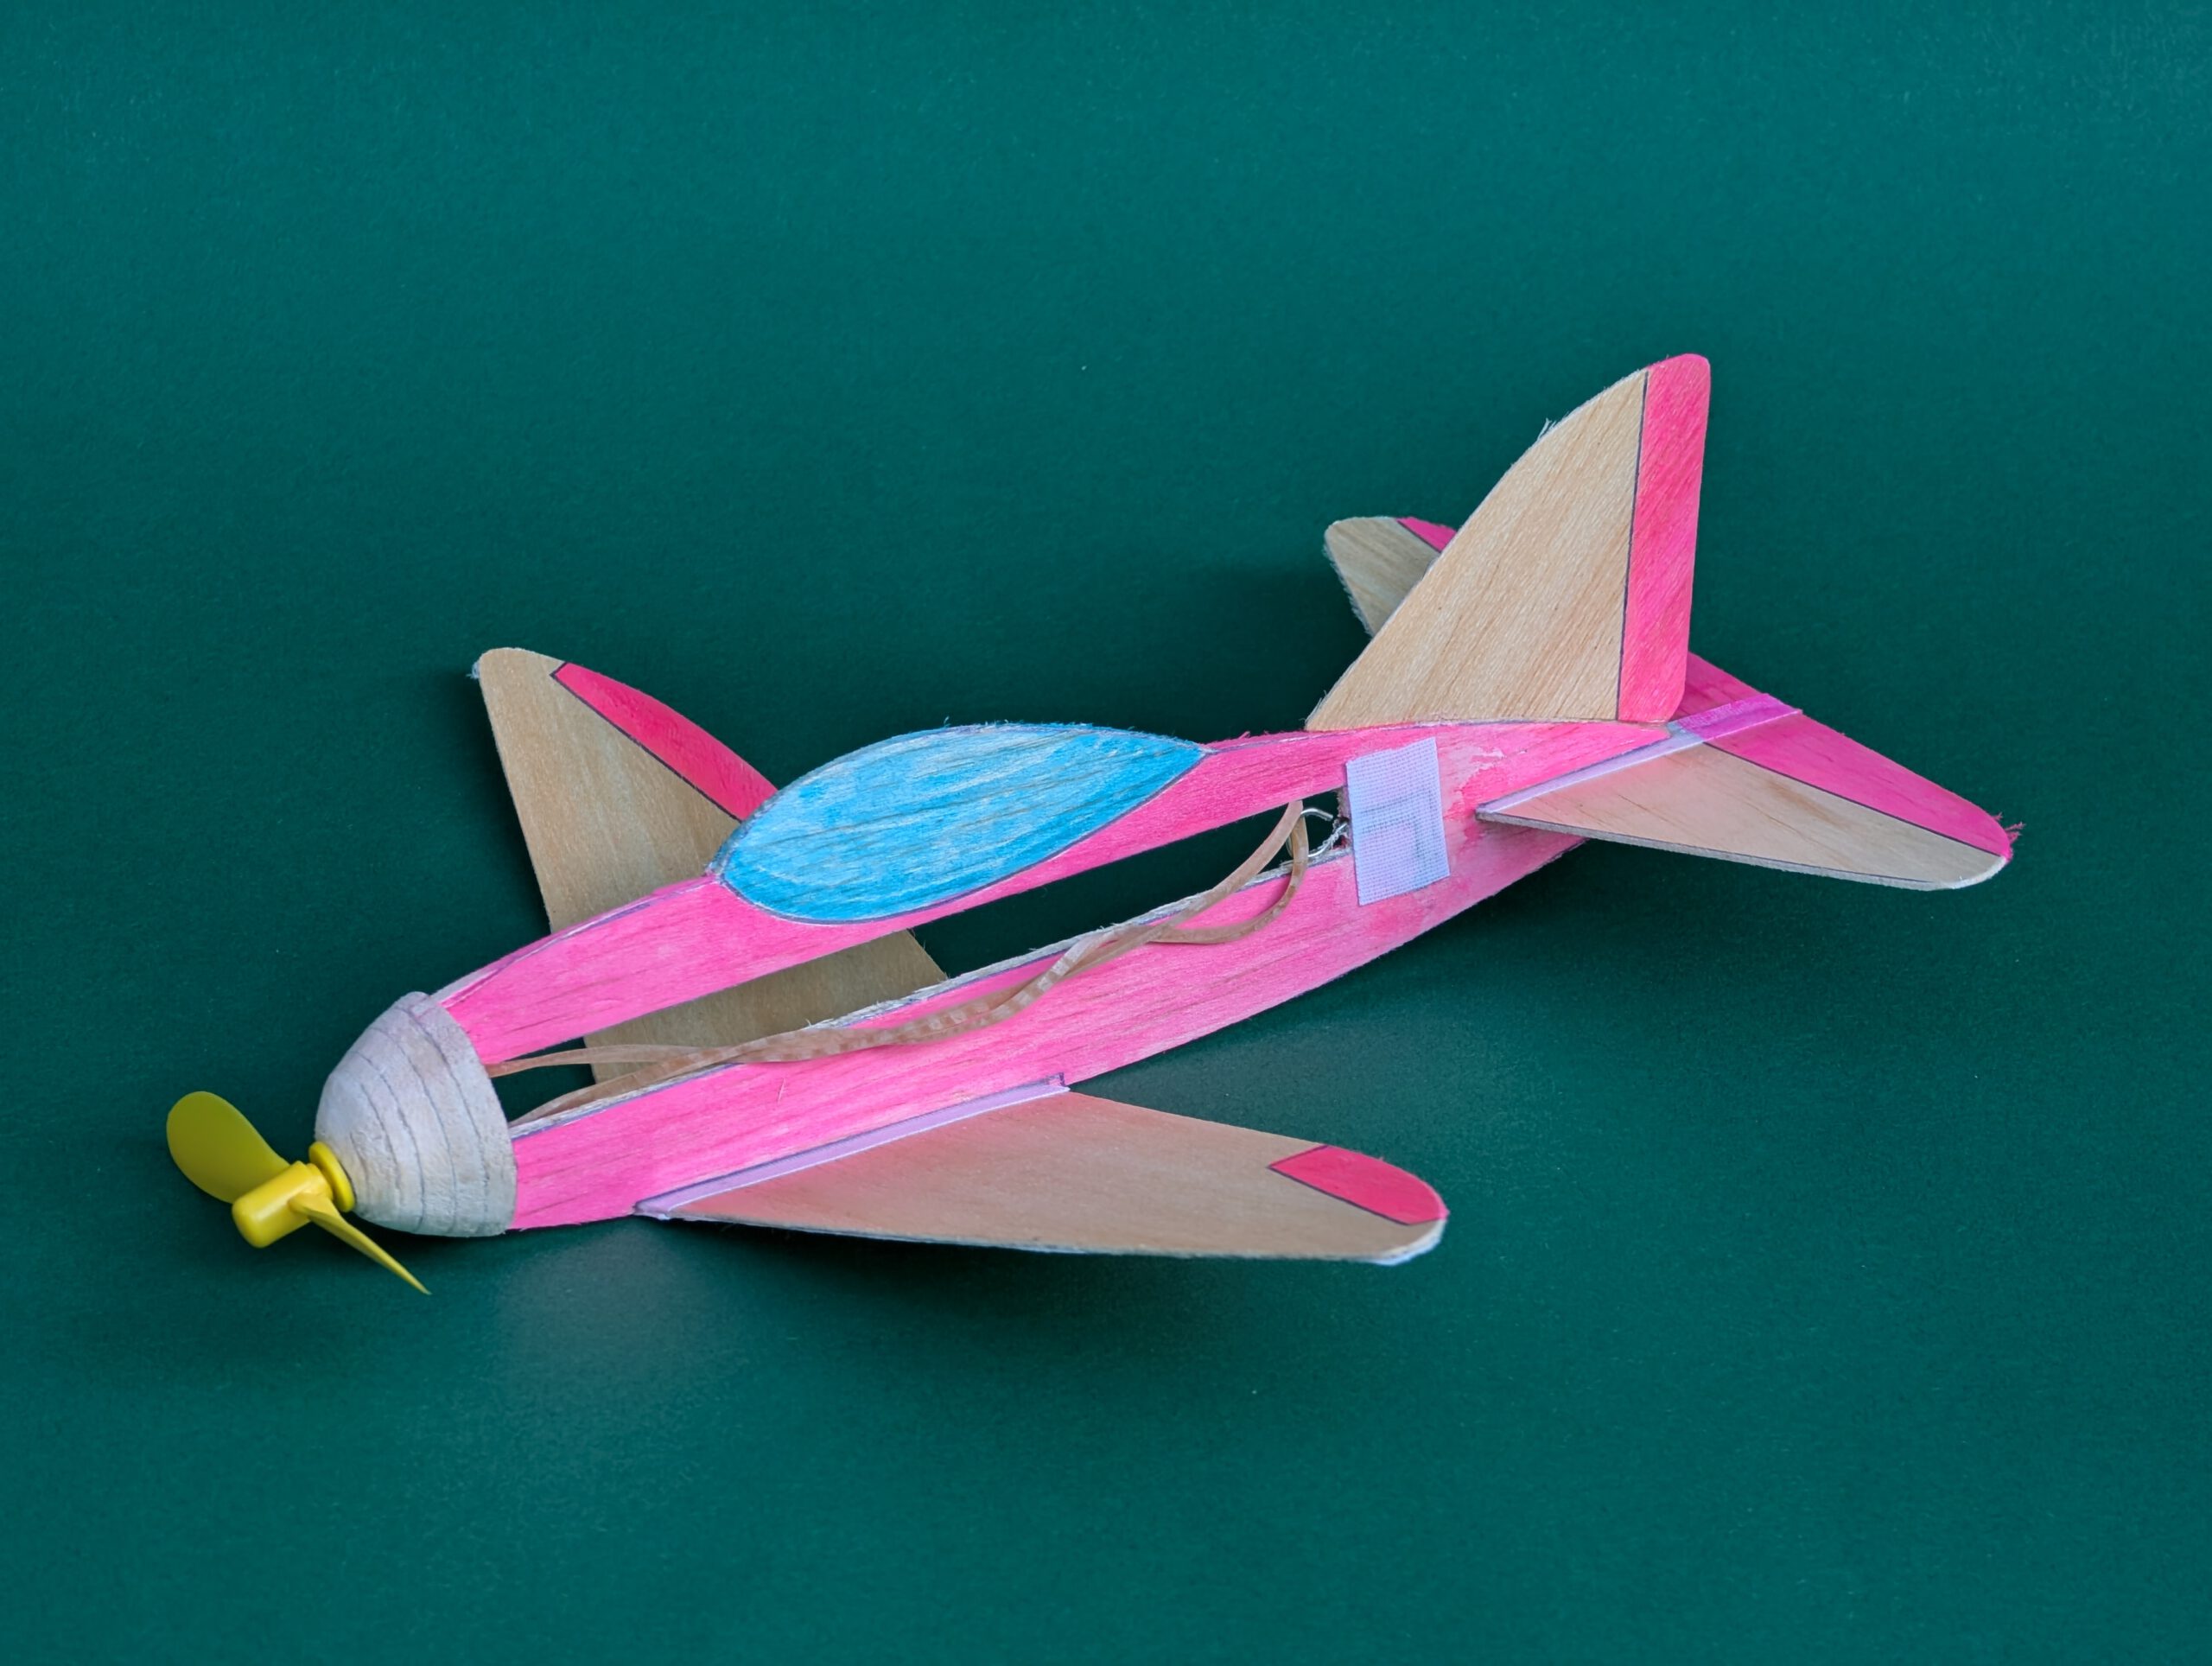
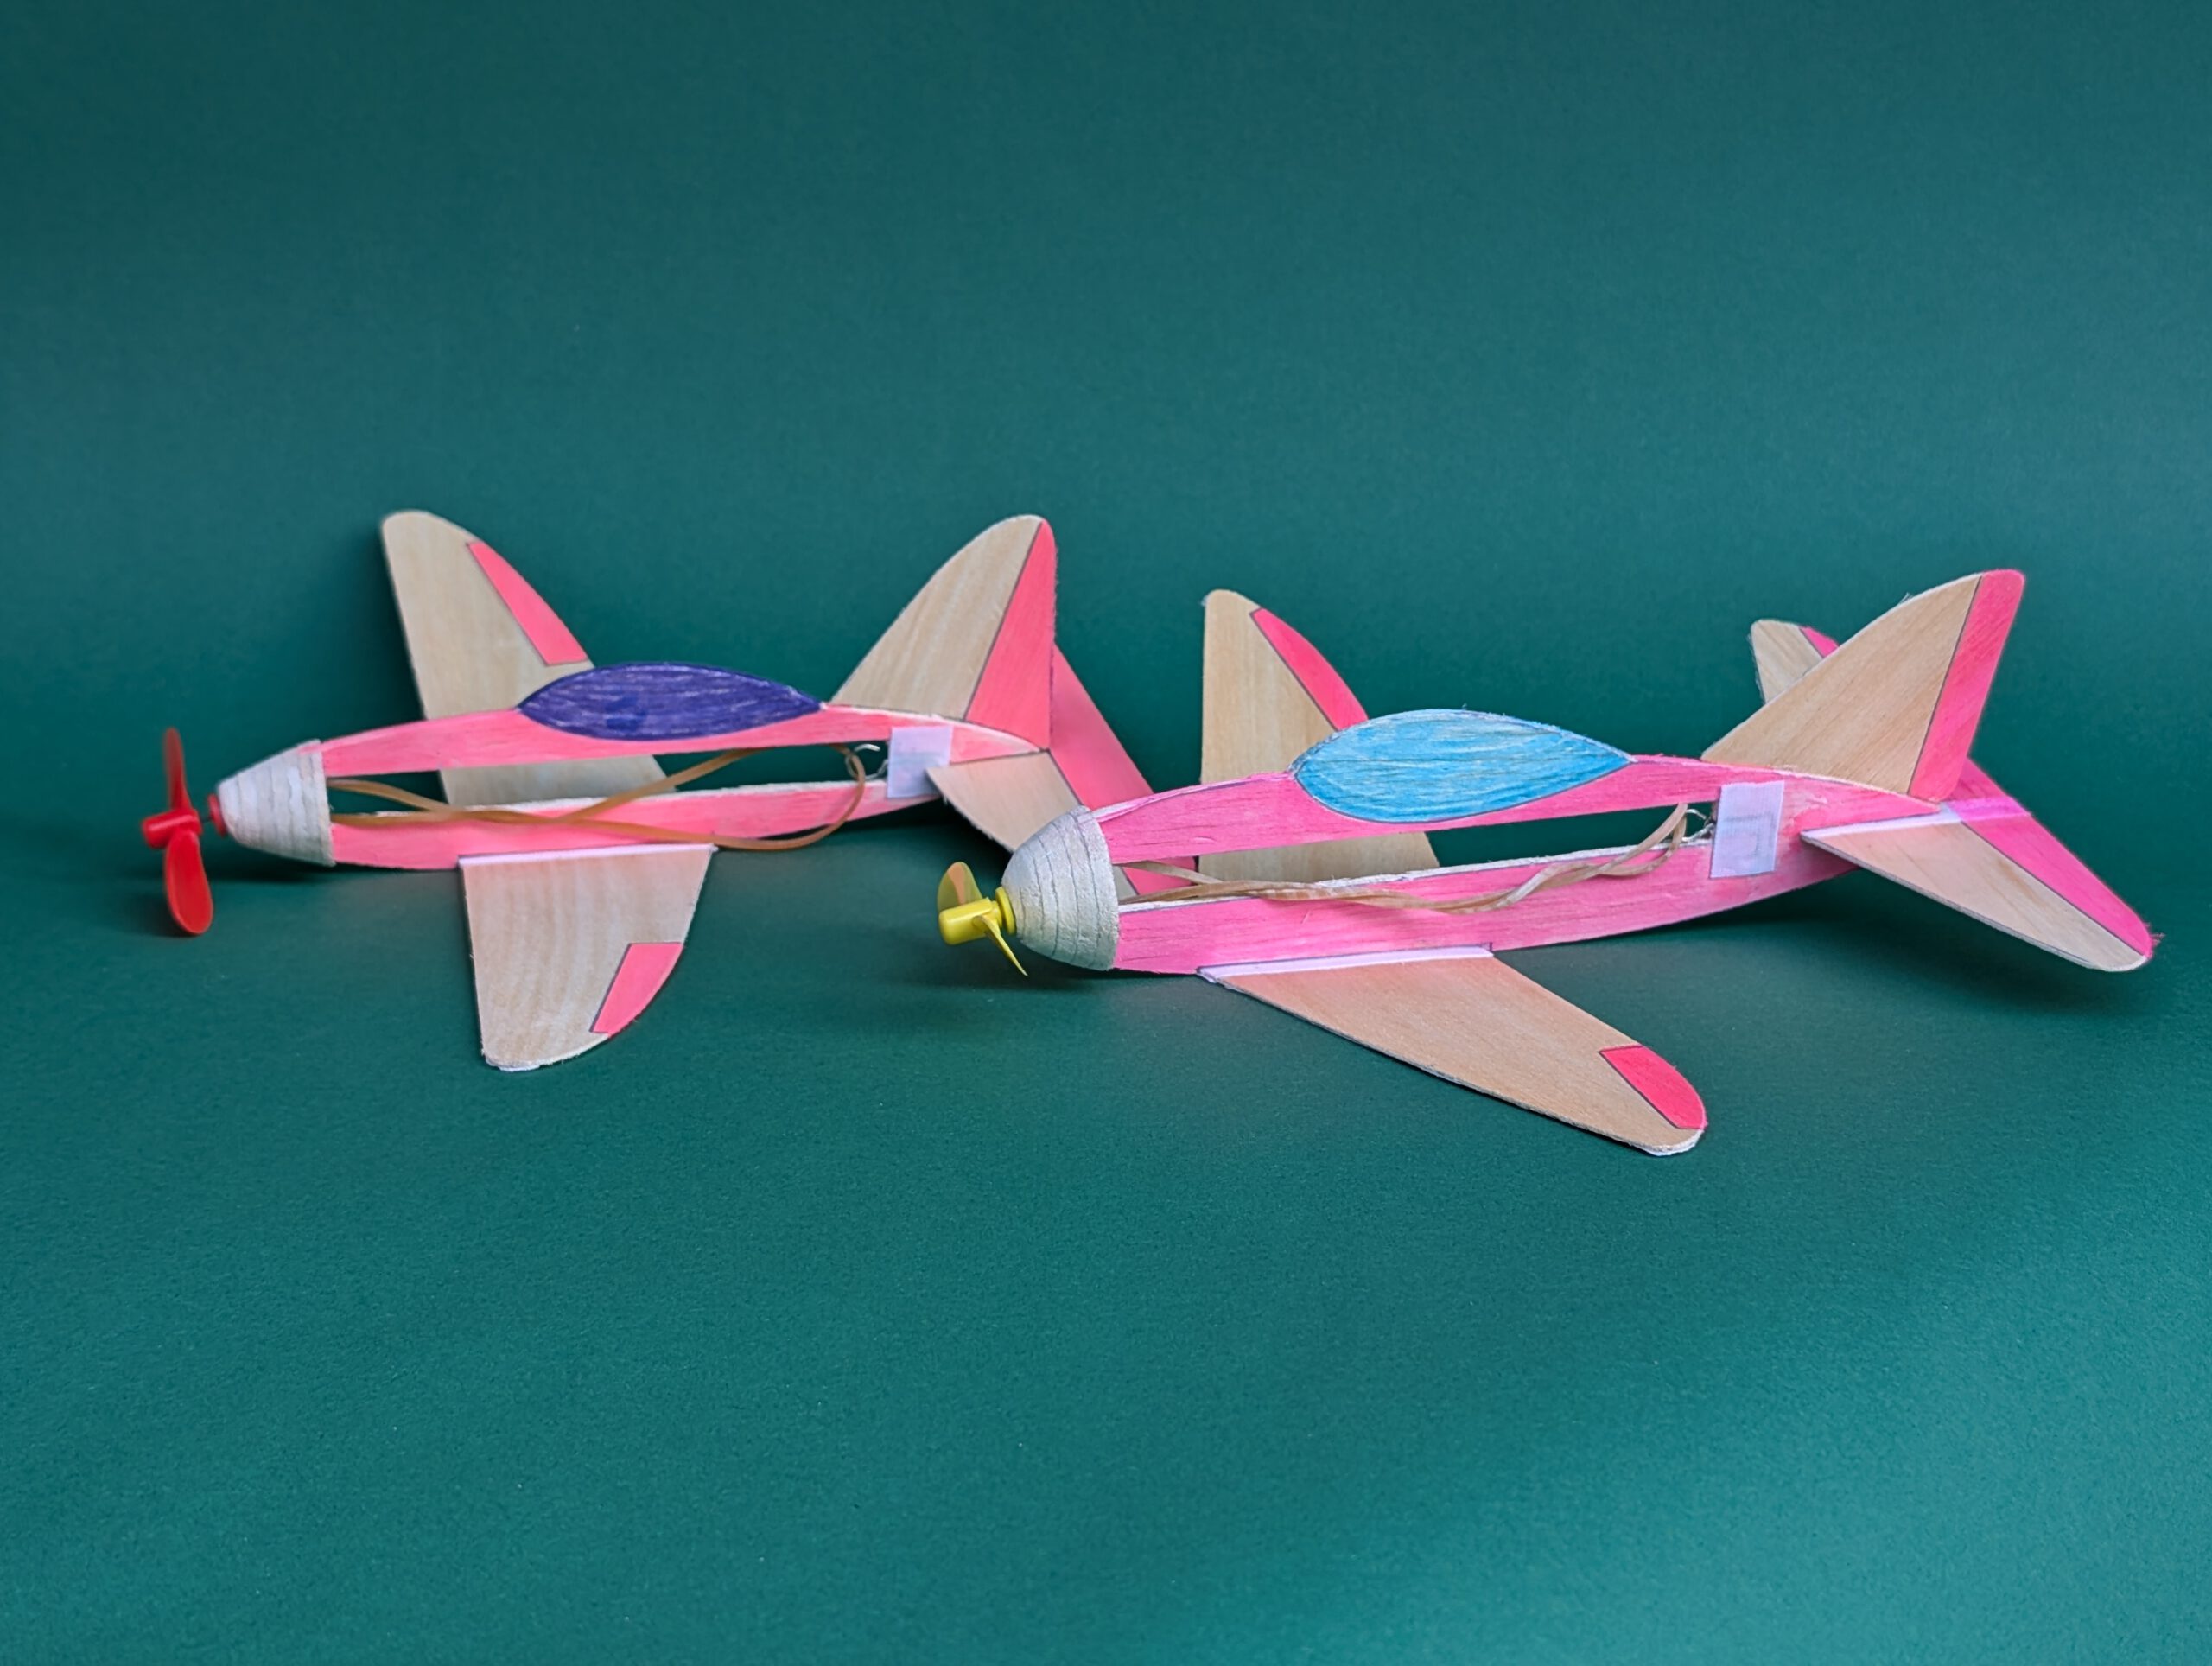
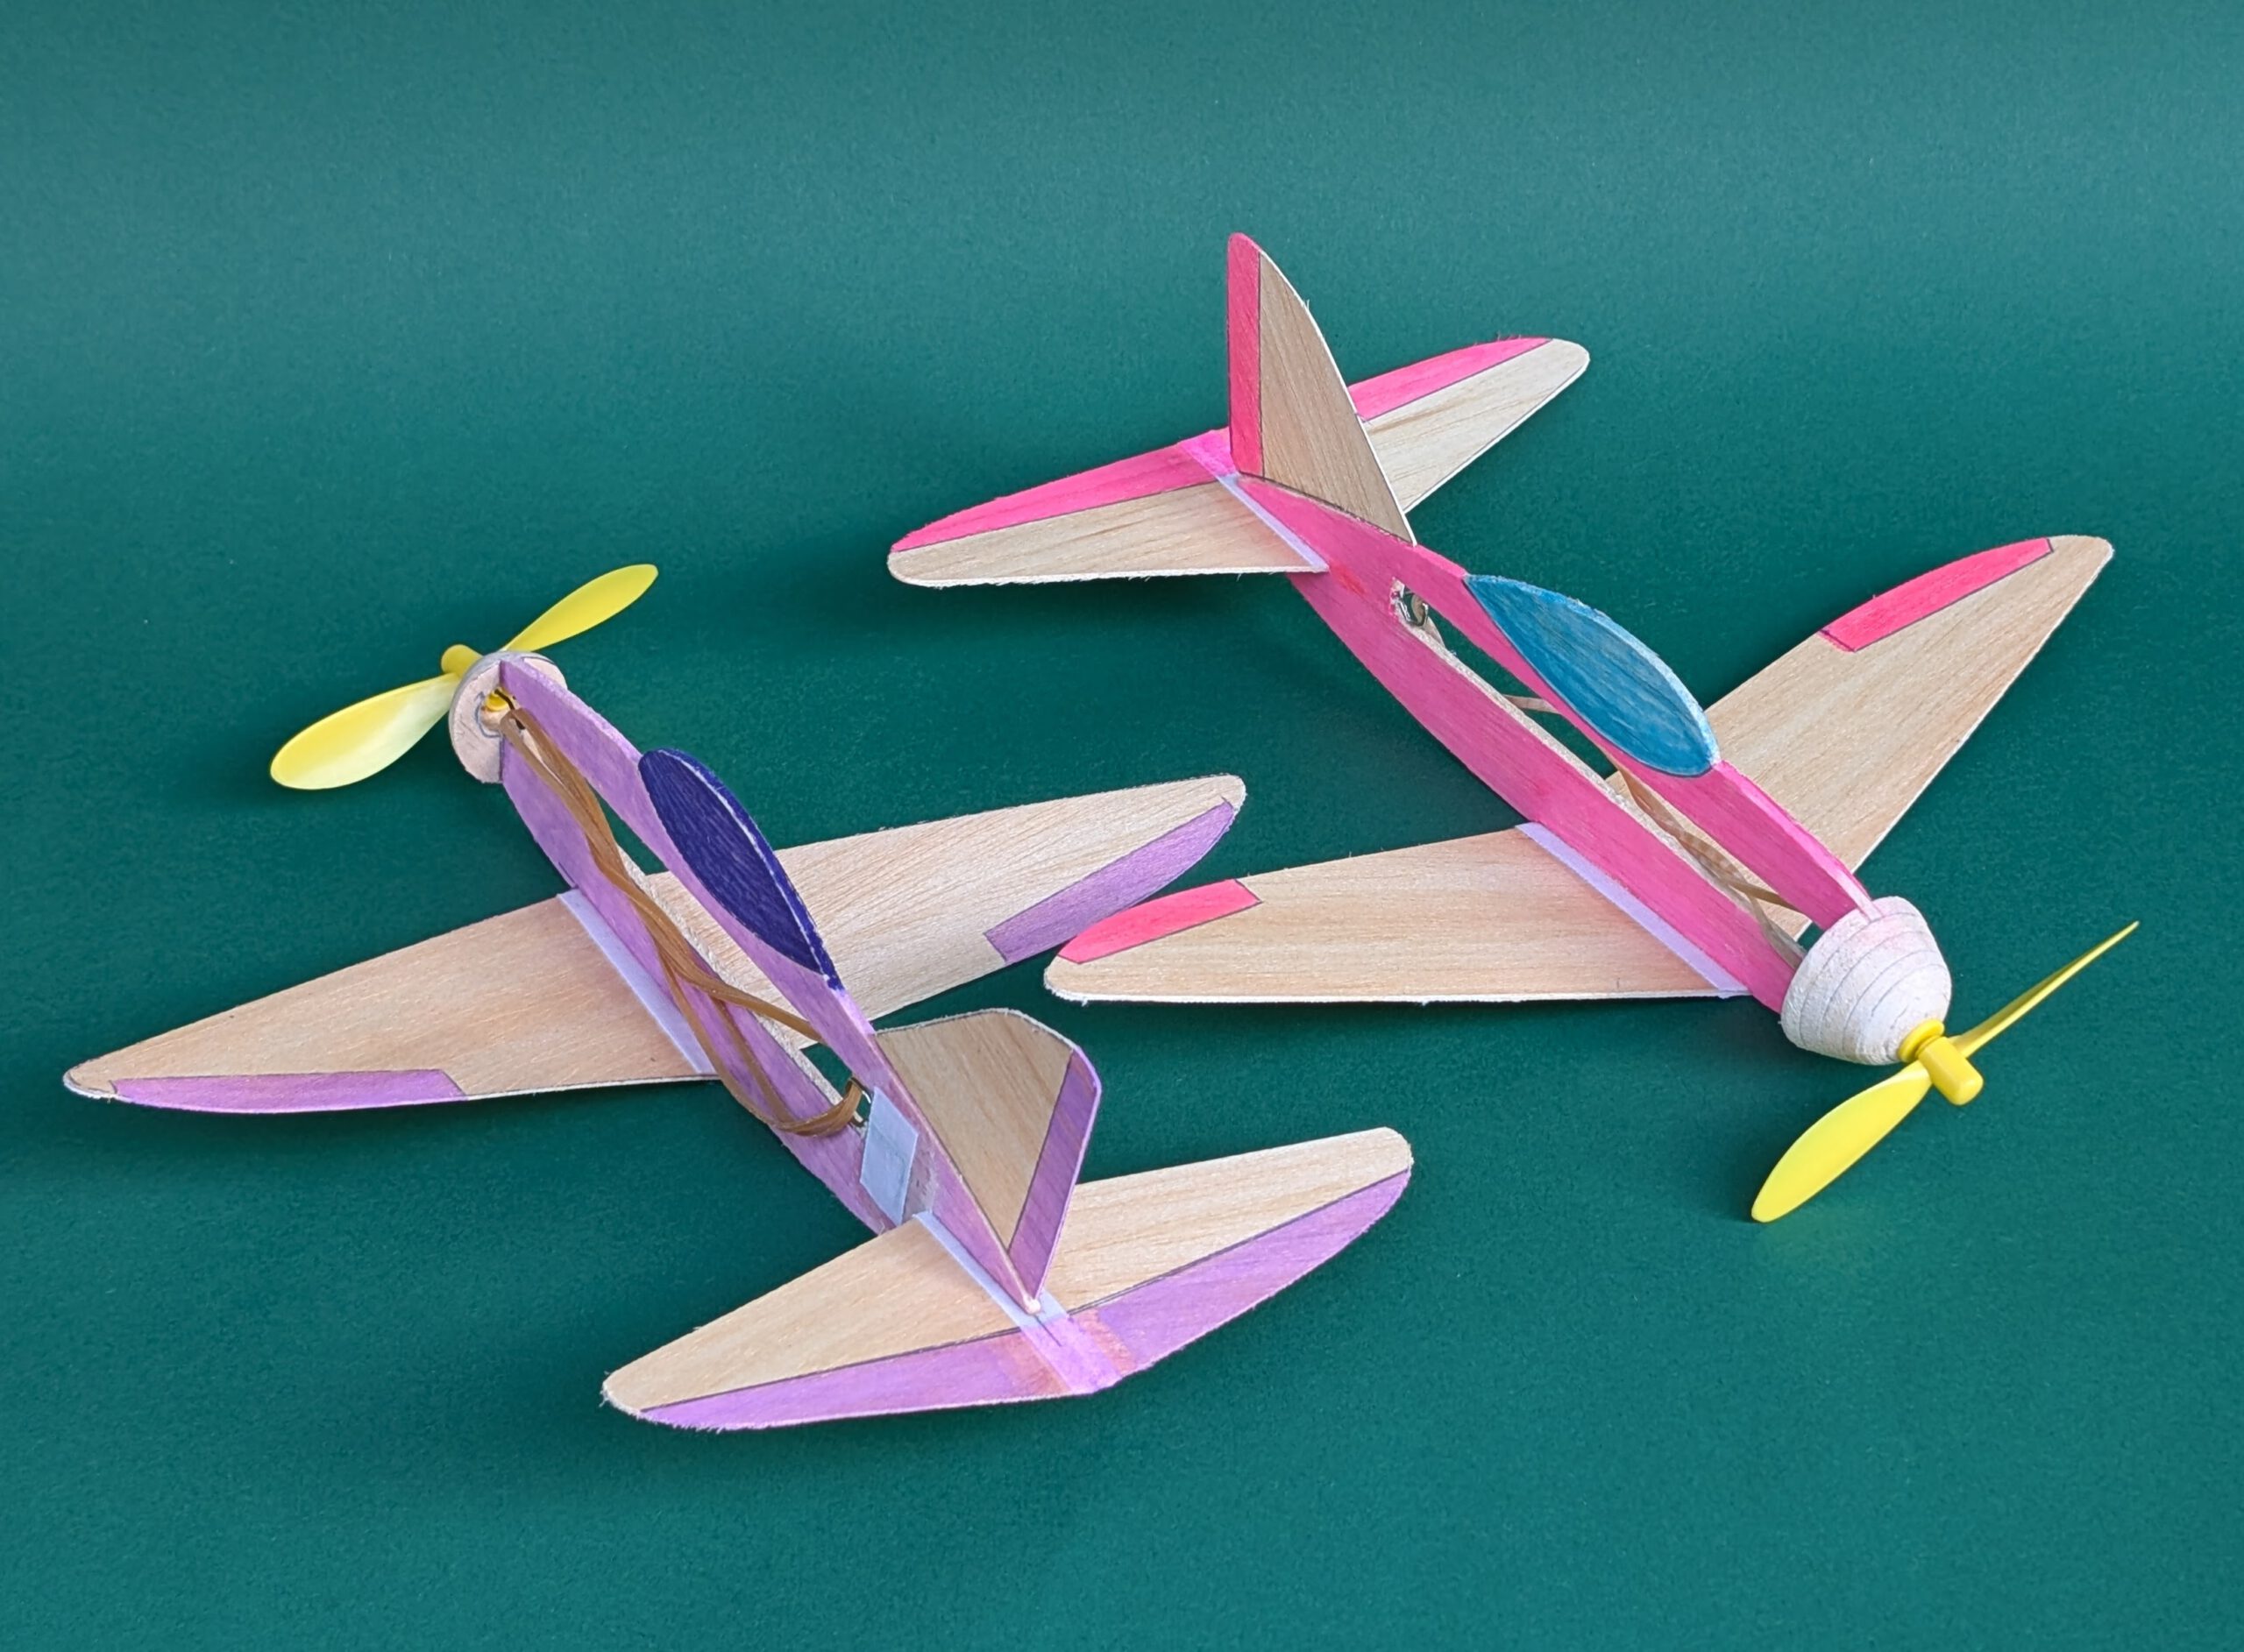
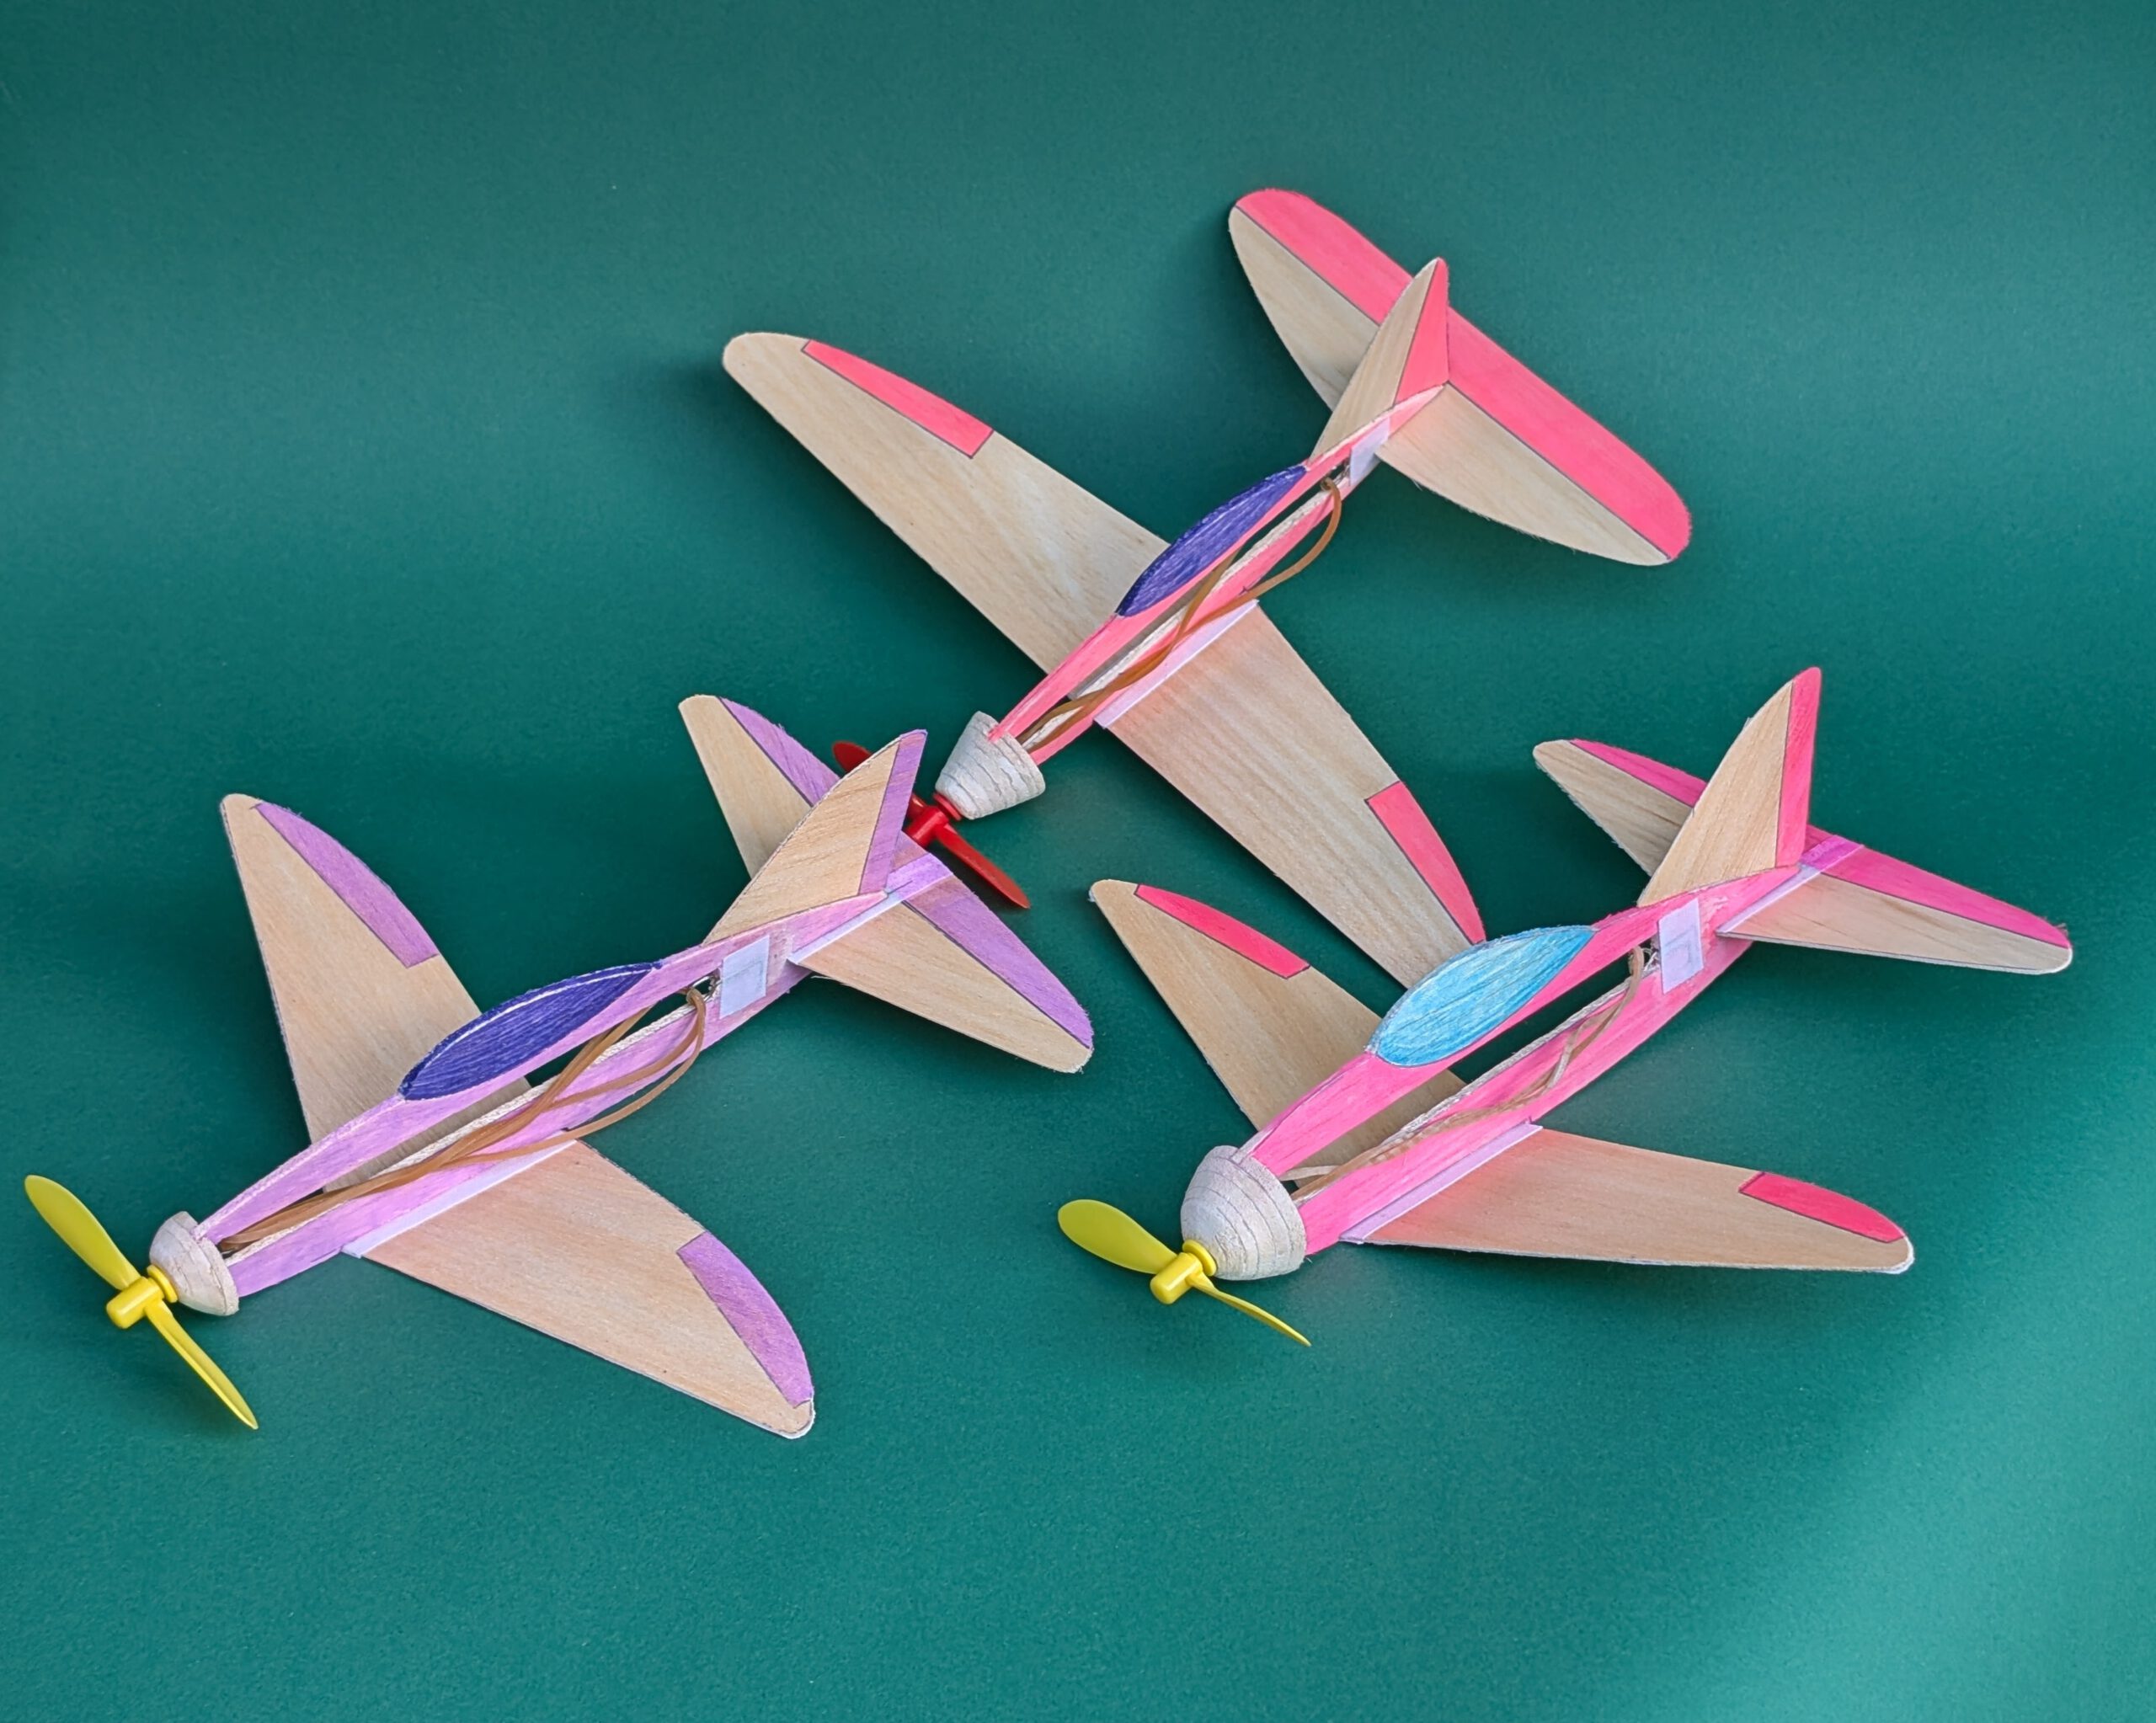
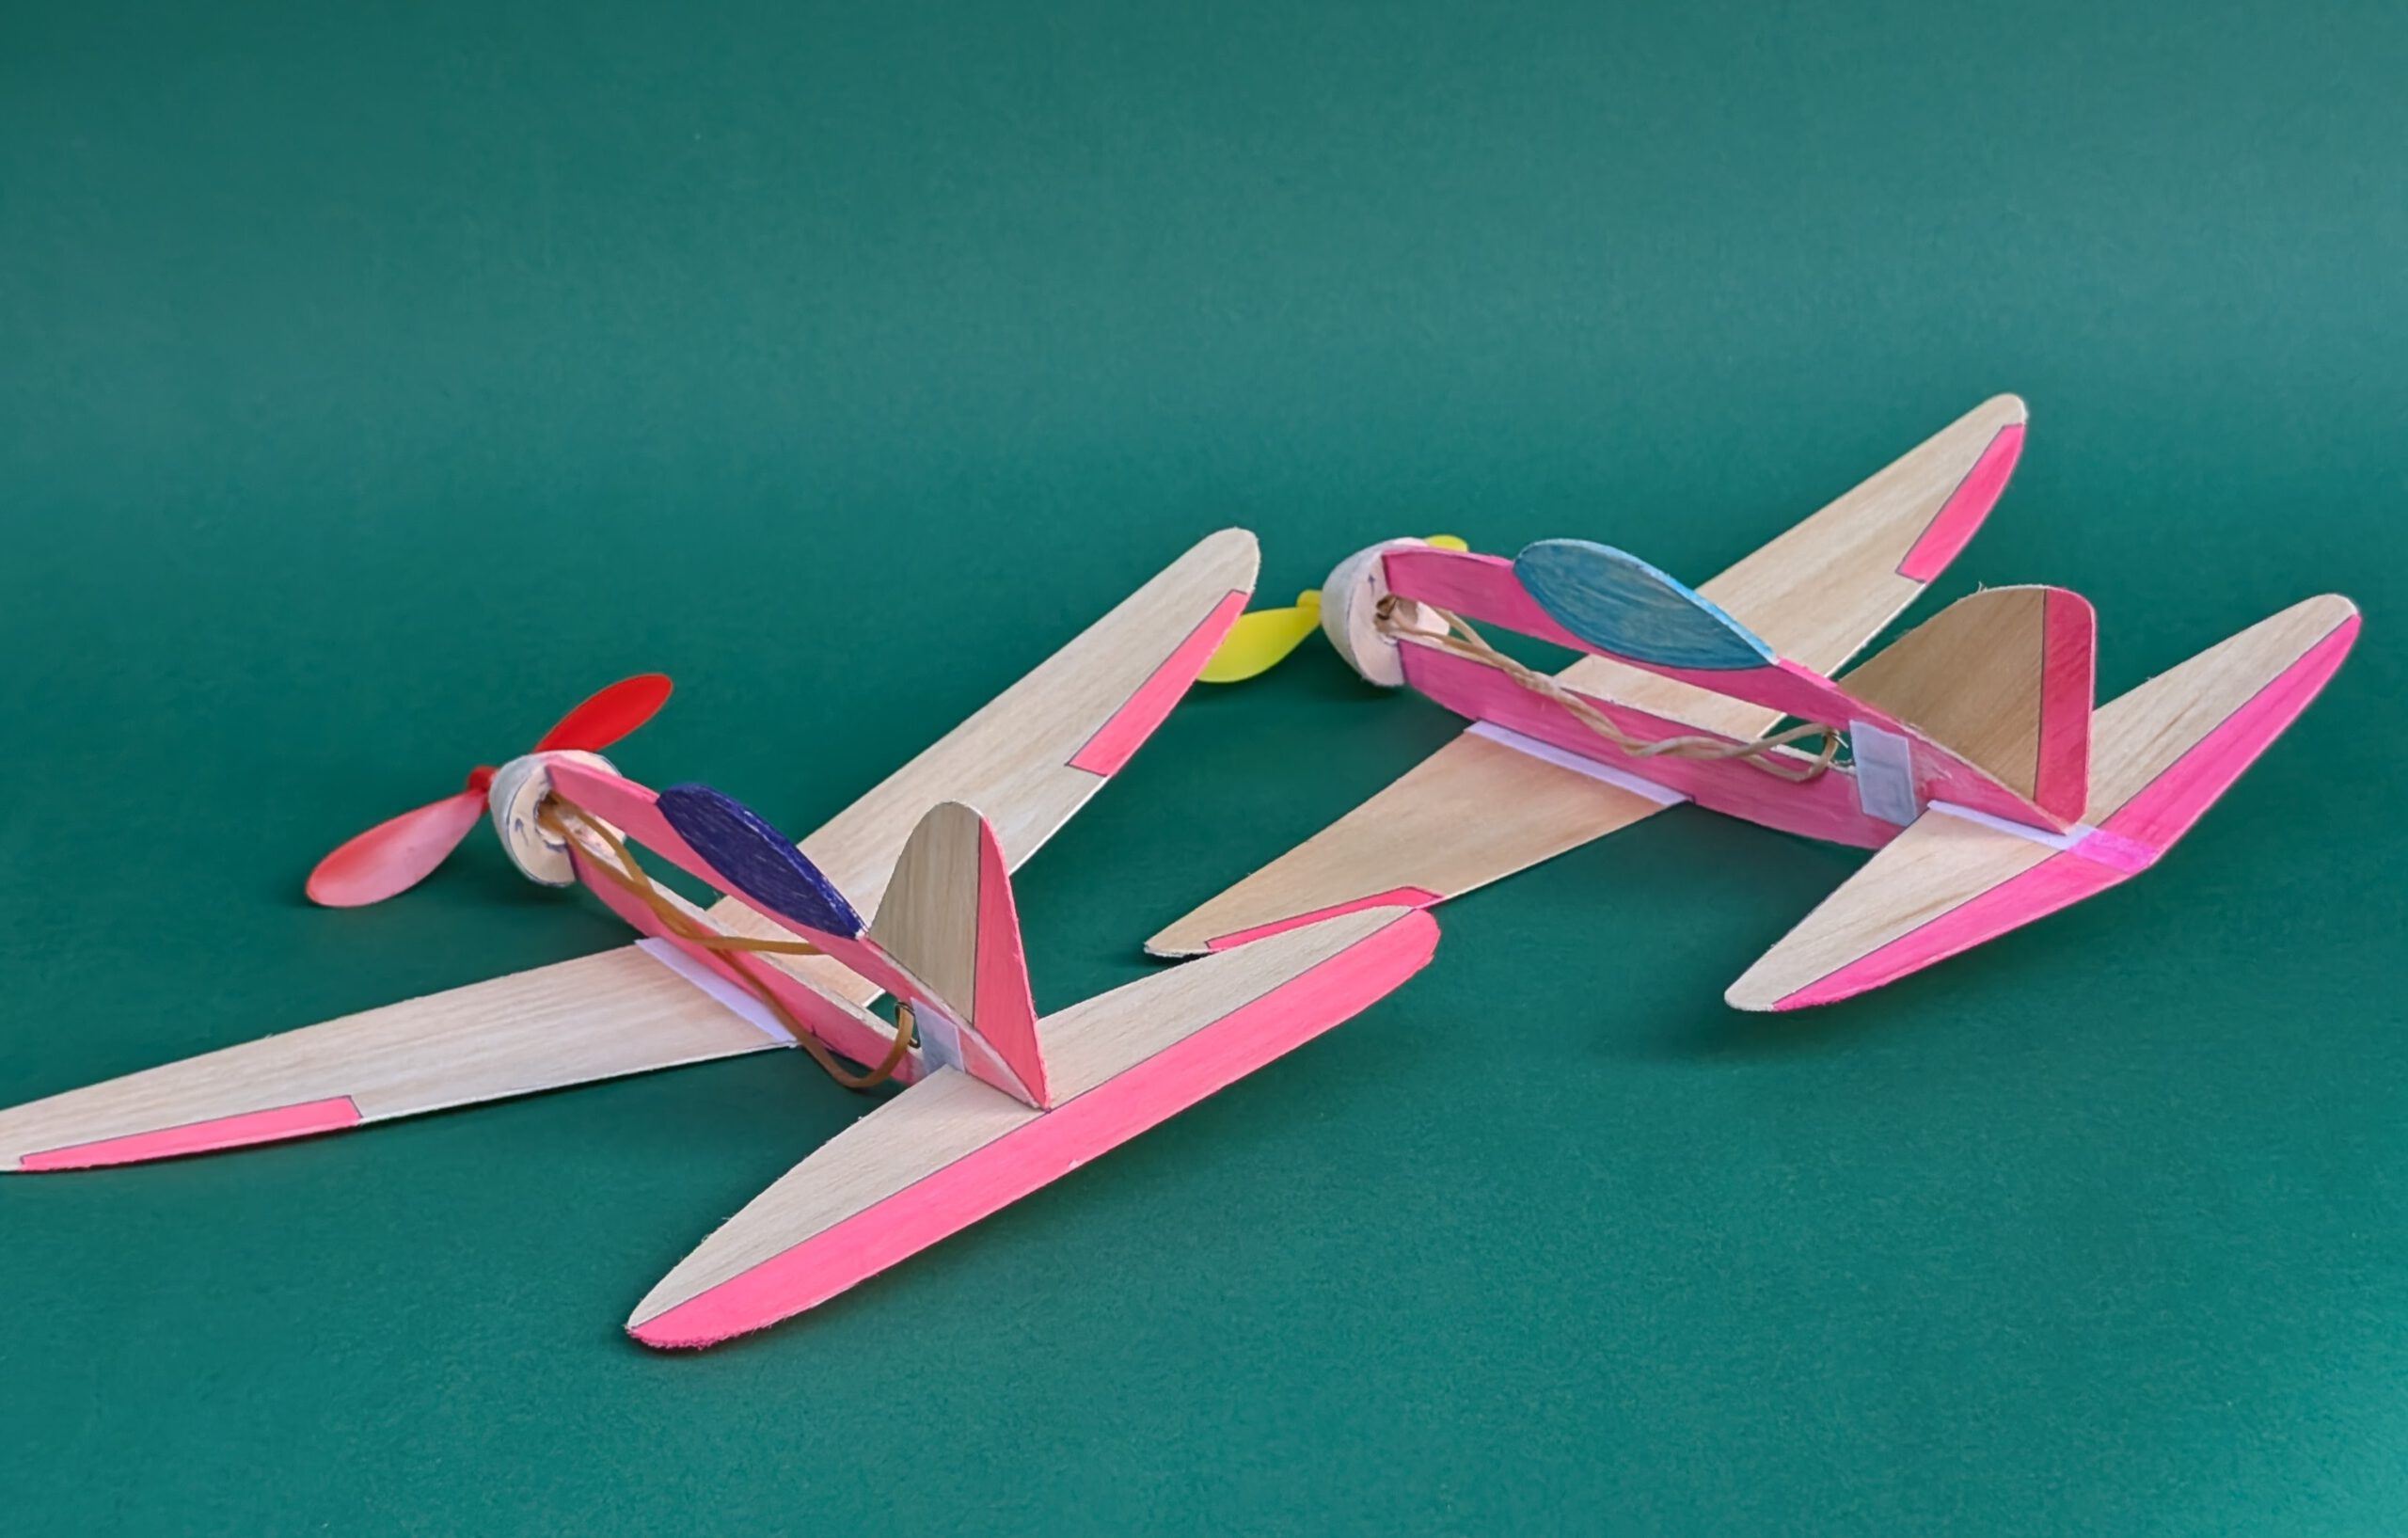
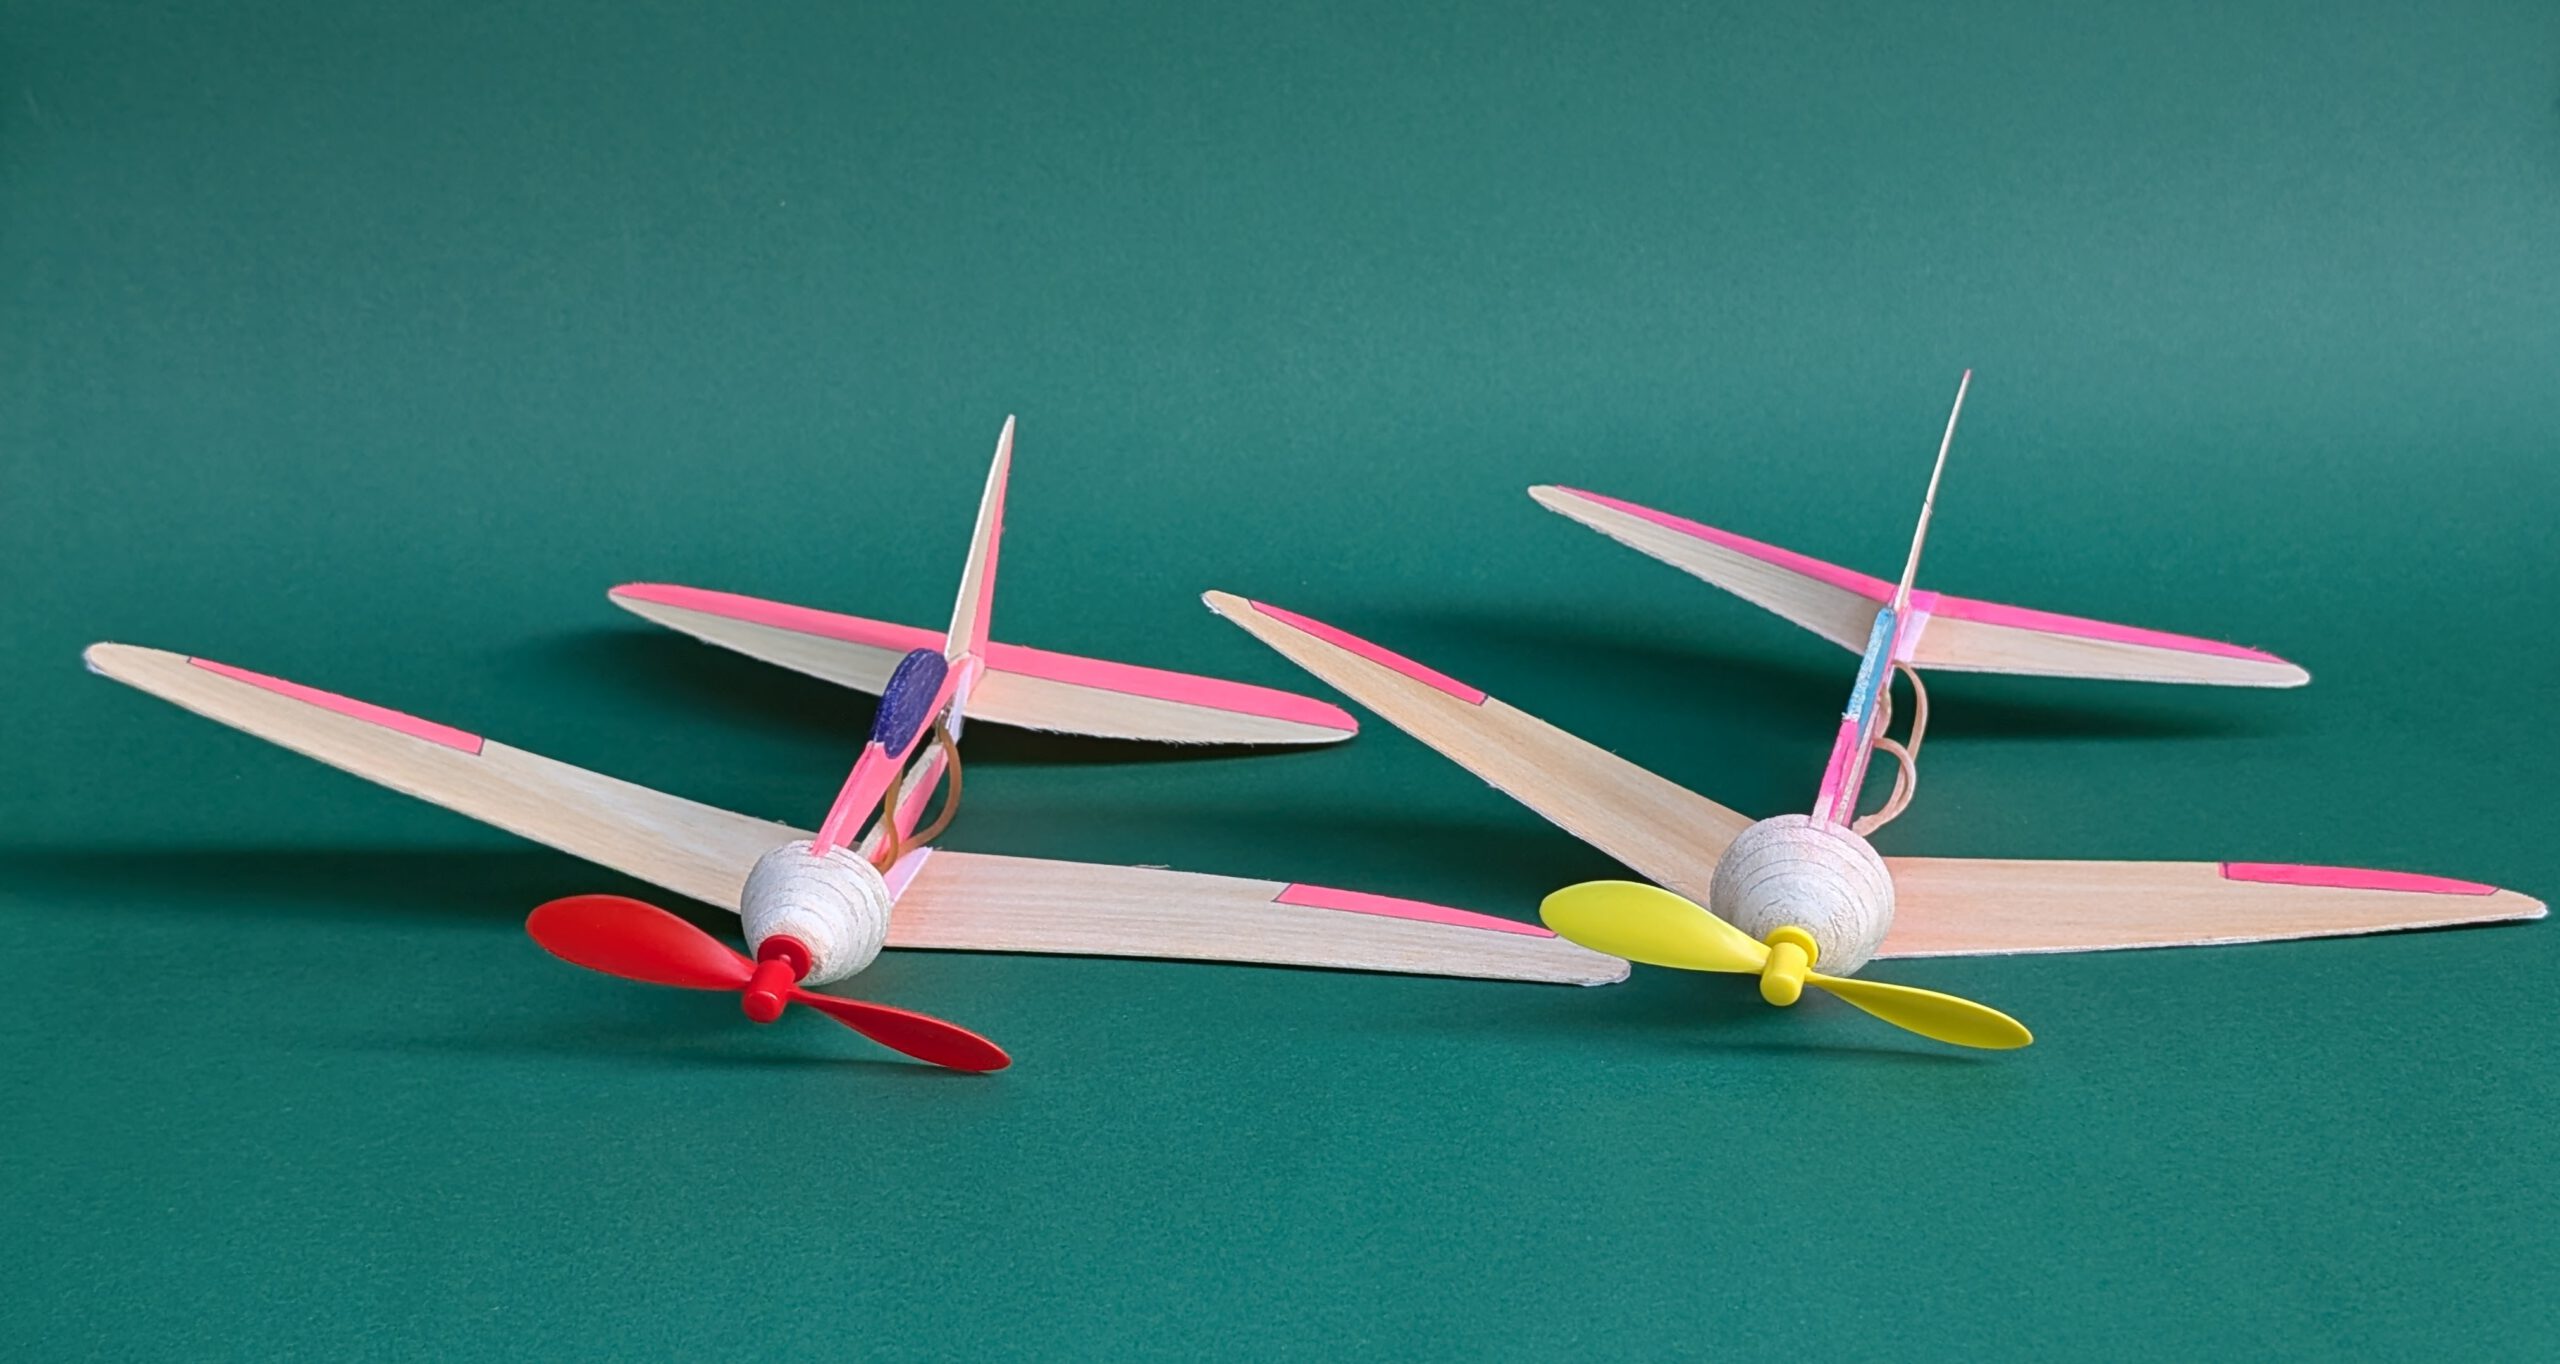
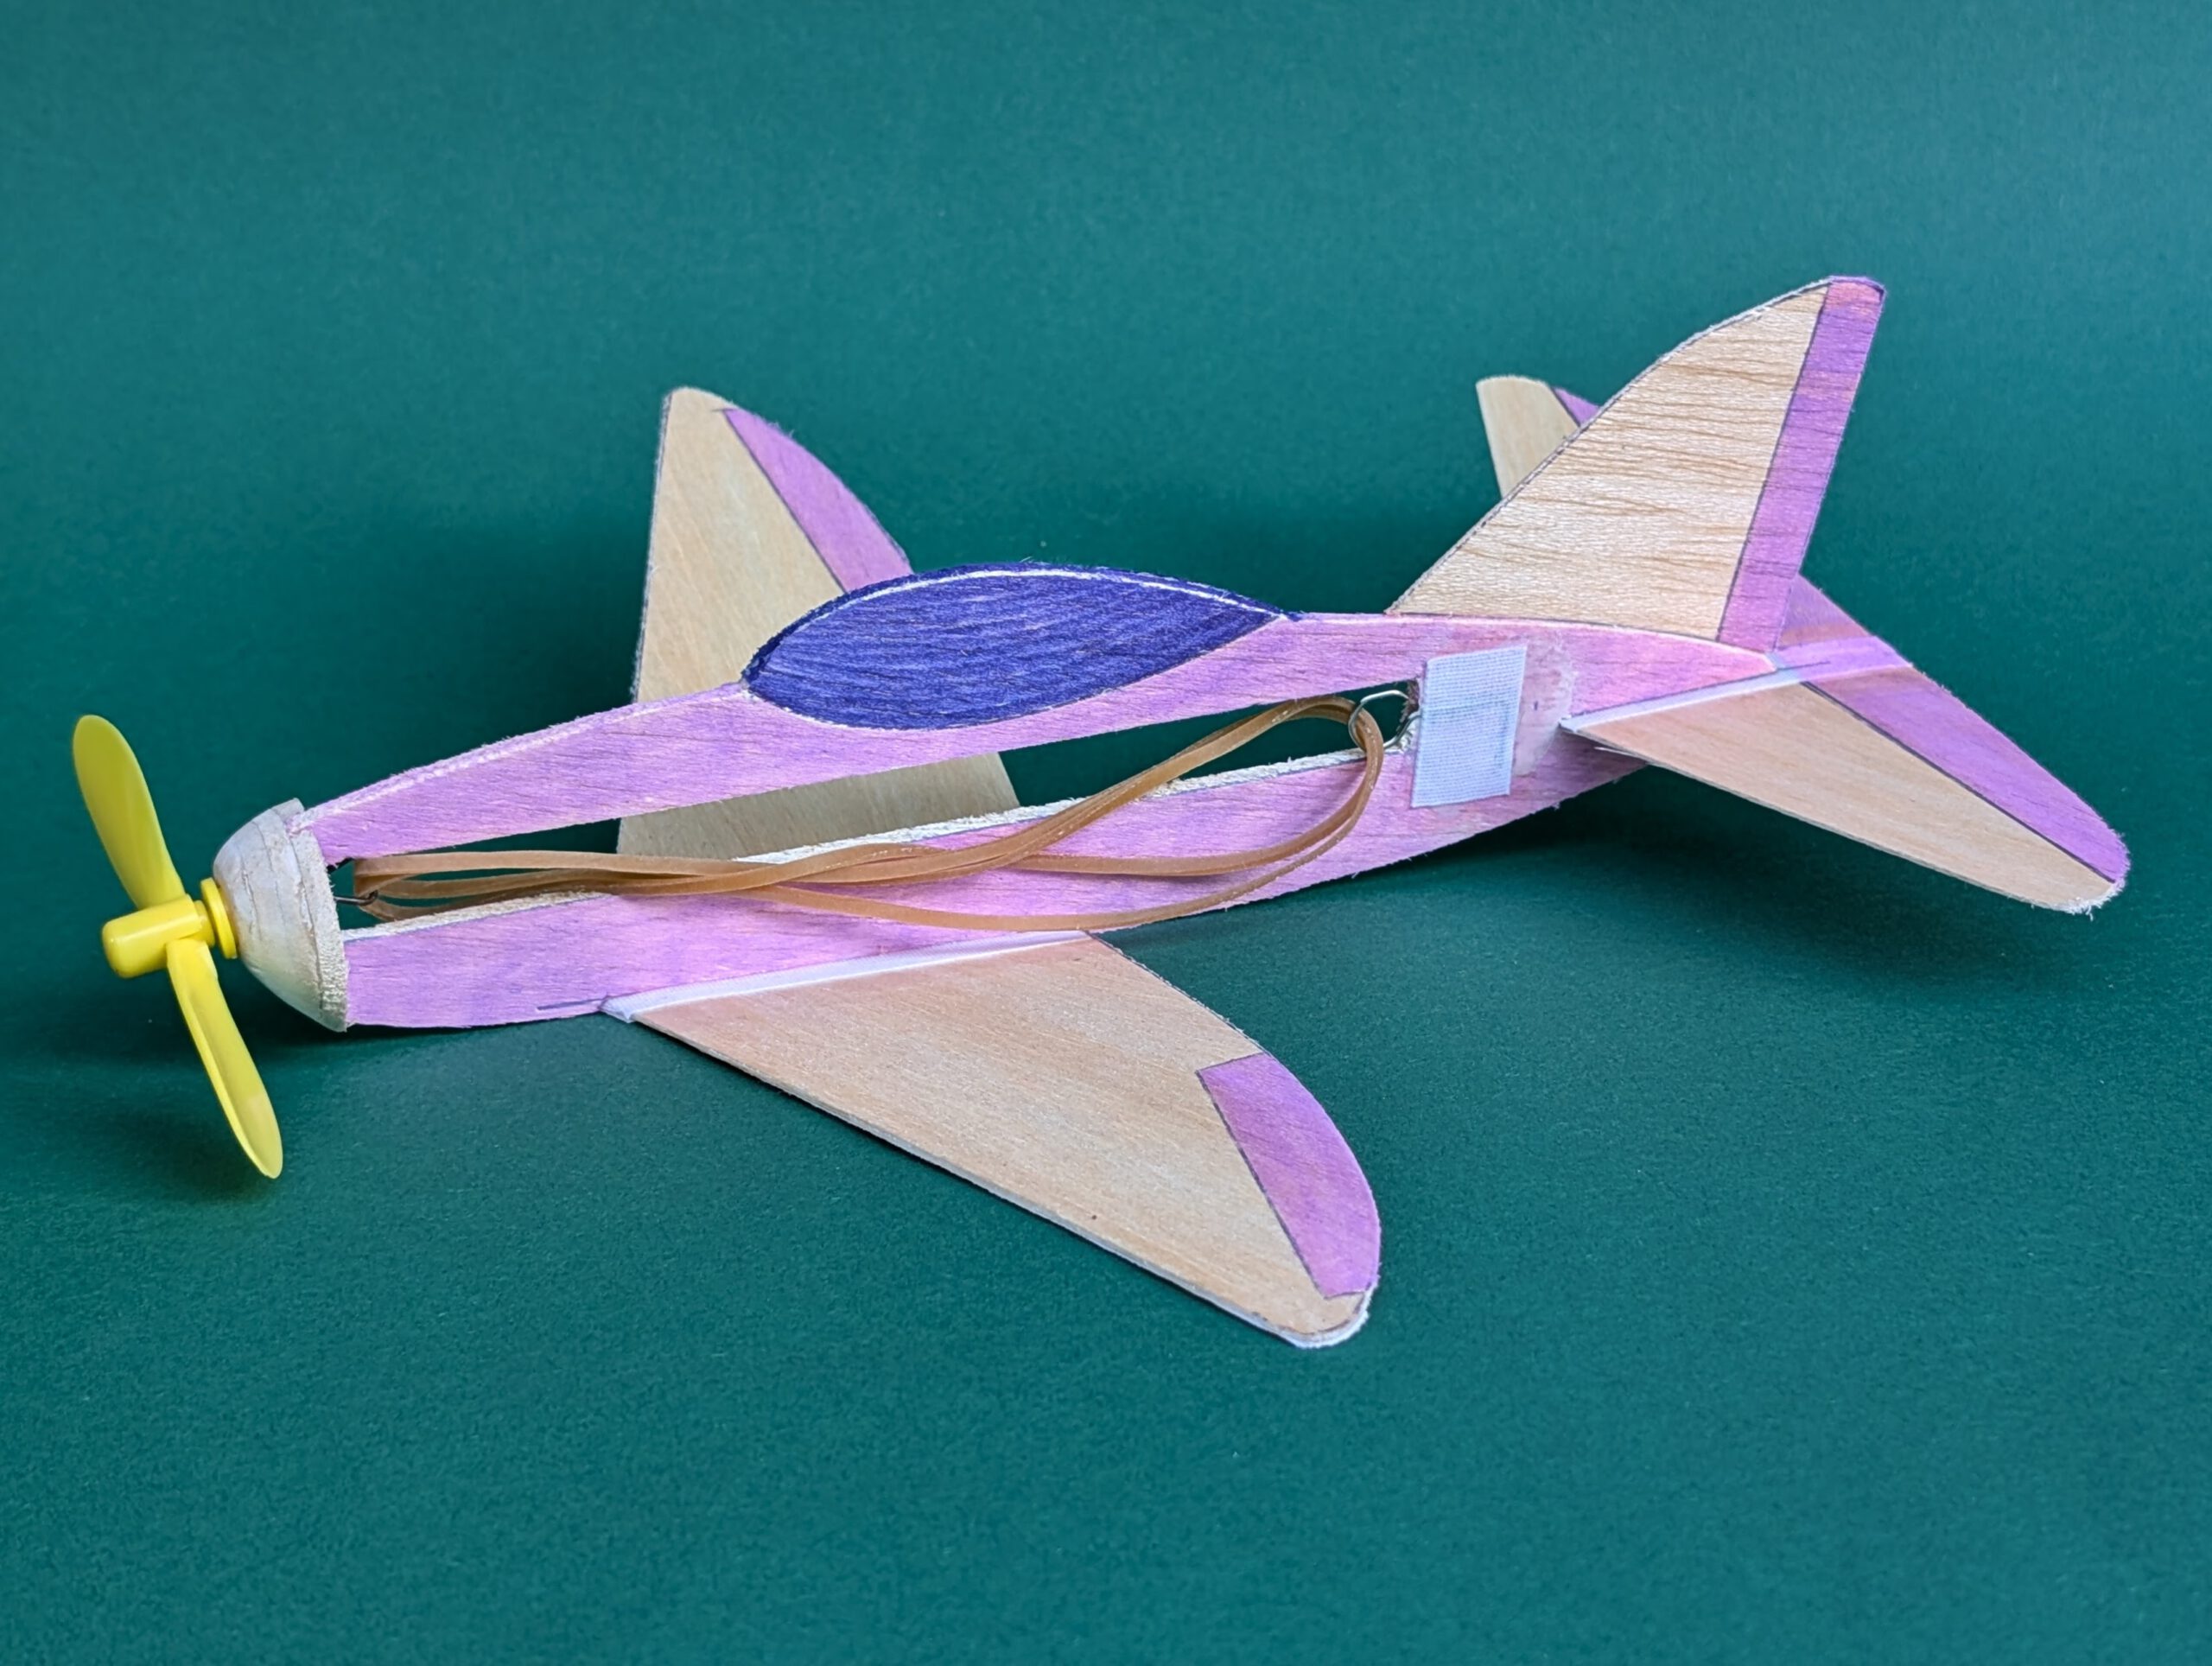
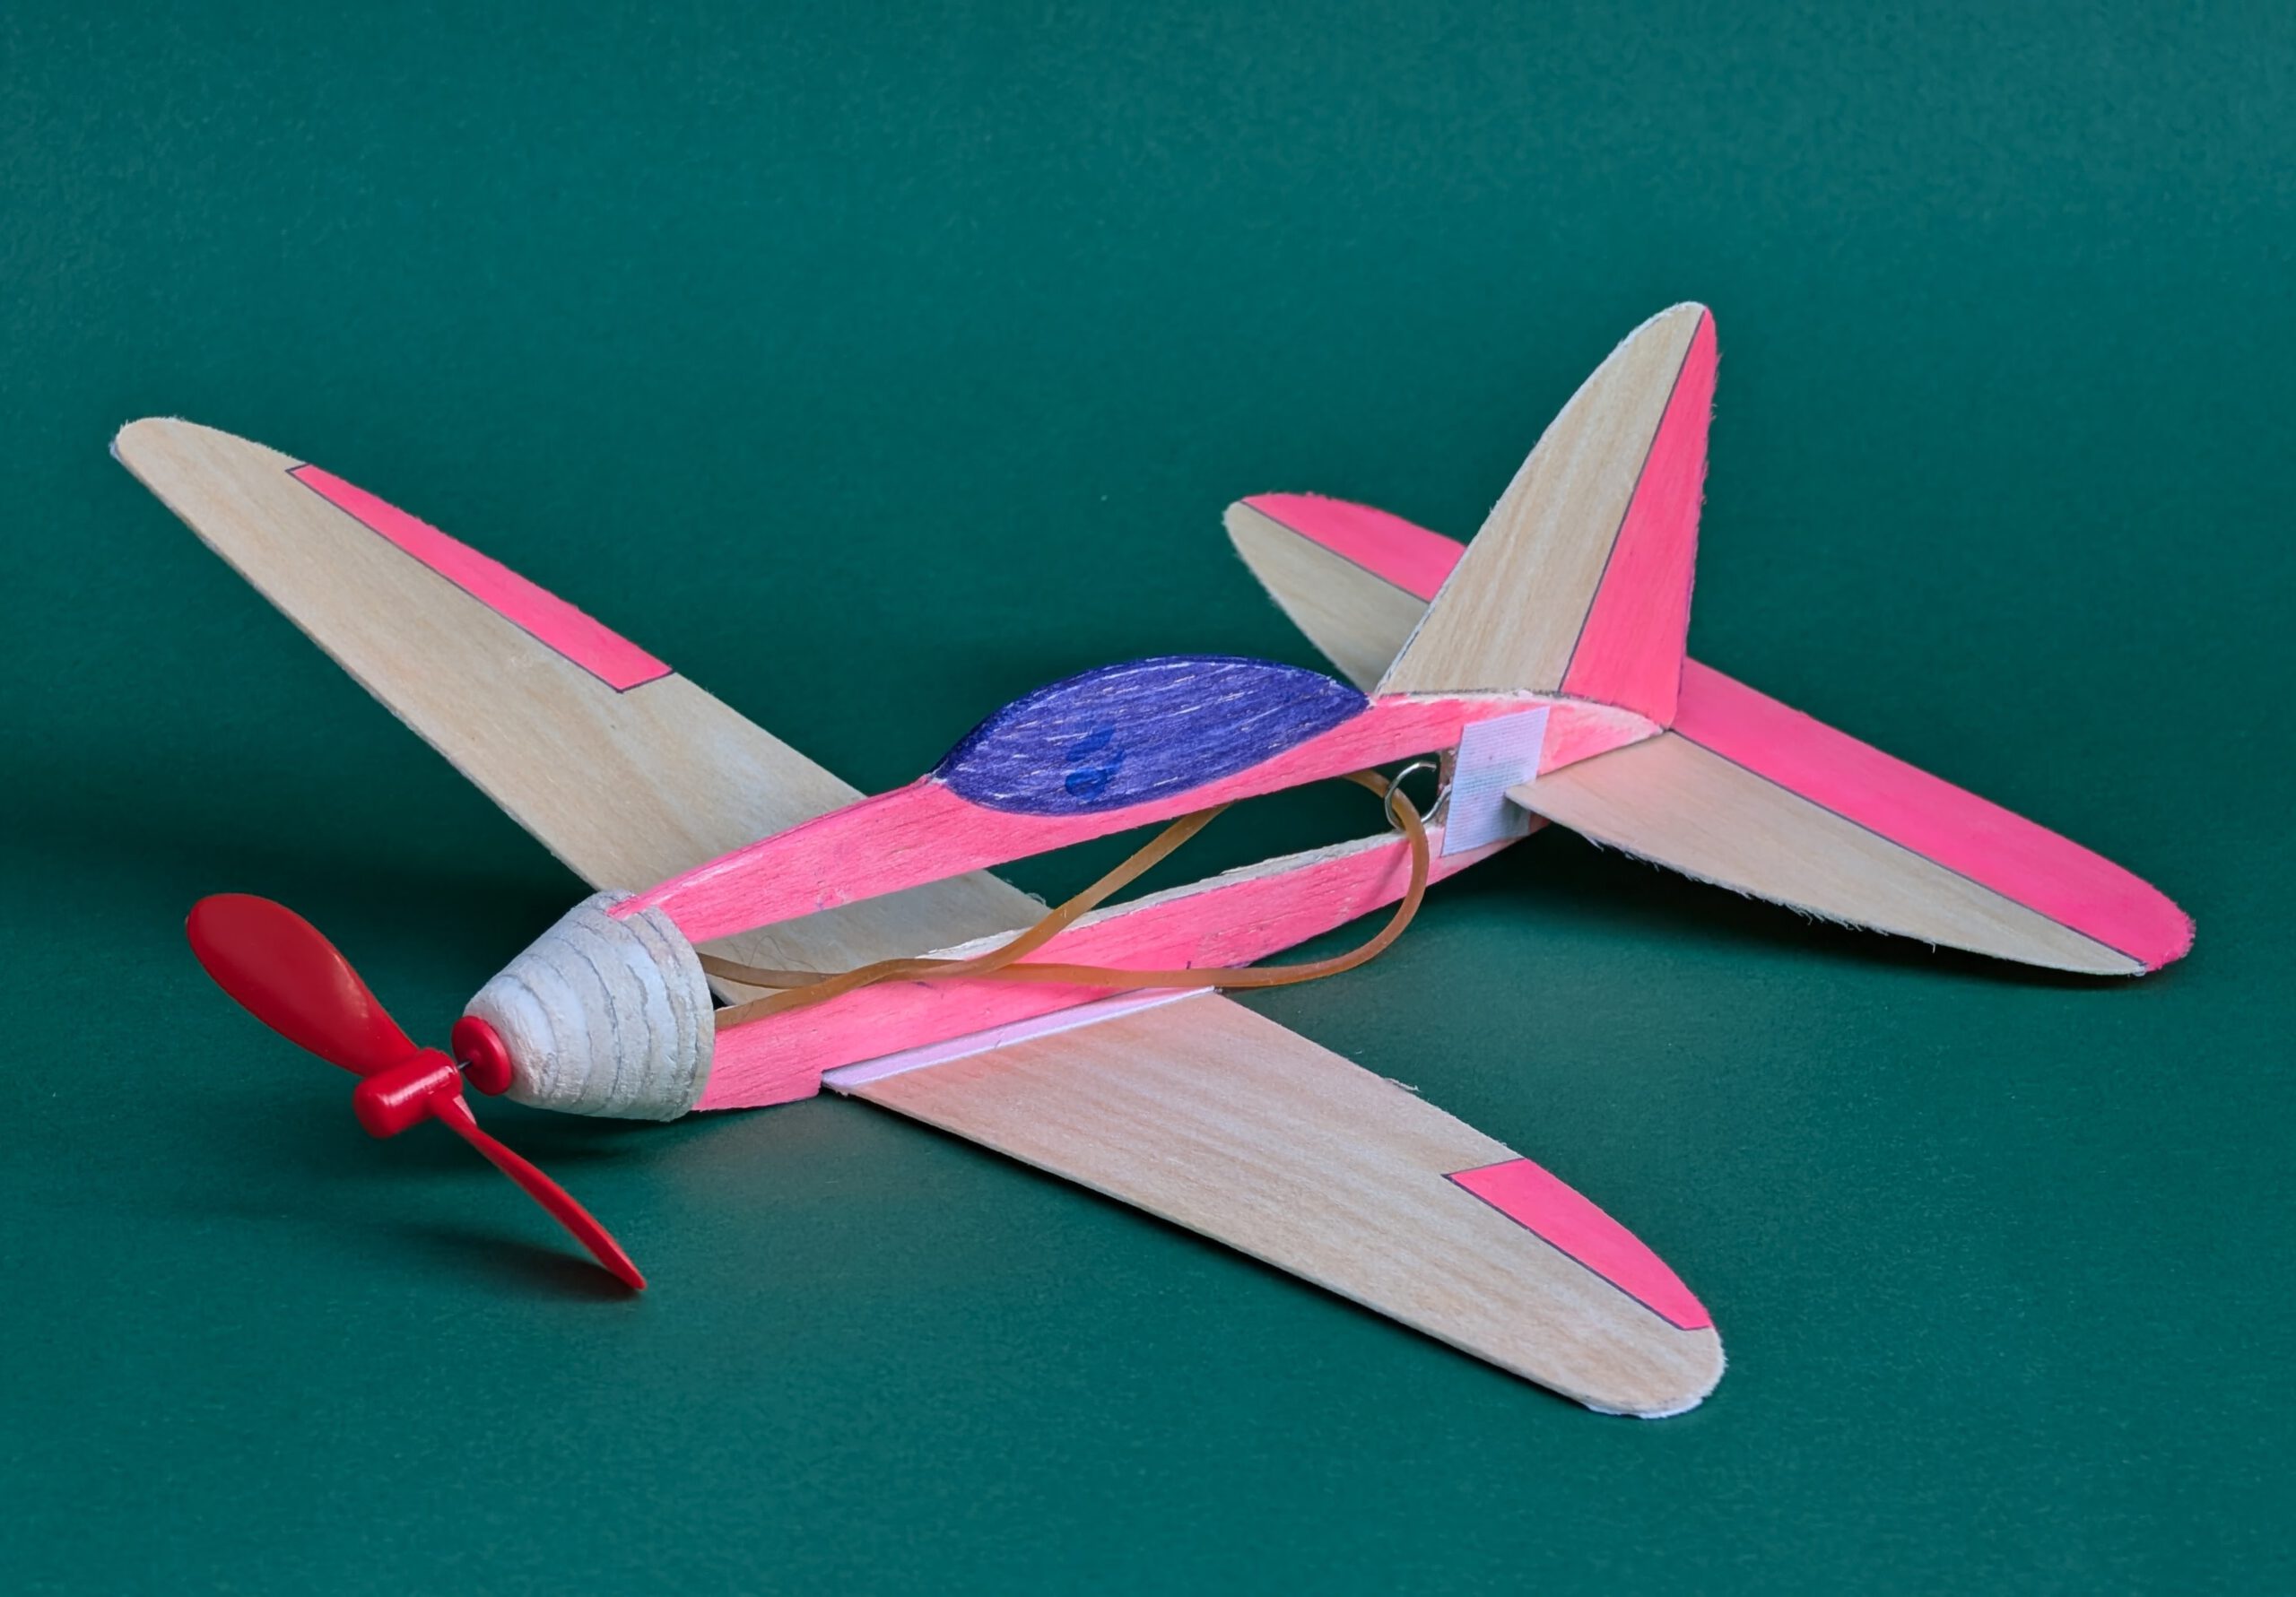
Building the rubber powered balsa profile-fuselage models Pink, Purple and Violet.
Materials:
Fuselage: B 3; fuselage nose parts: B 5, 4 or 3; rubber hook: piano wire 1.2 or 1.5 mm diameter; wings: B 1; fin: B 1; horizontal stabilizer: B 1; linen band width 10/12 mm / ½ in; ballast: not needed on prototypes; commercial airscrew 4 in diameter; brown rubber.
Assembly:
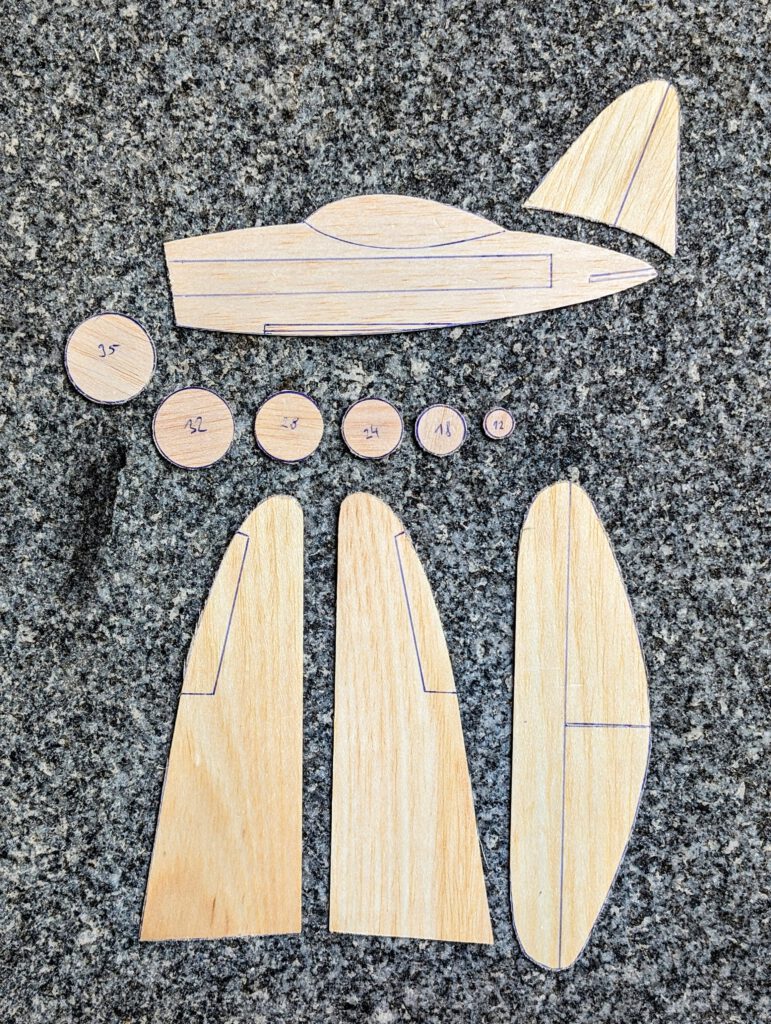
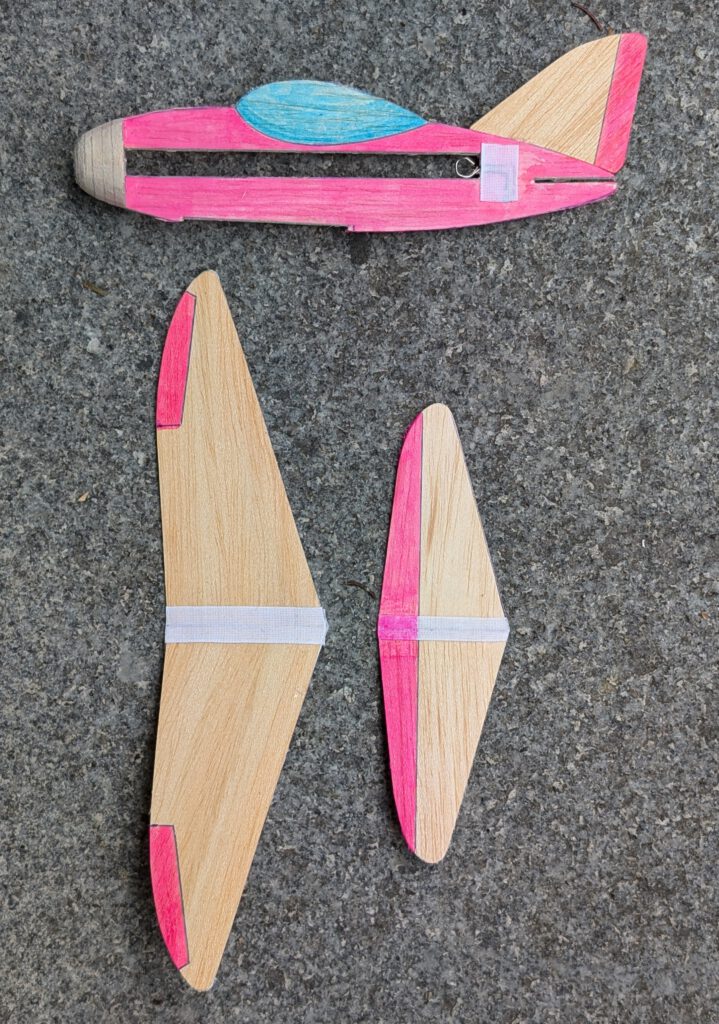
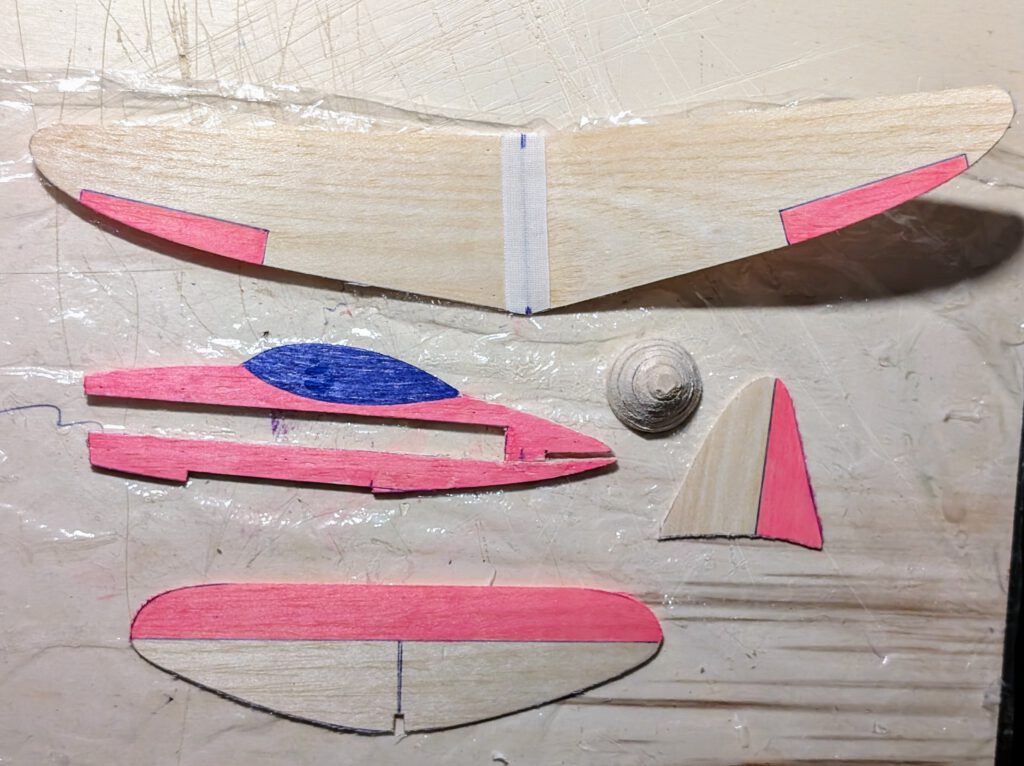
Cut out balsa parts in accordance to plan (photo). Sand well. Transfer outlines of cabin etc. from paper to wood with pen. If colouring is desired, do it now.
Wing:
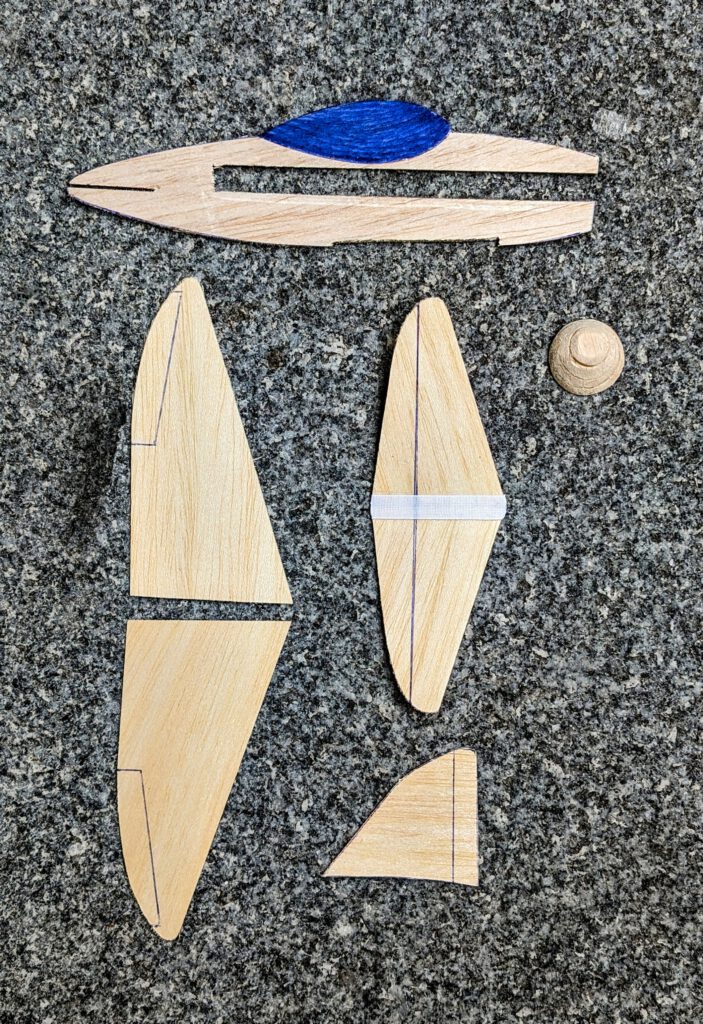
Wing consists of a right and a left wing half. Fix one wing half on building board with needles. Underlay the other wing half’s tip in accordance to required dihedral. Join both halves after having doublechecked symmetry and afterwards cover wing center area with linen band on both upper and lower side. Let dry. If wing has the tendency to rest on one side only then it is too heavy on this side. To compensate imbalance disperse an amount of white wood glue on the opposite wing tip area. Do it if necessary twice until balance is obtained.
Fuselage:
If not already done make cut-out for rubber. Bend as shown on plan piano wire into given hook shape. Carve out with sharp knife and round file seat for rubber hook on left or right side of fuselage. Cement hook in place and cover hook area generously with glue and linen band. Let dry.
Attach fin to fuselage. Let dry.
Cement nose parts one on the other as shown on plan and let dry. Sand well than treat cone with balsa putty. When dry sand again. May be this procedure has to be repeated. When the nose cone is smooth you can start to carve out opening which holds prop-bearing. Start from behind and do it not in a hurry. A little electric drill machine can be useful.
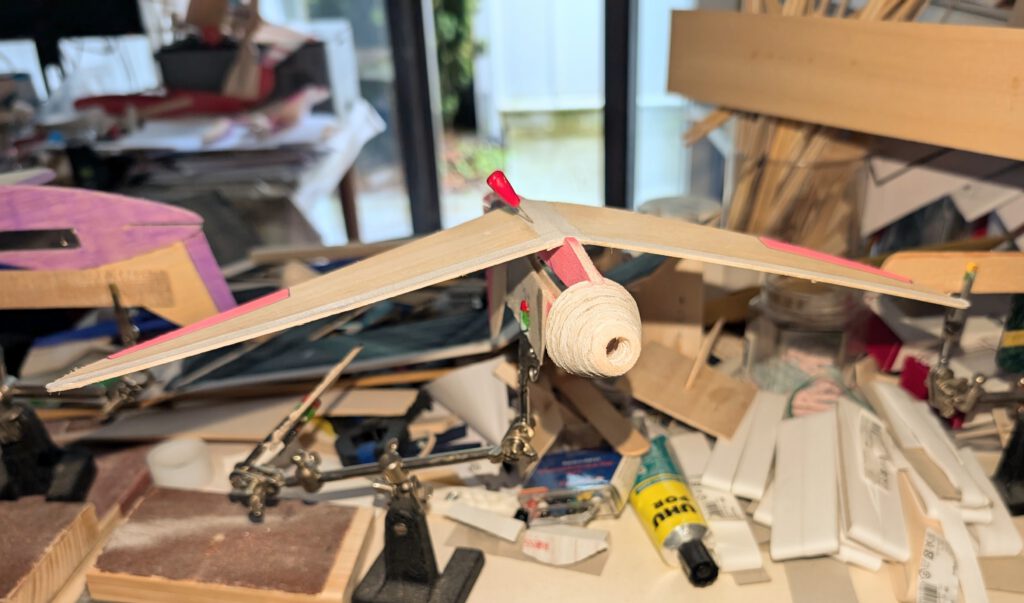
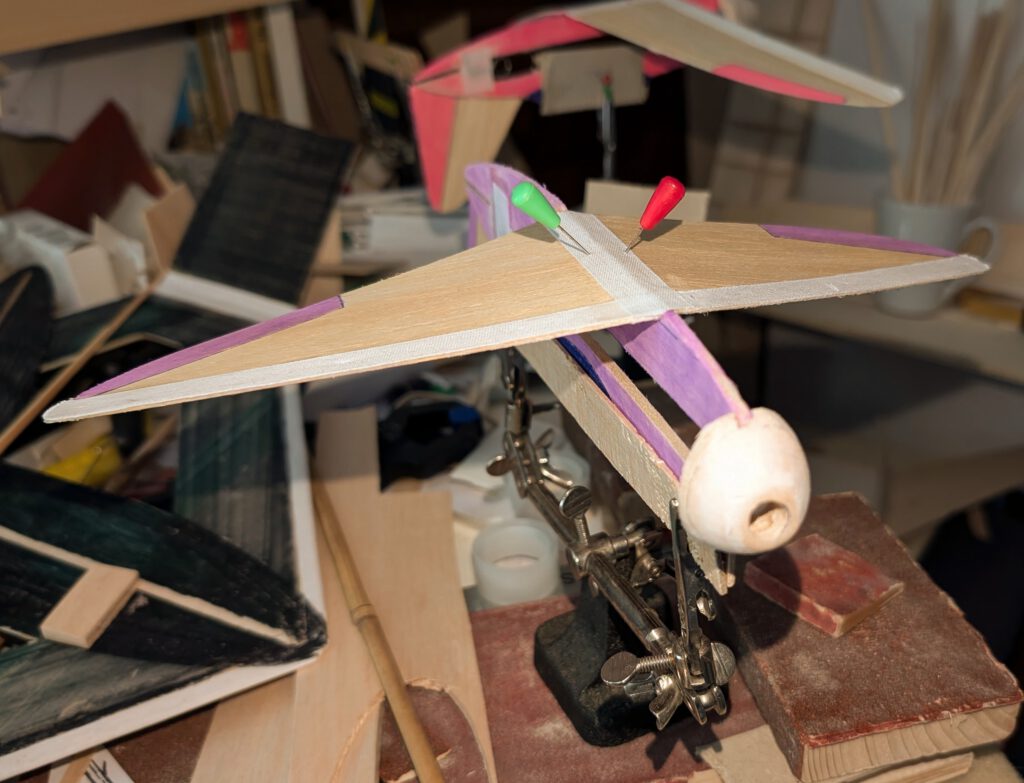
Cement cone on fuselage referring to photos.
Empennage:
One model has a one part horizontal stabilizer, the two others have two part horizontal stabs. On them you have to do as follows. Fix one half on building board with needles. Underlay tip of corresponding part at one in. or 25 mm to obtain the necessary dihedral. Join both halves and cover joining area with linen on upper side only. Visual check symmetry from all sides. Let dry.
Final Assembly:
Put fuselage on a so called “third hand”. Cement wing on fuselage using needles to hold in place. Doublecheck visually symmetry. Let dry. Repeat this procedure with empennage
Insert rubber as well as airscrew and begin test-gliding over tall grass.
Use a piece of lead or scrap metal to balance model at given position if necessary. My prototypes flew right without any ballast.
Remember correct center of gravity (CG) is essential for successful flights.

Many pleasant flights! (Prajem vel’a príjemných letov!)


Leave a Reply