


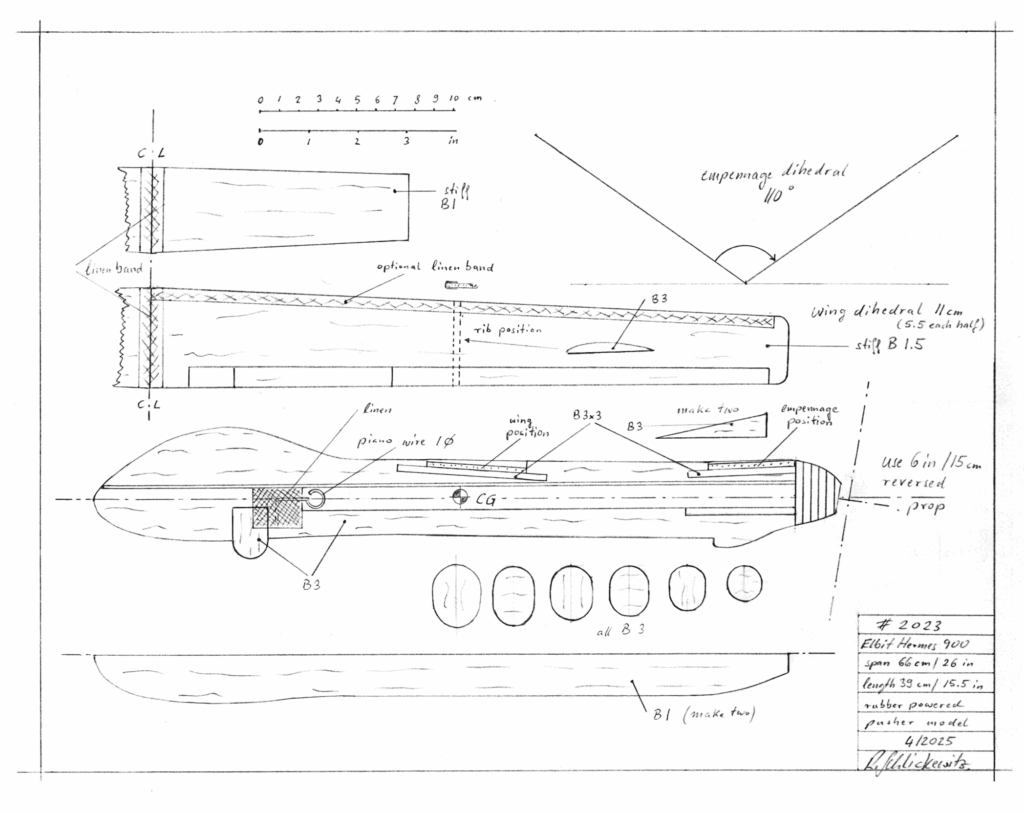
Span 66 cm / 26 in
Weight 36 g / 1.3 oz
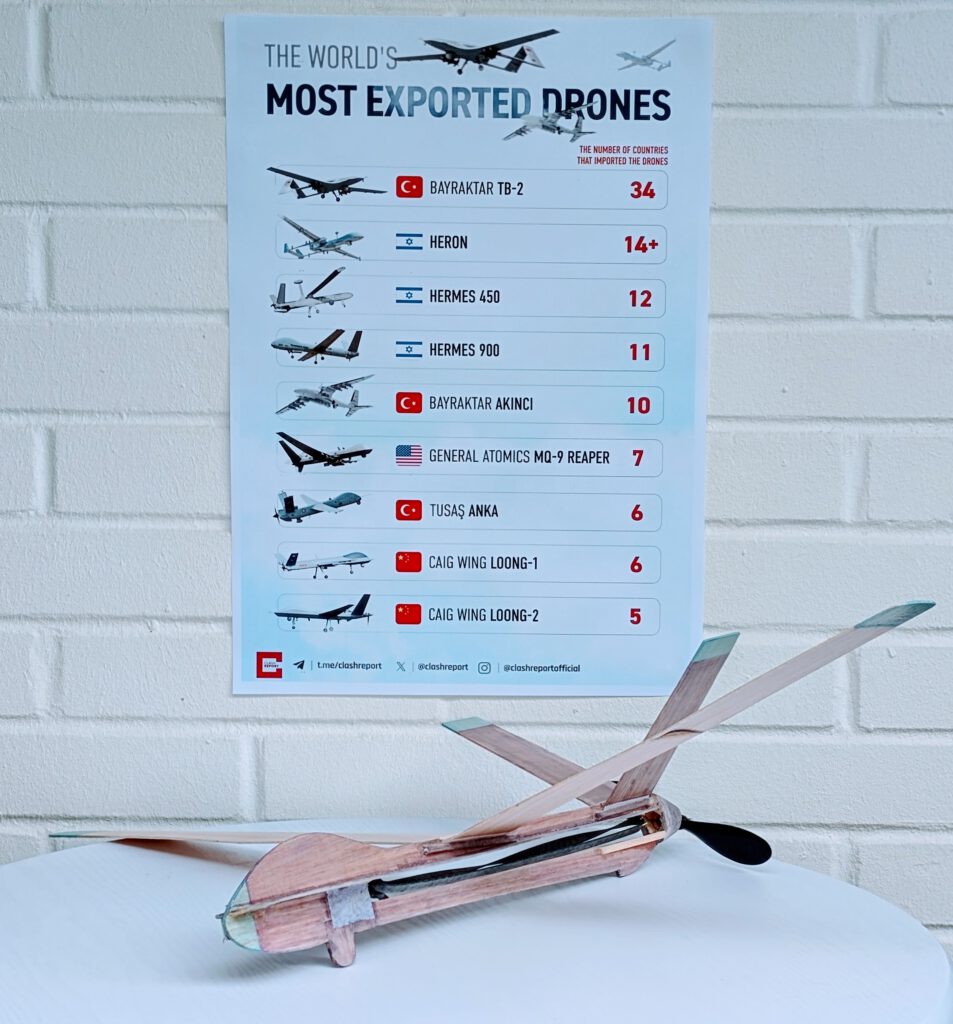
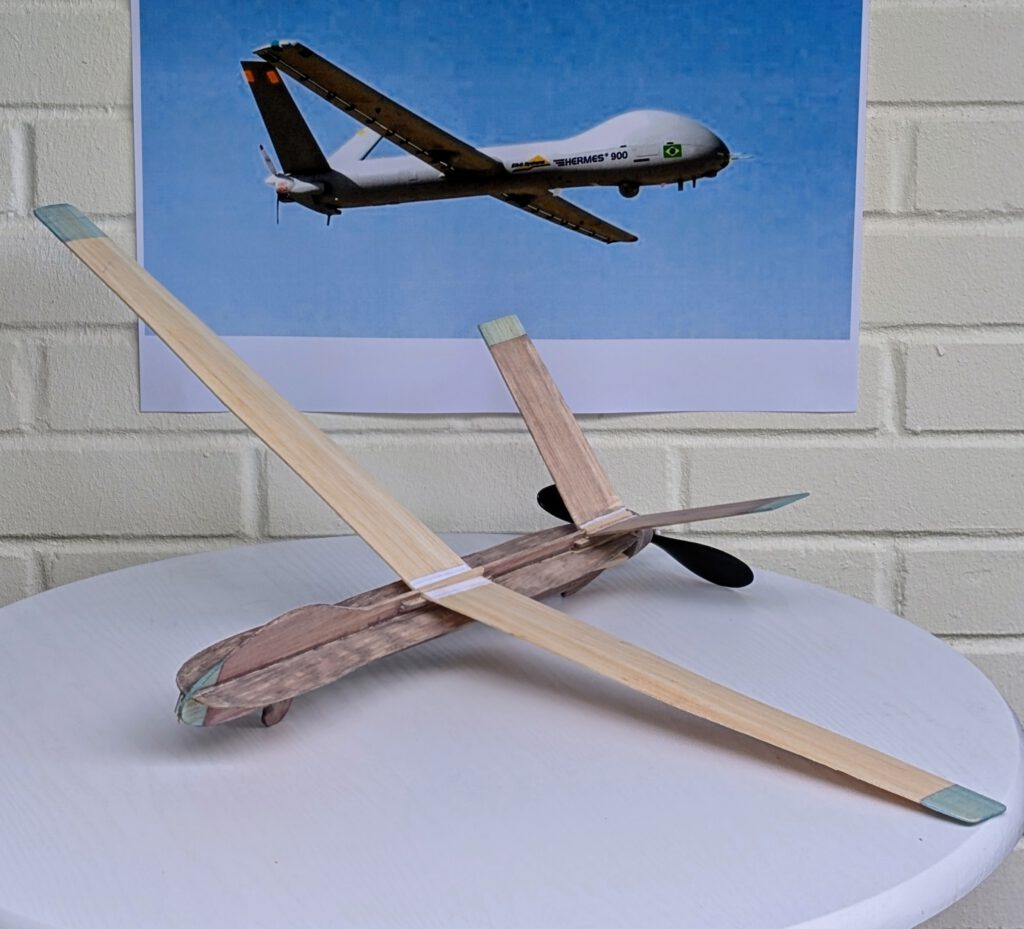
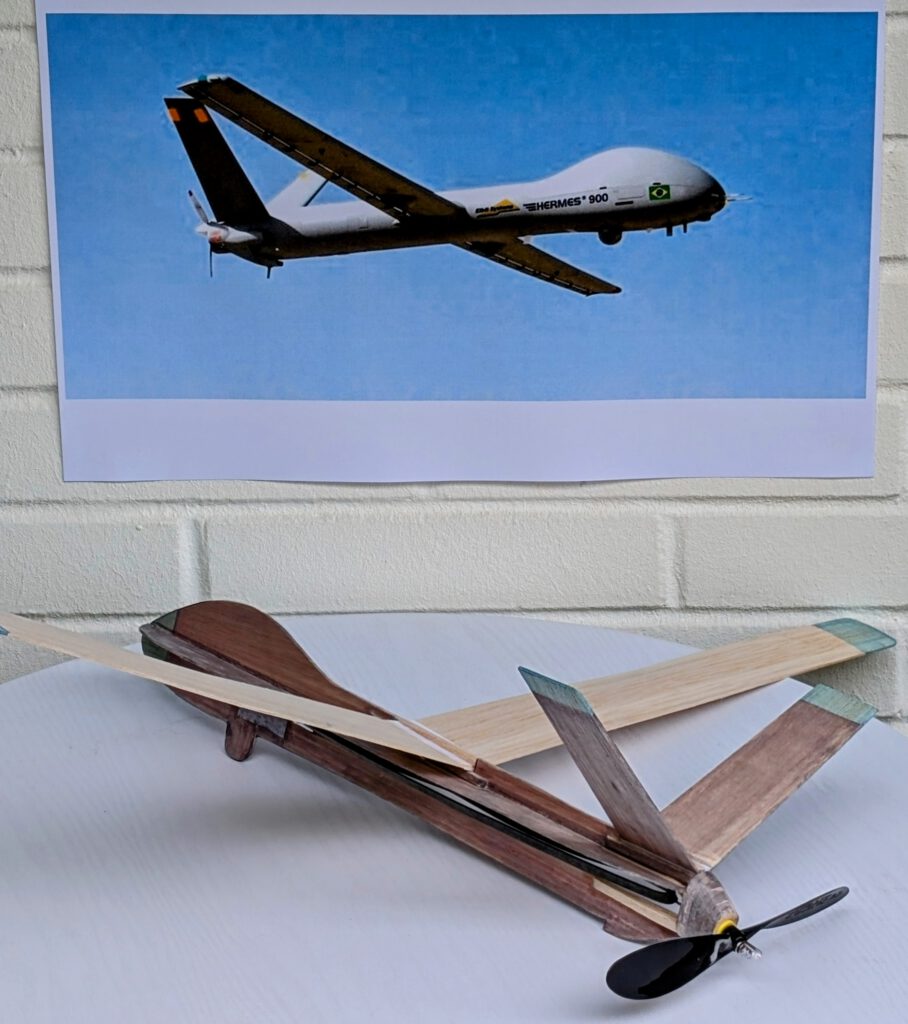
The Elbit Systems 900 Kokhav is a medium sized UAV introduced in 2012 and operated by the Air Forces of Israel, the Philippines, Mexico, Brazil, Chile, Colombia, Canada, India, Iceland, Azerbaijan, Switzerland and the European Union. Its span measures 15 m (49 ft 3 in), its length 8.3 m (27 ft 3 in), gross weight is 1100 kg (2,425 Ib) and powerplant consists of one Rotax 916 (210 hp). Endurance is one and a half days.
The Kokhav (Star in Hebrew) is a reconnaissance, surveillance and tactical drone which can also be armed with rockets.
beginner.zone’s plans also include a glider model of the Elbit Hermes 900 Kokhav. See No. 1001.
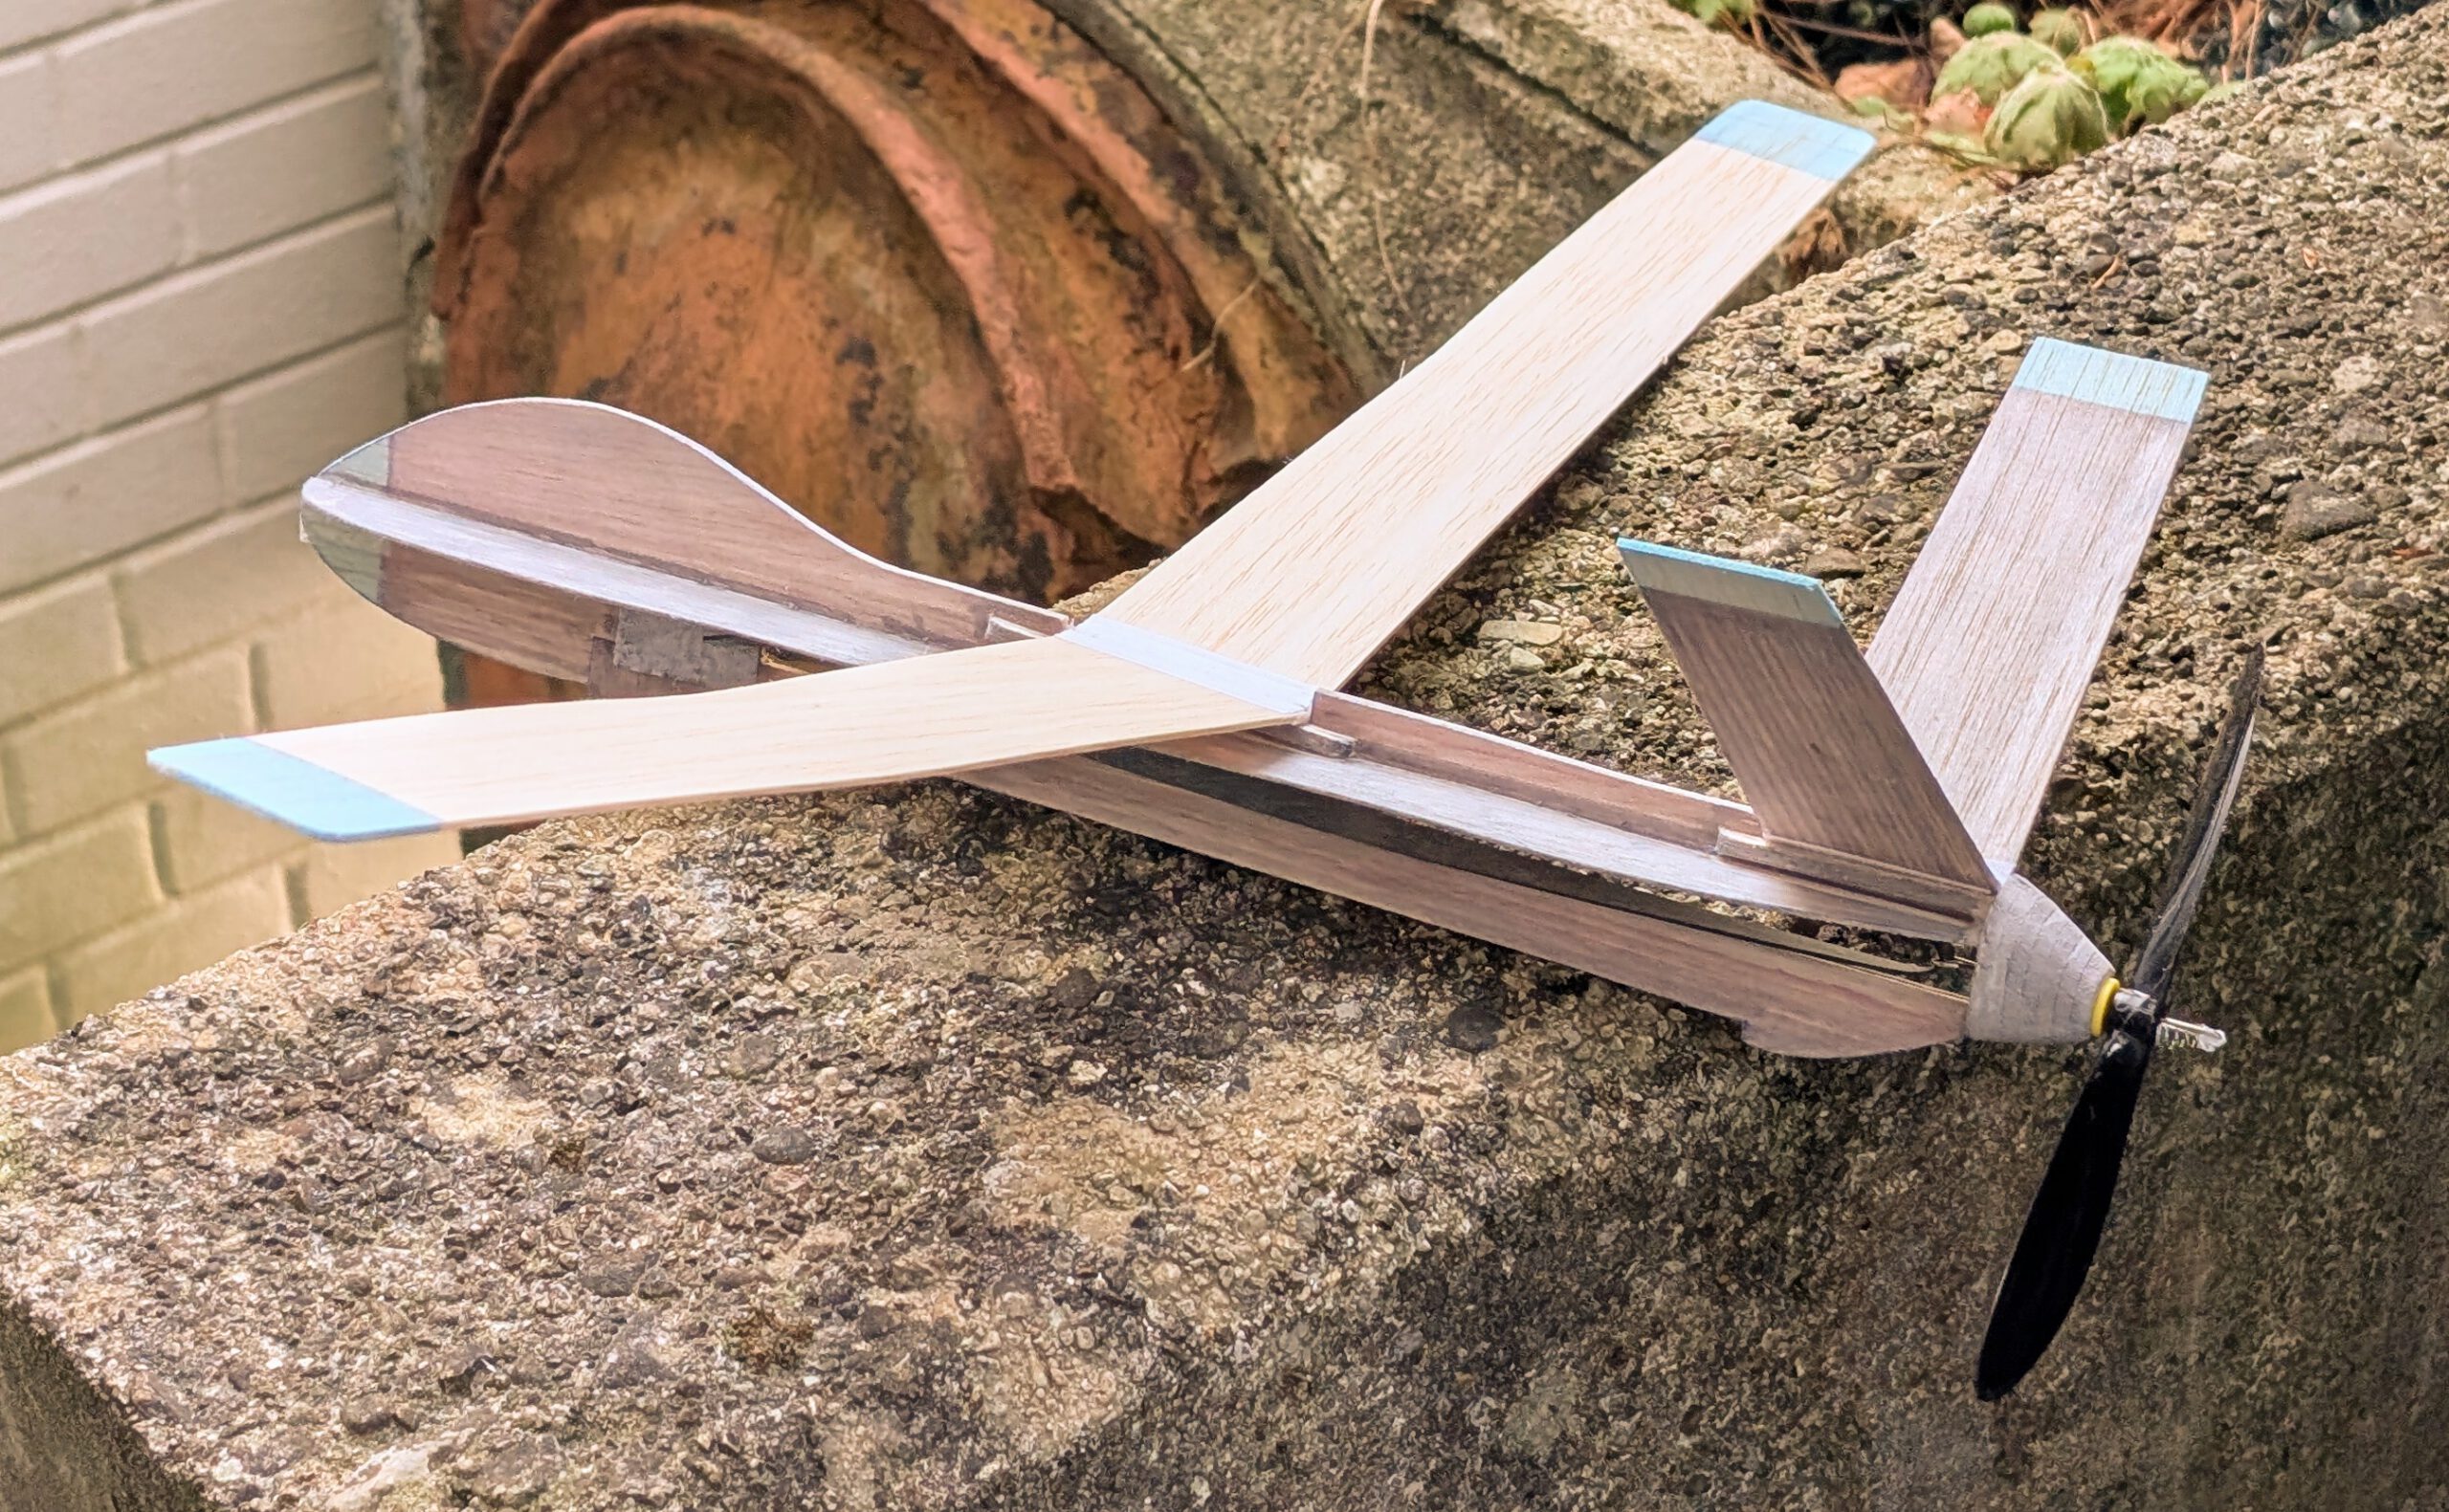
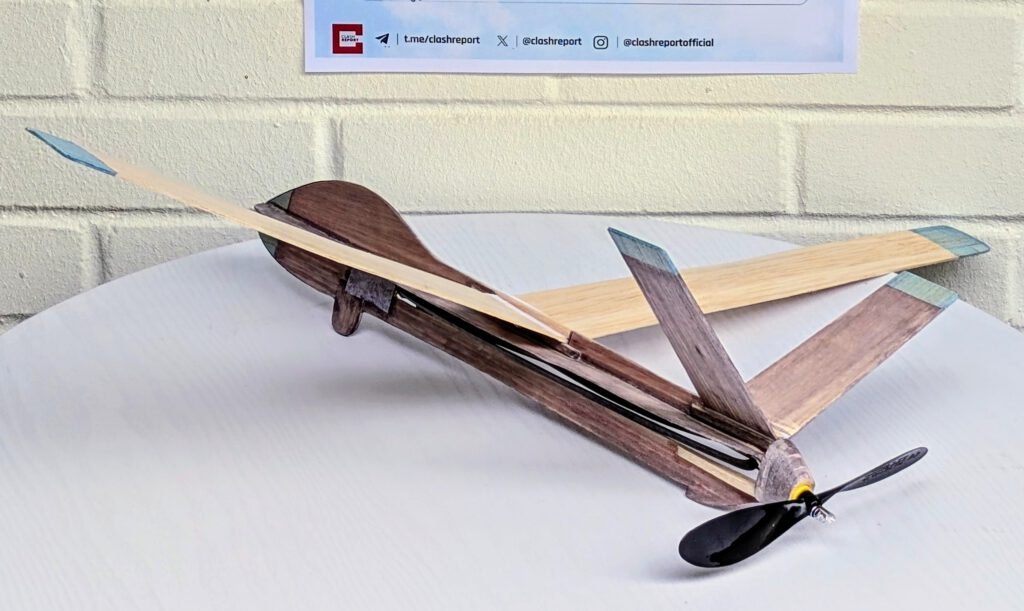
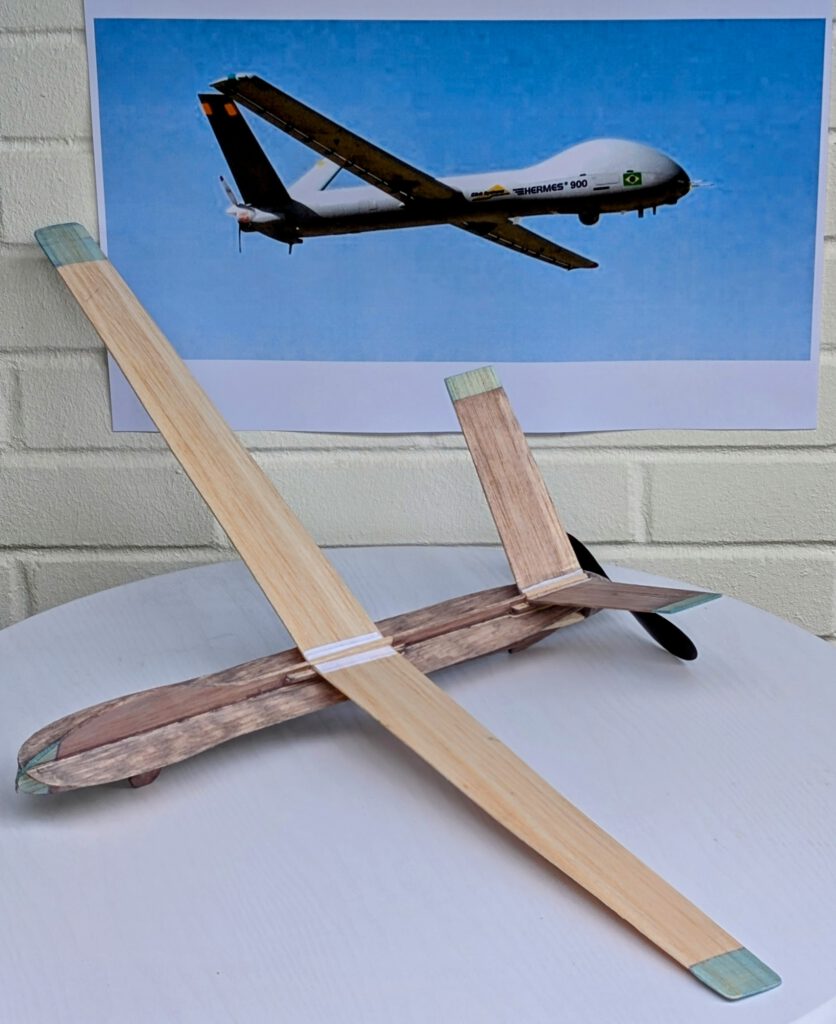
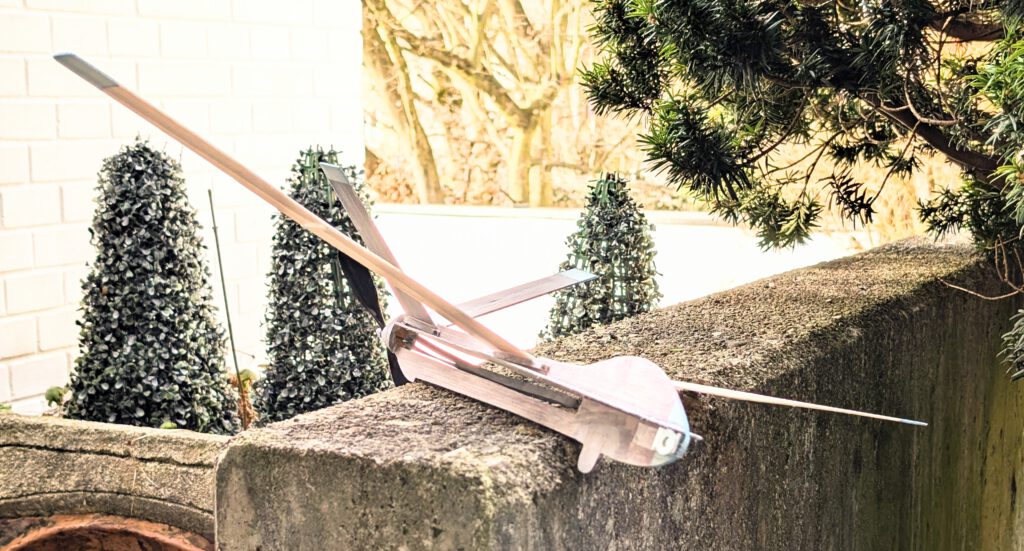
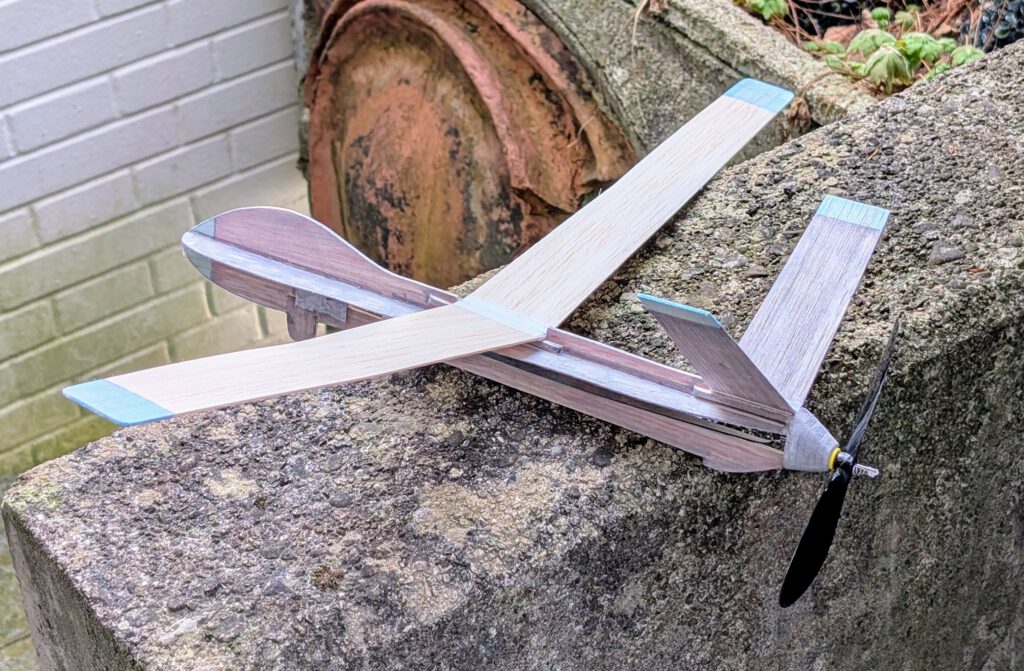
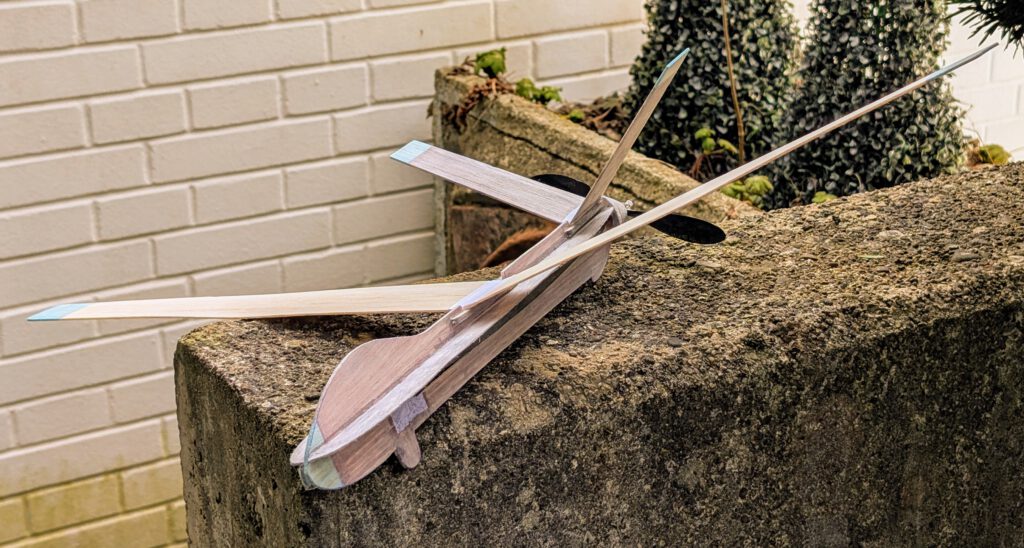
Building the balsa sheet rubber powered model Elbit Hermes 900 Kokhav.
Materials:
Fuselage and radar dome: B 3; fuselage side stiffeners: B 1; rear fuselage parts: B 3;wings: stiff B 1.5; wing supports: B strips 3 x 3; wing ribs: B 3; vee-empennage: stiff B 1; empennage supports: B strips 3 x 3; hook: piano wire 1.2 mm diameter; linen band width: 12 mm / ½ inch; ballast: steel or lead; commercial 6 in / 15 cm diameter prop; dark grey or black rubber.
Assembly:
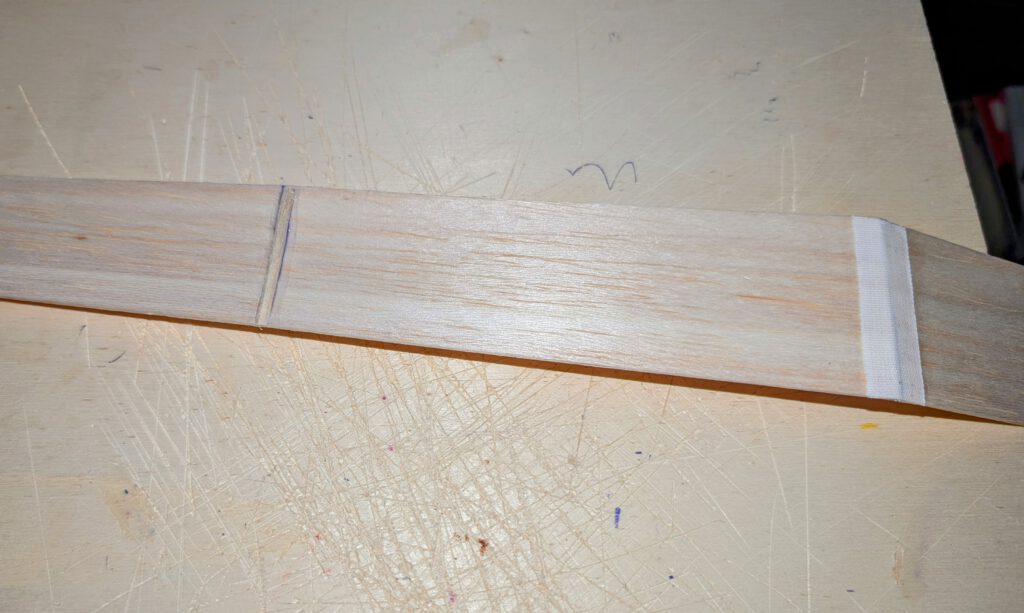
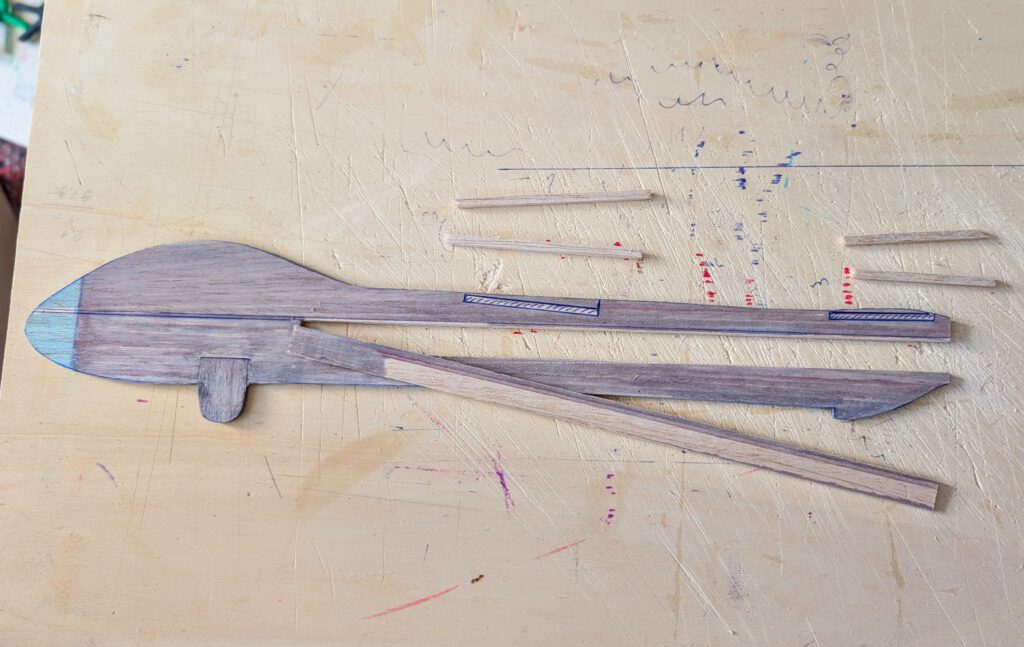
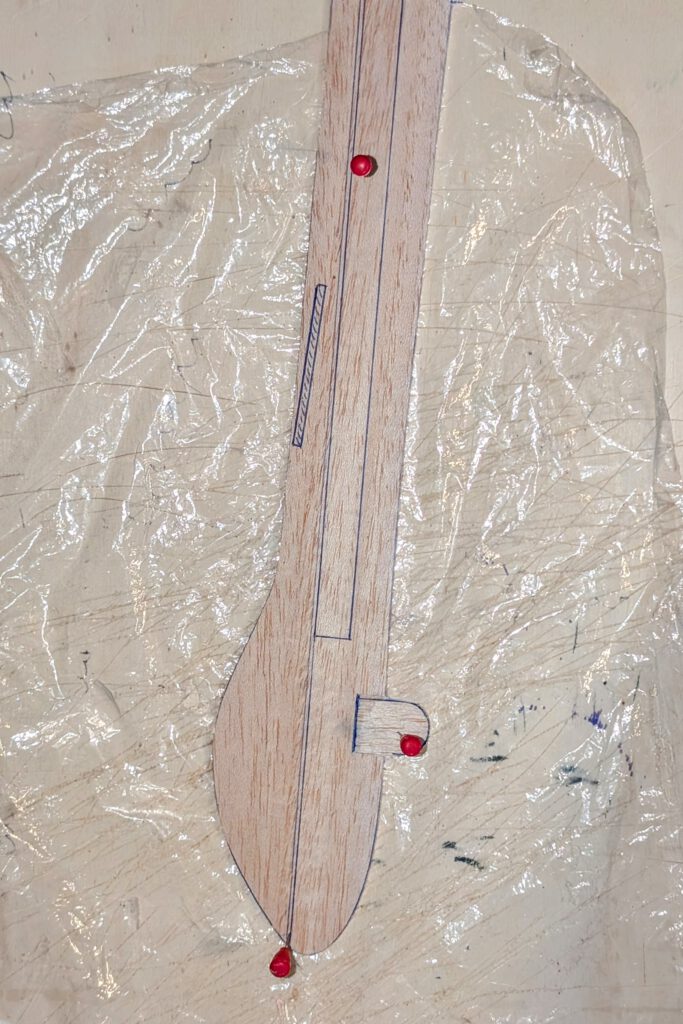
Cut out all balsa parts in accordance to plan thereby paying close attention to the grain direction of each piece. Make cutouts for radar dome, wing and empennage on fuselage part. Sand well. Transfer outlines of rudders, elevators, flaps etc. from paper to wood with pen. If desired, apply colors at this stage (photo).
Wing:
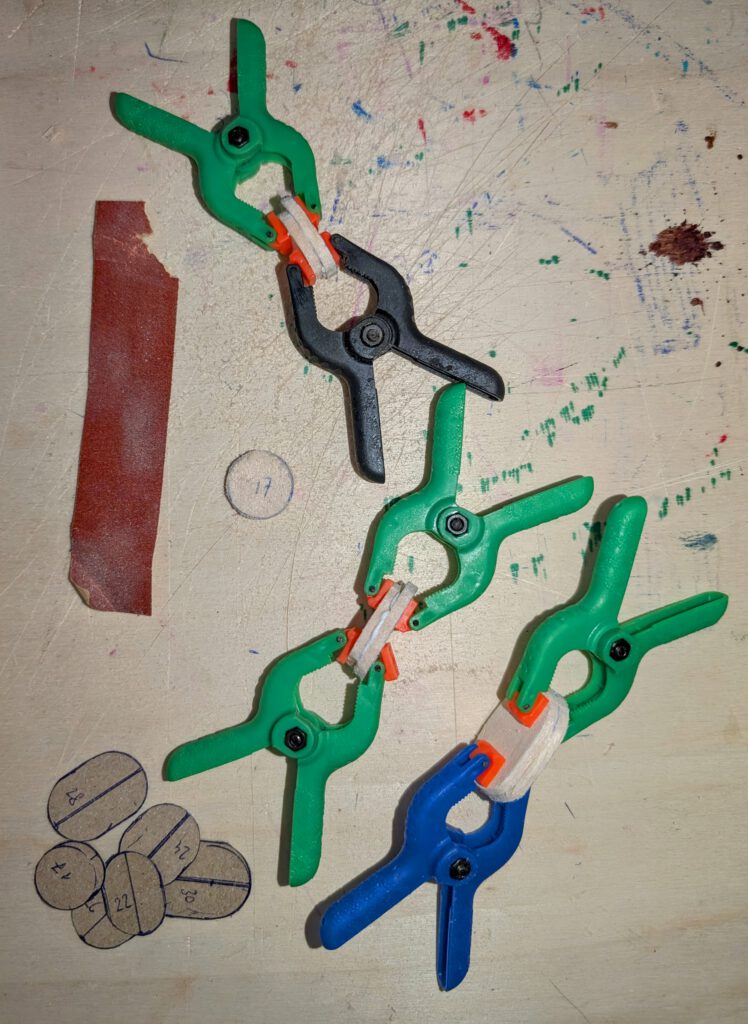
Fix one wing half on building board with needles. Set and cement other half at dihedralgiven on plan (photo); linen/cotton band should later be cemented on the joining area on top and bottom of the wing. Let thoroughly dry.
Determine and mark the place on both wing halves where the ribs will sit. Cement them in place and let dry. Sand if necessary.
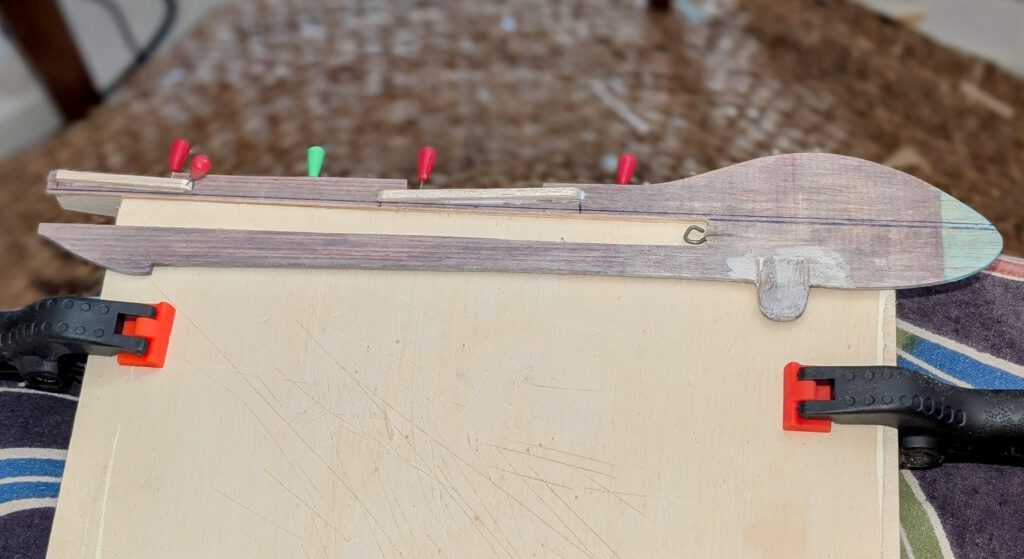
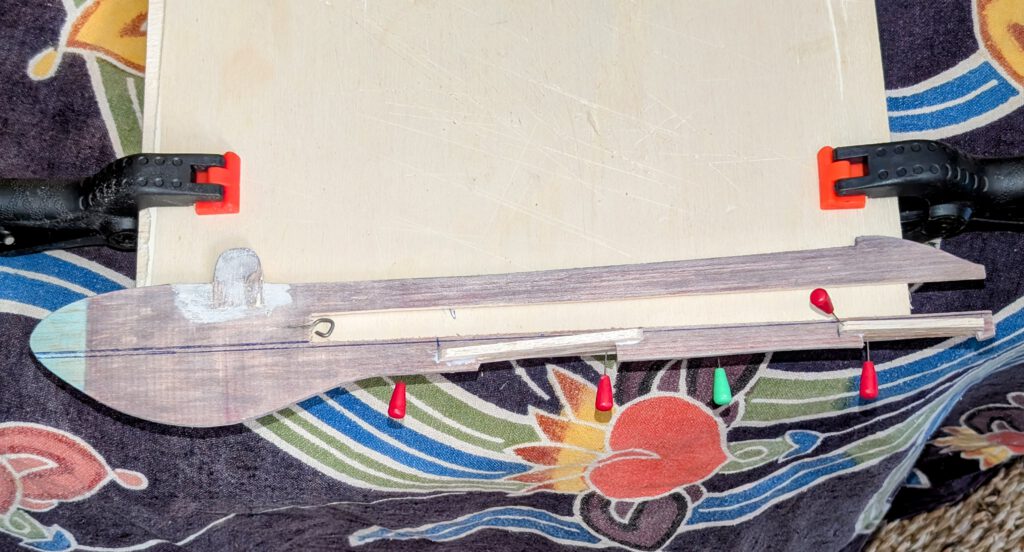
Fuselage:
Fix fuselage with needles on building board. Cement radar dome in its place. Let dry.
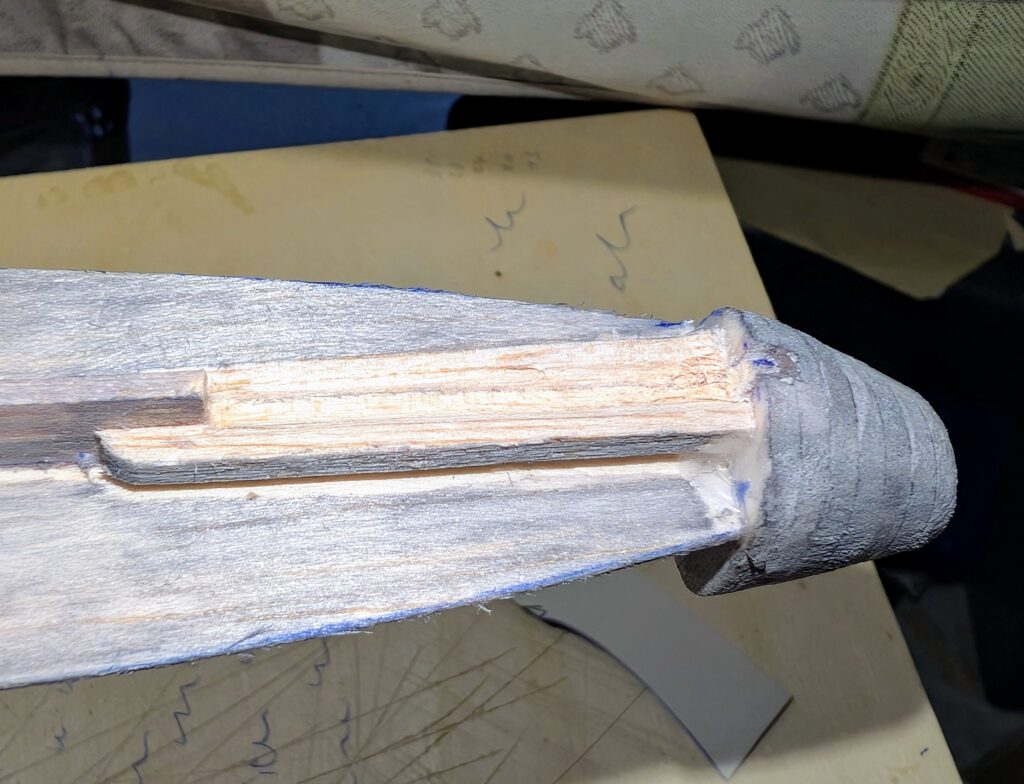
Cut out central fuselage slot (where later the rubber will run) only at this stage.
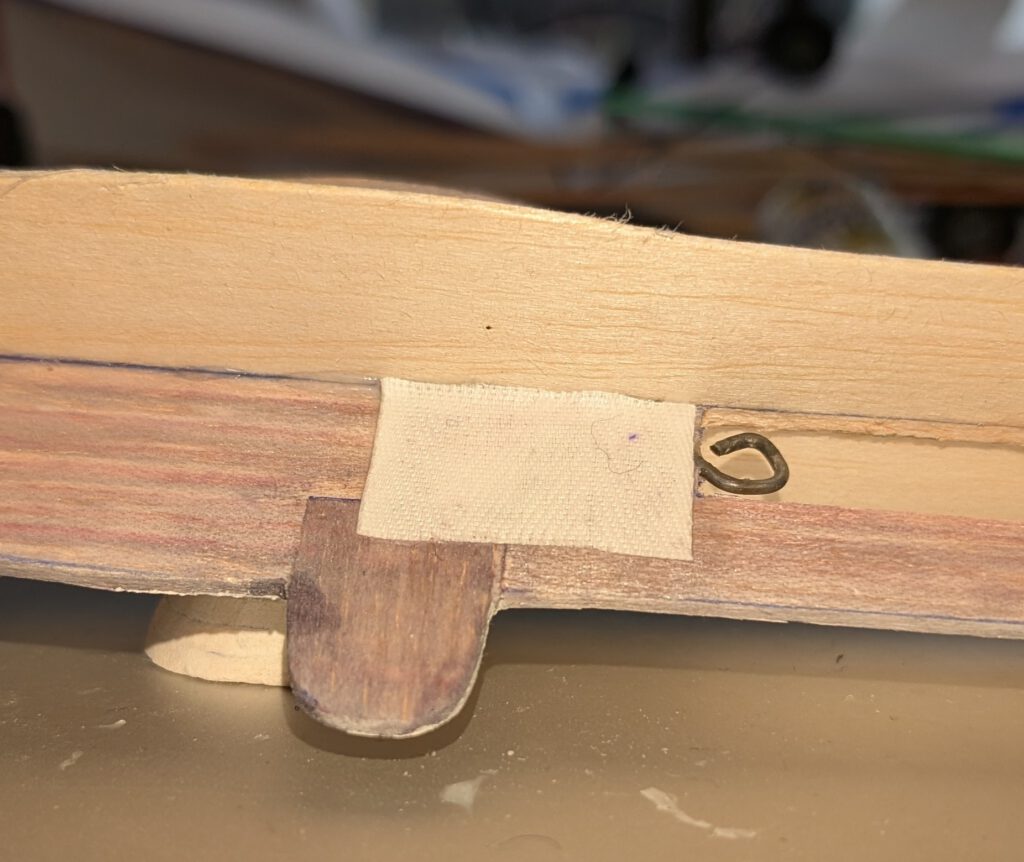
Make cutout for piano wire hook. Put hook in place and cement. Cover this area with ample cement and a piece of linen. Let dry.
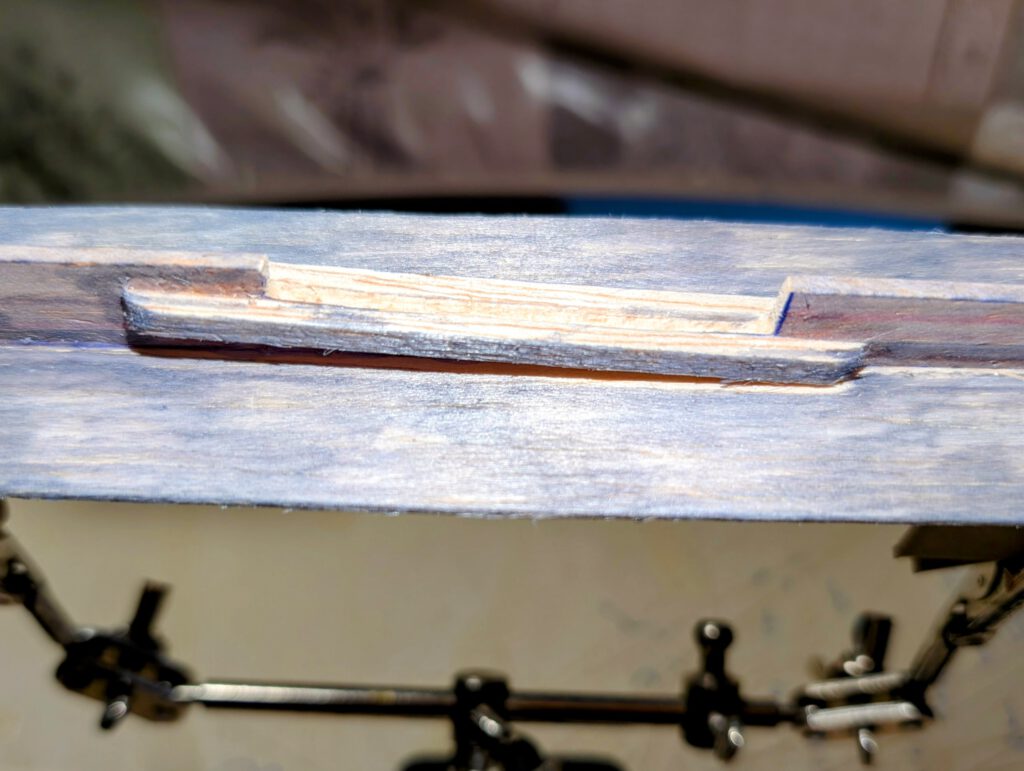
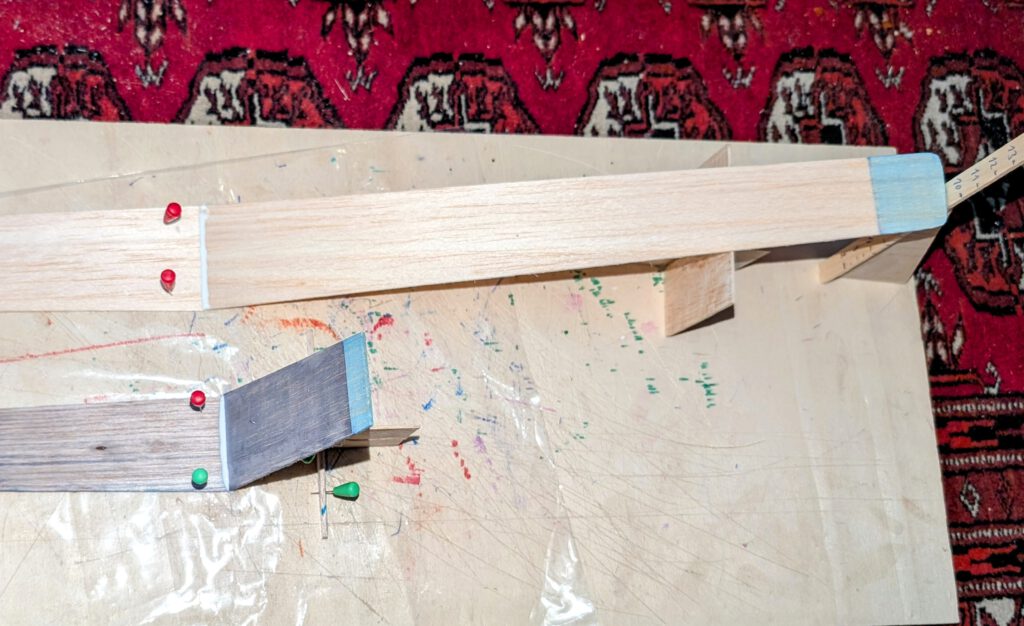
Bring one side stiffener into its position. Fix it with needles and cement at an angle of 90° (photo). Let dry.
Now repeat this step on the other side after having again fixed fuselage on building board (photo).
Cement wing support strips and empennage support strips in place on both sides (photo).
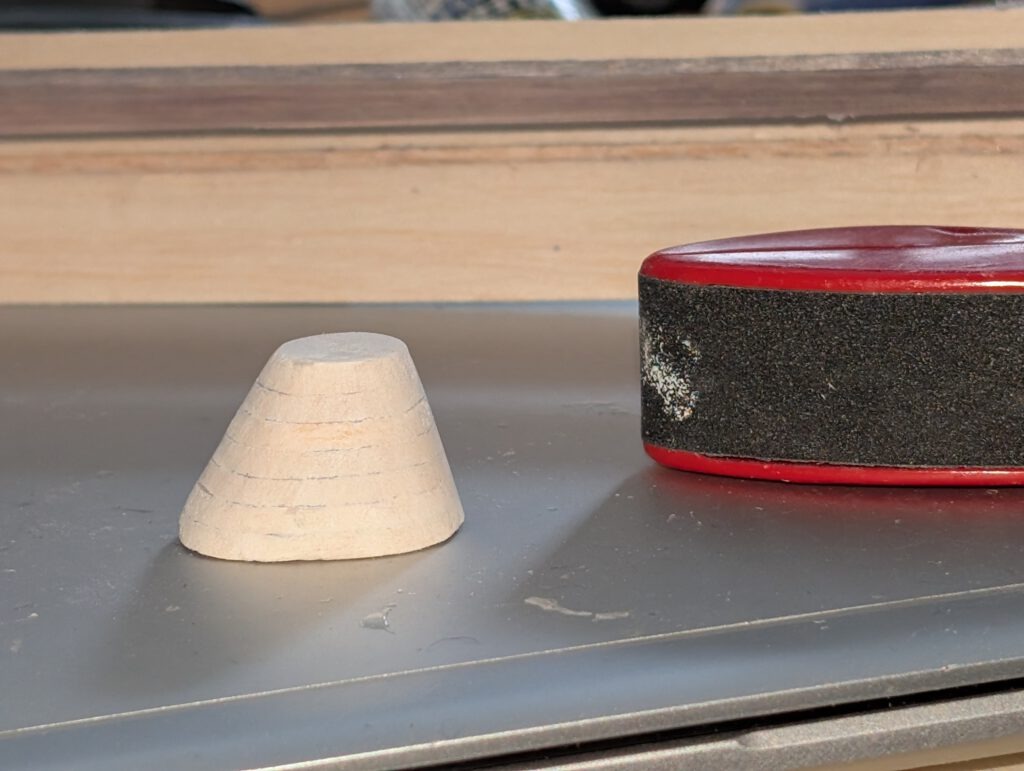
Propeller mount:
Cement rounded parts together. Sand well. Take balsa putty to fill holes and remove all unevenness. After mount is dry, sand again. If necessary, repeat this step.
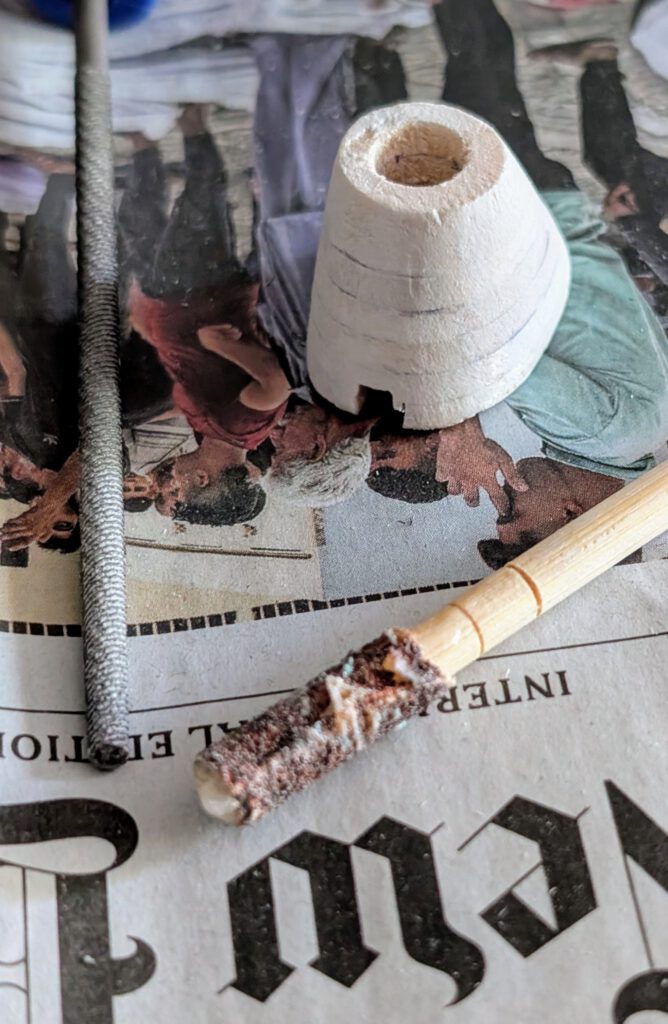
Now make tight fitting opening for prop bearing into mount (photos).
Cement mount to rear fuselage. Let dry and then sand well.
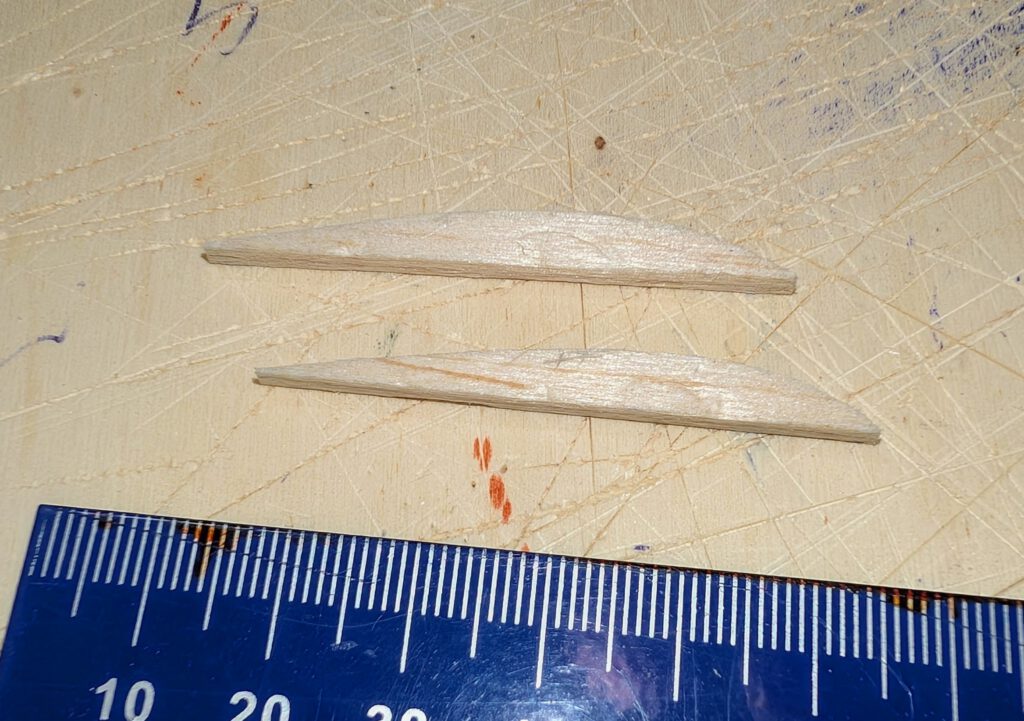
Empennage:
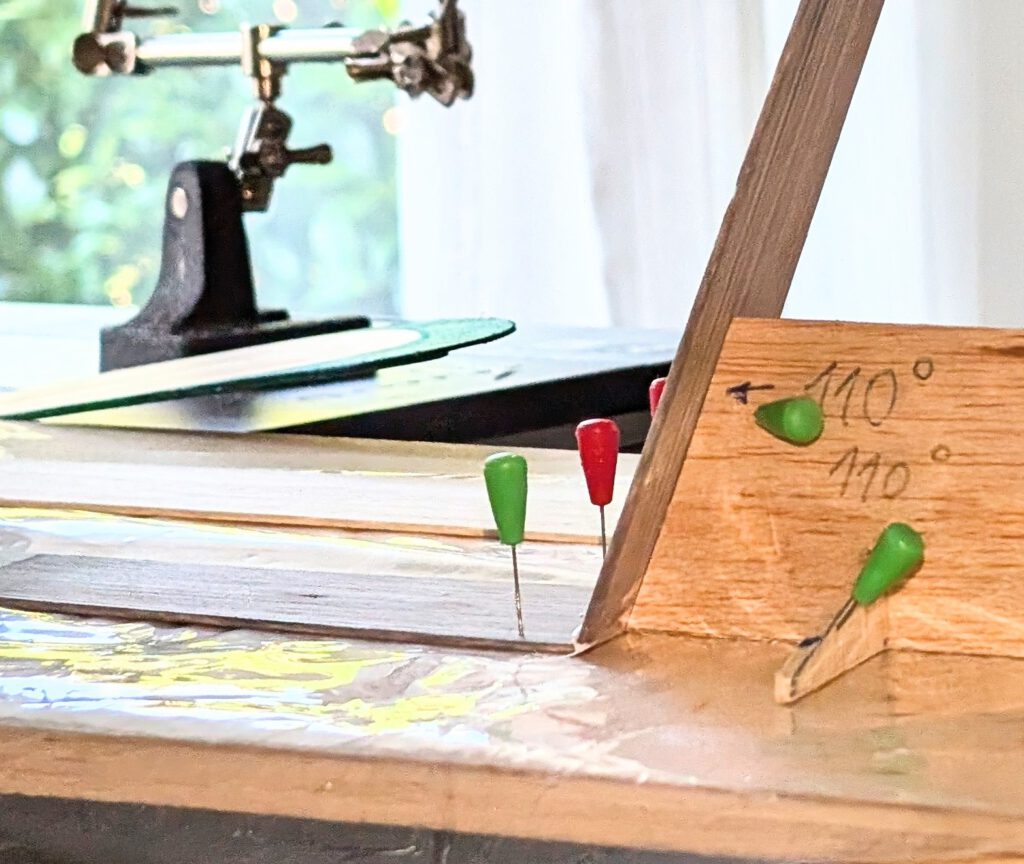
Cement both V-tail halves one to the other thereby observing the angle given on plan (photo). A self-made template from balsa will turn out helpful for this step.
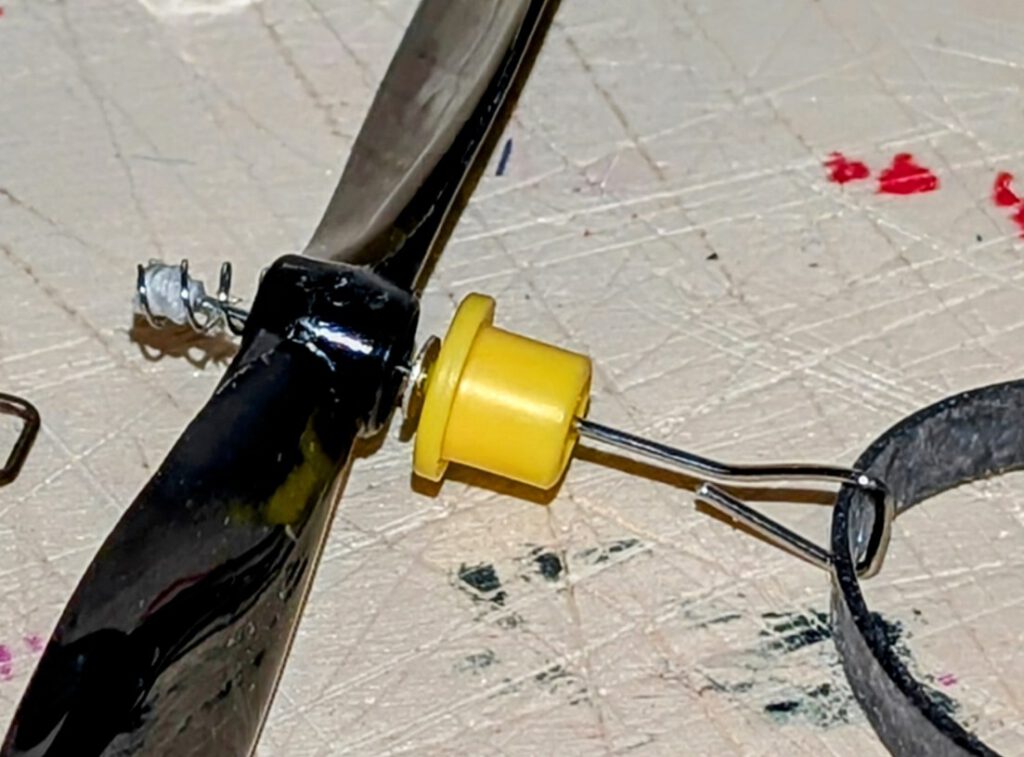
Airscrew:
Commercial propellers which usually are intended for tractor models must be convertedfor use on pusher models as they would perform poorly when used unconverted.
Take a 6 in prop and remove (cut) its original axle-hook with pliers. Form from 1 or 1.2 mm diameter piano wire new axle-hook (photos). With a small spring taken from aballpoint pen, the propeller can also easily be converted into a free-wheeling propeller(photos).
Don’t hesitate, just do this conversion, because it’s much easier than you might think! I assure you that.
Observe that the airscrew must point downward. How much downward is to be determined by you. Take the angle shown on my plan as a sample and test by yourself.
Final Assembly:
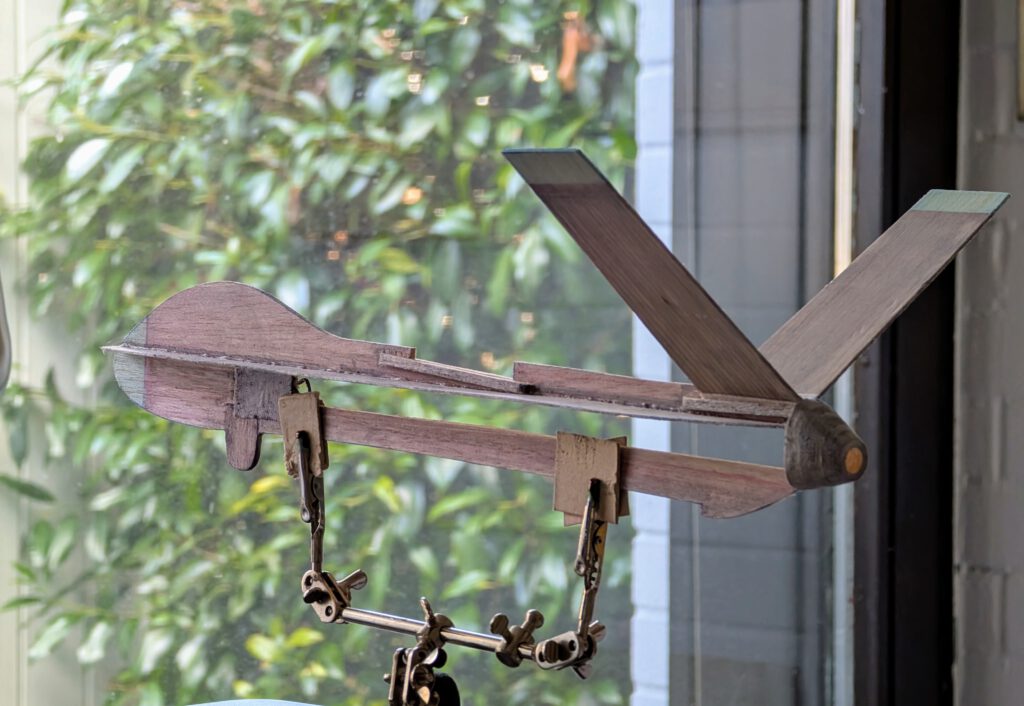
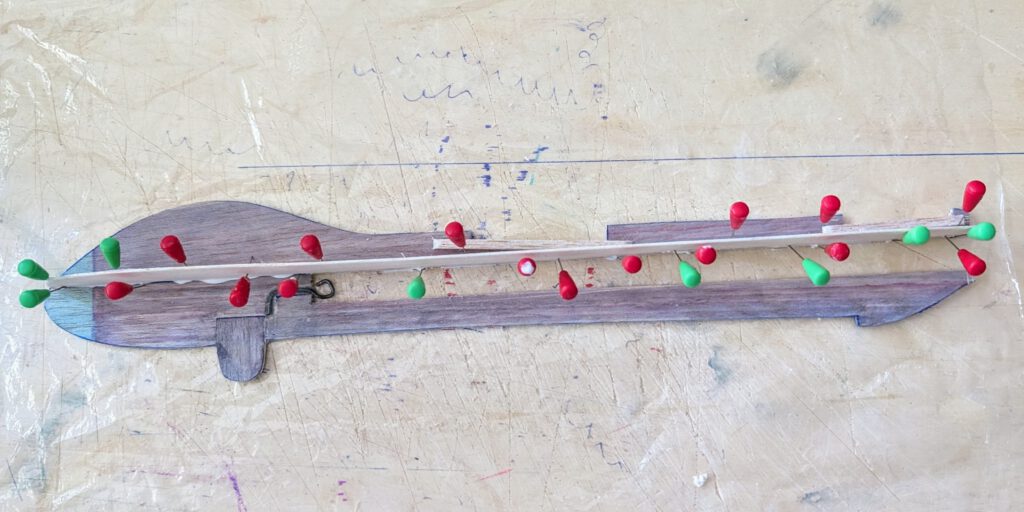
Put the fuselage assembly on a so called ‘third hand’. Cement empennage into slot in the fuselage assuring that absolute symmetry is obtained (photo). Repeat procedure with wing. Measure and check better twice than once. Let dry.
Test flying the model:
Make your first test glides and your first powered flights over tall grass only.
Use small piece of lead or scrap metal as ballast.
Remember correct center of gravity (CG) is essential for successful flights.
This model flies amazingly well, now it has become my favorite model.
שיהיו טיסות נעימות! (passez des vols agréables!)

Leave a Reply