
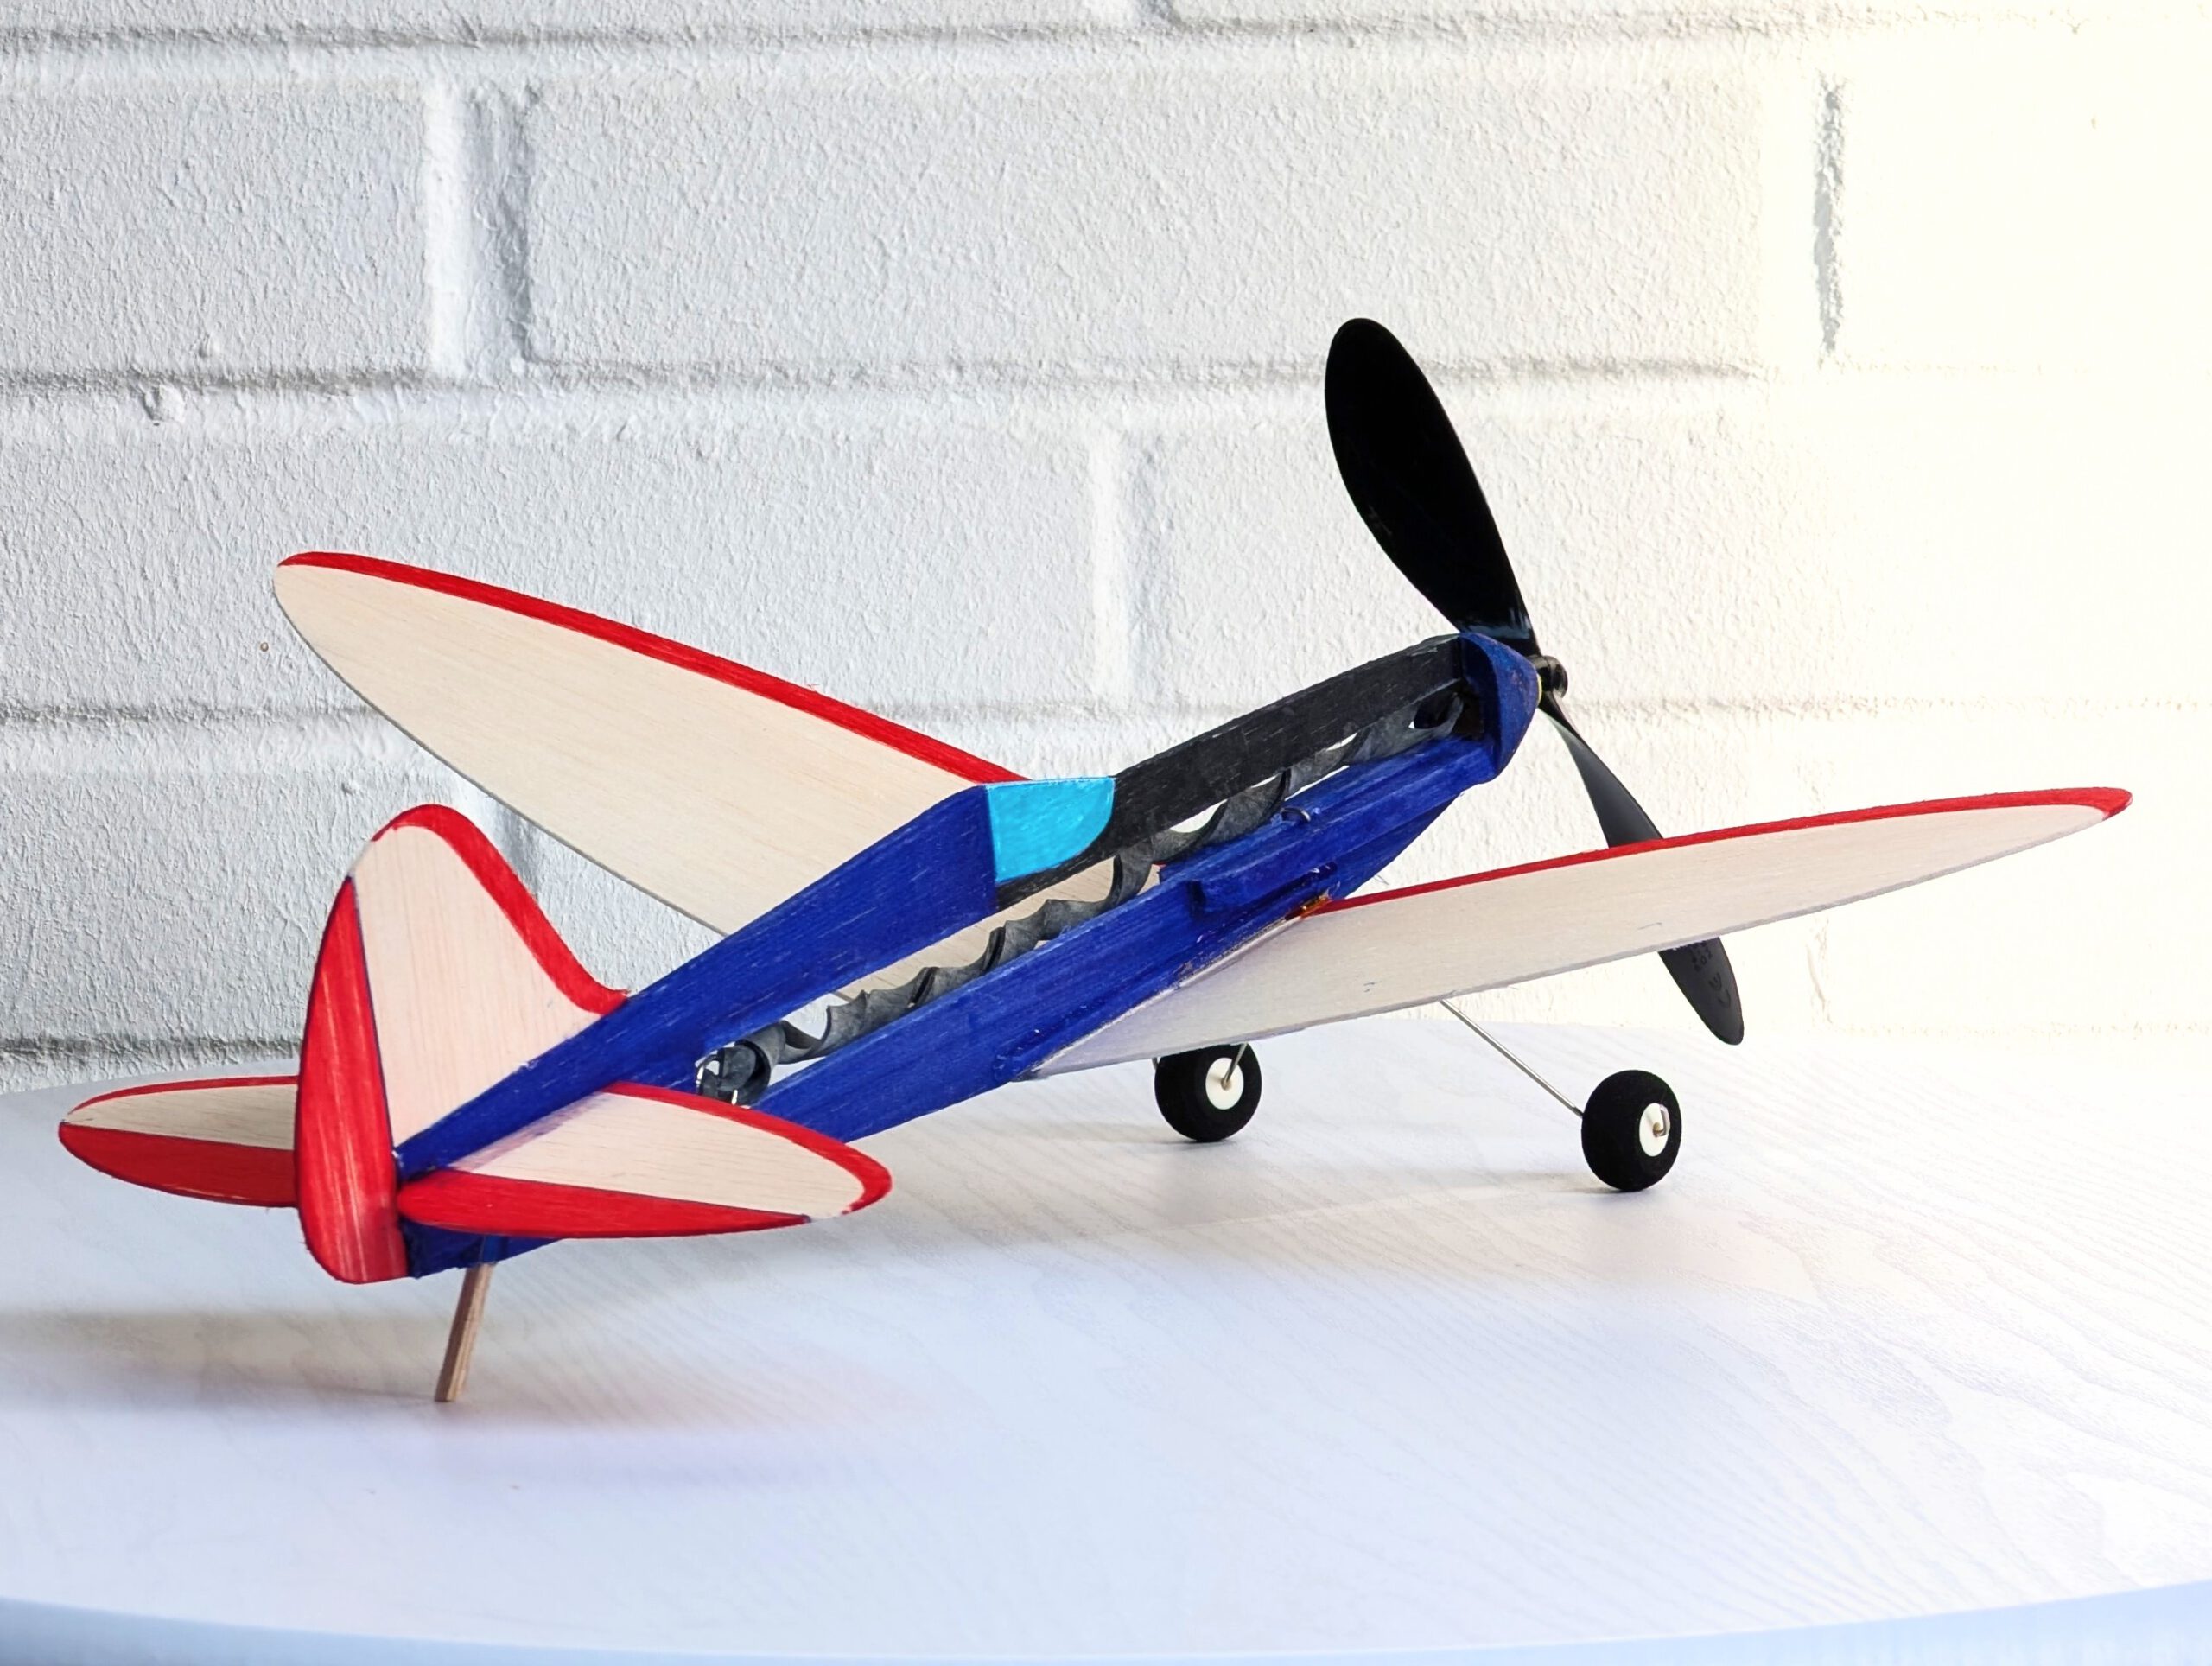
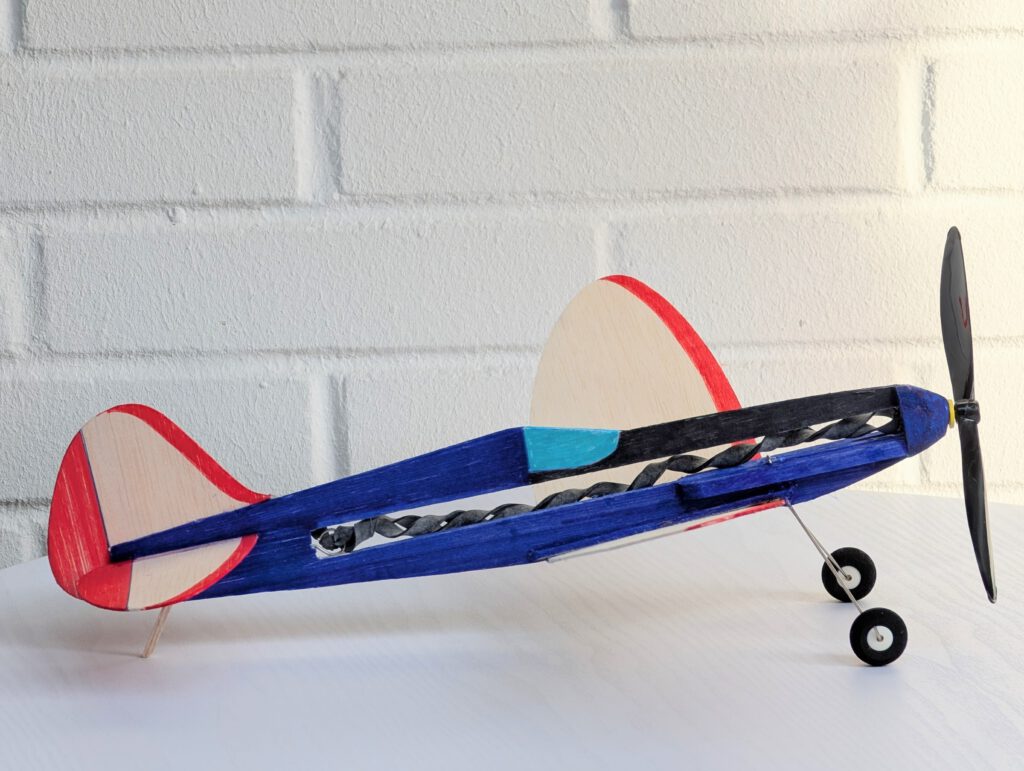
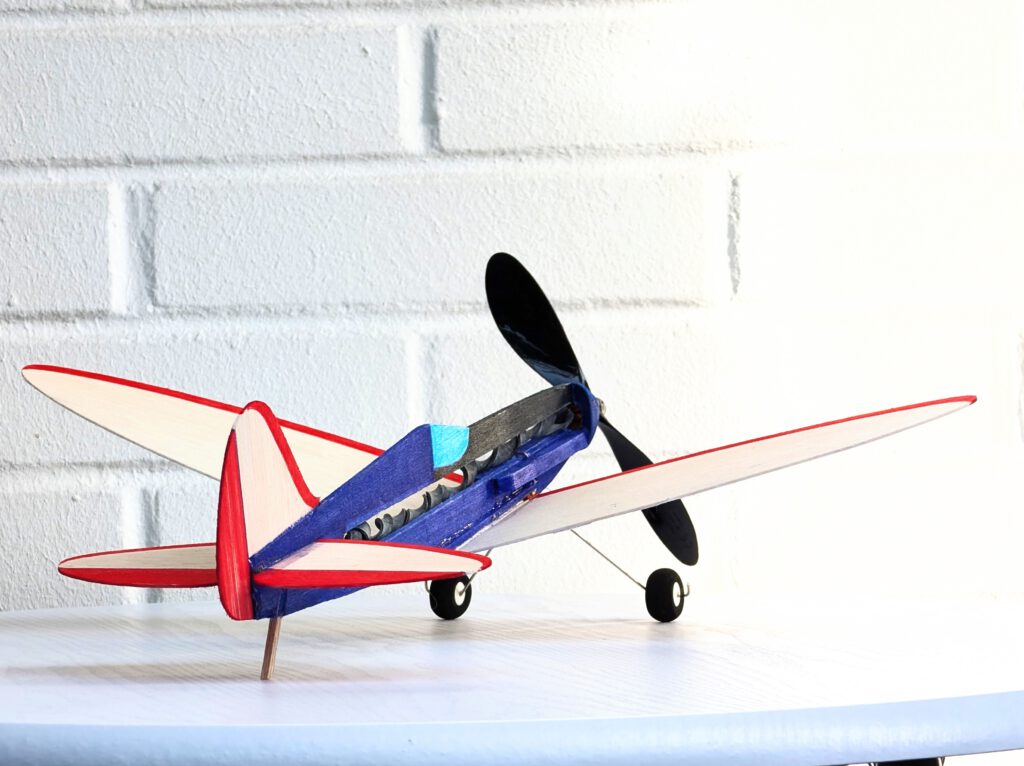
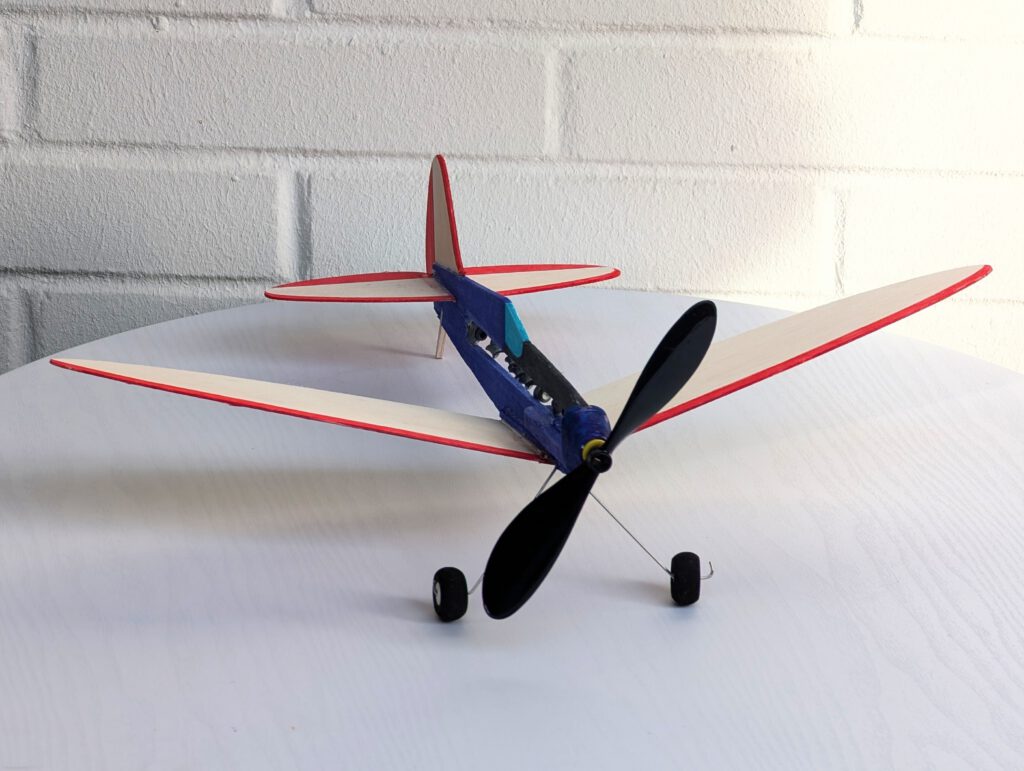
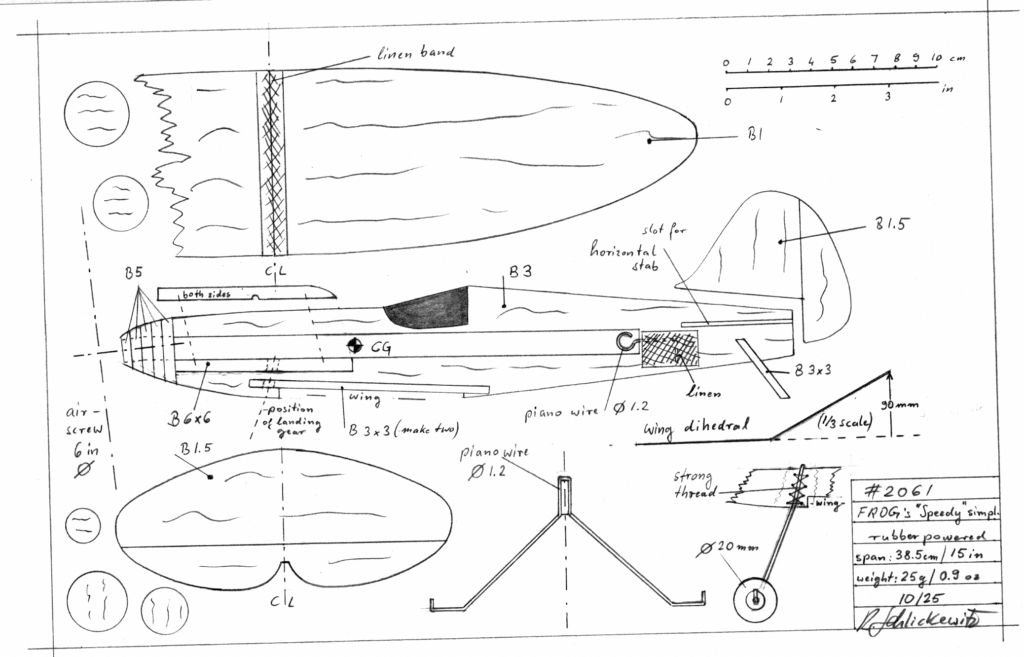
Span 38.5 cm / 15 in
Weight 25 g / 0.9 oz


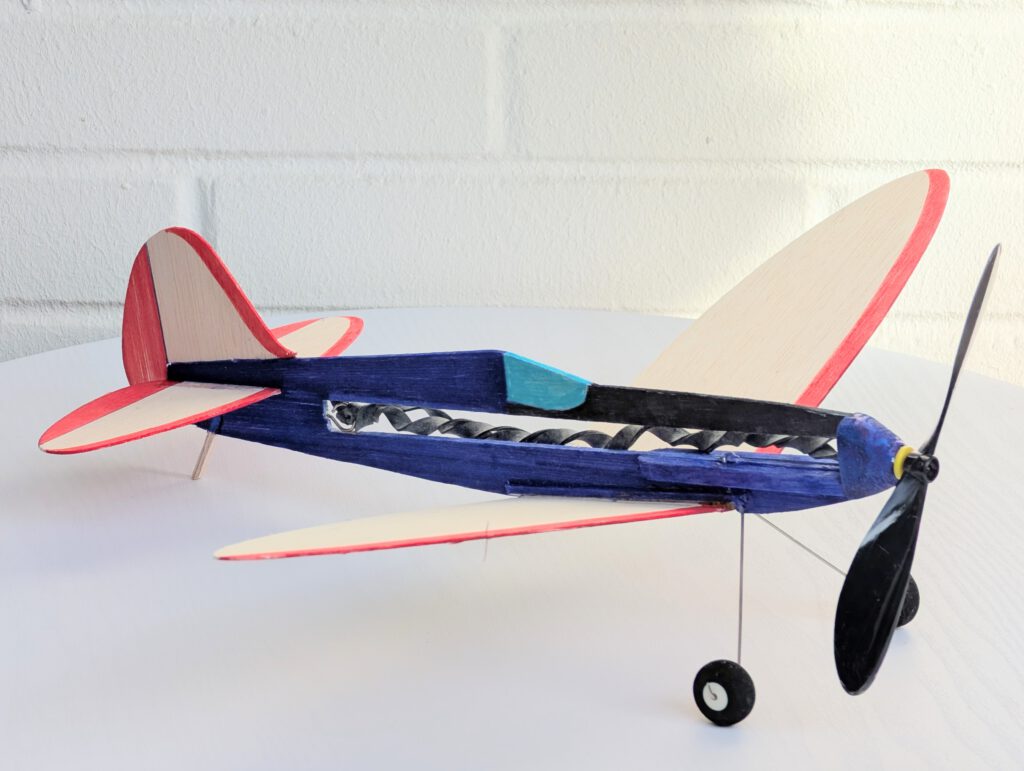
The concept:
- Classic vintage outlines
- Good flight characteristics
- Low-wing monoplane
- Landing gear (ROG)
- Lightweight construction
- Not suitable as first model
FROG was one of the great British model manufacturers in the old times. Happy the one who can nowadays acquire an unbuilt kit of this unforgotten brand. I like the outlines of FROG models, they look vintage but elegant and absolutely not outmoded to me. As we present easy to build models on this platform I tried to radically simplify one of my favorite FROG designs, the Speedy. The result can be considered a success as it flies very well.
For the one who wants to build the original Speedy go visit outerzone.co.uk the provider for free international vintage model plans.
Building the rubber powered balsa profile-fuselage model FROG’s “Speedy” simplified.
Materials
Fuselage: B 3; fuselage nose parts: B 5 and B 6 x 6; rubber hook: piano wire 1.2 mm diameter; landing gear: piano wire 1 or 1.2 mm diameter plus commercial light weight wheels diameter 20 or 25 mm; tail skid: B stick 3 x 3; wings: B 1; wing supports: B 3 x 3; horizontal stabilizer: B 1.5 or hard B 1; fin: B 1.5 or hard B 1; solid tailor’s thread; linen band width 12 mm / ½ in; ballast: small piece of scrap metal or lead; one commercial plastic airscrew 6 in diameter or self-made from wood; black rubber.
Assembly
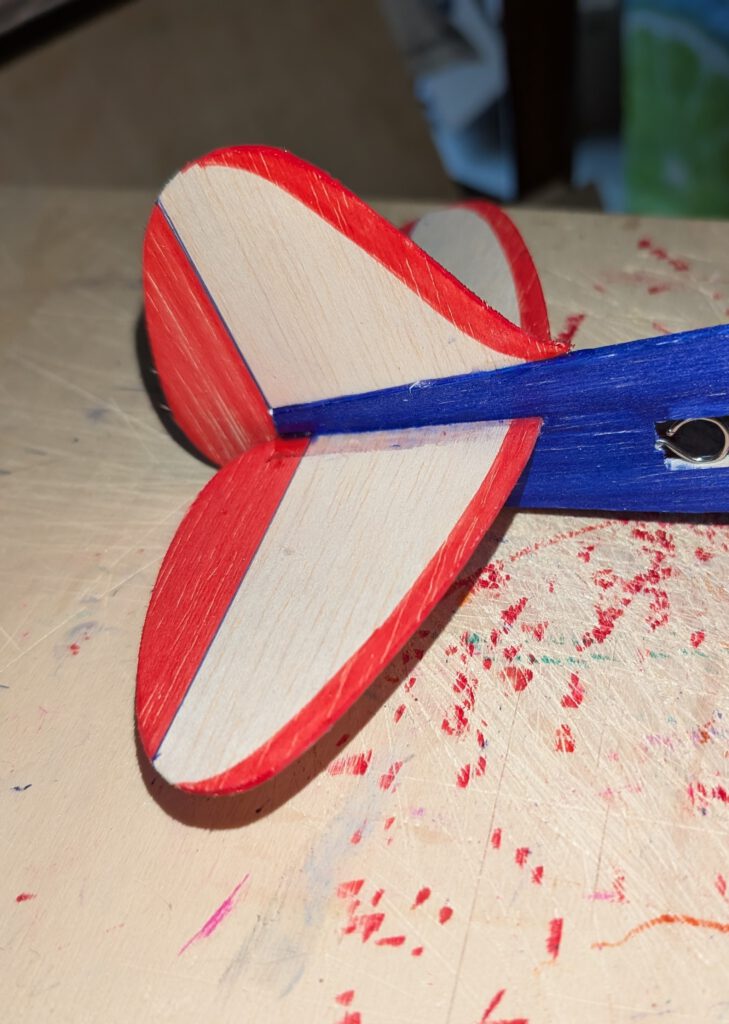
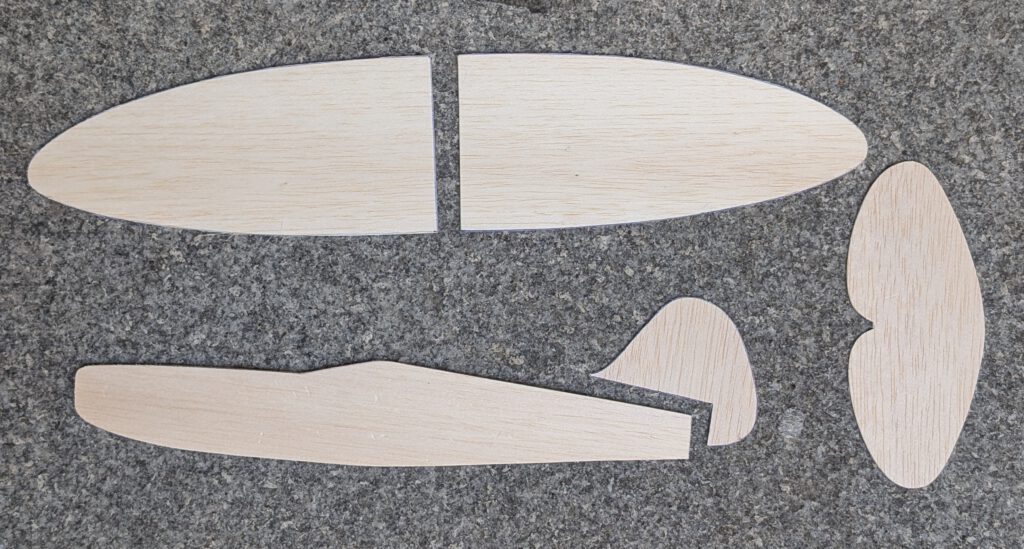
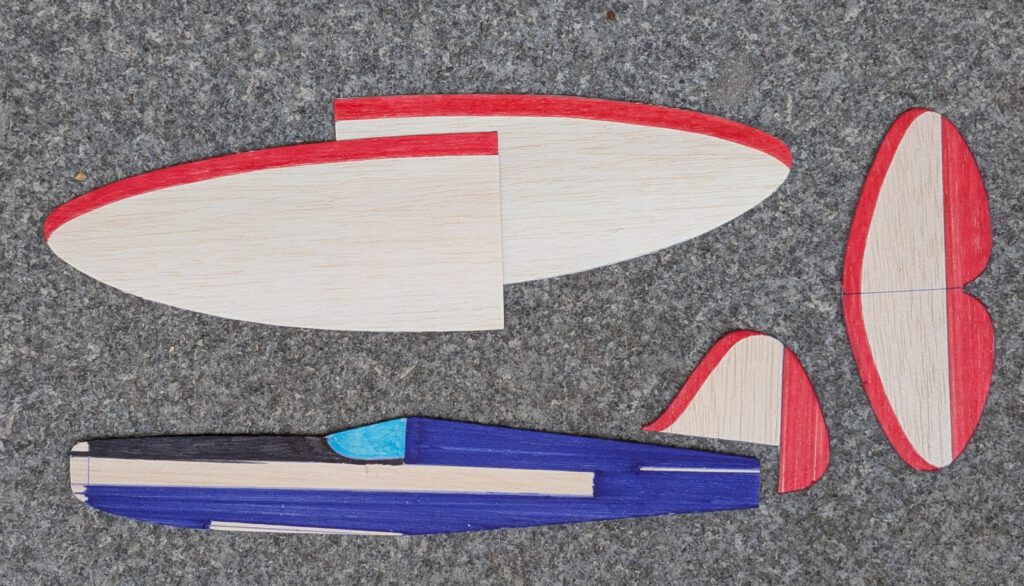
Cut out balsa parts in accordance to plan. Sand well (photo). Transfer outlines of cabin, rudders, elevators, etc. from paper to wood with pen. If desired paint model parts now.
Wing:
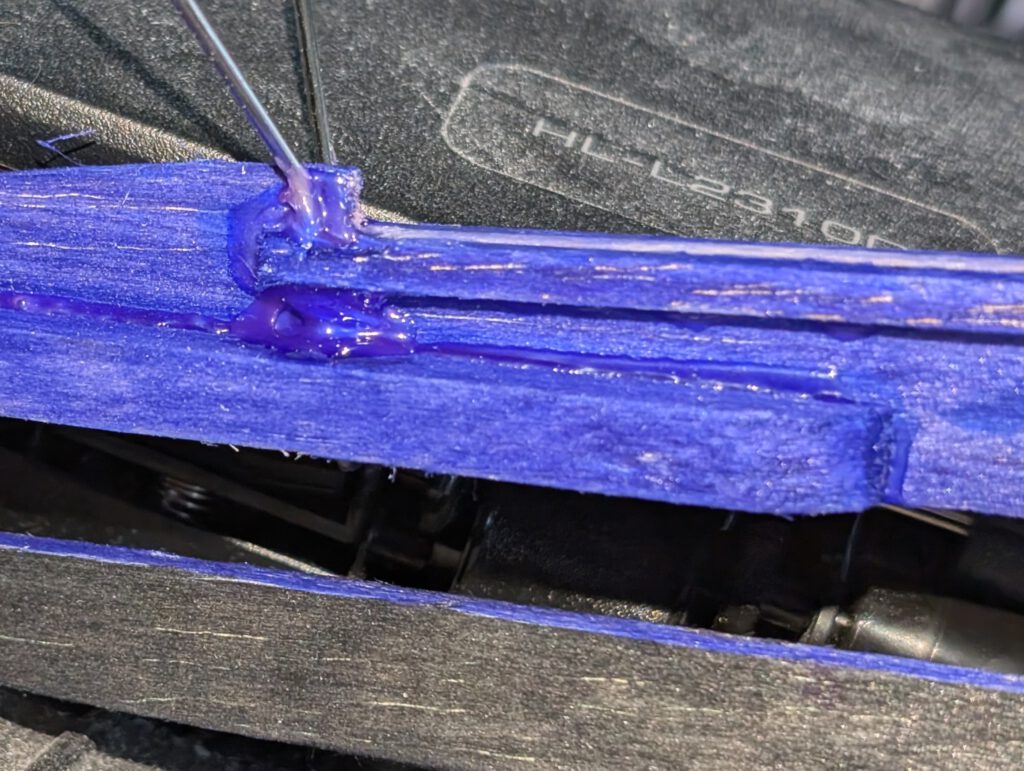
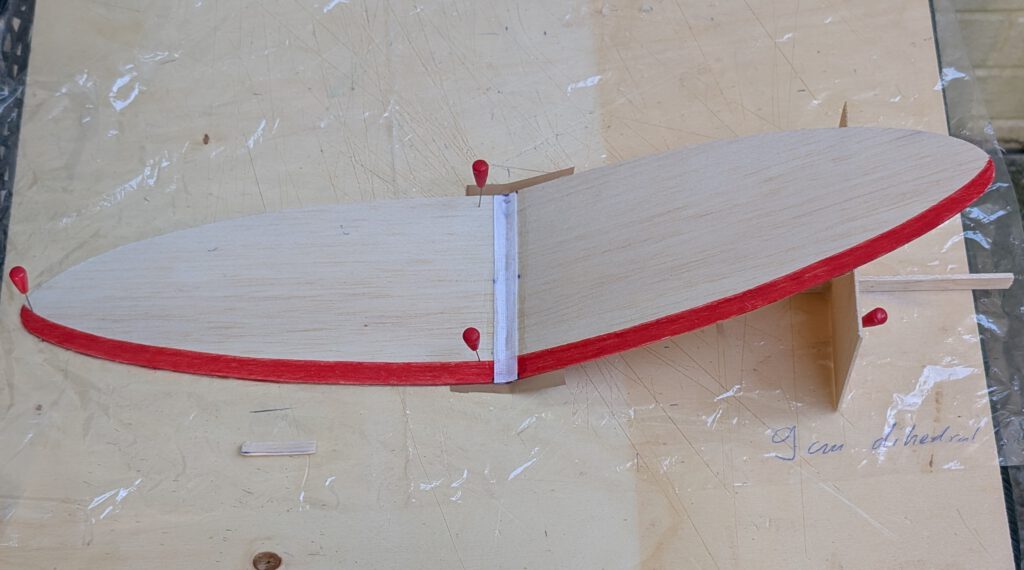
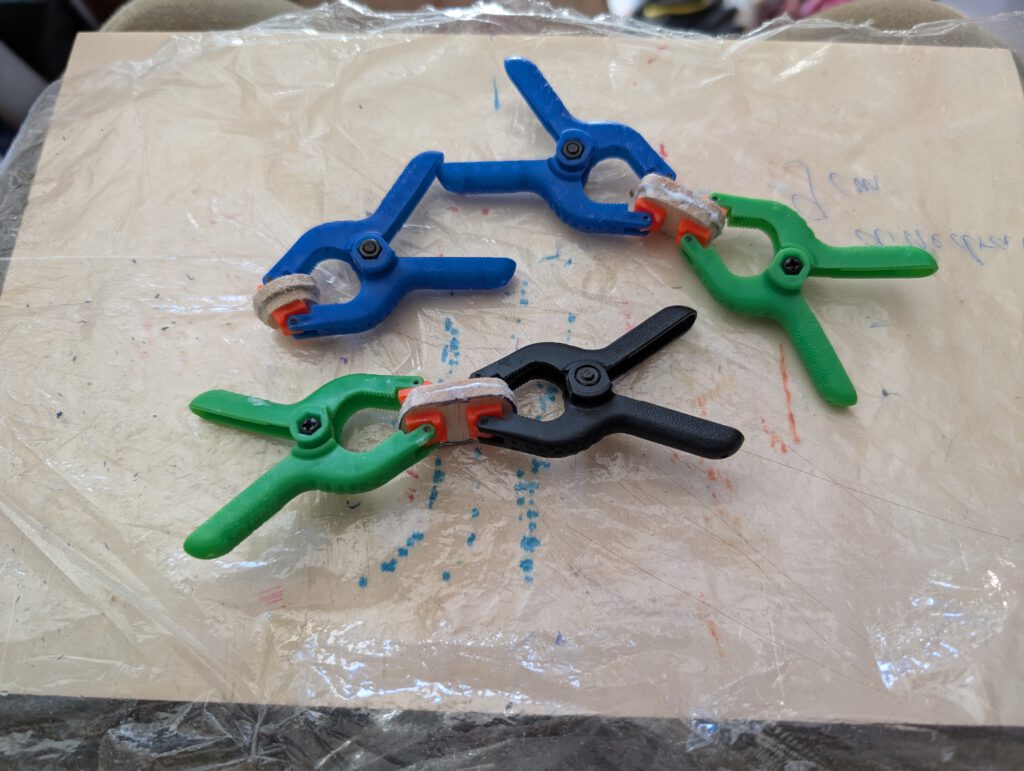
Wing consists of a right and a left wing half. Fix one wing half on building board with pins. Cement corresponding half to it by paying attention to dihedral (90 mm) given in plan. When dry reinforce joining area with linen band (photo) and let dry.
If wing has tendency to rest on one side only, then it is too heavy on this side. To compensate the imbalance, disperse a small amount of white wood glue on the opposite wing tip area and let dry. Do it, if necessary, twice until balance is obtained. Let dry.
Fuselage:
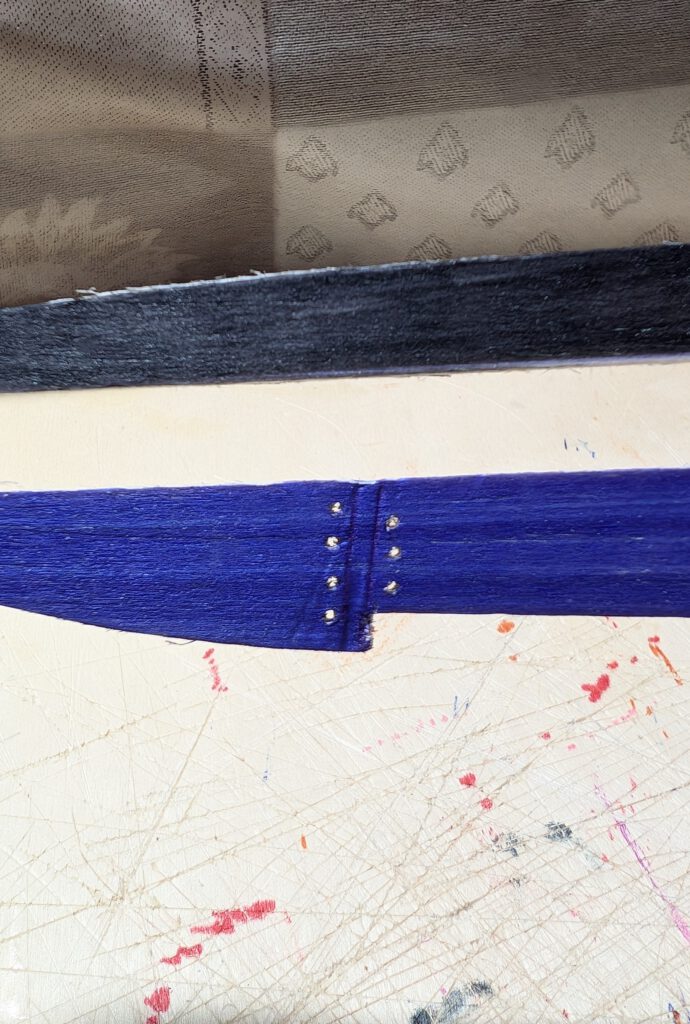
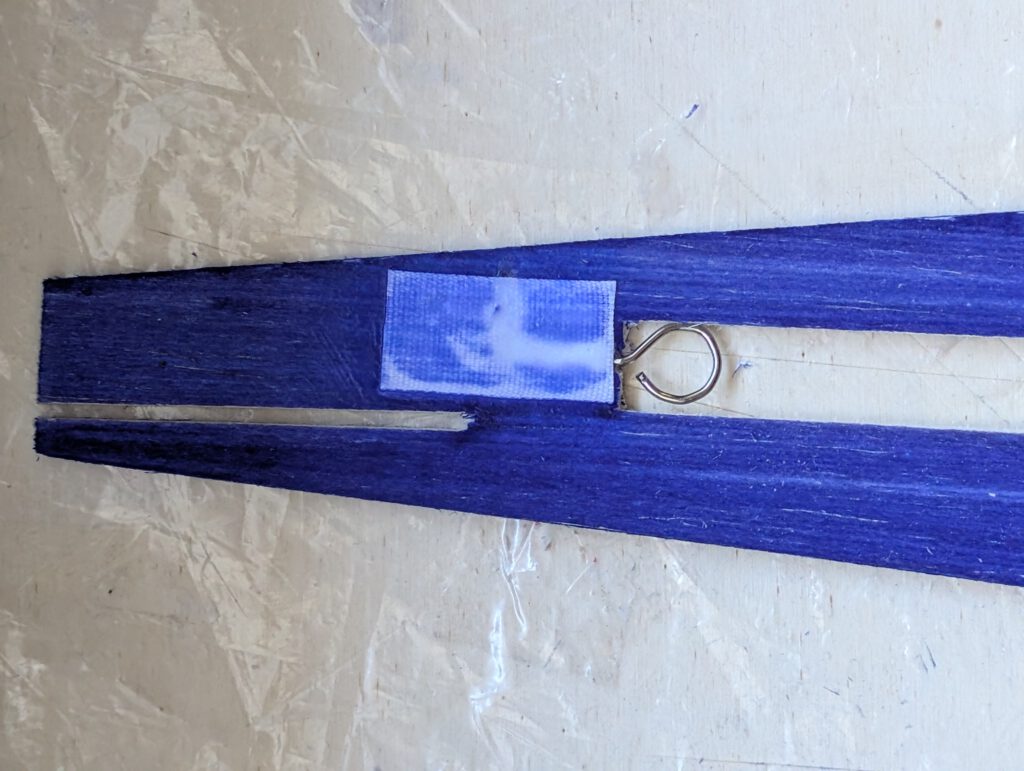
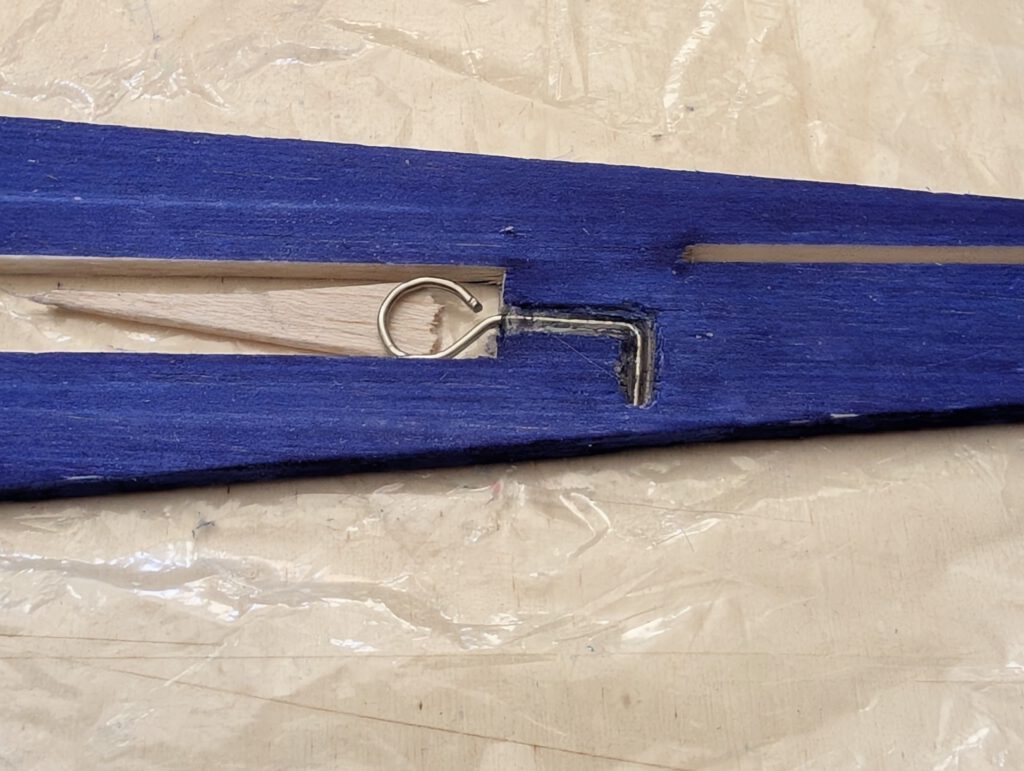
Bend as shown on plan piano wire into given hook shape. Carve out with knife and round file seat for rubber hook on left or right side of fuselage. Cement hook in place and cover hook area with linen band as seen on photos and on plan. Let dry.
Make cutout for tail skid and install into fuselage, then let dry.
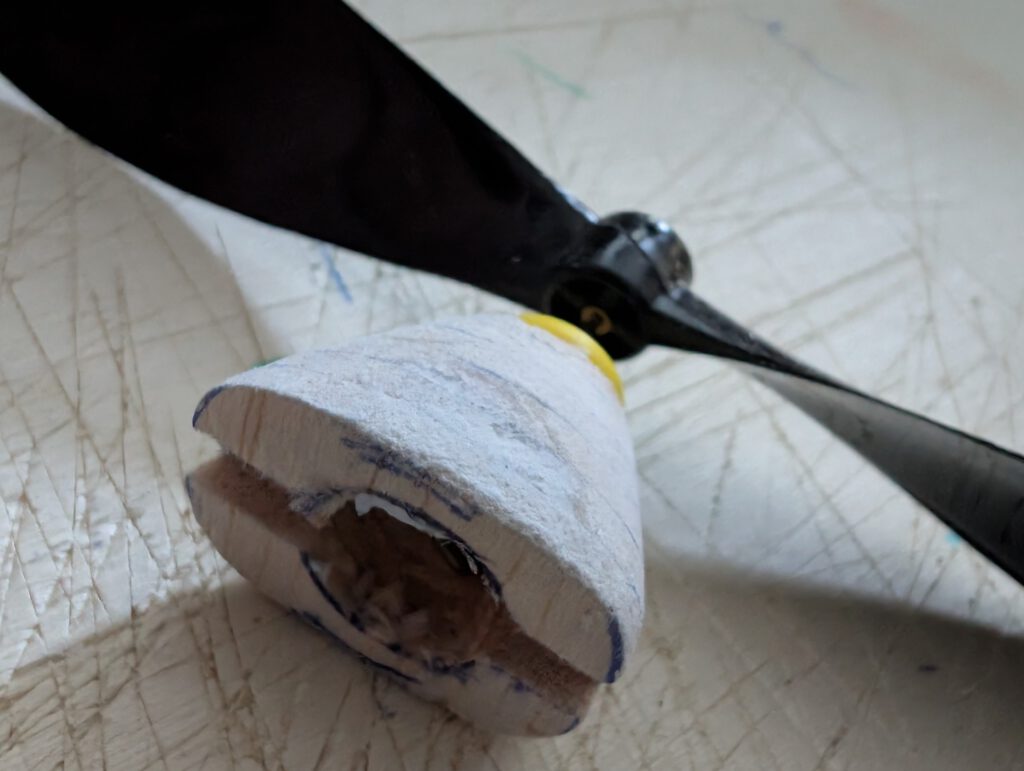
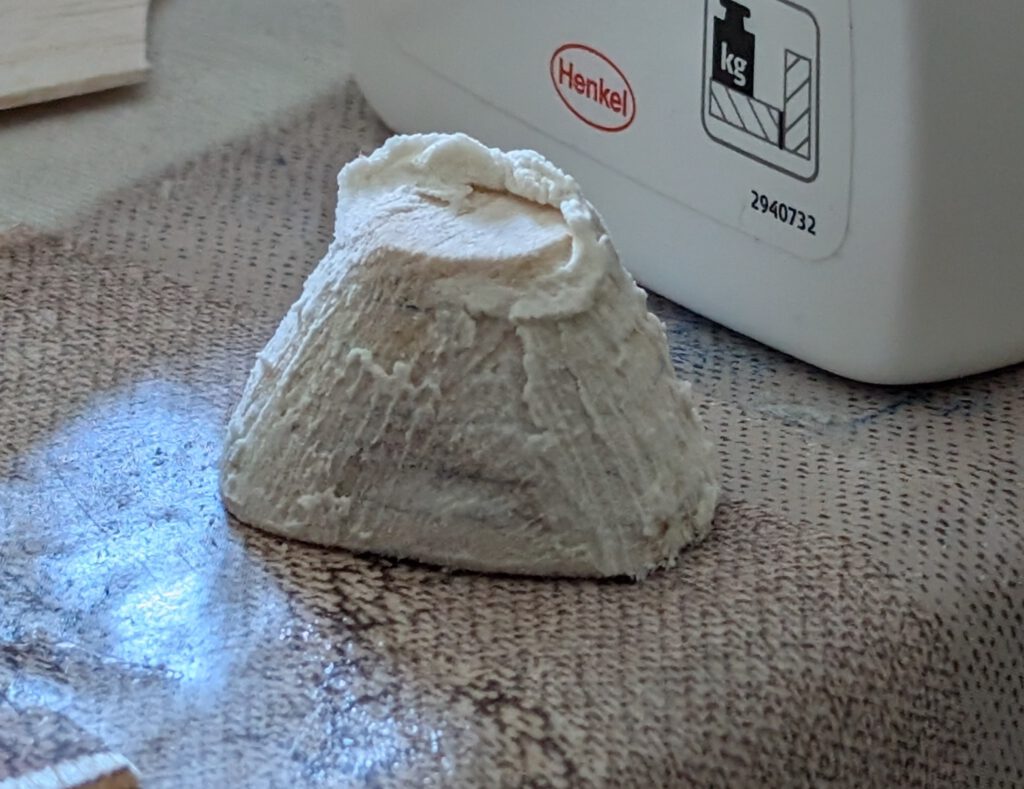
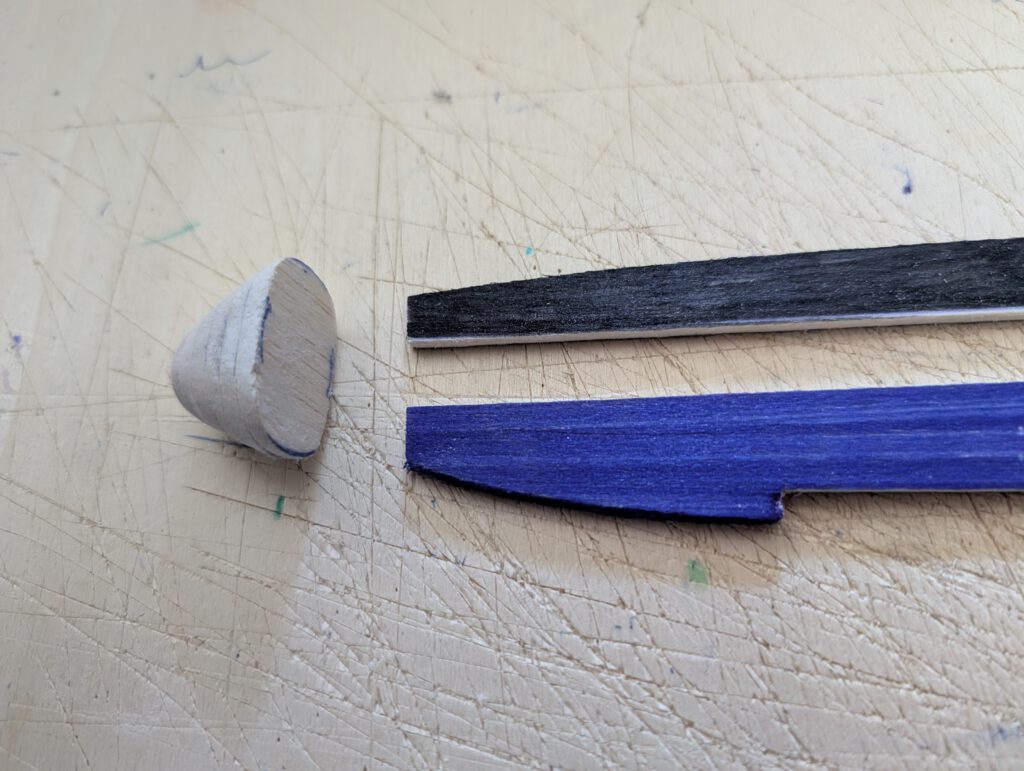
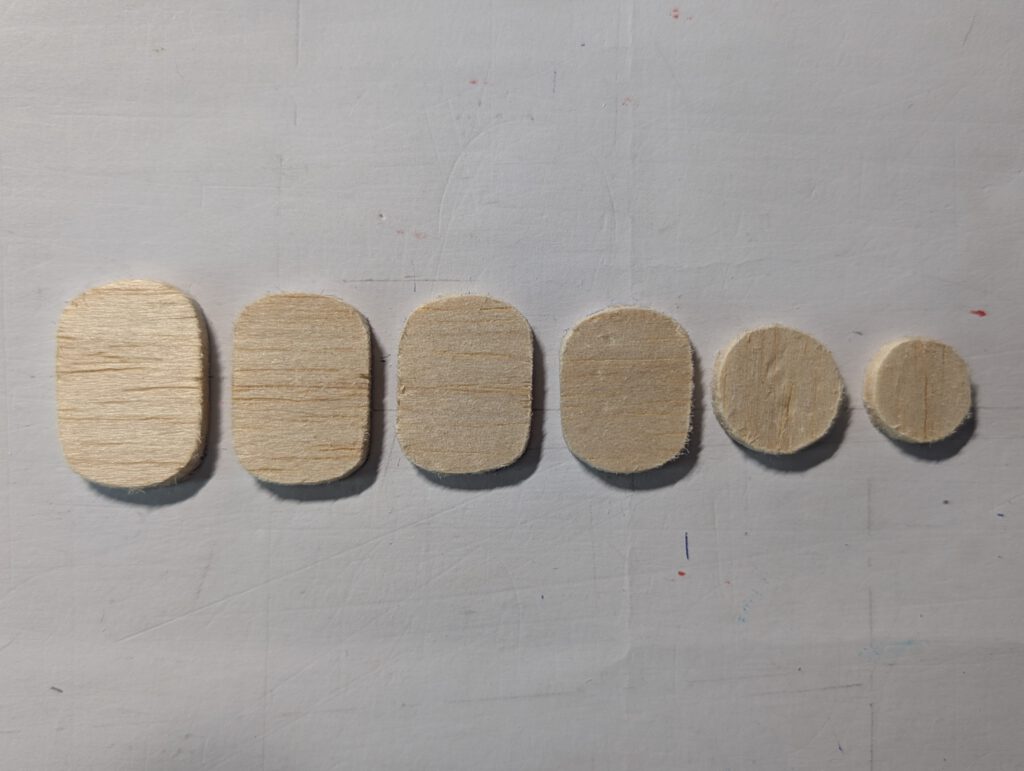
Cement round B 5 nose parts one on the other as shown on plan and let dry. Sand well than treat this part with balsa putty. When dry sand again. May be this procedure has to be repeated. When the nose part is smooth you can start to carve out opening which will hold prop-bearing. Start from behind and don’t do it in a hurry. A little electric drill machine can be useful.
Cement nose assembly onto fuselage according to plan and photos.
Landing gear:
Bend piano wire according to pattern on plan. It is easier than you might think, just start to do it with the help of two needle nose pliers. Regularly compare your result with pattern on plan and correct if necessary. Drill little holes into the hull as shown on detail drawing. Sew the wire tight to the fuselage with a solid strong thread as shown. Cover area around generously with cement or epoxy. Let dry.
Make cutouts corresponding to landing gear assembly on B 6 x 6 nose stick parts and cement them in place. Let dry.
Do the same with B 3 x 3 wing support strips, make cutouts and cement. Let dry.
Empennage:
Cement horizontal stabilizer into its slot on fuselage using pins to hold. Visual check symmetry from all sides. Let dry.
Add fin in the same way and let dry.
Final Assembly:
Fix fuselage assembly upside down on a so called ‘third hand’. Cement wing on fuselage and fuselage supports at the position given on plan using pins to hold in place. Doublecheck visually symmetry. Let dry.
A piece of lead or scrap metal may be used to balance model if necessary. My model was balanced nearly correctly without any ballast as prop and landing gear act as ballast too.
Remember correct center of gravity (CG) is essential for successful flights.
Palju edukaid lende! (Paljon onnistuneita lentoja!)

Leave a Reply