

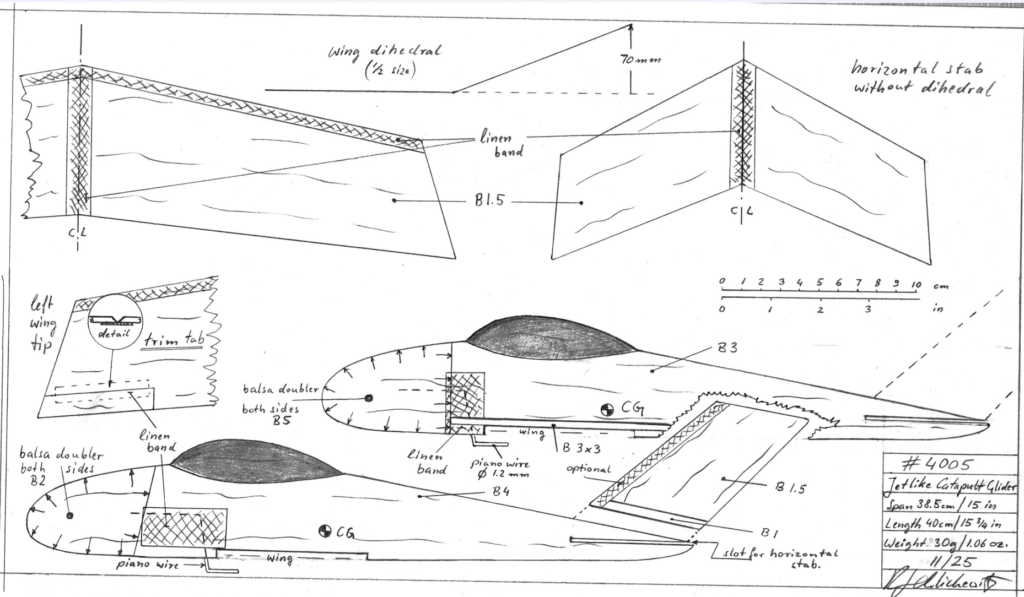
Span 38.5 cm / 15 in
Weight 30 g / 1.1 oz
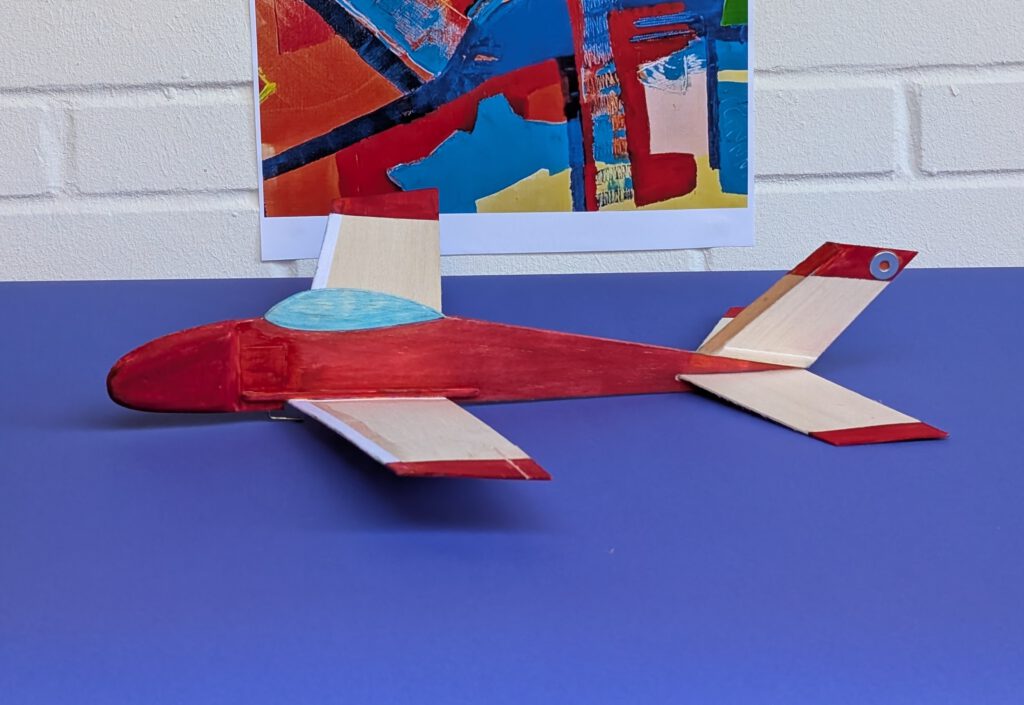
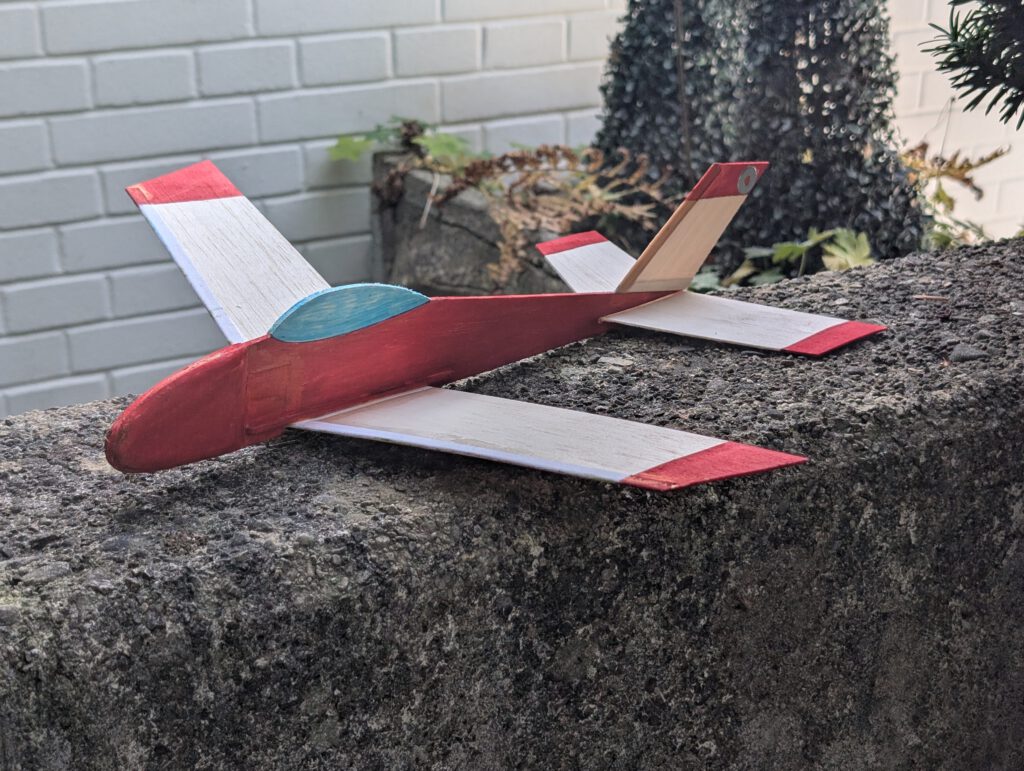
The concept:
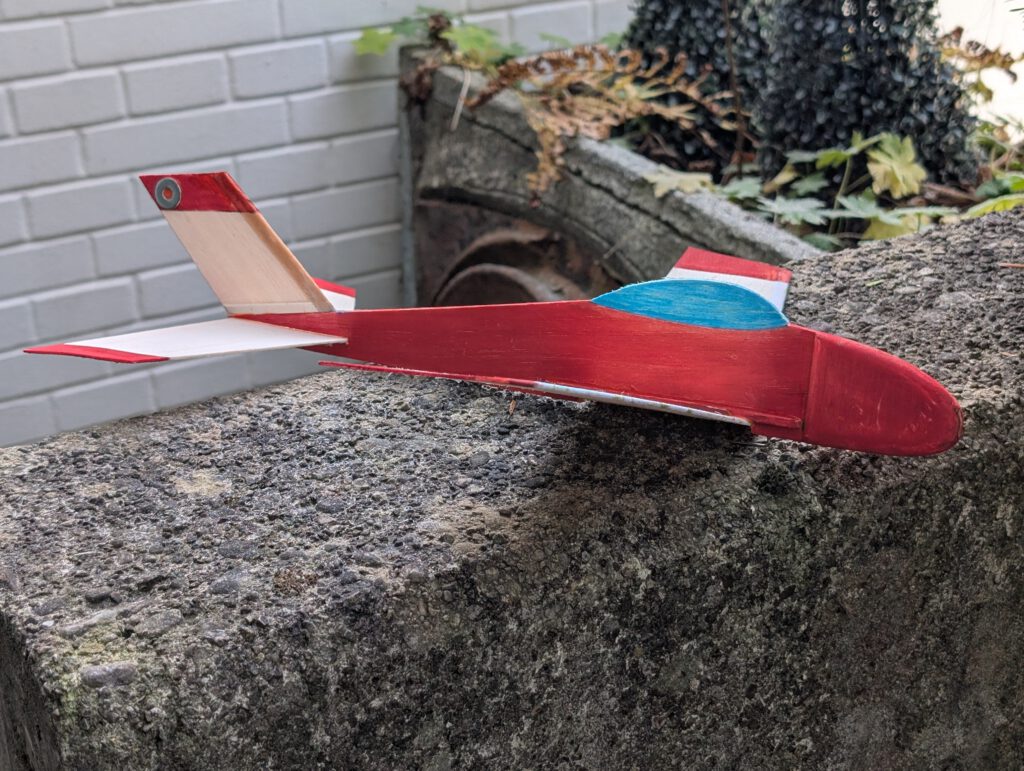
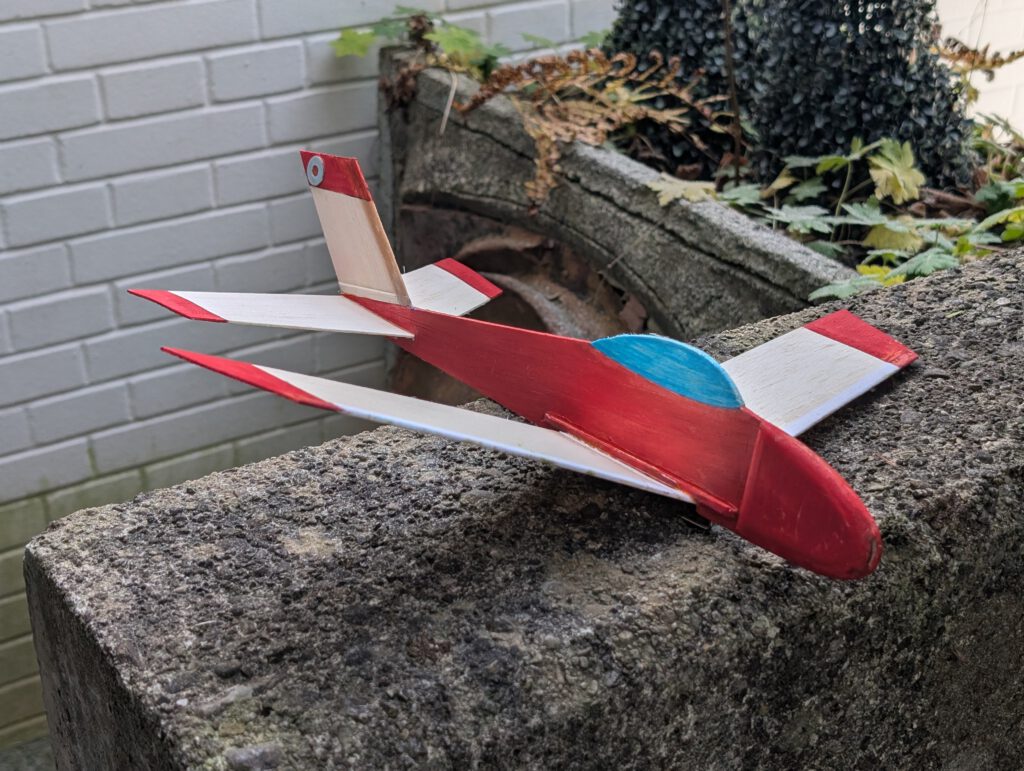
■ Jetlike appearance
■ Low wing monoplane
■ Trim rudder
■ Few parts
■ Easy to build
■ Capable of long glides
■ Solid airframe
■ For small slingshots
Small slingshots are the usual slingshots for light models employing thin amber color rubberrings.
General notes on beginner.zone slingshot/Slangbella models:
Be on the secure side. If the Balsa you intend to use for your fuselage is too soft or too light – reinforce it with an additional 12 mm / ½ in linen band glued along the whole fuselage on one side.
Fins should generally be cemented with acrylic glue on fuselages and hardwood “teeth”between fuselage and fin are one more option to ensure a durable and strong connection.
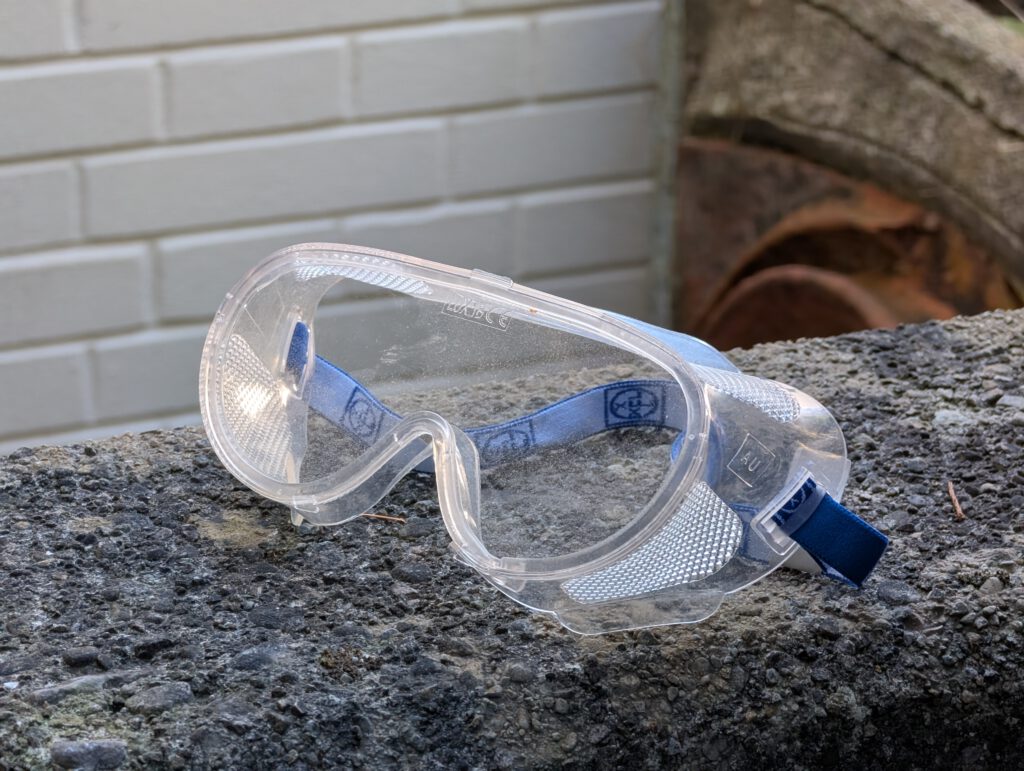
When you start your model, hold it with outstretched arms as far away from your eyes as possible!
Why not put on glasses when you fly your model as a rubber sling can produce massive energy.
Help prevent preventable accidents.
Building the sheet balsa Jetlike Catapult glider.
A note:
On our plan you will find two different fuselages with minor differences. Both layouts have comparable flight characteristics.
Materials:
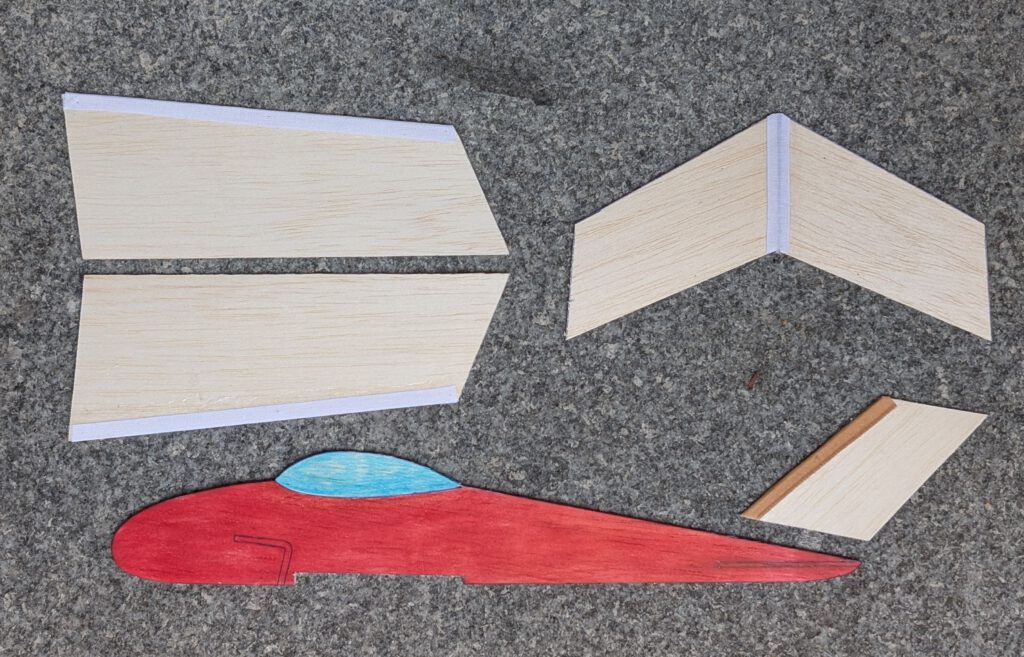
Fuselage: B 3 and B 4; fuselage nose doublers: B 2 and B 5; wings: B 1.5; wing supports: B 3 x 3; vertical stabilizer: B 1.5; vertical stabilizer supports: B 1 strips; horizontal stabilizer: B 1.5; cotton/linen band, width: 12 mm / ½ in and 20 mm / ¾ in; hook: piano wire 1.2 diameter; Ballast: small piece of lead or scrap metal.
Assembly:
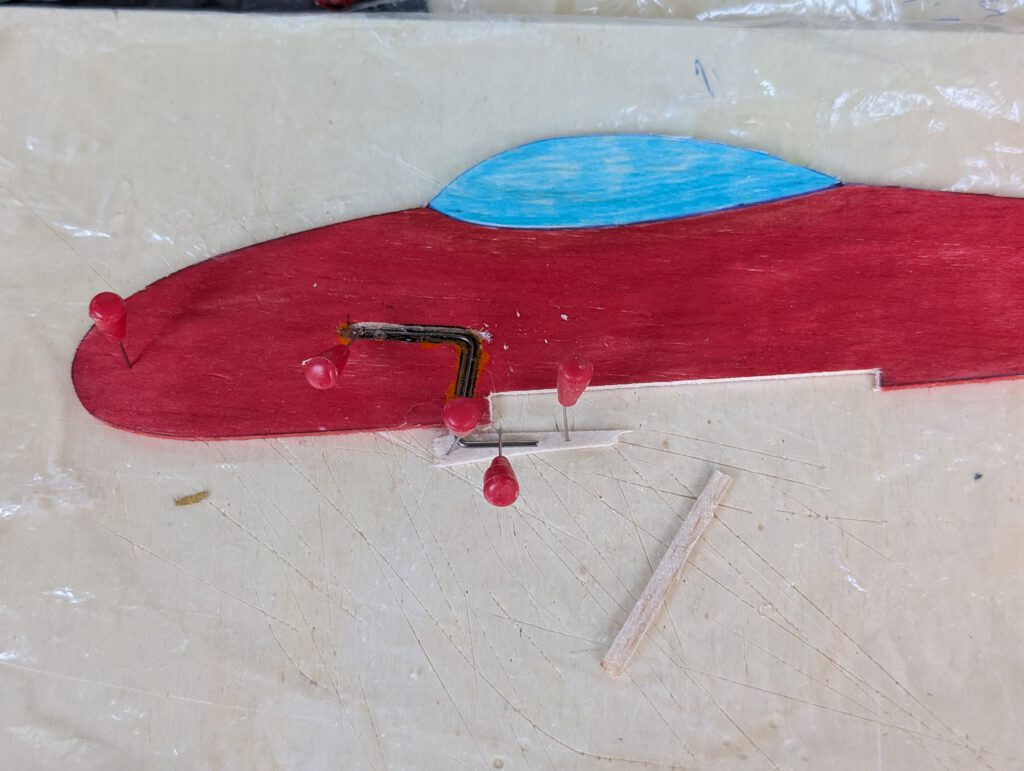
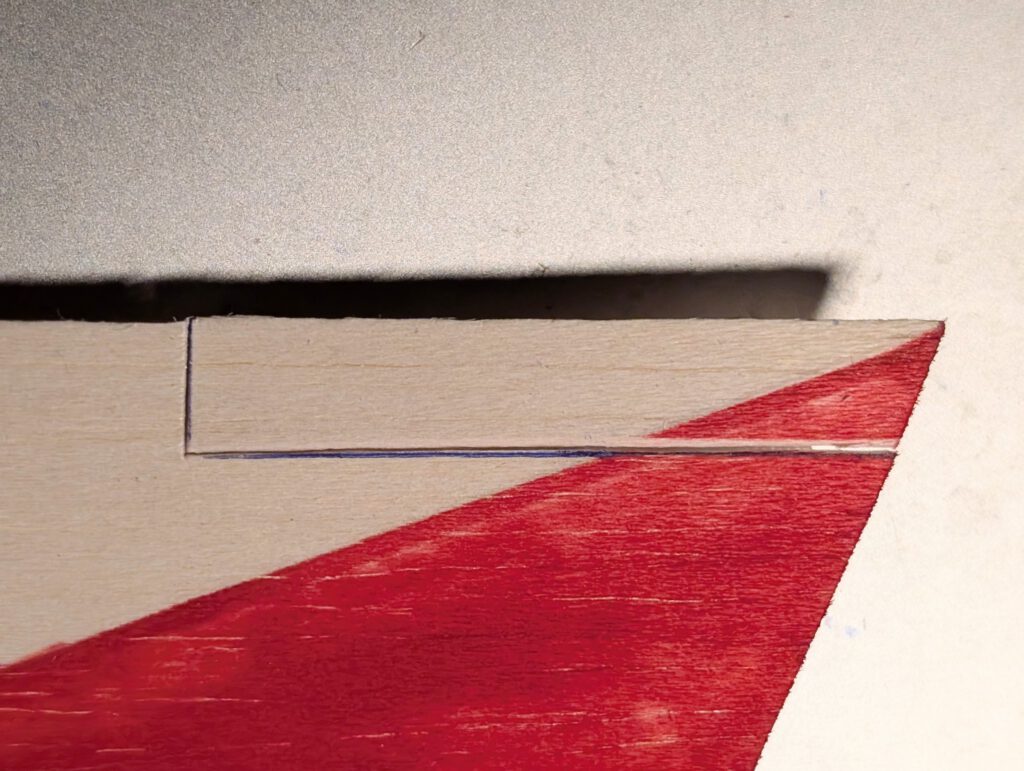
Choose one of the two versions of the model. Cut out all necessary balsa parts. Make opening for wing and slot for horizontal stabilizer into fuselage part (see photo). Sand well. Transfer outlines of cockpit from paper to wood with pen. Draw outlines of rudder, ailerons and elevator for more scale like appearance.
Wings:
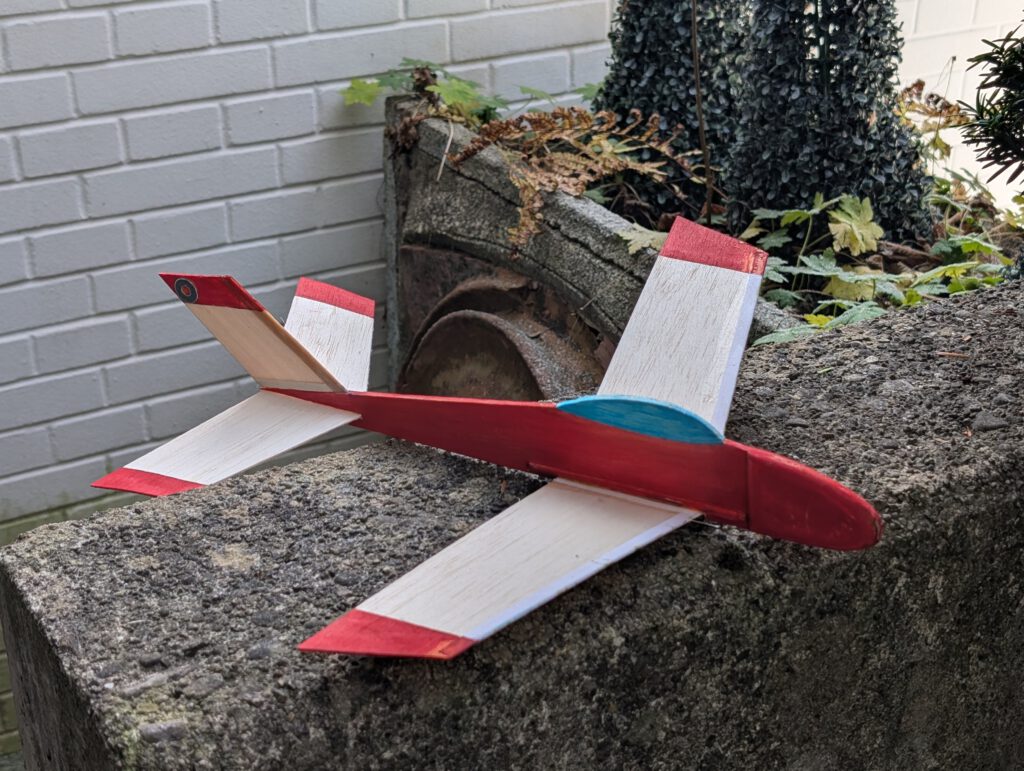
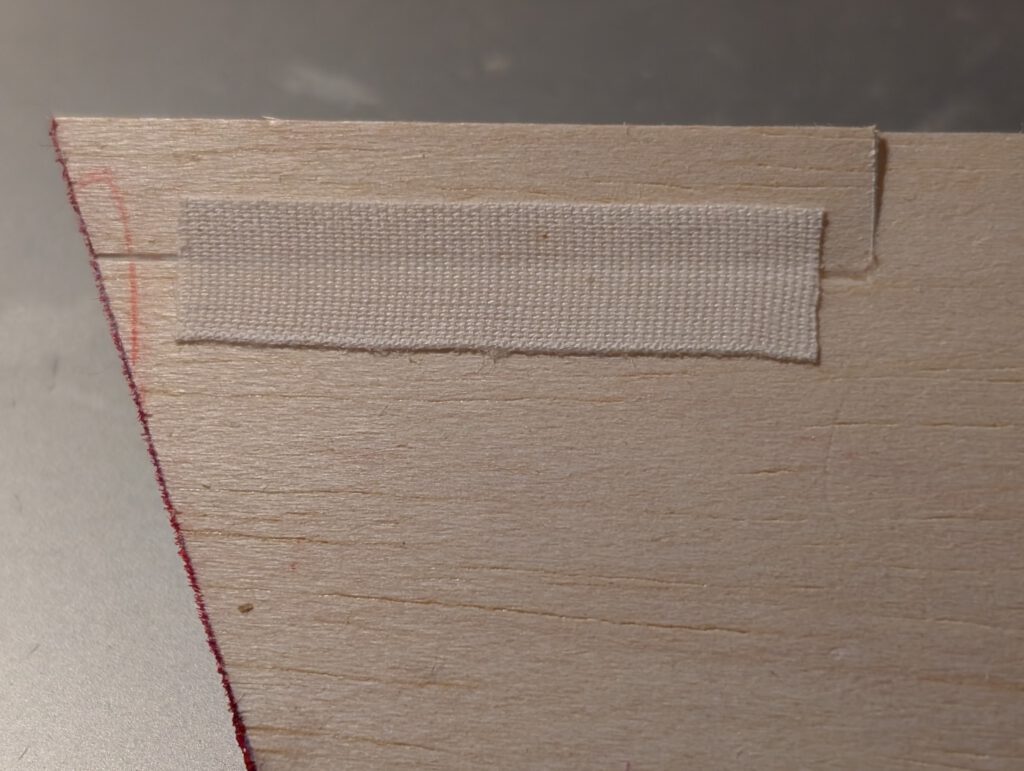
Strengthen leading edges of both wing halves with linen band as shown on plan.
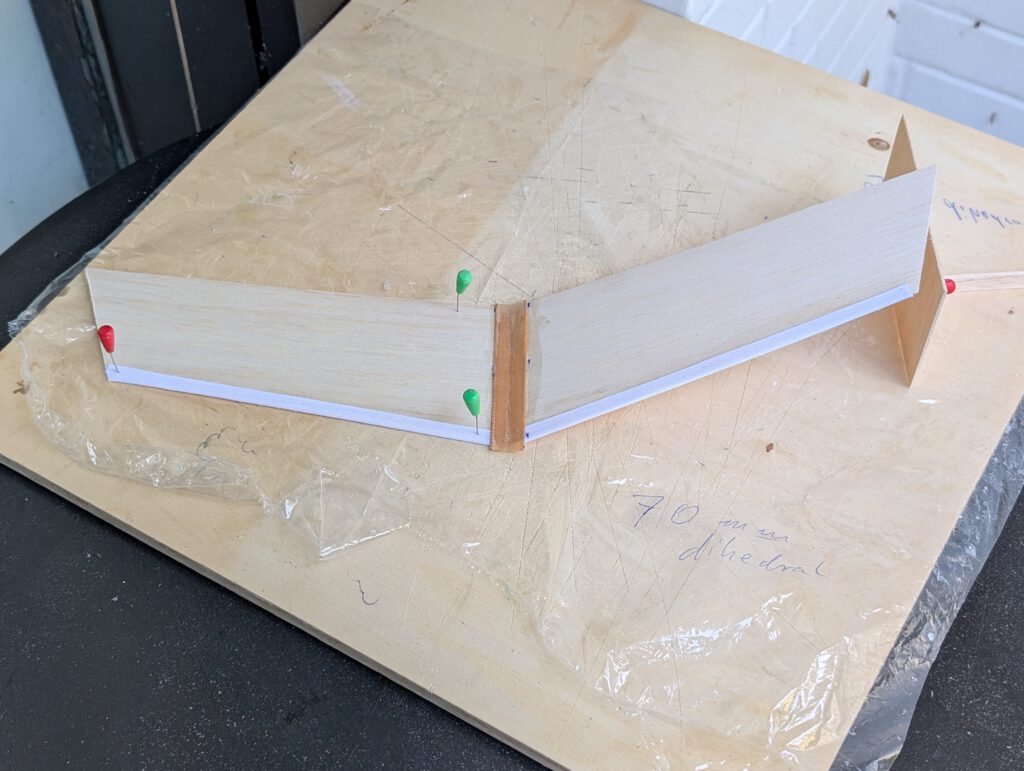
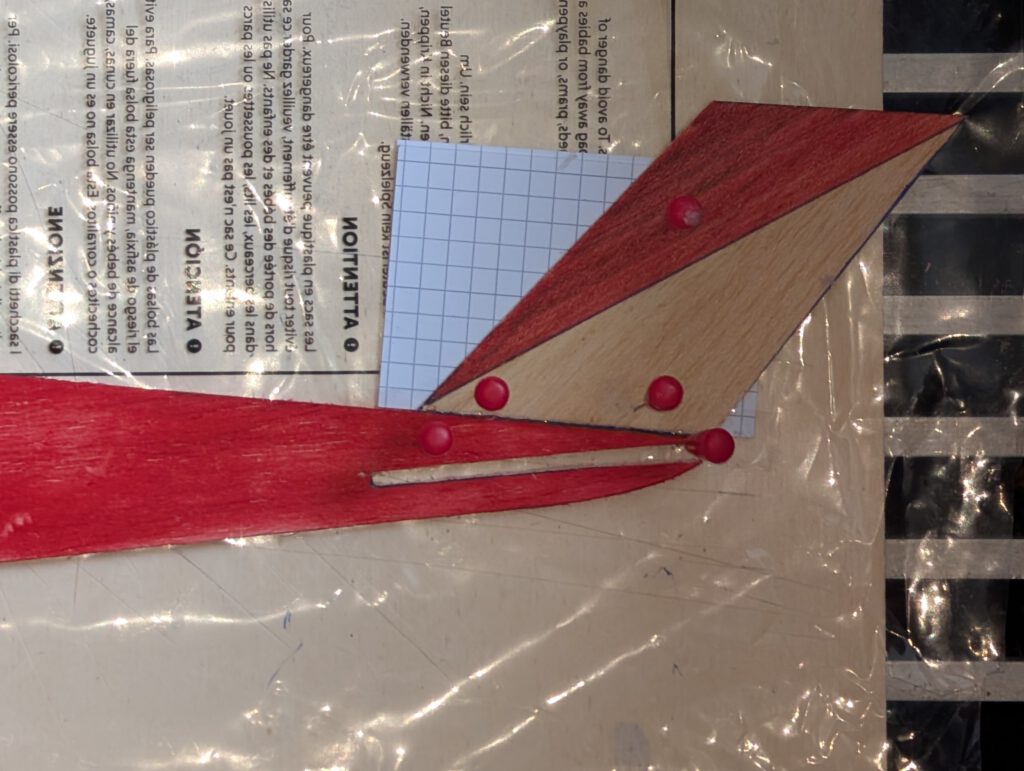
Fix one wing half on your building board with pins. Cement corresponding half to it payingattention to dihedral given on plan. Cover center joining line with linen band and ample glue. Let dry.
Cut out trim rudder on left wing half. Bevel as shown on detail drawing. Cement linen bandas shown on underside as it will work as a simple but effective hinge.
If wing has the tendency to rest only on one side then it is too heavy on this side. To compensate the imbalance disperse an amount of white wood glue on the opposite wing half’s tip underside. Do it if necessary twice until balance is obtained.
Vertical stabilizer/rudder:
Cement linen band around leading edge and let dry.
Cement B 1 vertical stabilizer supports to underside of vertical stabilizer – both sides. Let dry.
Cement rudder on fuselage using acrylic glue for best possible connection. Let dry.
Fuselage:
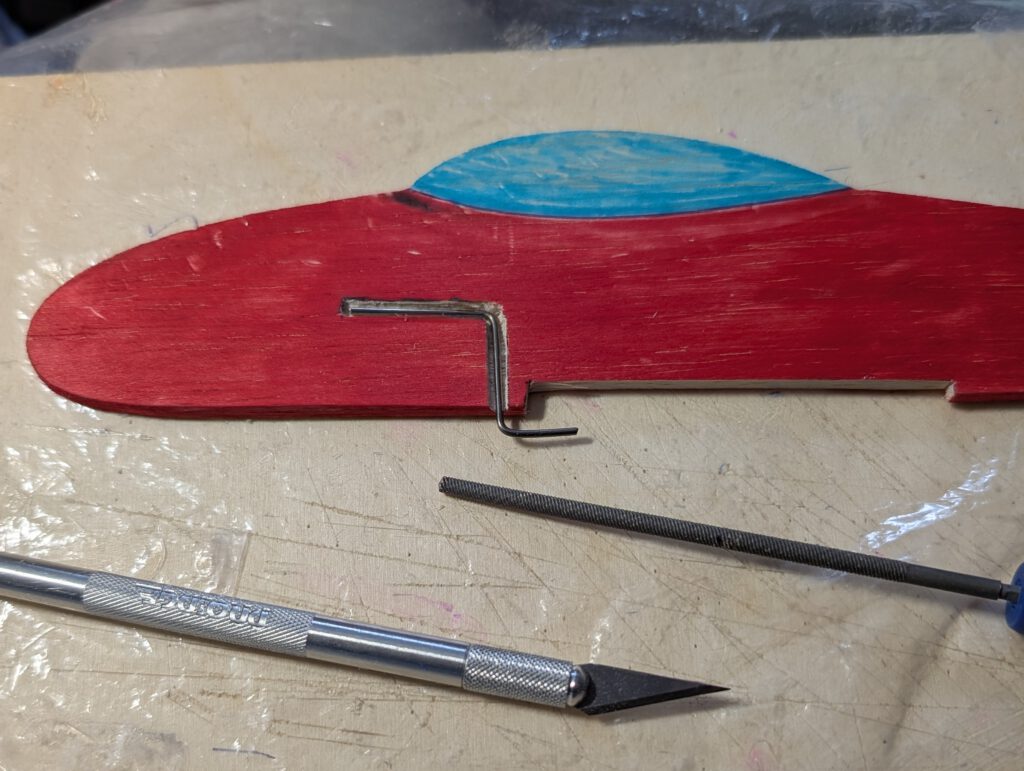
Bend hook-wire as shown on plan. Make cutouts for hook into fuselage. Use for this purpose a round file and a sharp modelling knife. Employ acrylic glue to cement hook in its place. Let dry. Cover hook area with linen and an ample amount of glue. Let dry.
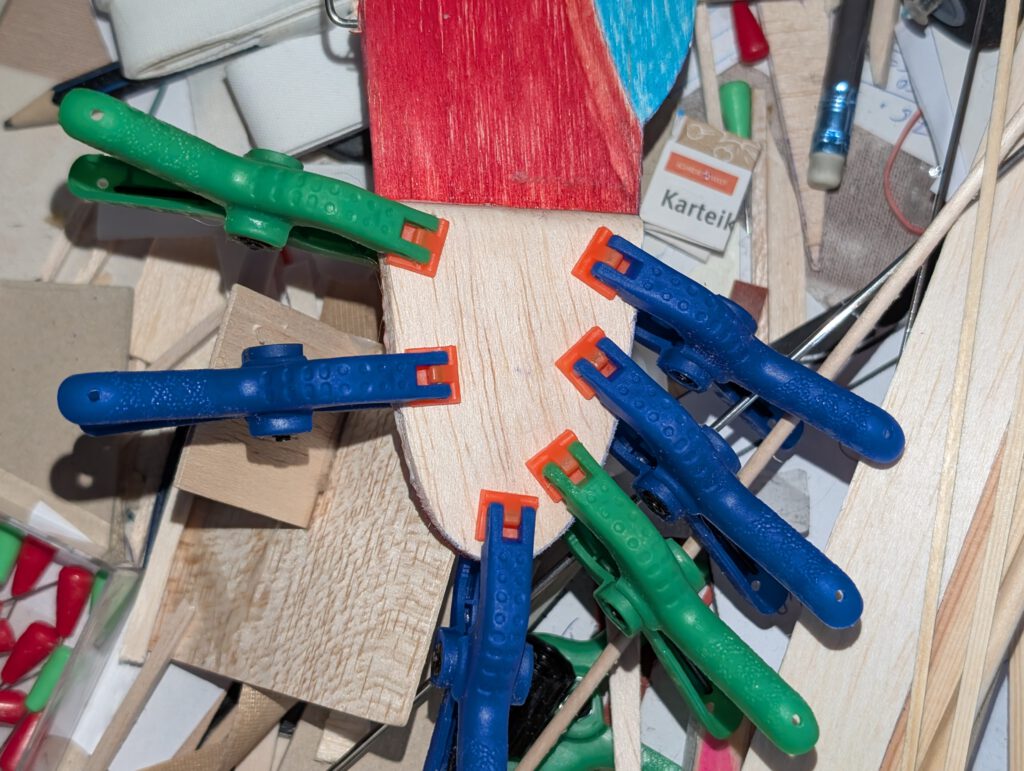
Cement wing support strips in to their place on both sides of fuselage using clamps or clothespins to hold (see photo).
Horizontal stabilizer:
Join both horizontal stab halves with cement and cover center area with linen band. Let dry.
Final Assembly:
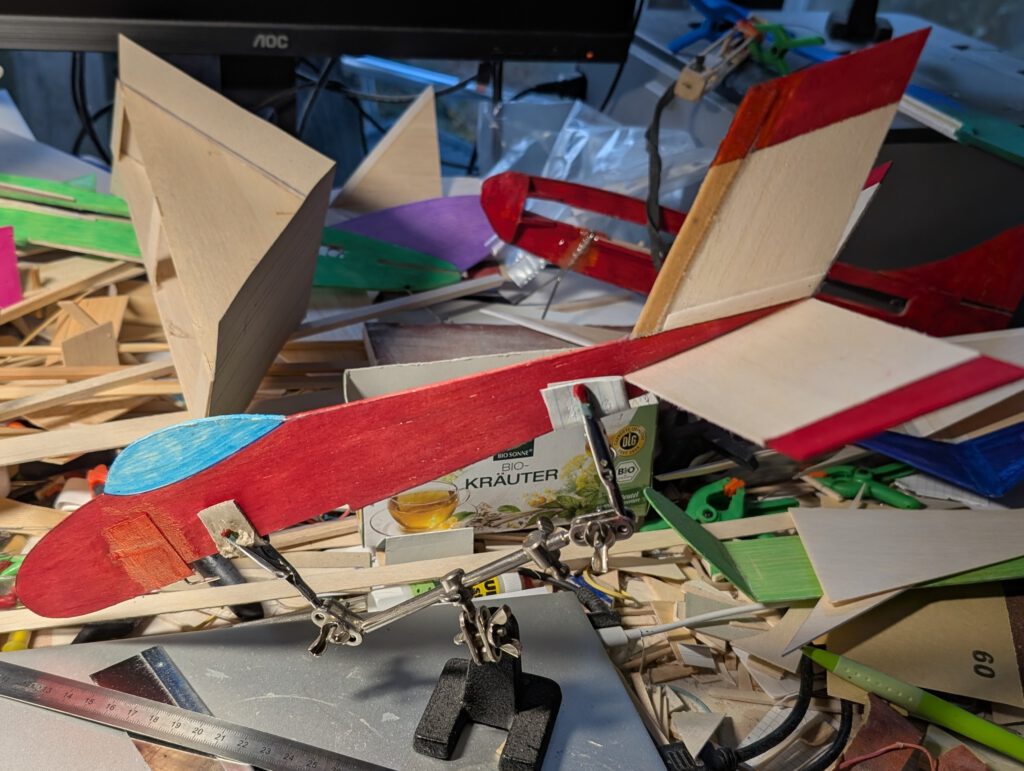
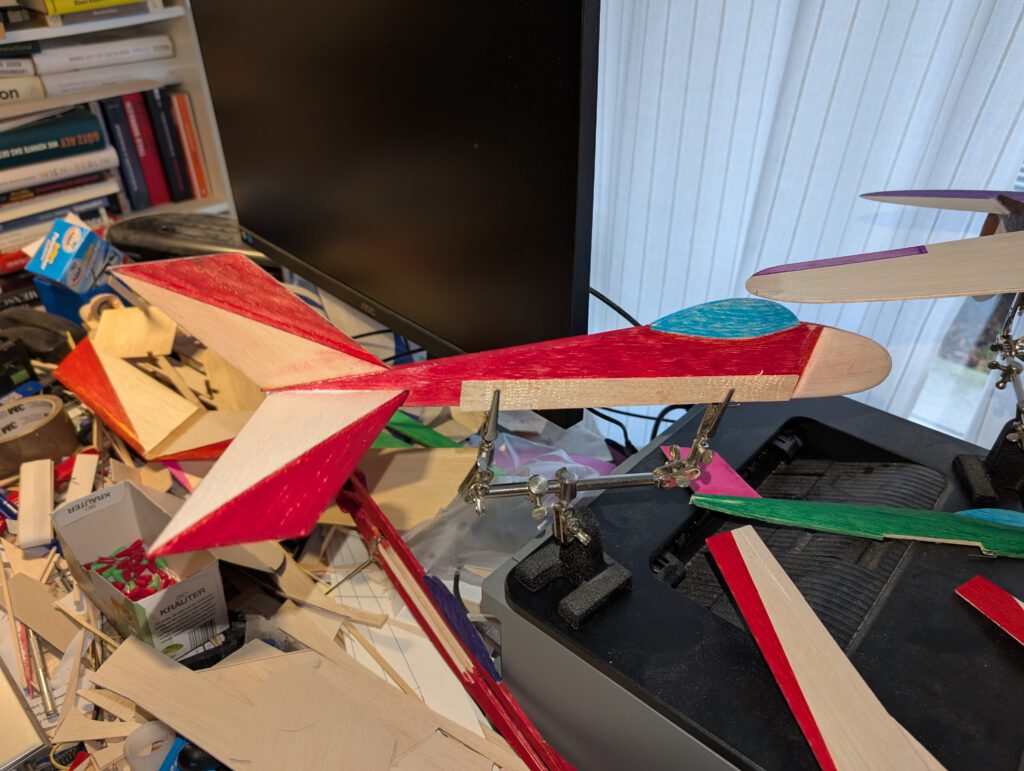
Fix fuselage on so called „third hand“ (see photo). Cement horizontal stab into fuselage slot using pins to hold in place. Visual check from all sides as obtaining symmetry is of great importance. Let dry.
Remove fuselage-empennage assembly from “third hand”, turn it upside down and secure it again.
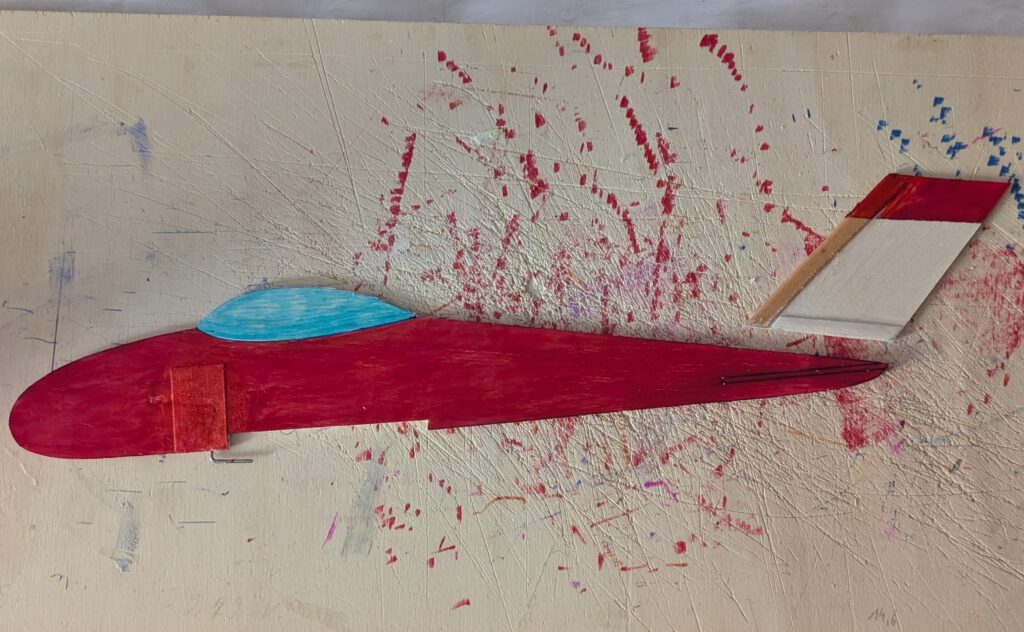
Cement wing in its place. Once more visual check from all sides to obtain optimal result. Let dry.
Balance model in accordance to given CG on plan.
Buon volo! (Lep let!)

Leave a Reply