

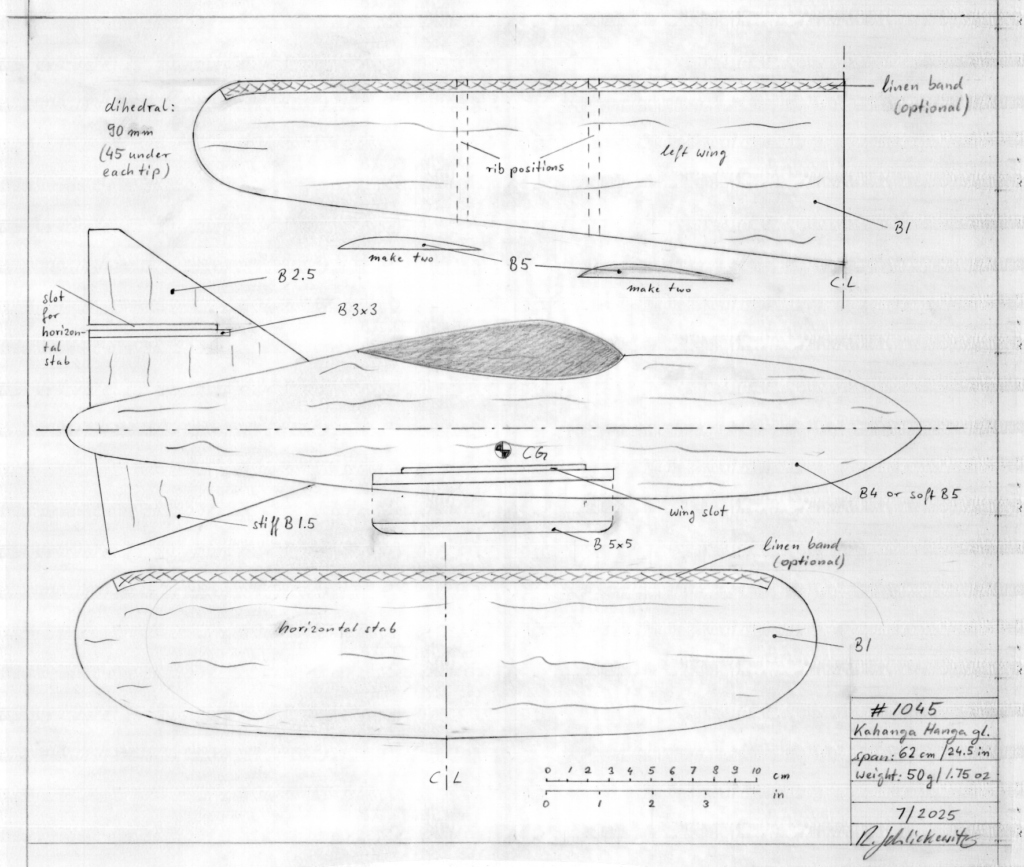
Span 62 cm / 24.5 in
Weight 50 g / 1.75 oz

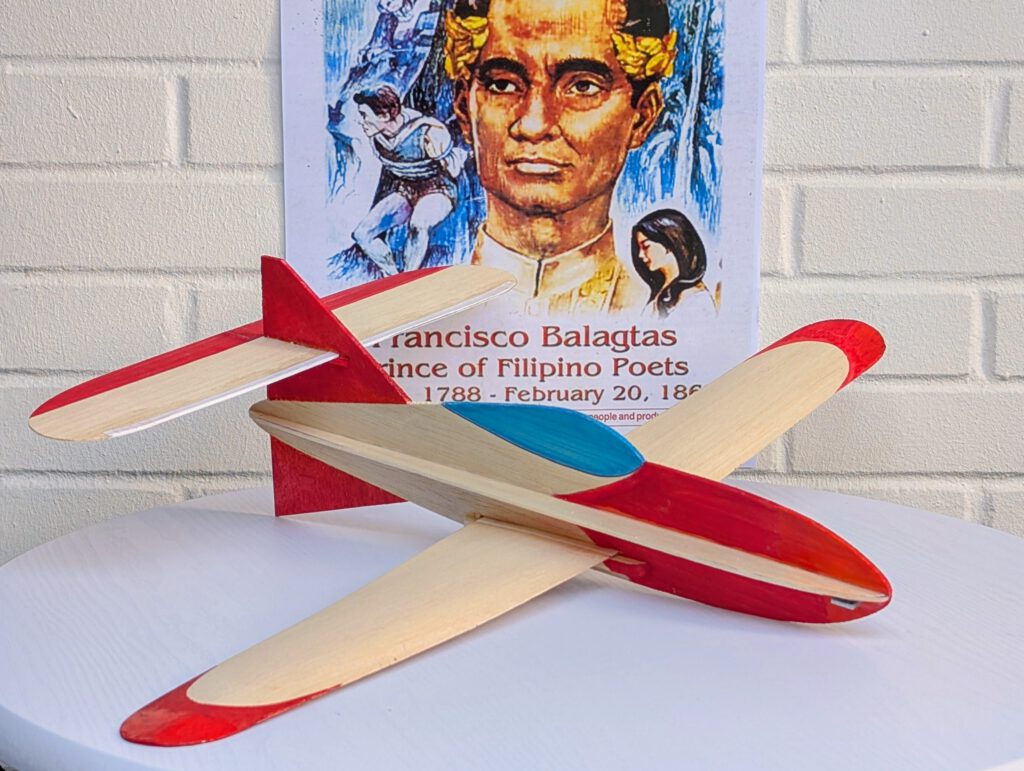

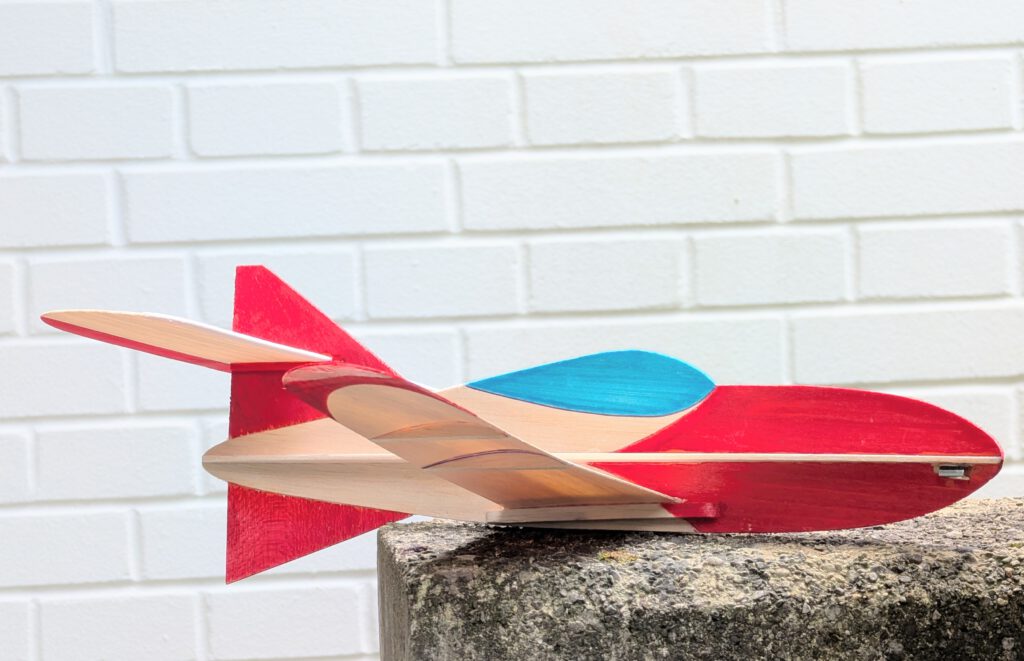
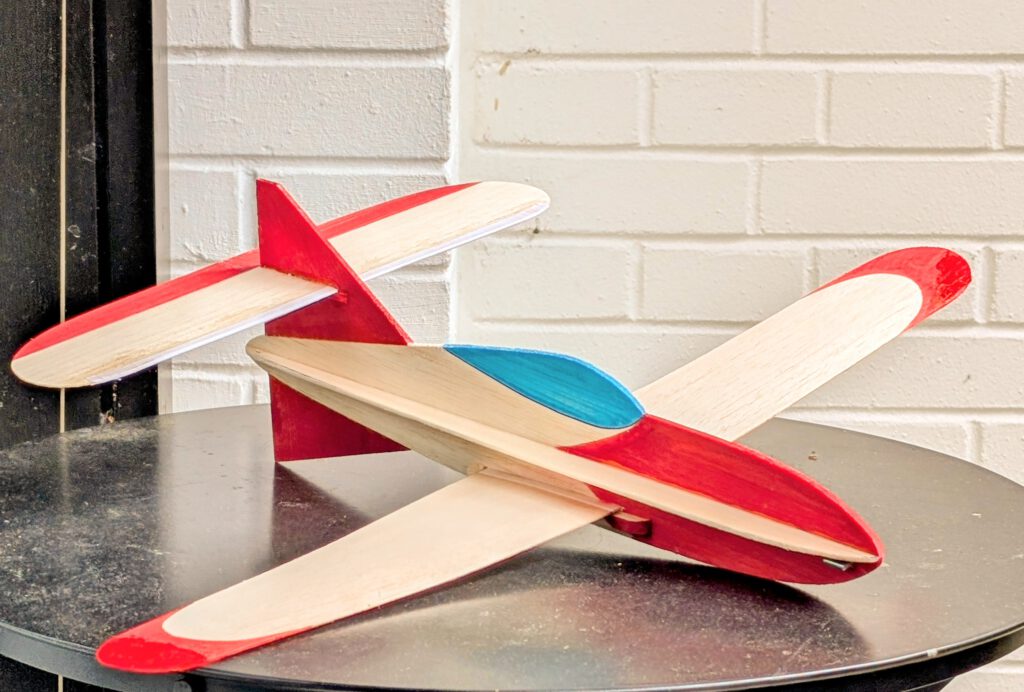
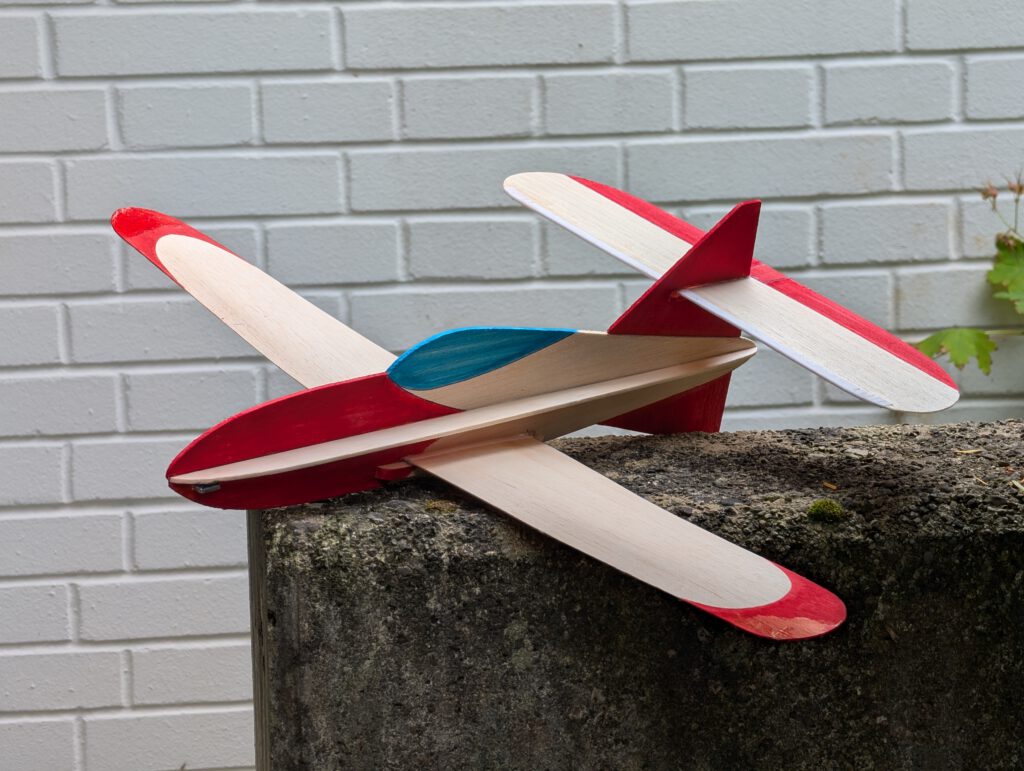

The concept:
• Low wing glider
• Cross empennage
• Profiled wings
• Easy to build, fun to fly
• Intended as a slope soarer
Name is Tagalog (Philippines) and means: awesome.
On the islands more than 50 million people speak Tagalog. Important Philippine writers worthreading are José Rizal, Francisco Balagtas, José Burgos, Lualhati Bautista, F. Sionil José, Nick Joaquin, Bienvenido Lumbera, Bob Ong. Most of them have been translated into foreign languages.
Building the balsa model Kahanga Hanga glider
Materials
Fuselage: B 4 or soft 5; fuselage stiffeners: B2; wing: stiff B 1 or B 1.5; wing supports: B strips 5 x 5; wing ribs B 5; horizontal stabilizer: stiff B 1;upper fin: B 2.5; lower fin B 1.5 or 2; horizontal stab supports: B 3 x 3; horizontal stab B1; linen band width 12 mm / ½ in; ballast: small piece of scrap metal or lead.
Assembly
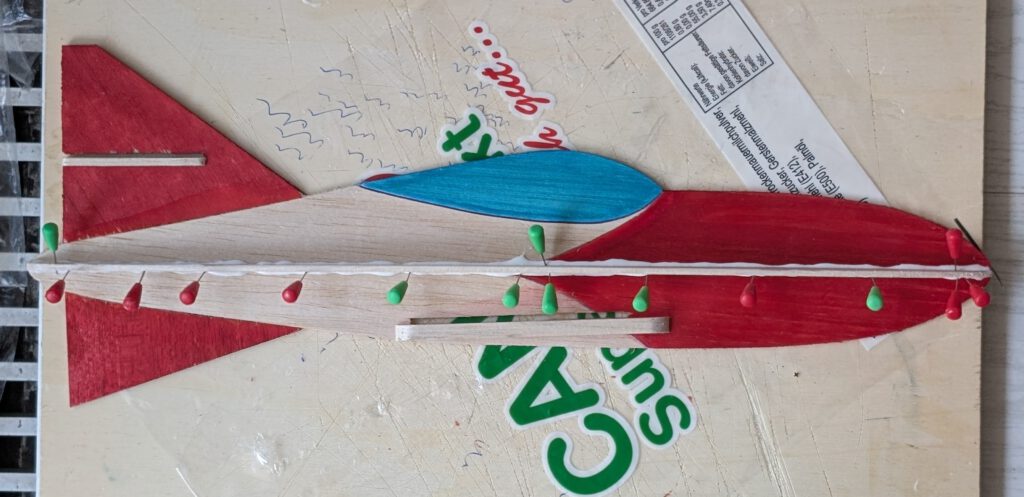
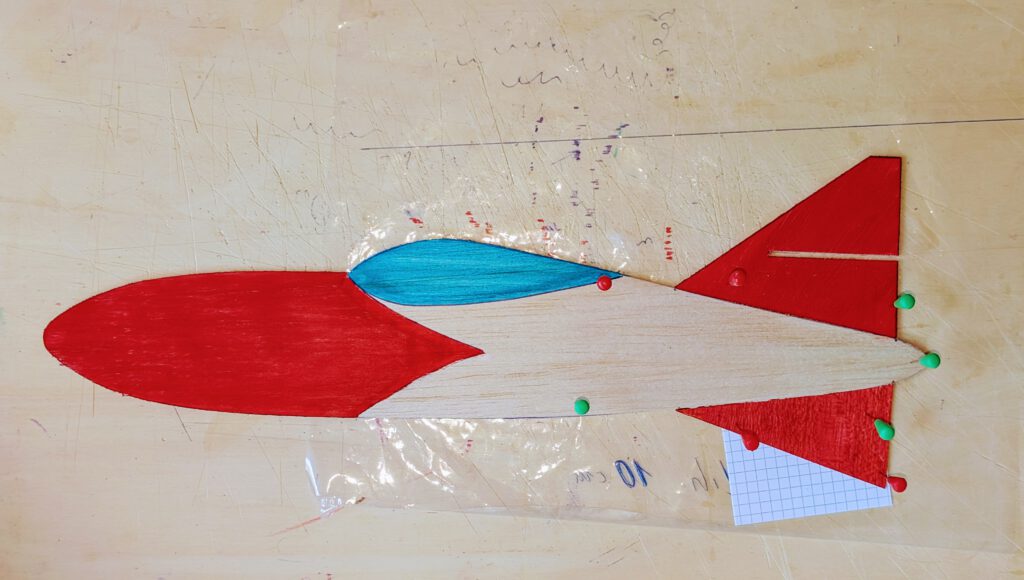
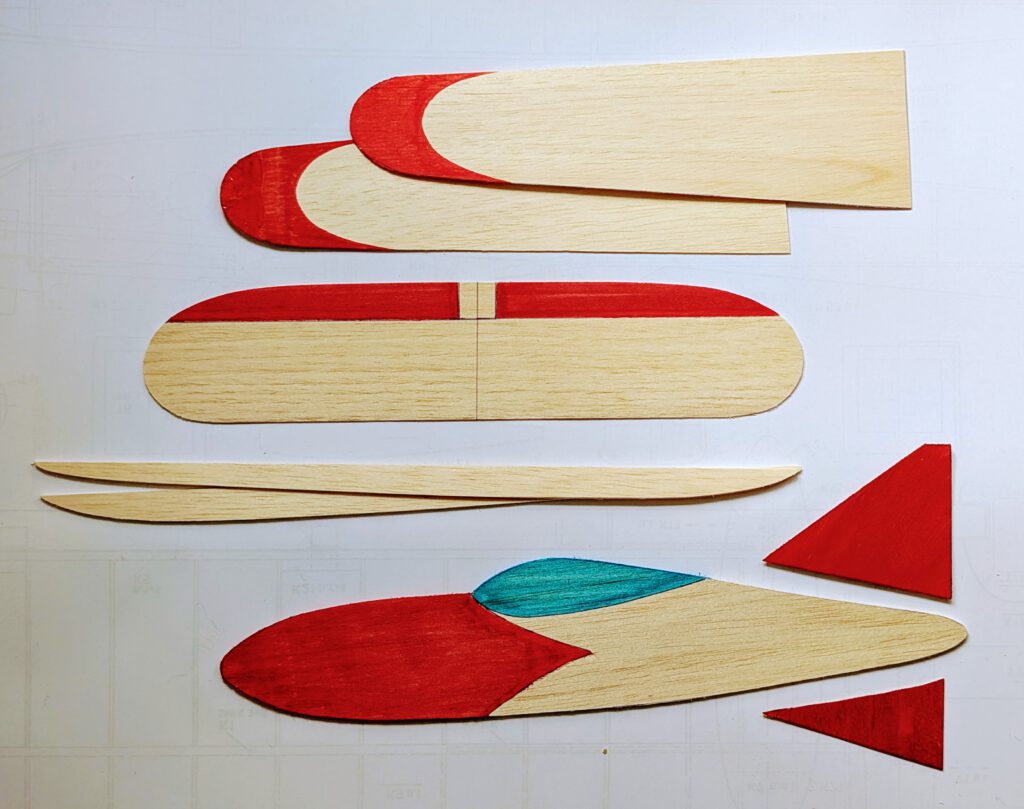
Cut out balsa parts in accordance to plan. Sand well (photo). Transfer outlines of cockpit from paper to wood with pen. Cut out all necessary slots. Paint your model at this stage (photo).
Wing:
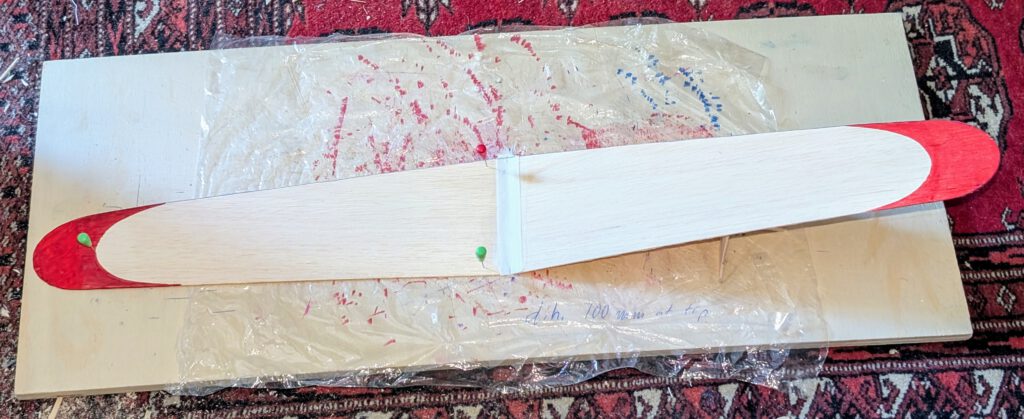
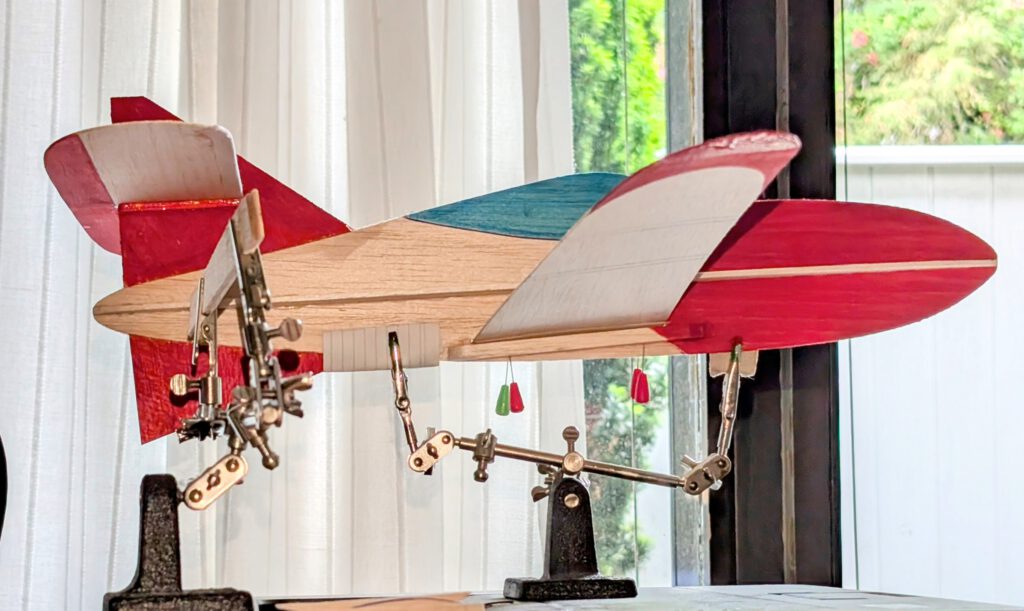
Wing consists of a right and a left wing half. Fix one half on building board with needles. Cement corresponding half by paying attention to dihedral given in plan. When dry reinforce center area with linen band (photo) and again let dry.
If wing has the tendency to rest only on one side, then it is too heavy on this side. To compensate the imbalance, disperse a small amount of white wood glue on the opposite wing tip area and let dry. Do it, if necessary, twice until balance is obtained.
Fuselage:
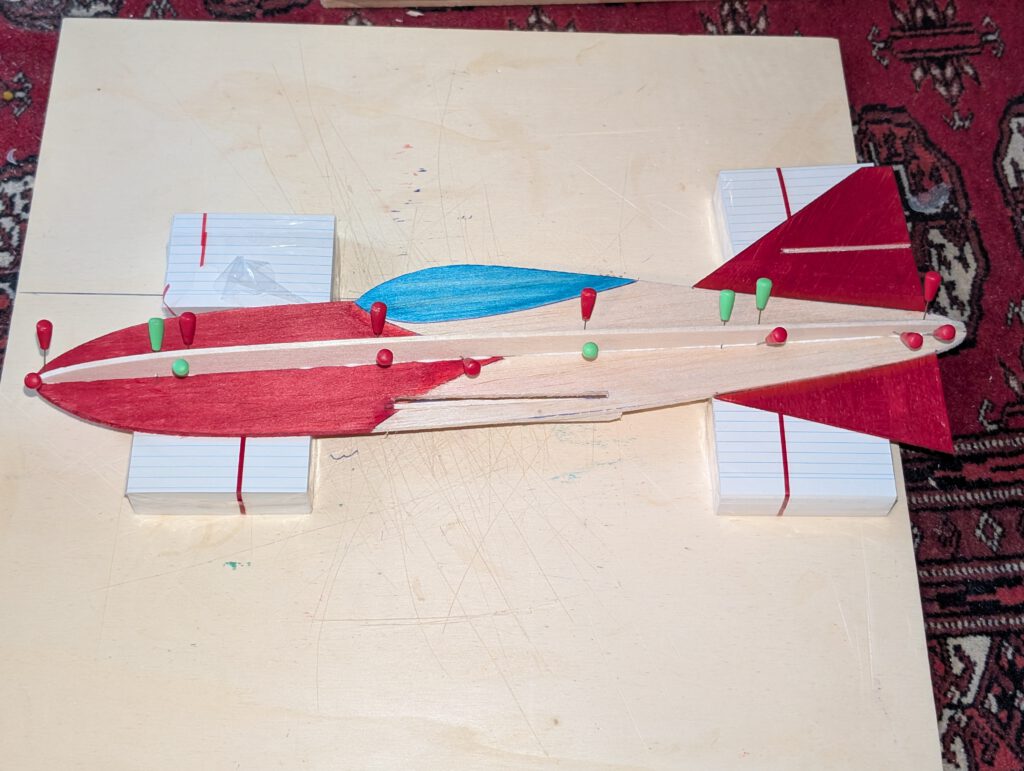
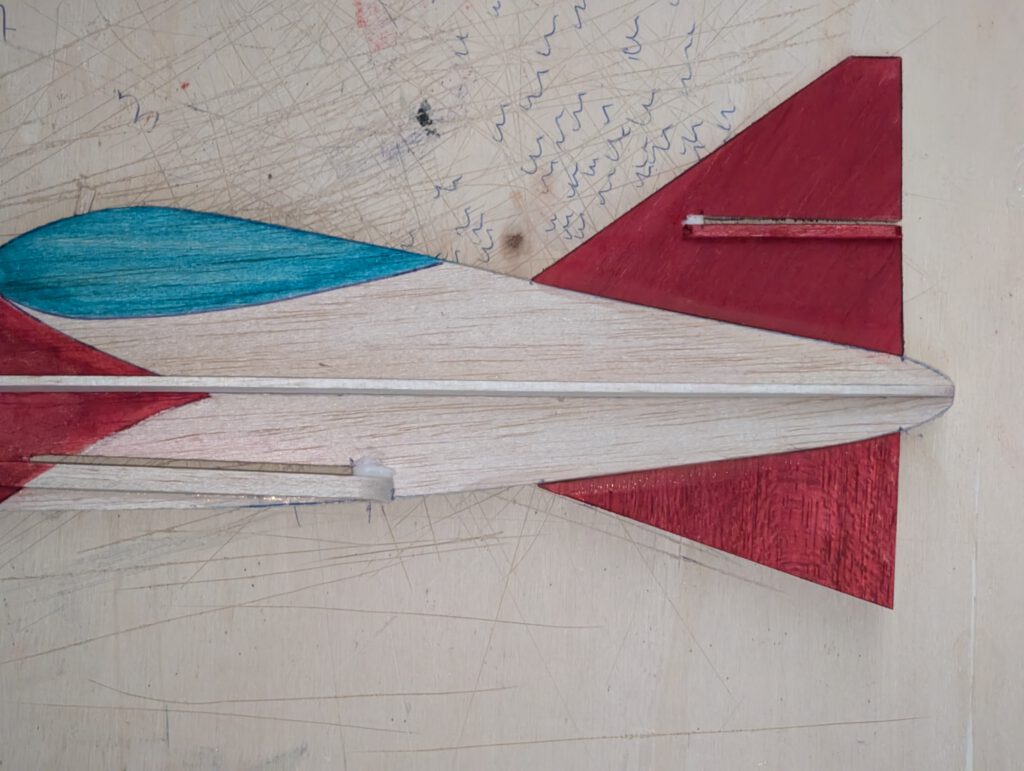
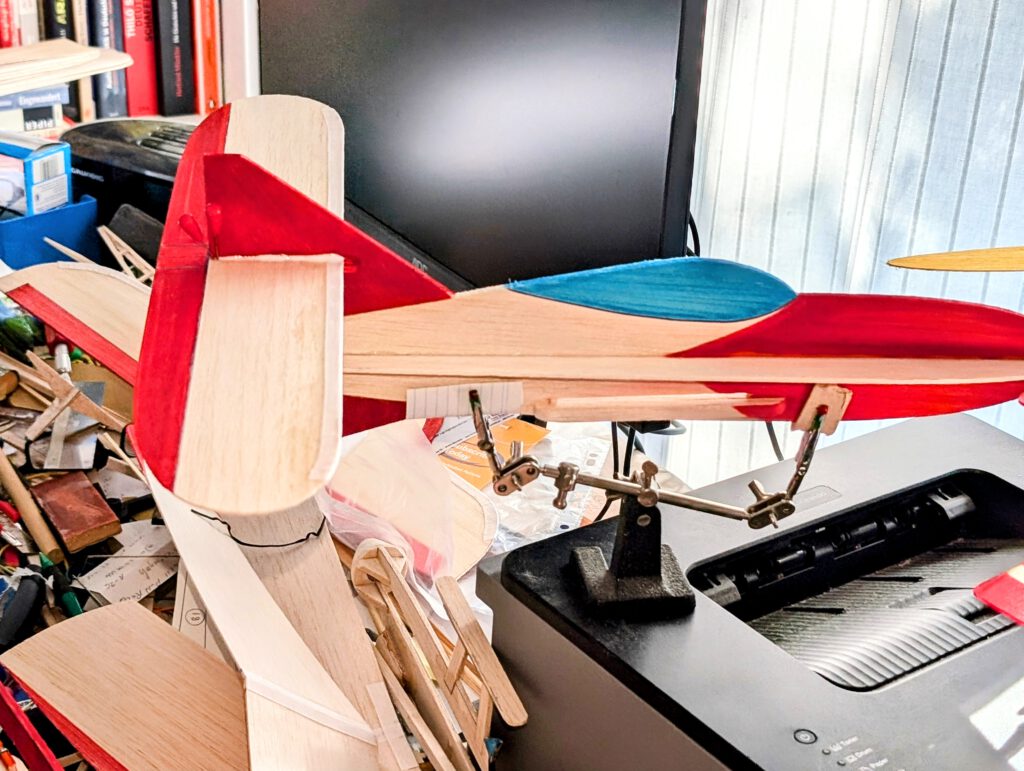
Cement fins to fuselage using pins to hold in place (photo). Visual check symmetry from all sides.
Cement wing support strips and horizontals stab support strips into their given places. Hold with clamps or clothespins or with modelling pins.
Empennage:
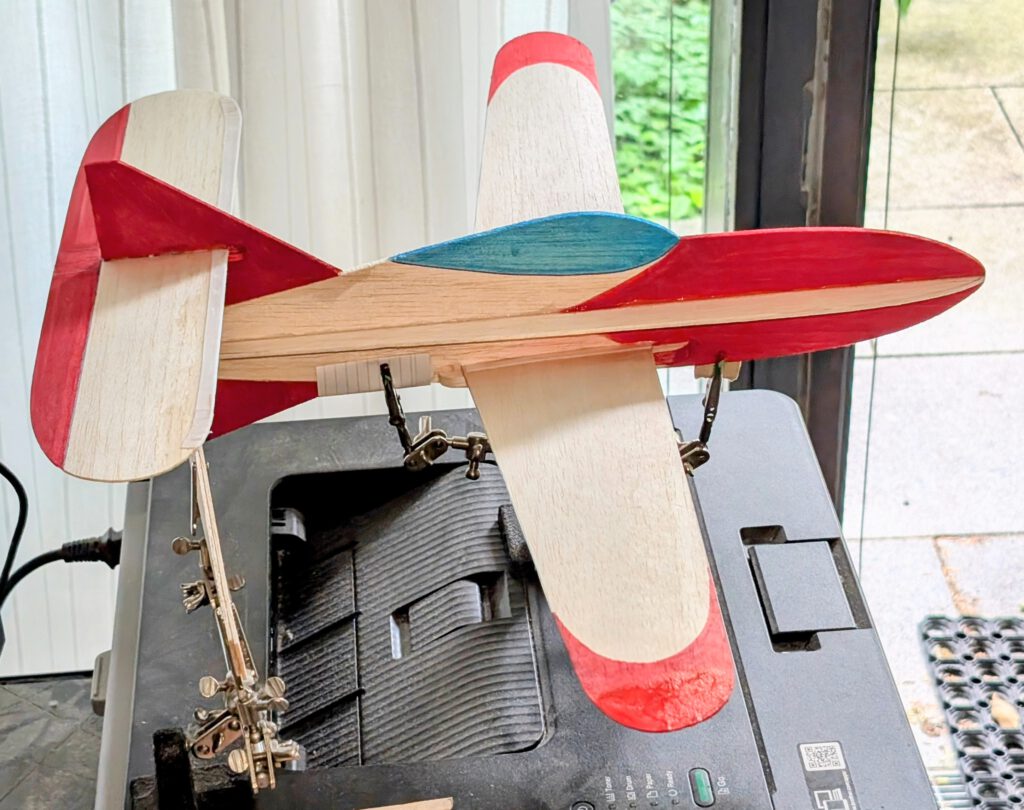
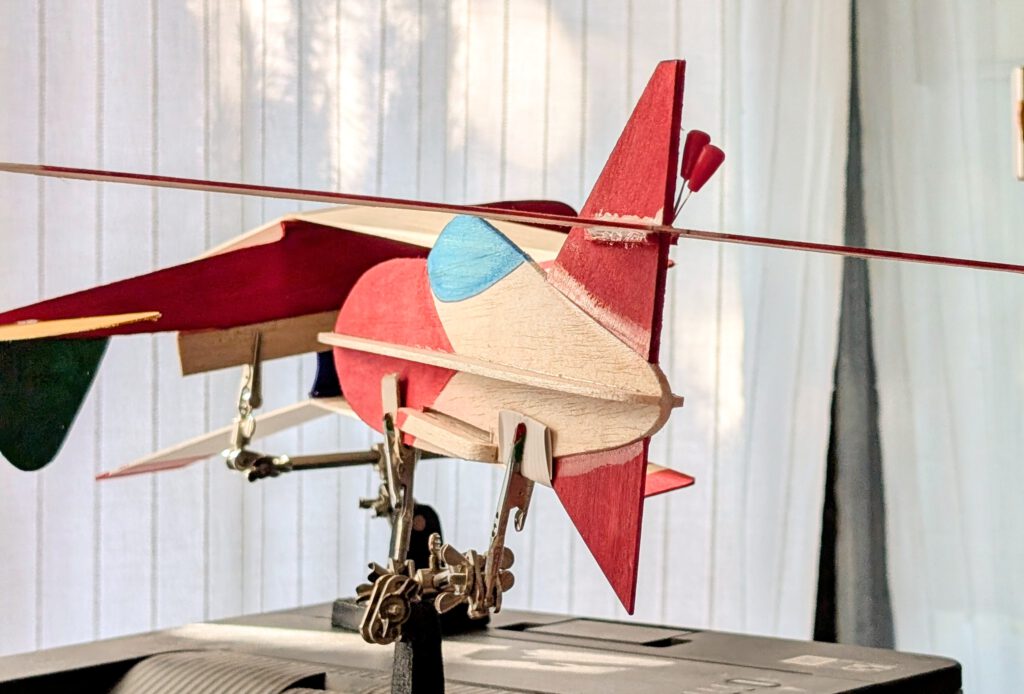
Fix fuselage on so called ‘third hand’ (photo). Cement horizontal stabilizer into its place using pins to hold. Visual check symmetry from all sides. Let dry.
Final Assembly:
Turn fuselage upside down and fix it on ‘third hand’. Cement wing on wing supports using pins to hold in place. Doublecheck visually symmetry.
When all parts are dry bring wing ribs into position and cement. Use clamps or clothespins.
Remember correct center of gravity (CG) is essential for successful flights.
Make your first test glides over tall grass only.
Palju edukaid lende! (Many pleasant flights!)

Leave a Reply