
Span 43/60 cm / 17/24 in
Weight 12/16/19 g / 0.4/0.56/0.67 oz
The original Lear Fan a projected six passenger business aircraft never went into production. Only three were built. First flight of a prototype took place in 1981. Development was abandoned due to structural and engine reliability problems. Wingspan measured 11.99 m / 39 ft 4 in, length 12.37 m / 40 ft 7 in and max takeoff weight was 3,334 kg / 7,350 lb. Powerplant consisted of two Canadian Pratt & Whitney turboprops, 650 shp each.
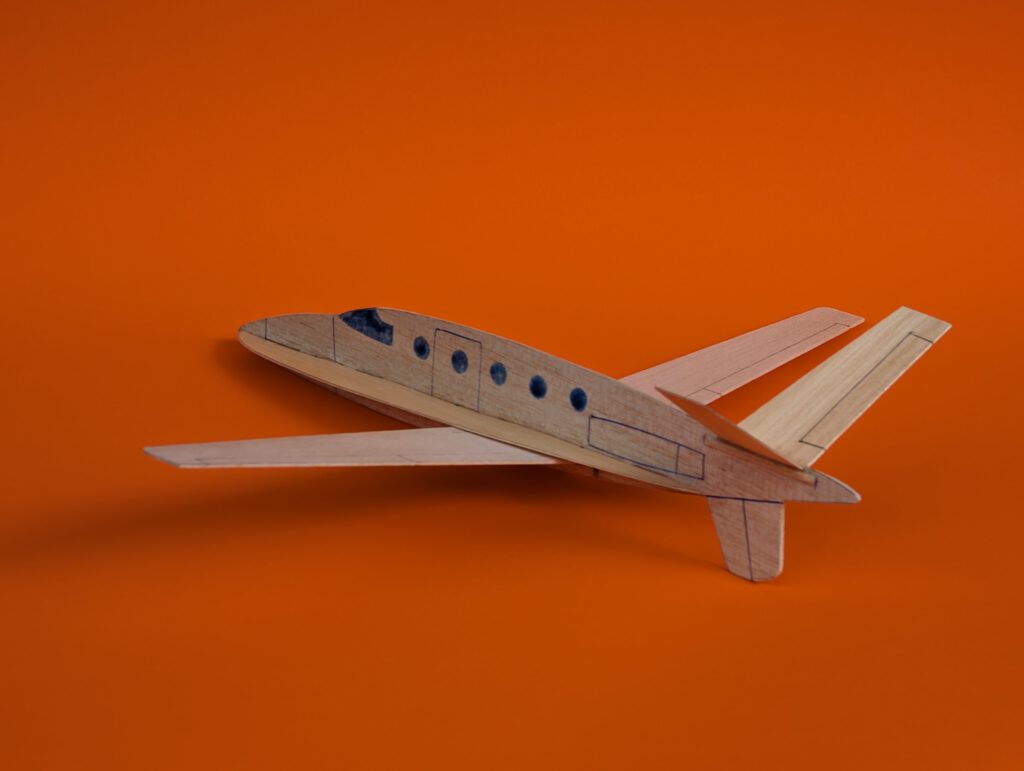
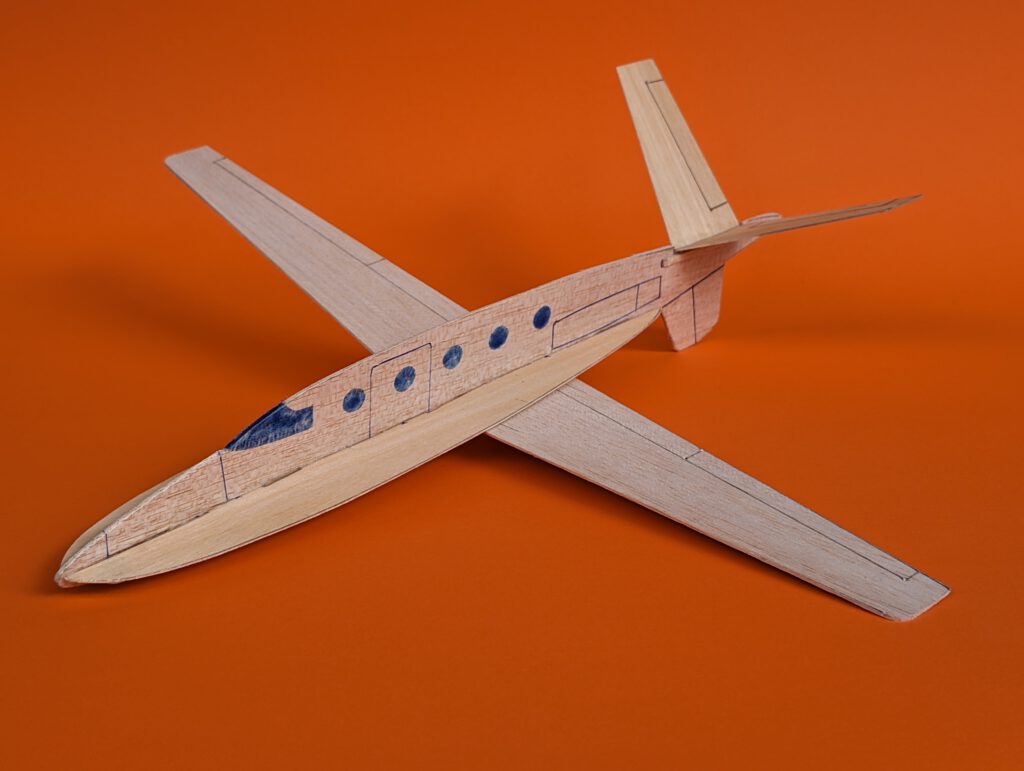
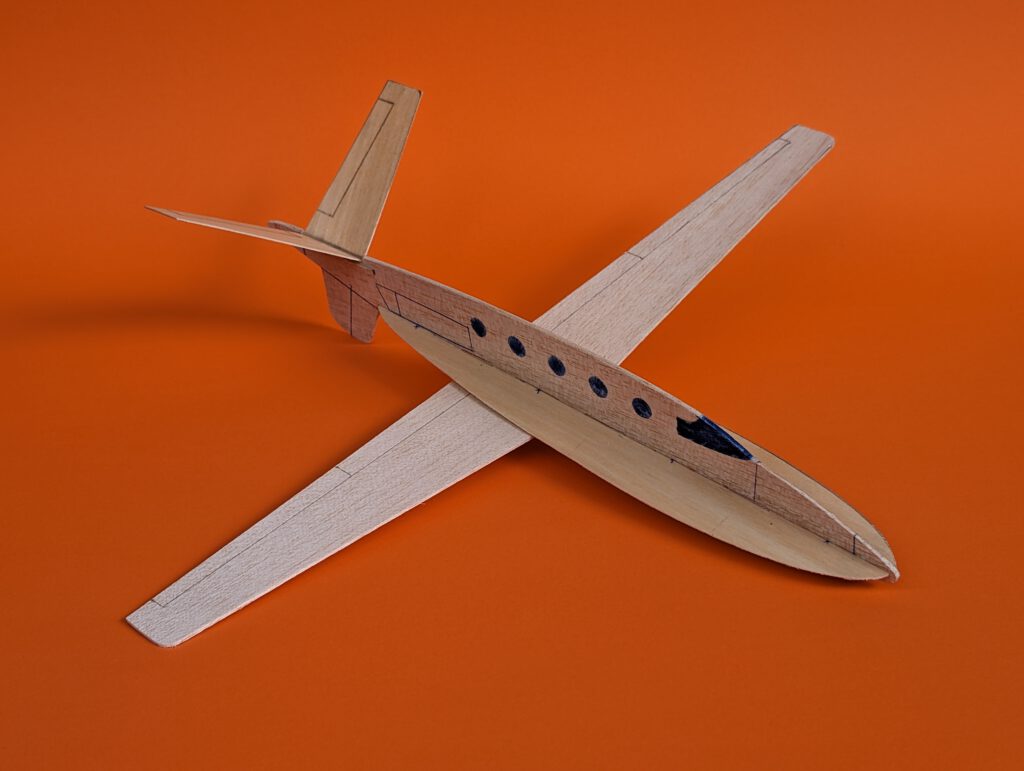
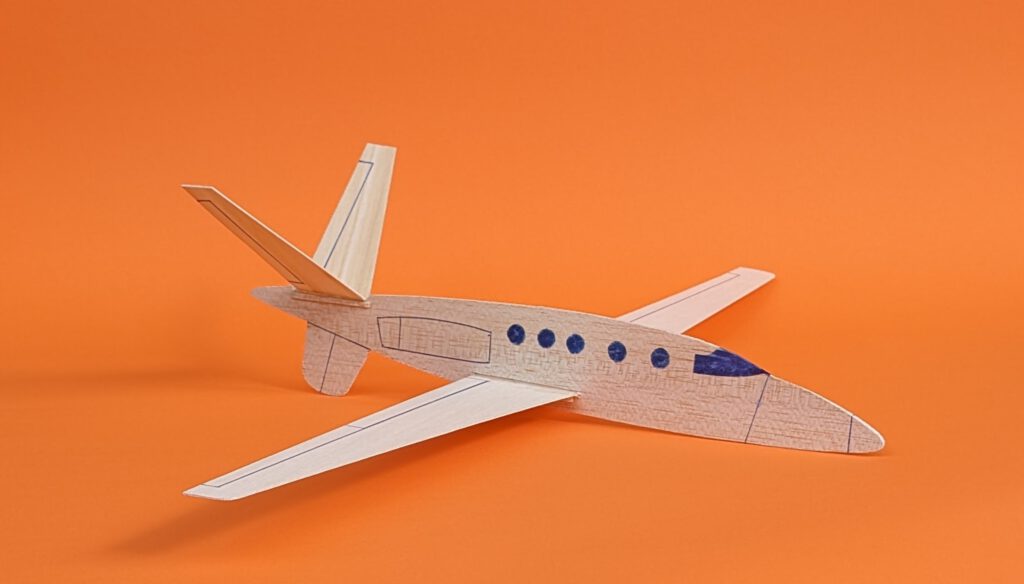
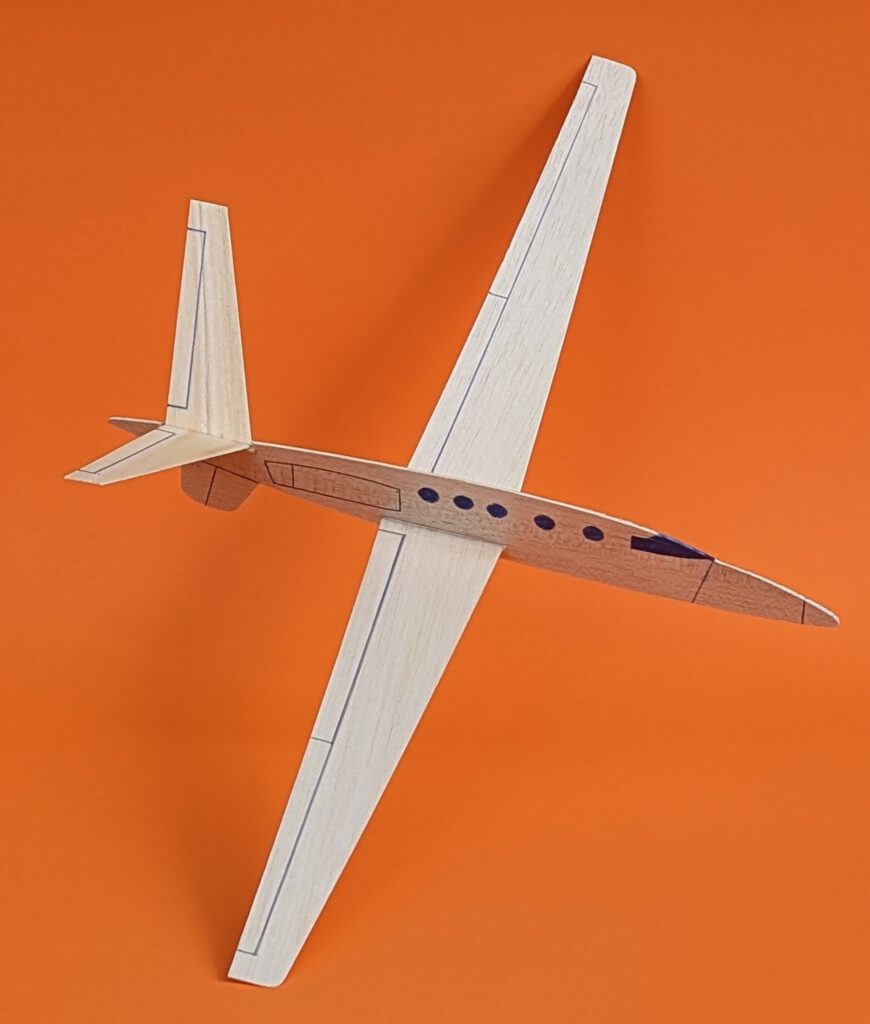
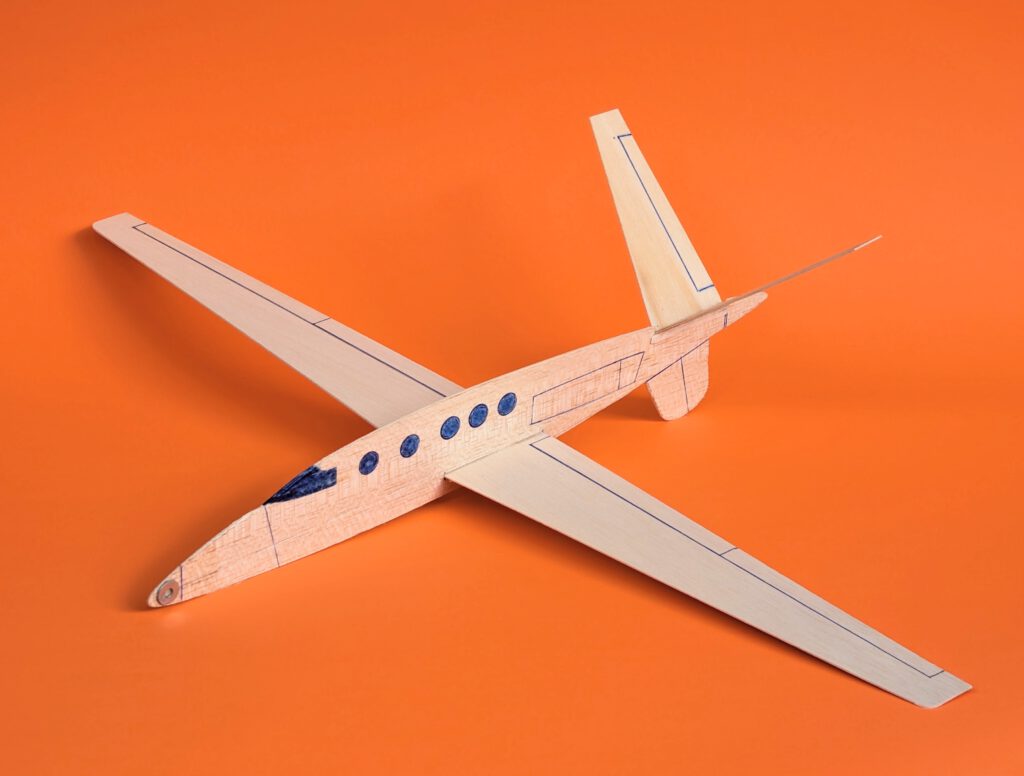
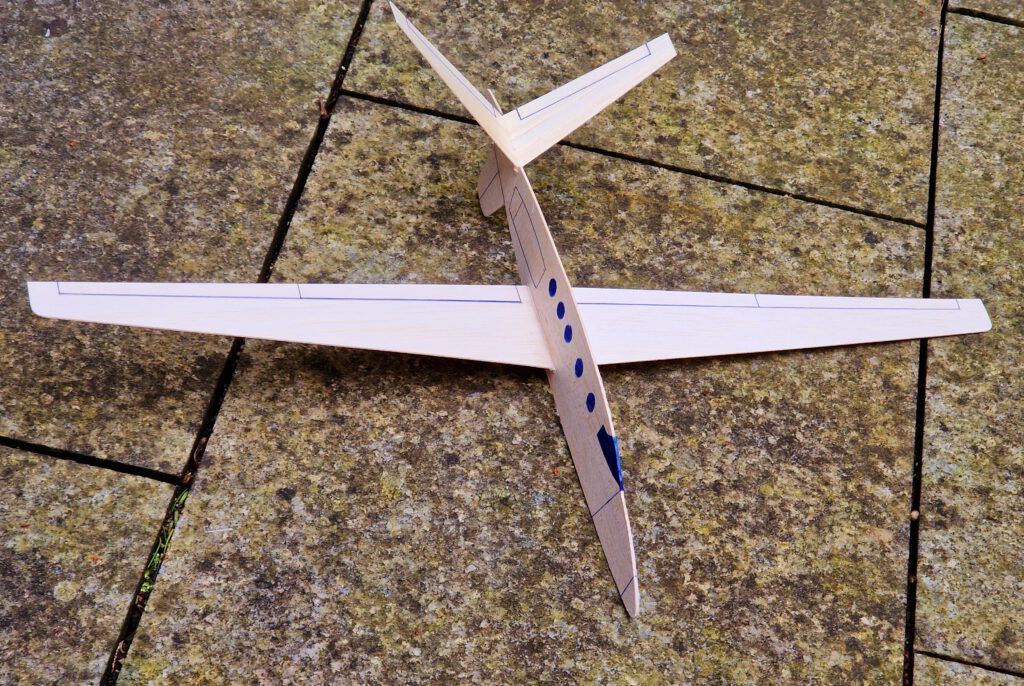
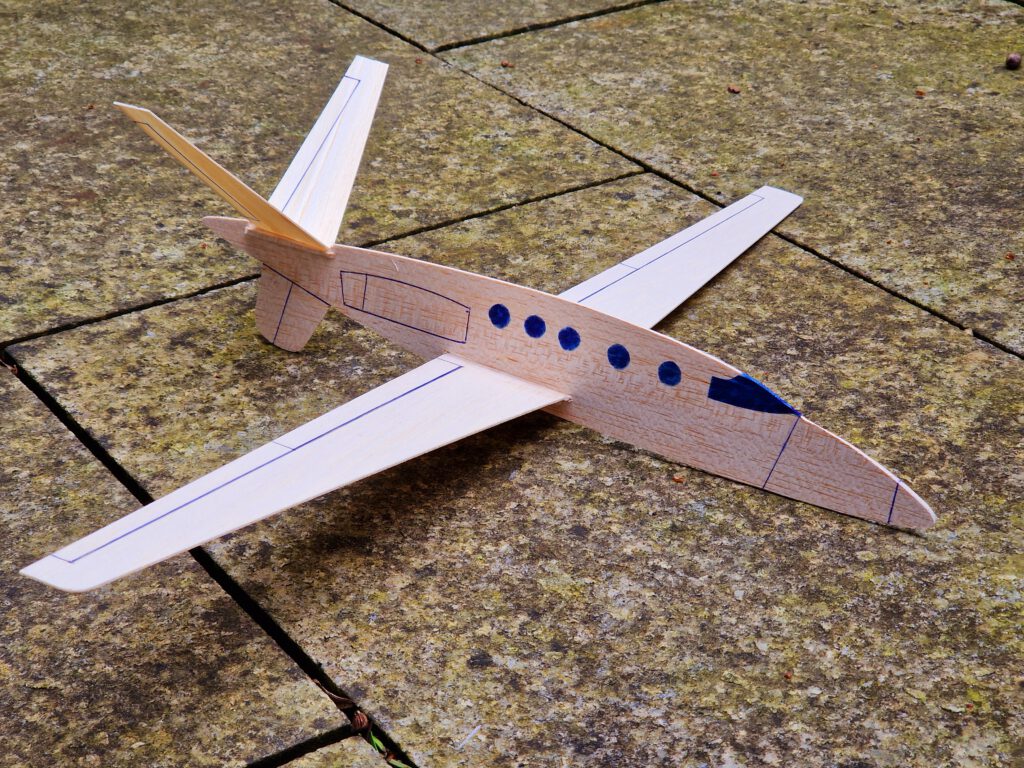
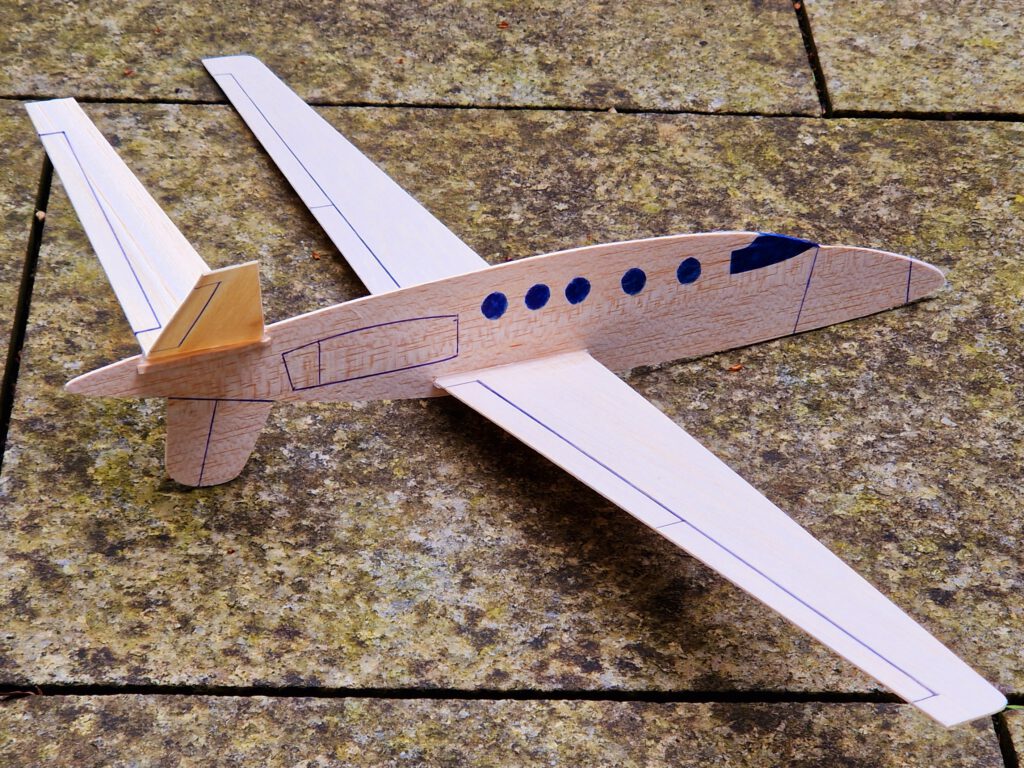
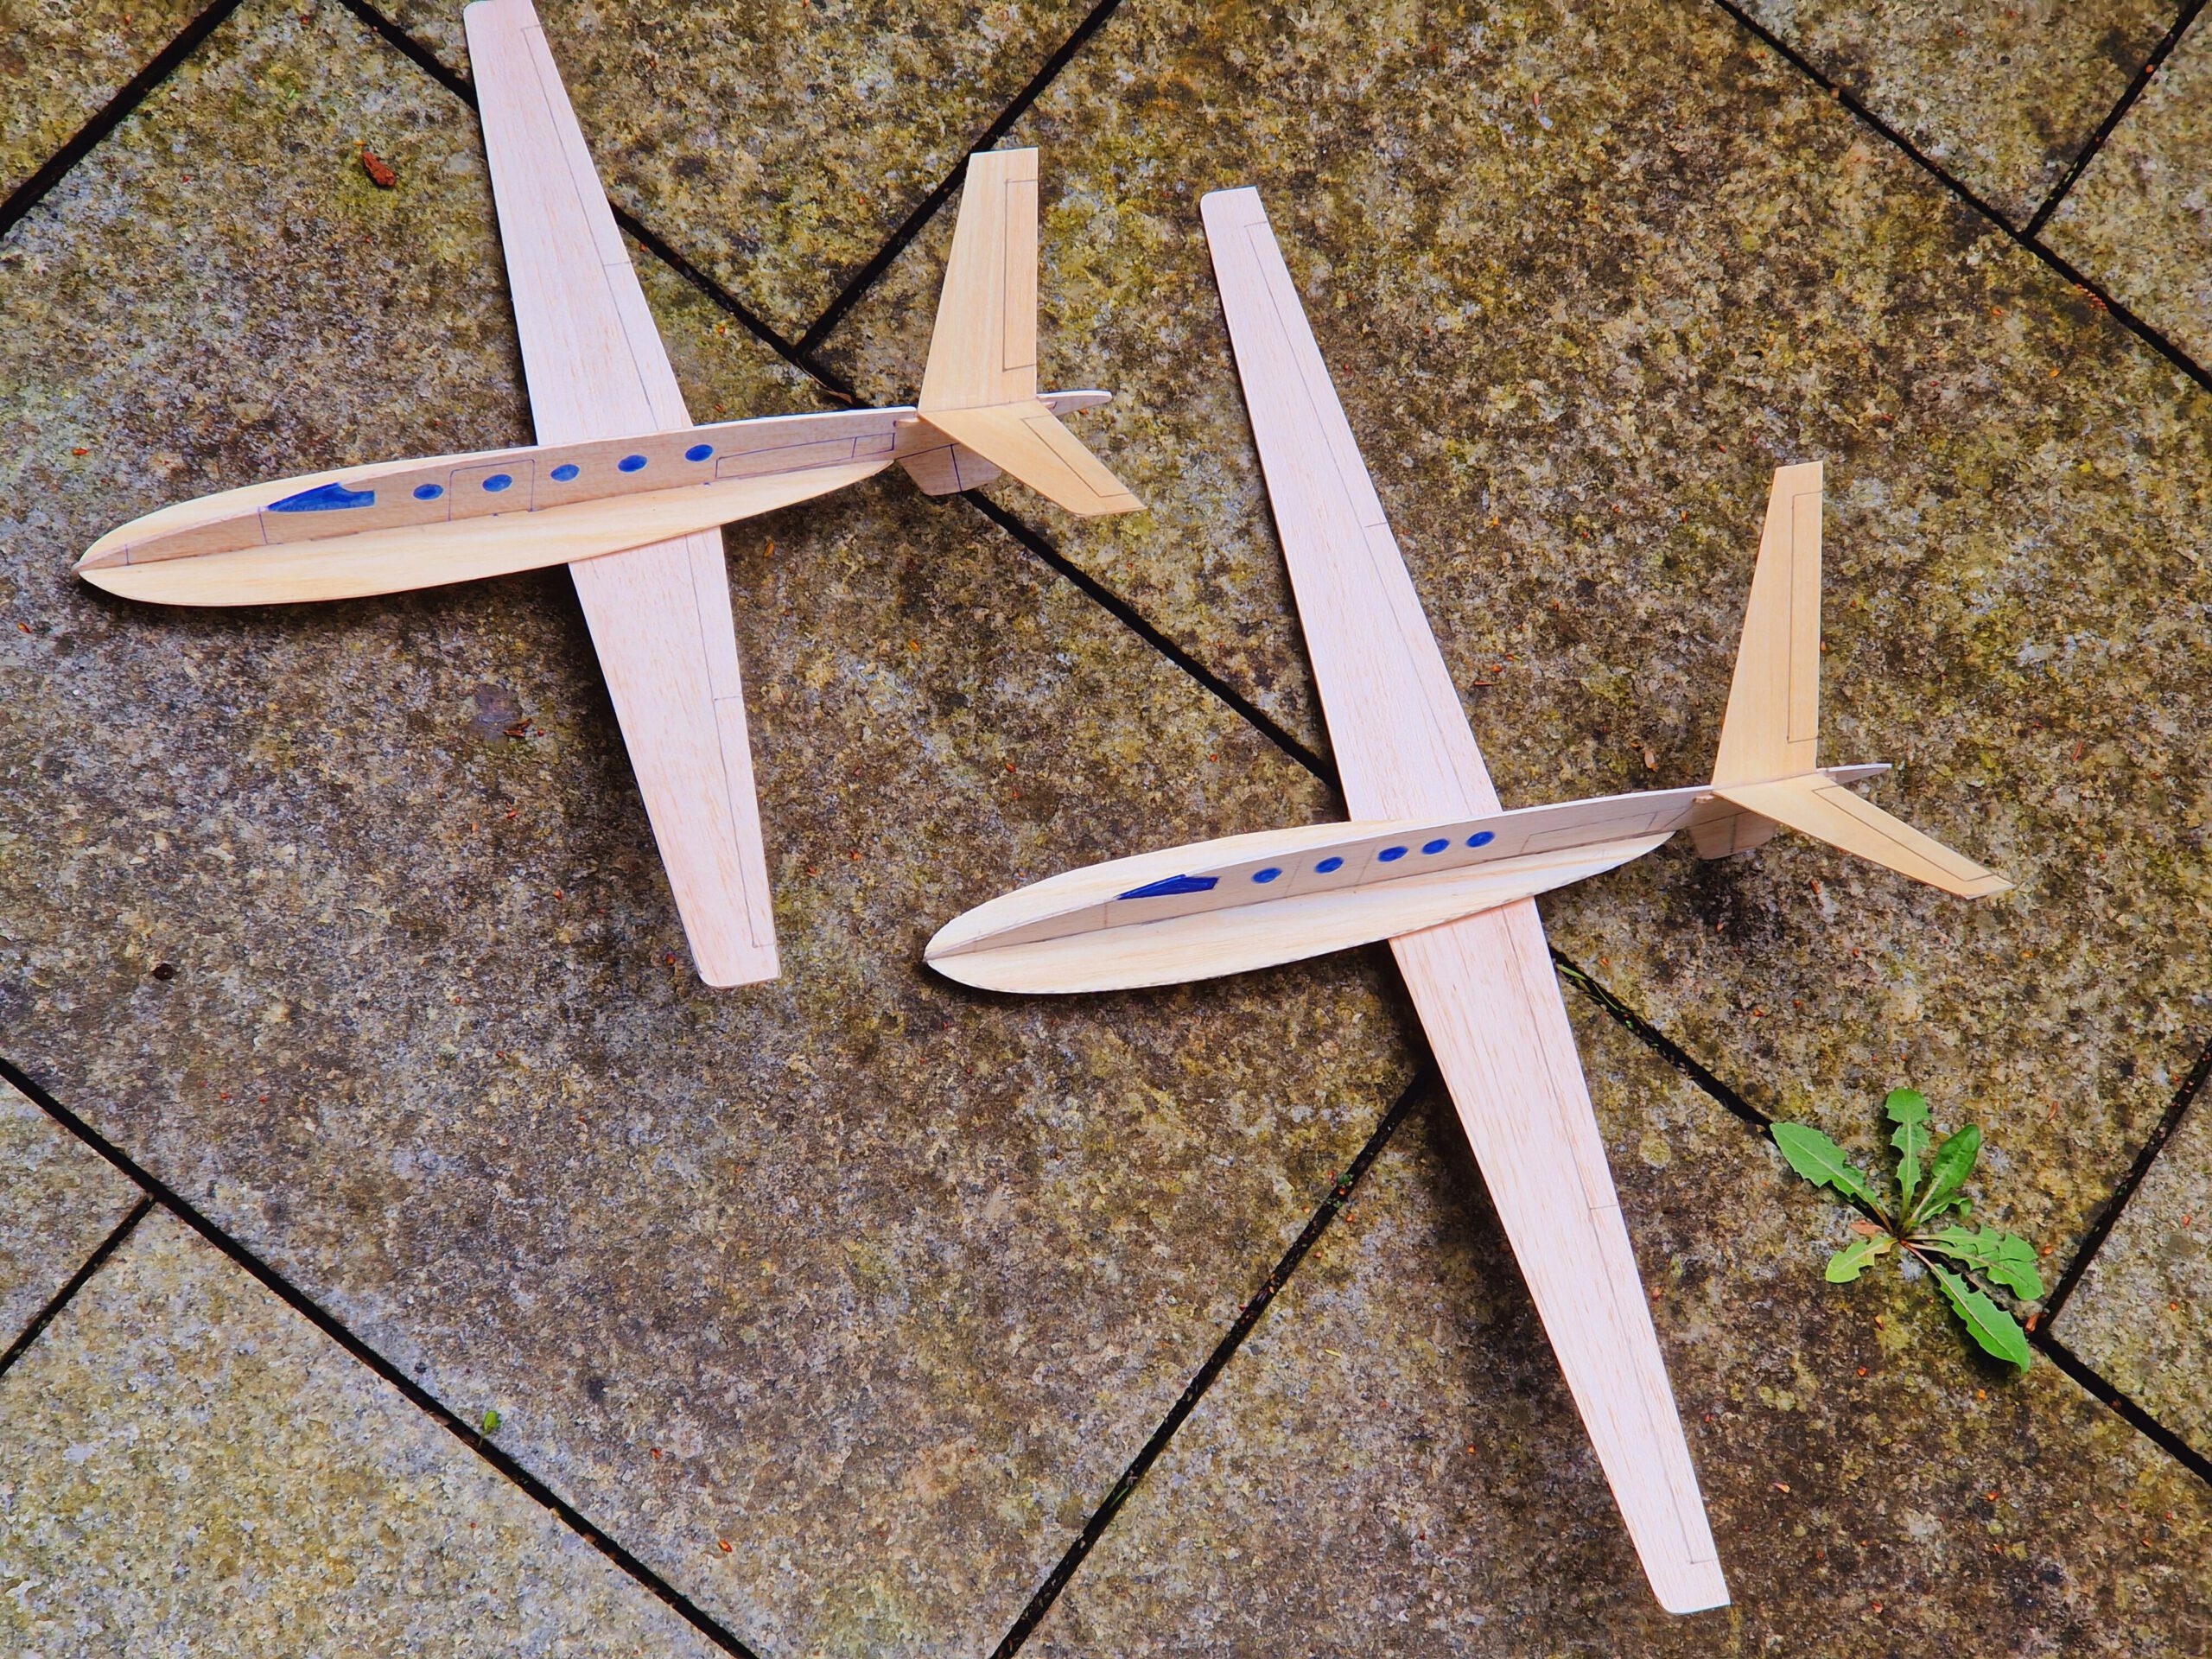
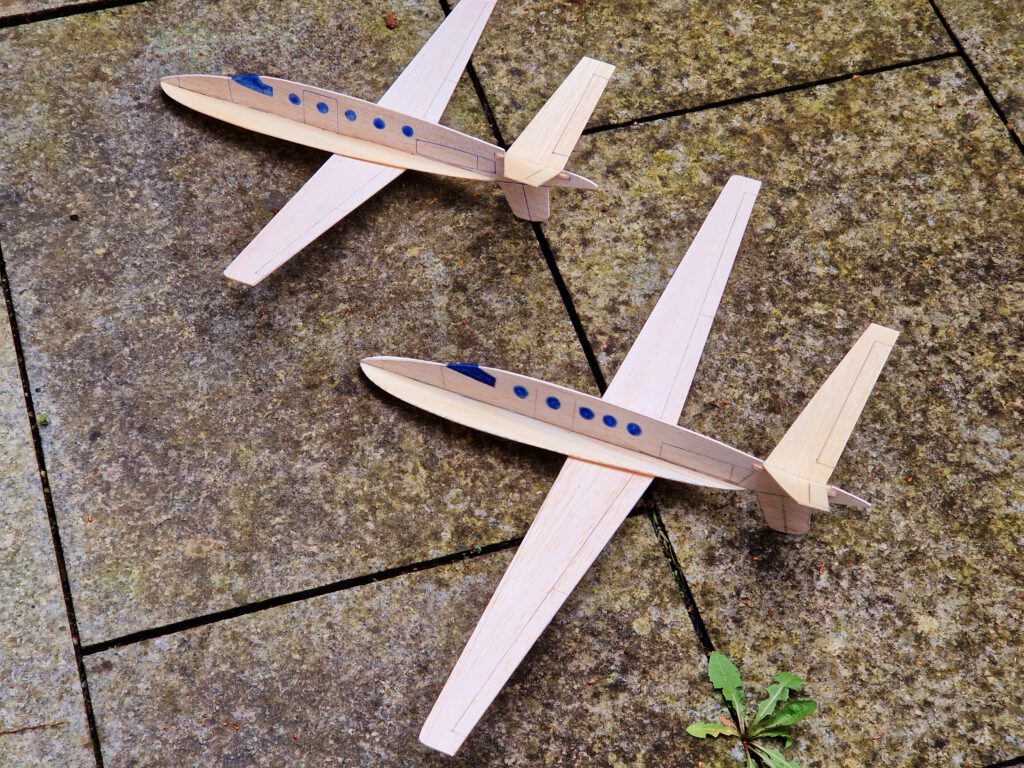
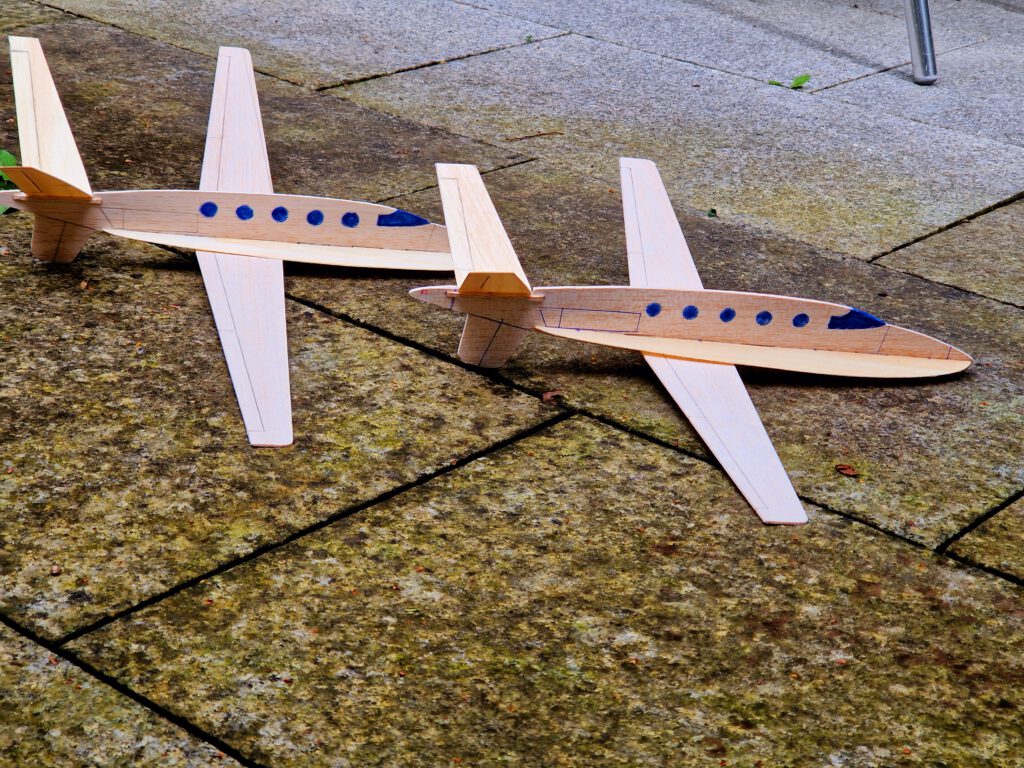
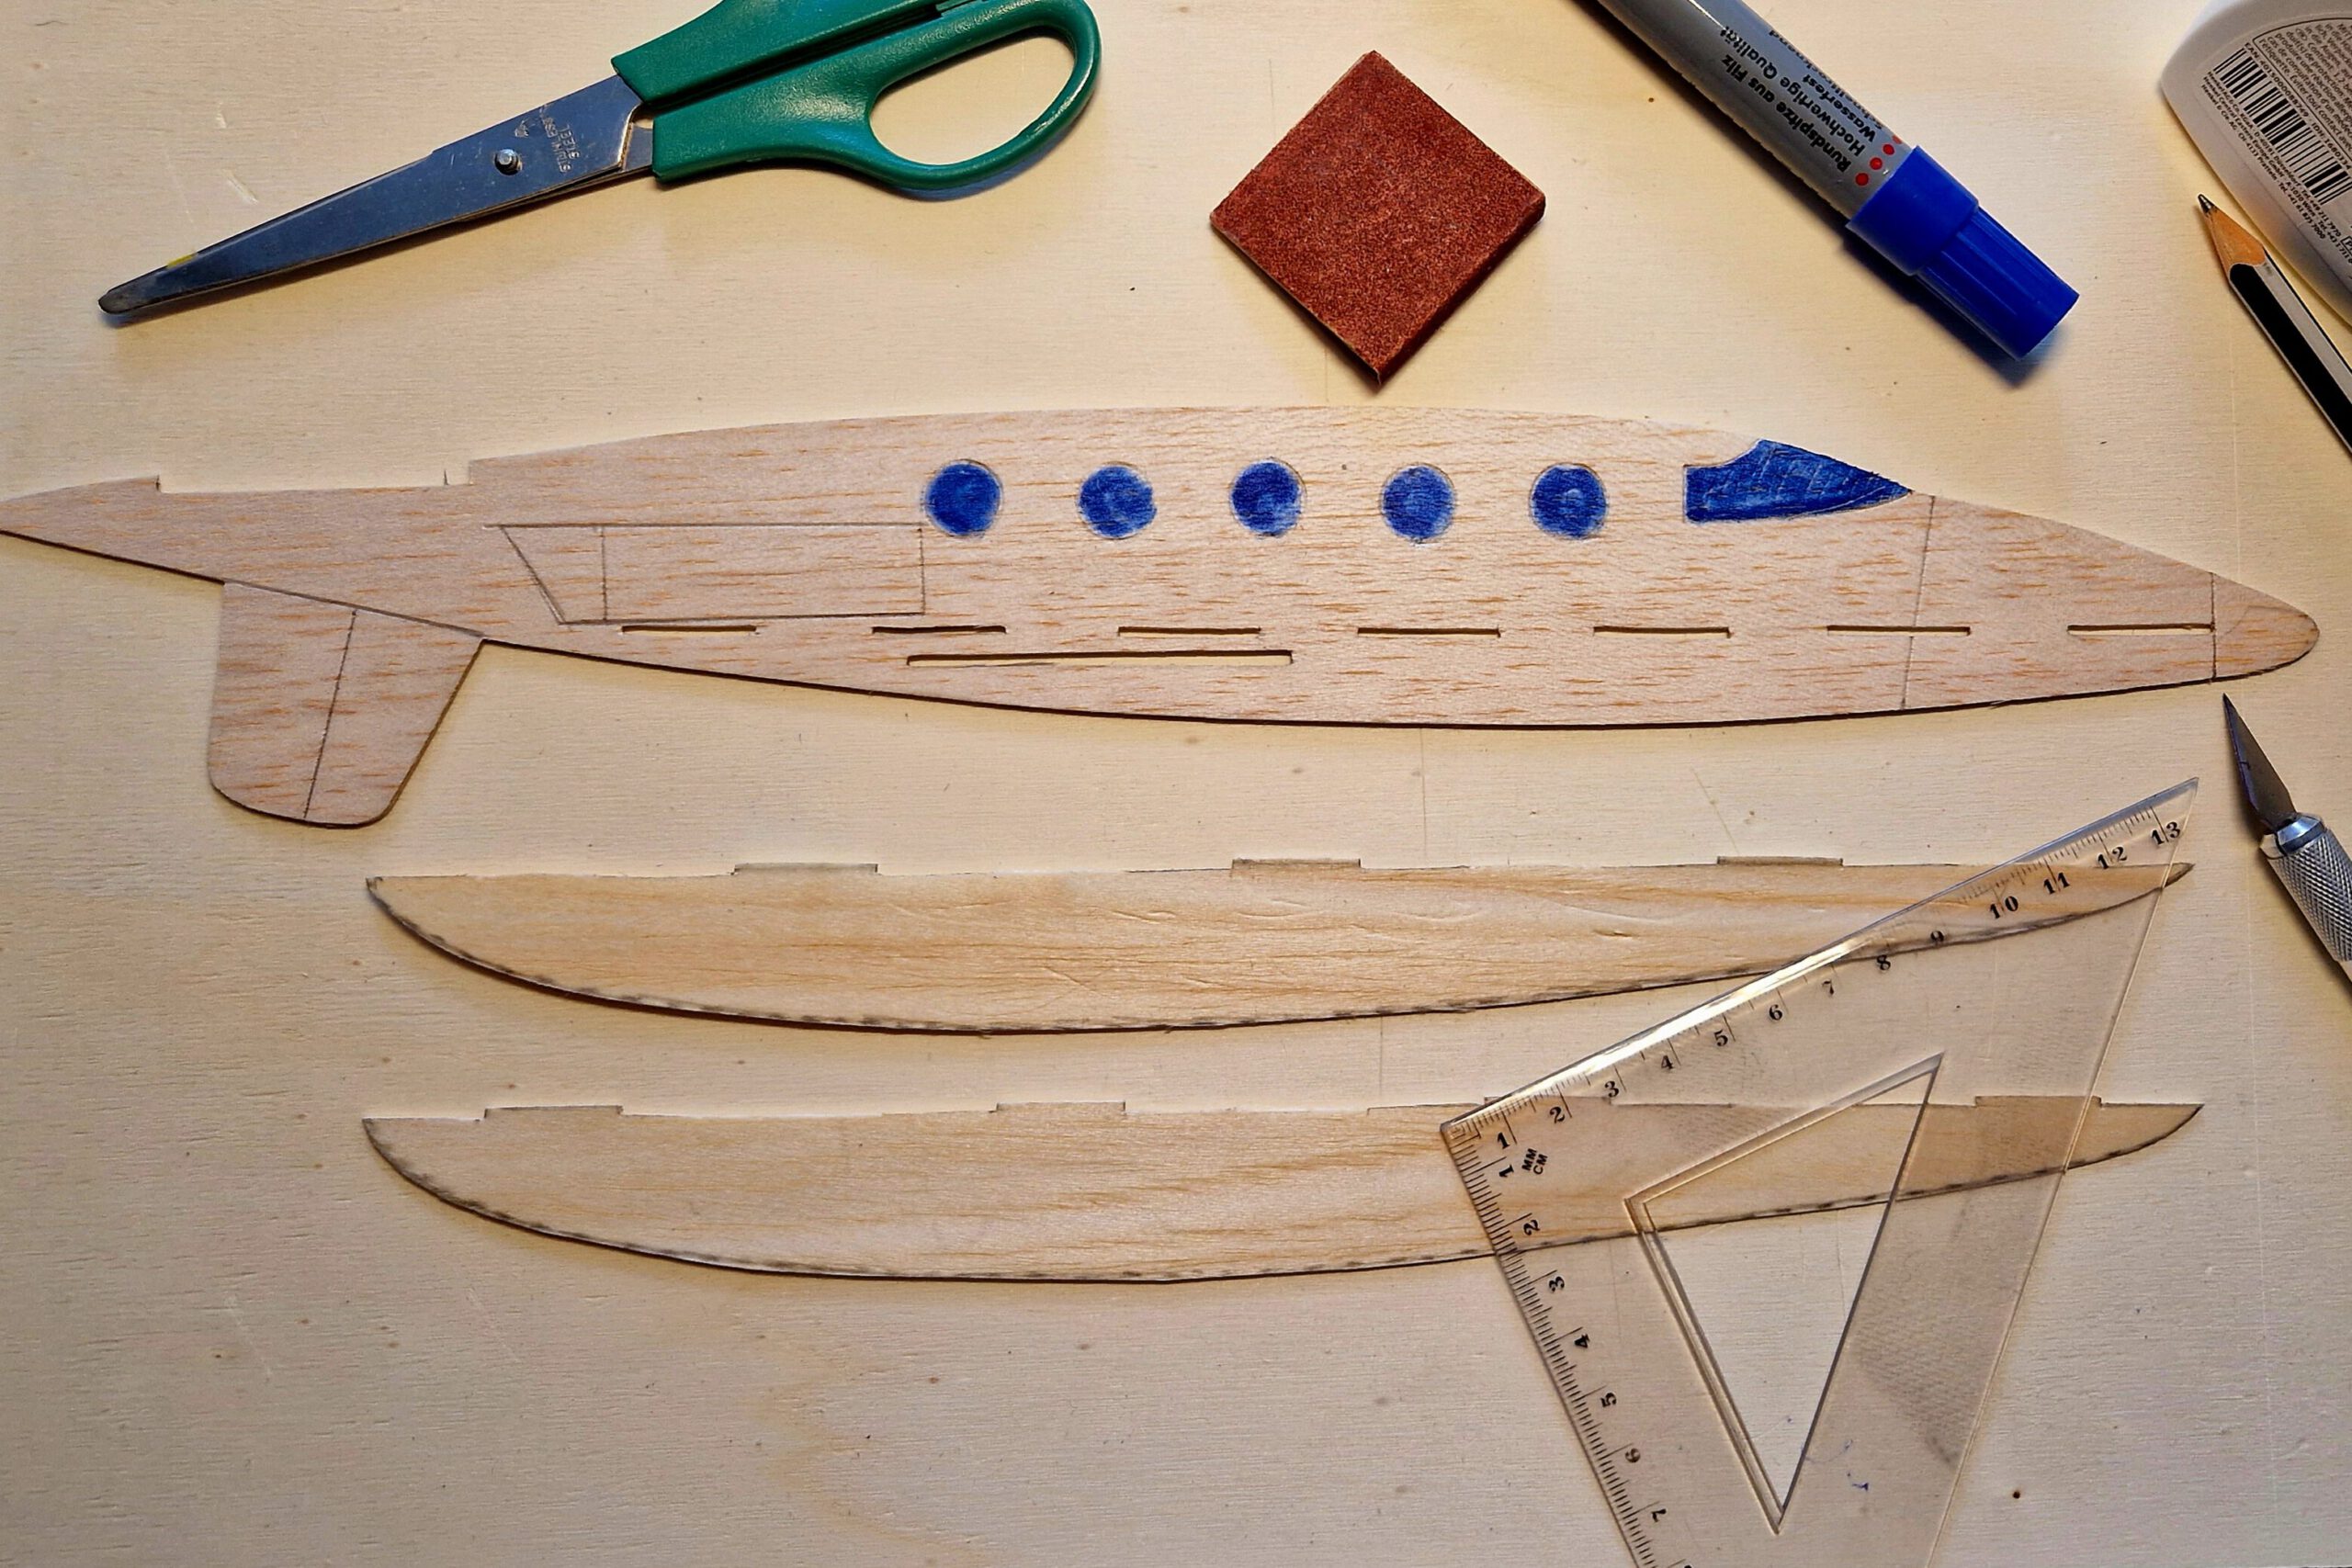
Building the balsa sheet chuck glider Lear Fan.
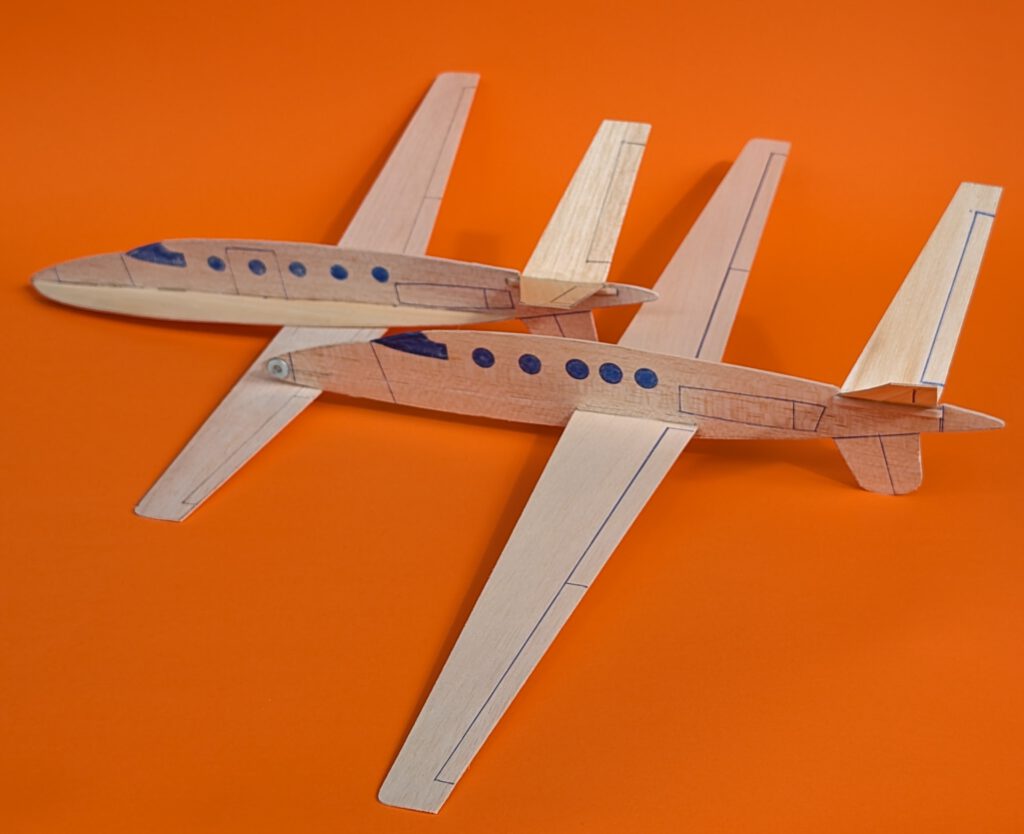
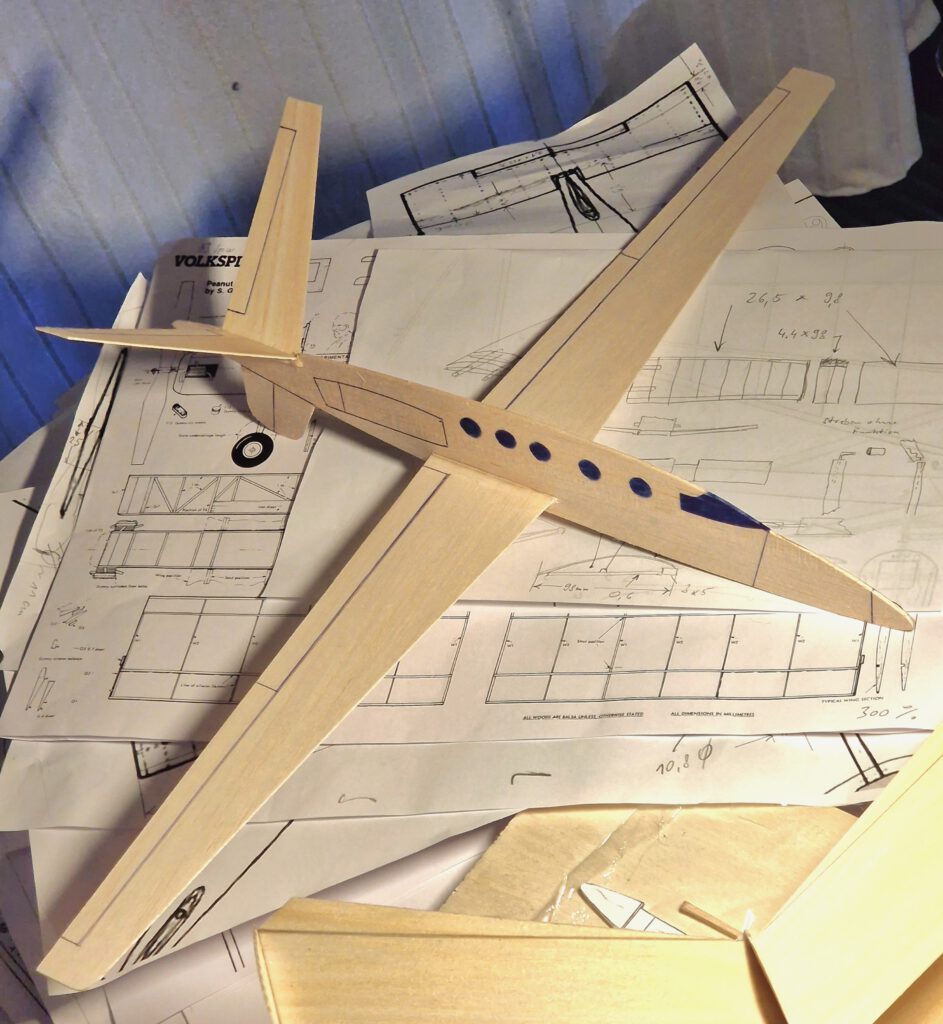
Note: I built three models of the Lear Fan so far. One with short span and side stiffeners, one with long span and side stiffeners and one more with long span but without side stiffeners. For comparison see photos. The last one makes the longest glides and is a real delight in the air.
Materials:
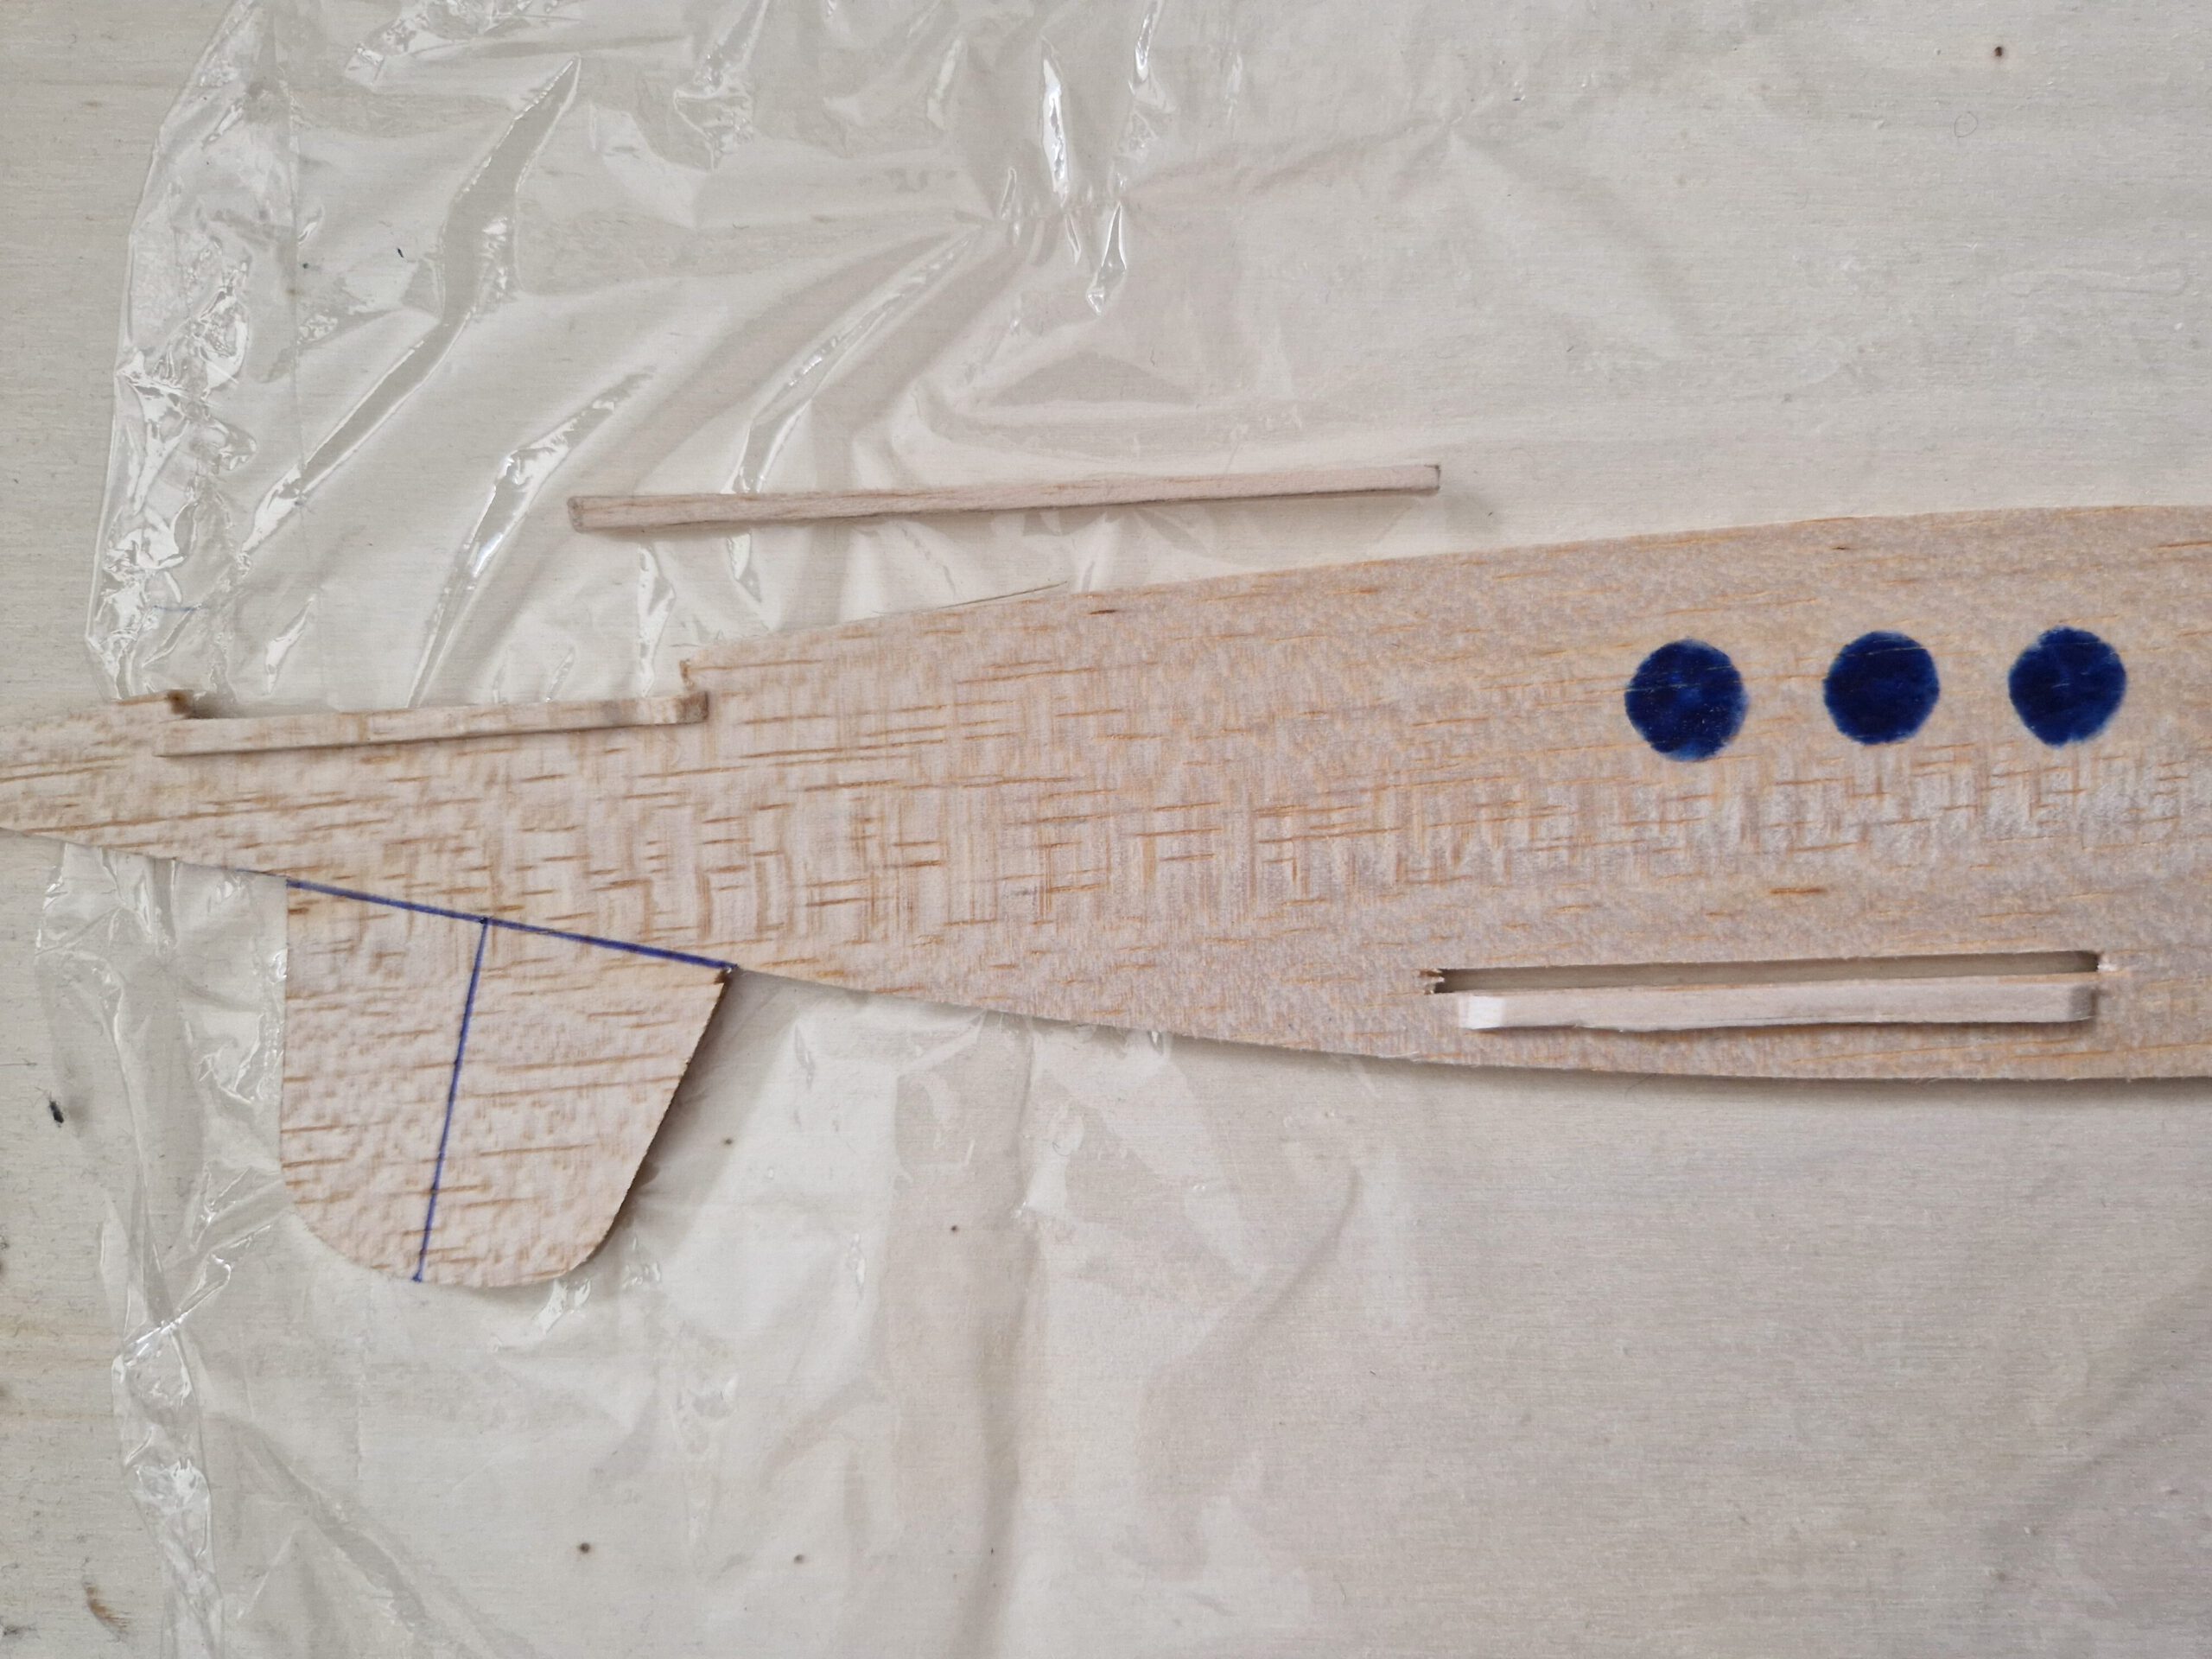
Fuselage: B 1.5 or B 2; Fuselage side stiffener: B 0.8 or B 1; wing supports: B strips 4 x 4 or 5 x 5; wings: B 1.5 or B 1; V-Tail (stabilizer): B 1; Ballast: small piece of lead or scrap metal.
Assembly:
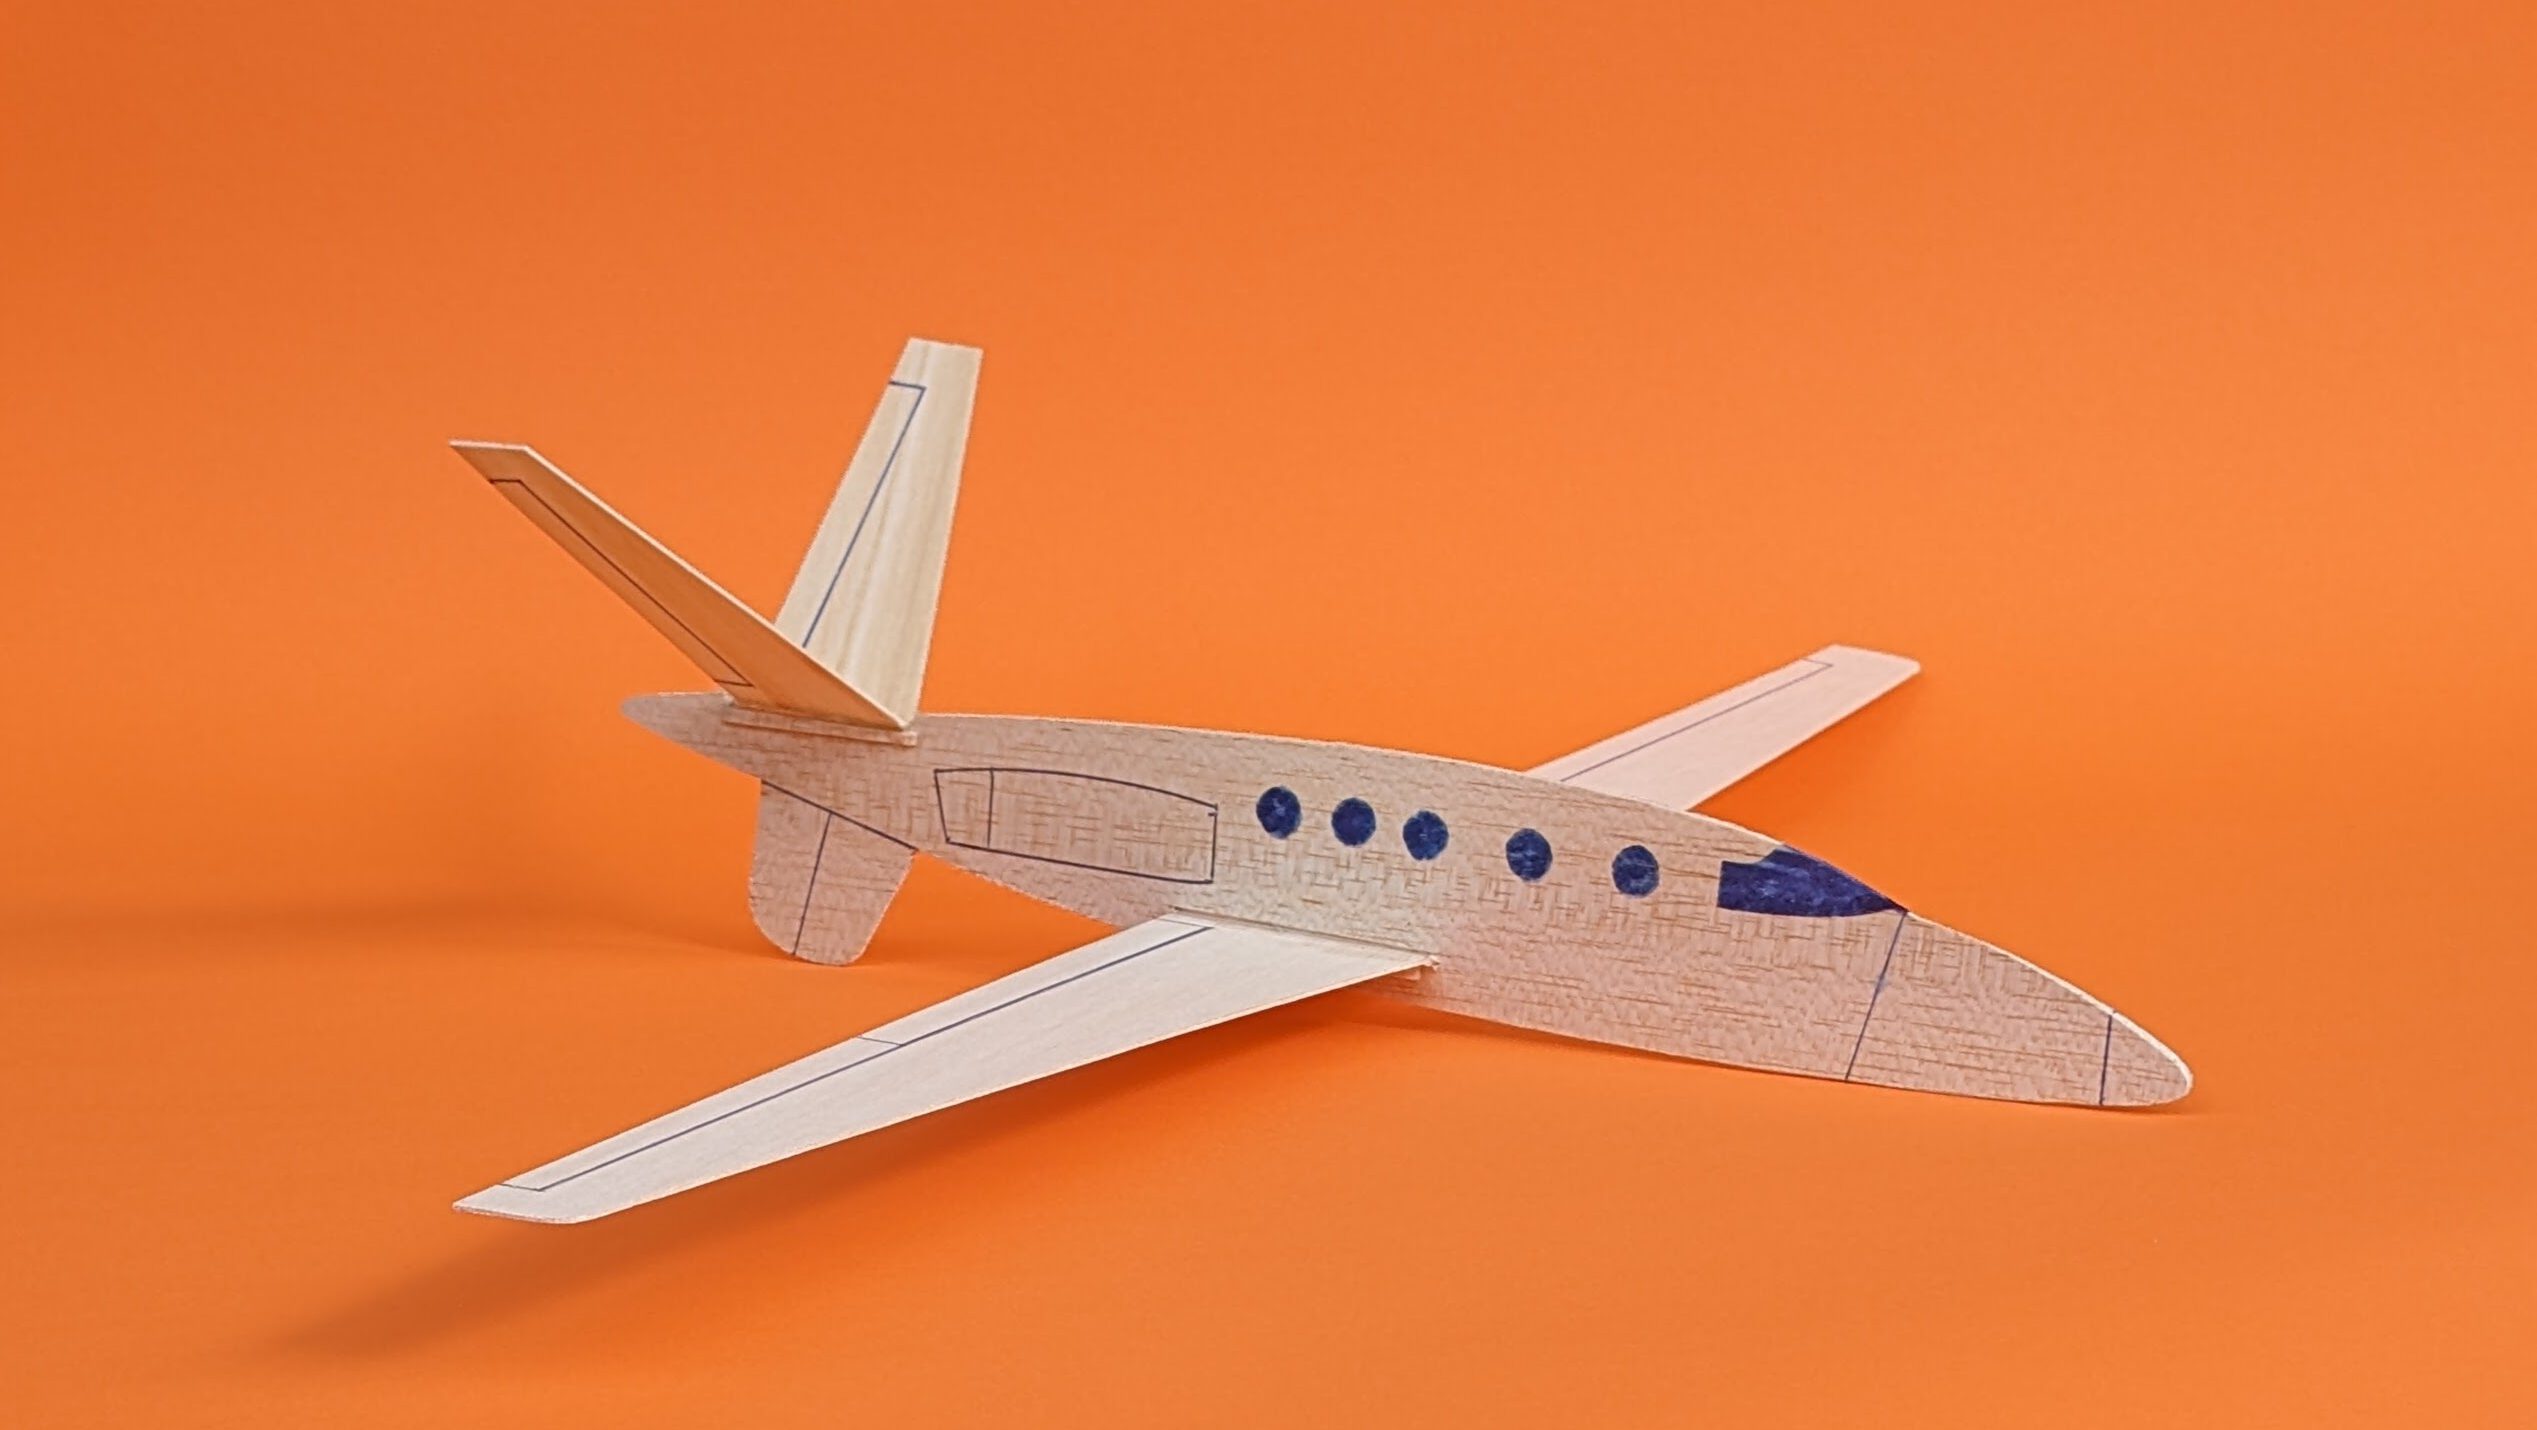
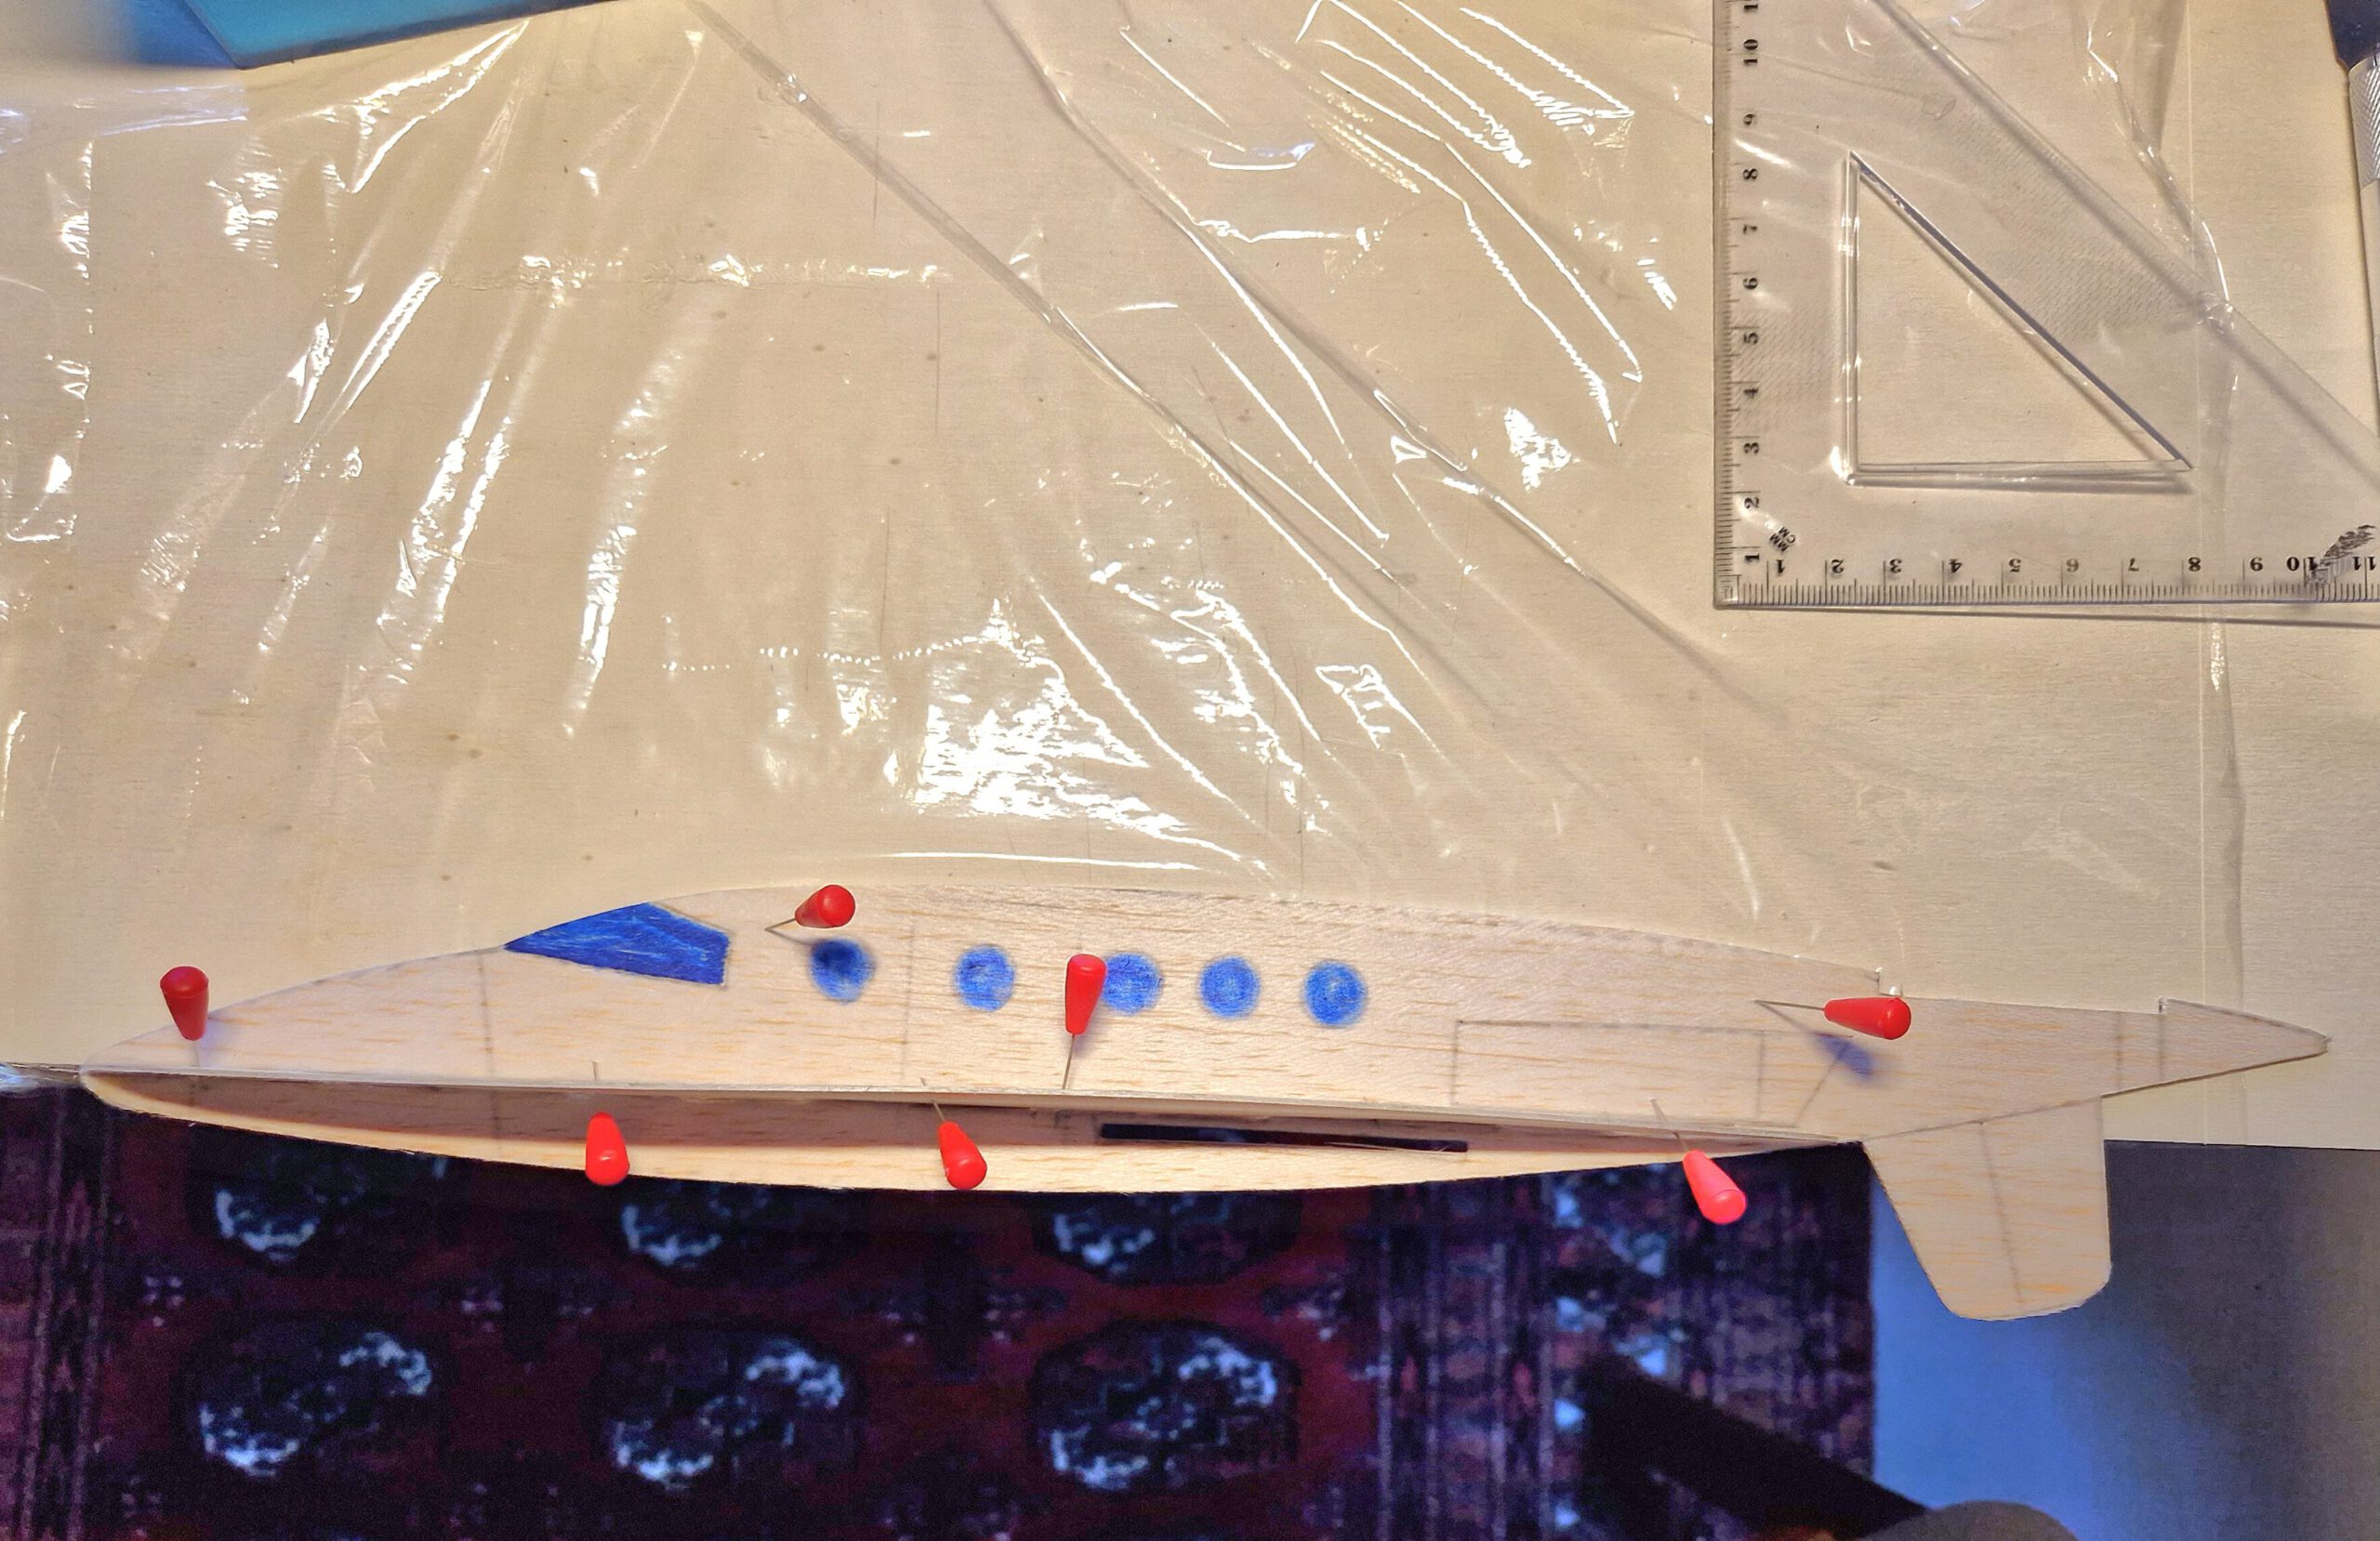
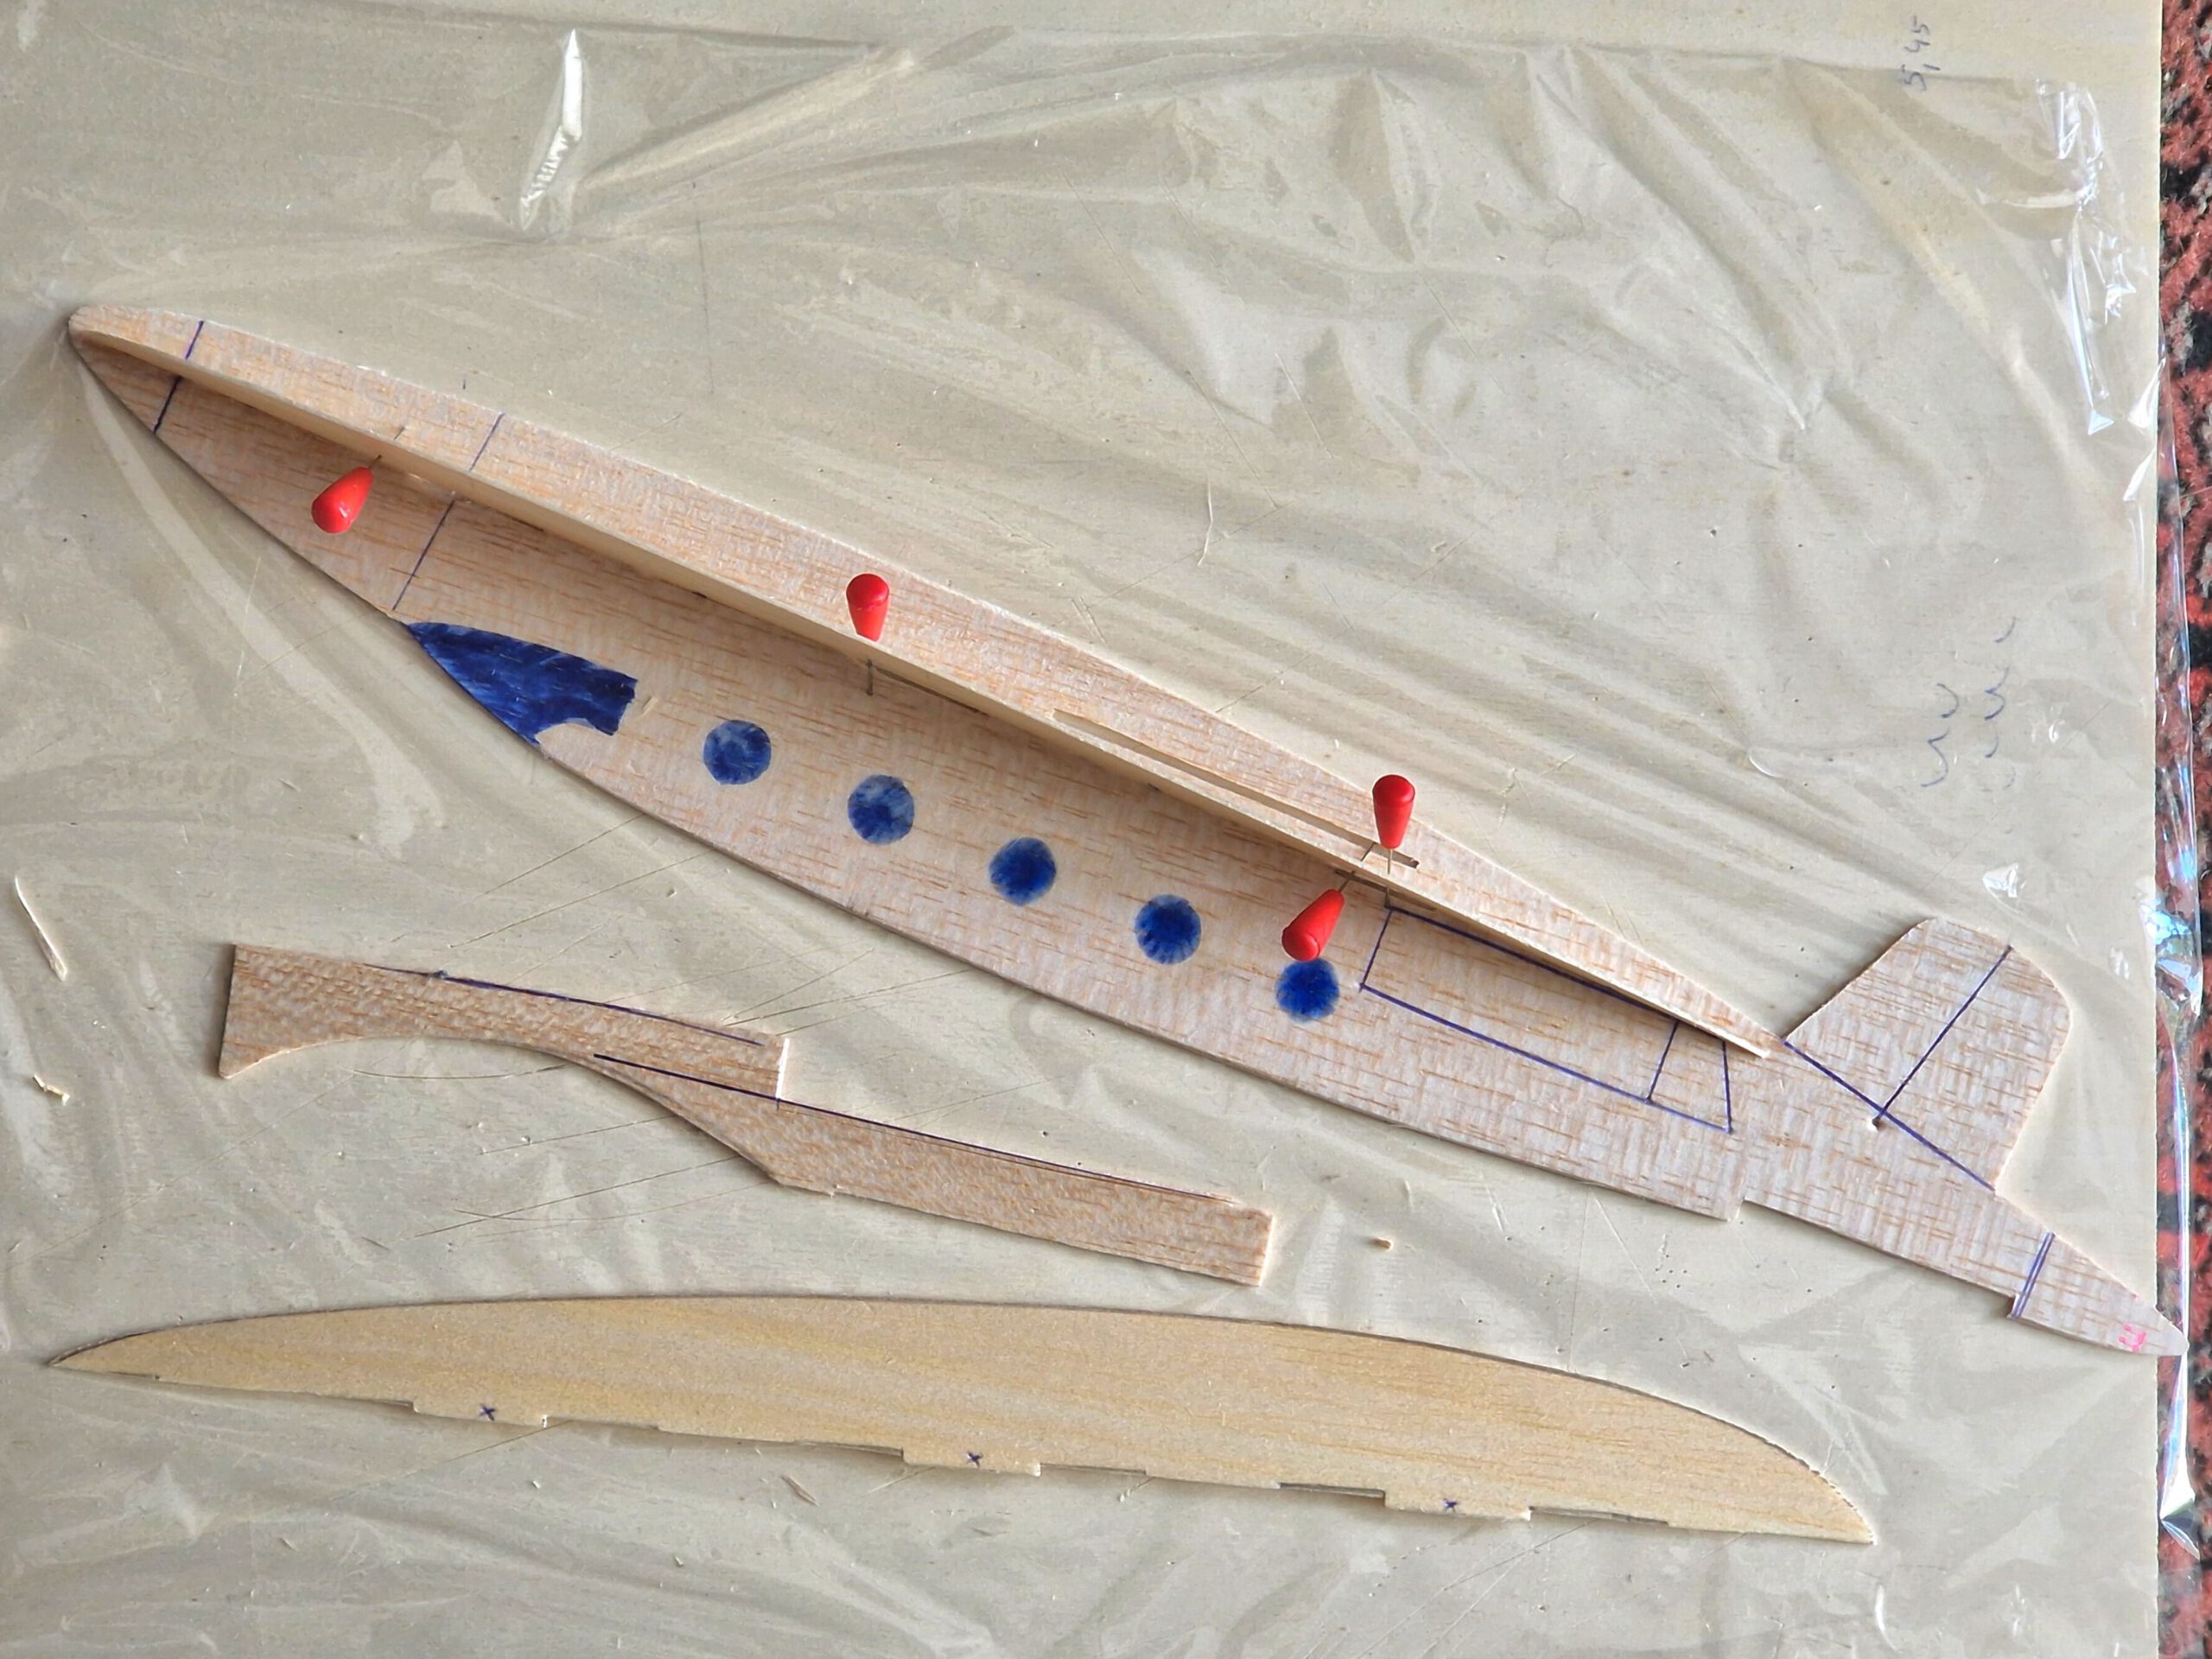
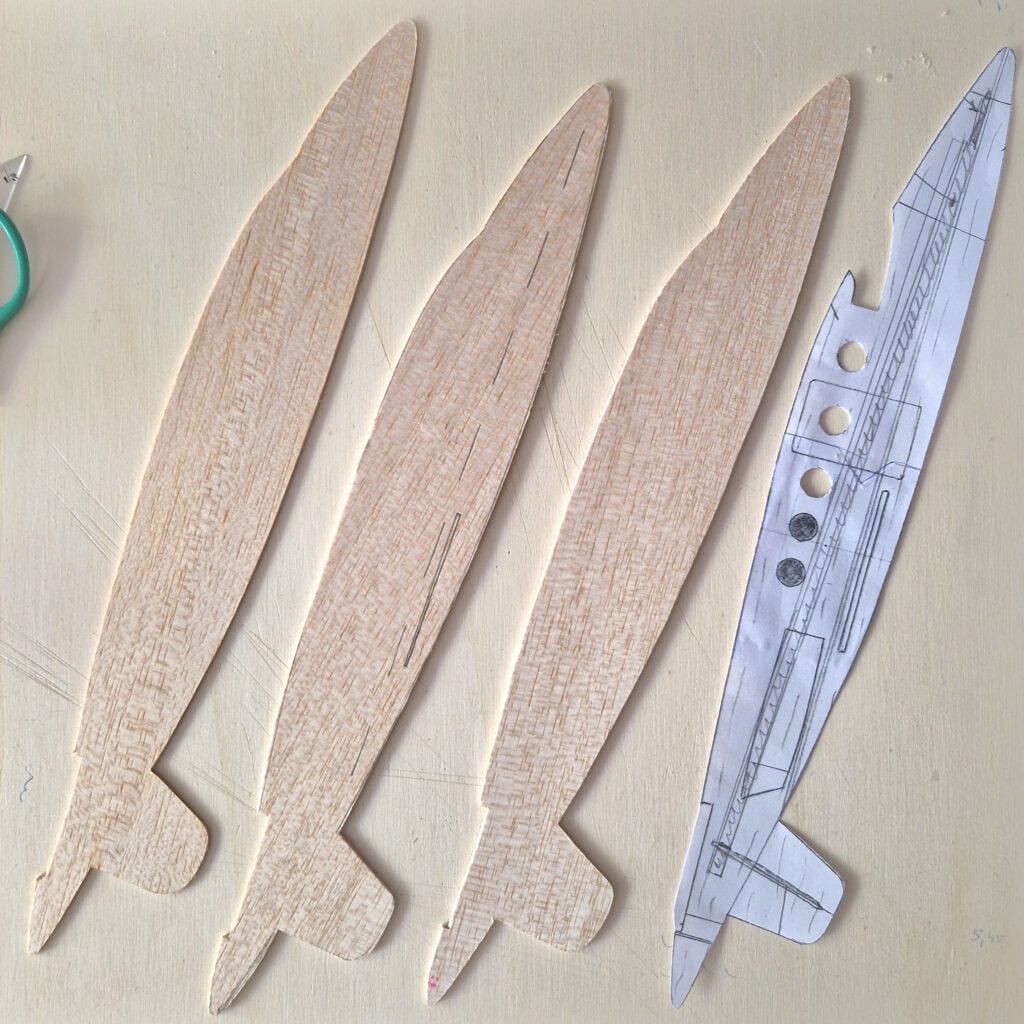
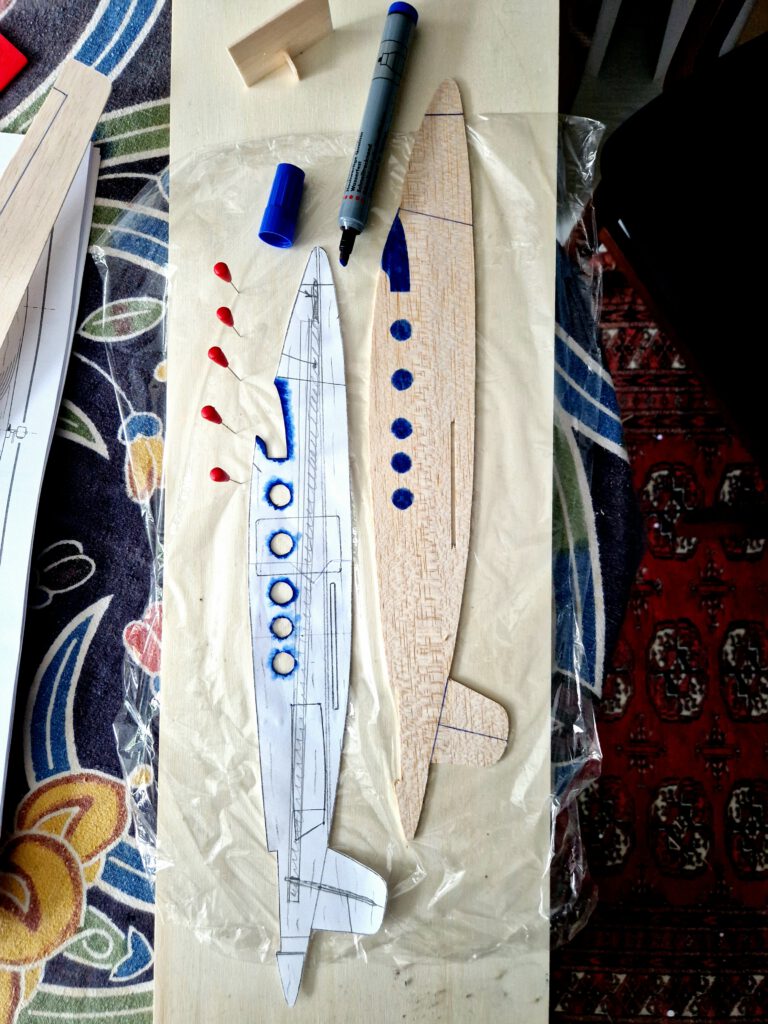
Cut out all balsa parts. Make slots for wing and stiffeners. Sand well. Transfer outlines of cockpit and cabin windows, rudders, elevators flaps ec from paper to wood with pen (photo).
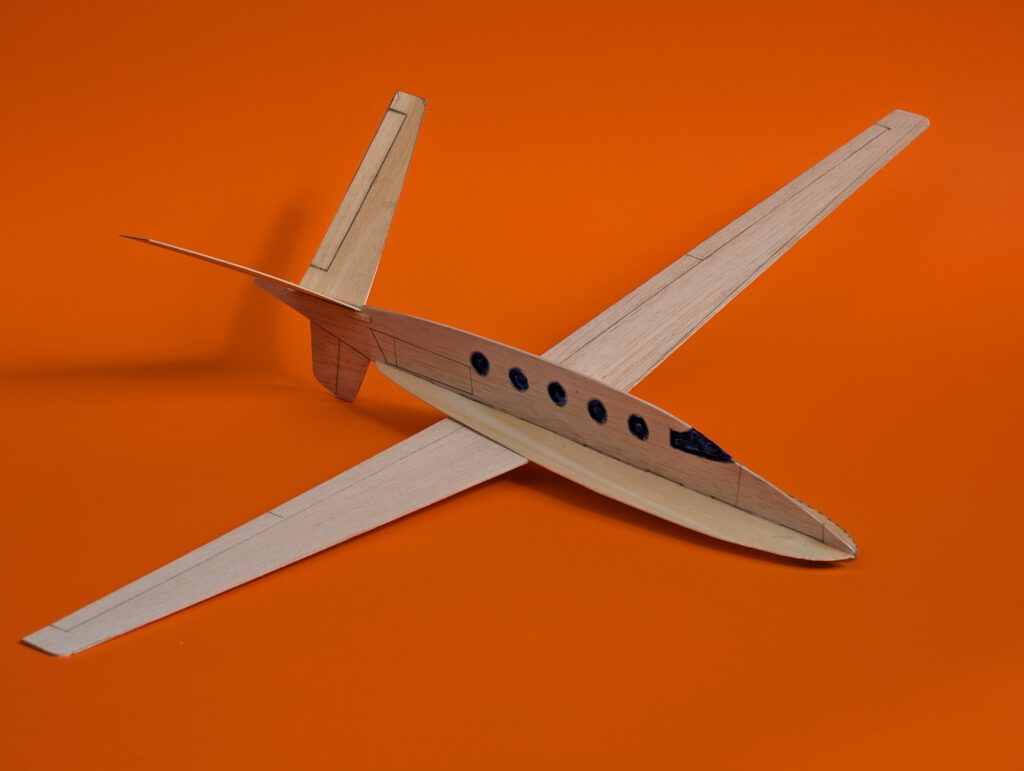
Wings:
Fix one wing half on building board with needles. Underlay second half according to given dihedral and cement (photo). Linen tape can be used to strengthen wing center. Linen strengthened balsa sheet joints are less prone to deforming when the glue of your choice has been white wood glue.
V-tail:
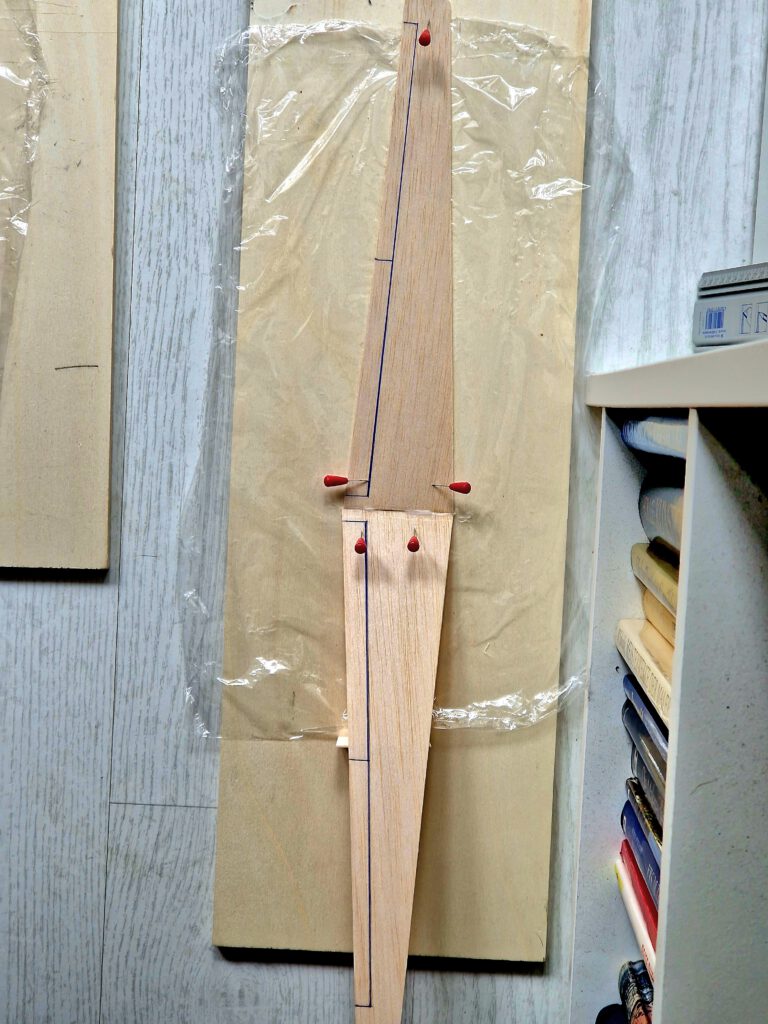
Repeat above described procedure with V-tail parts (photo). Using a selfmade stencil may prove helpful.
Fuselage:
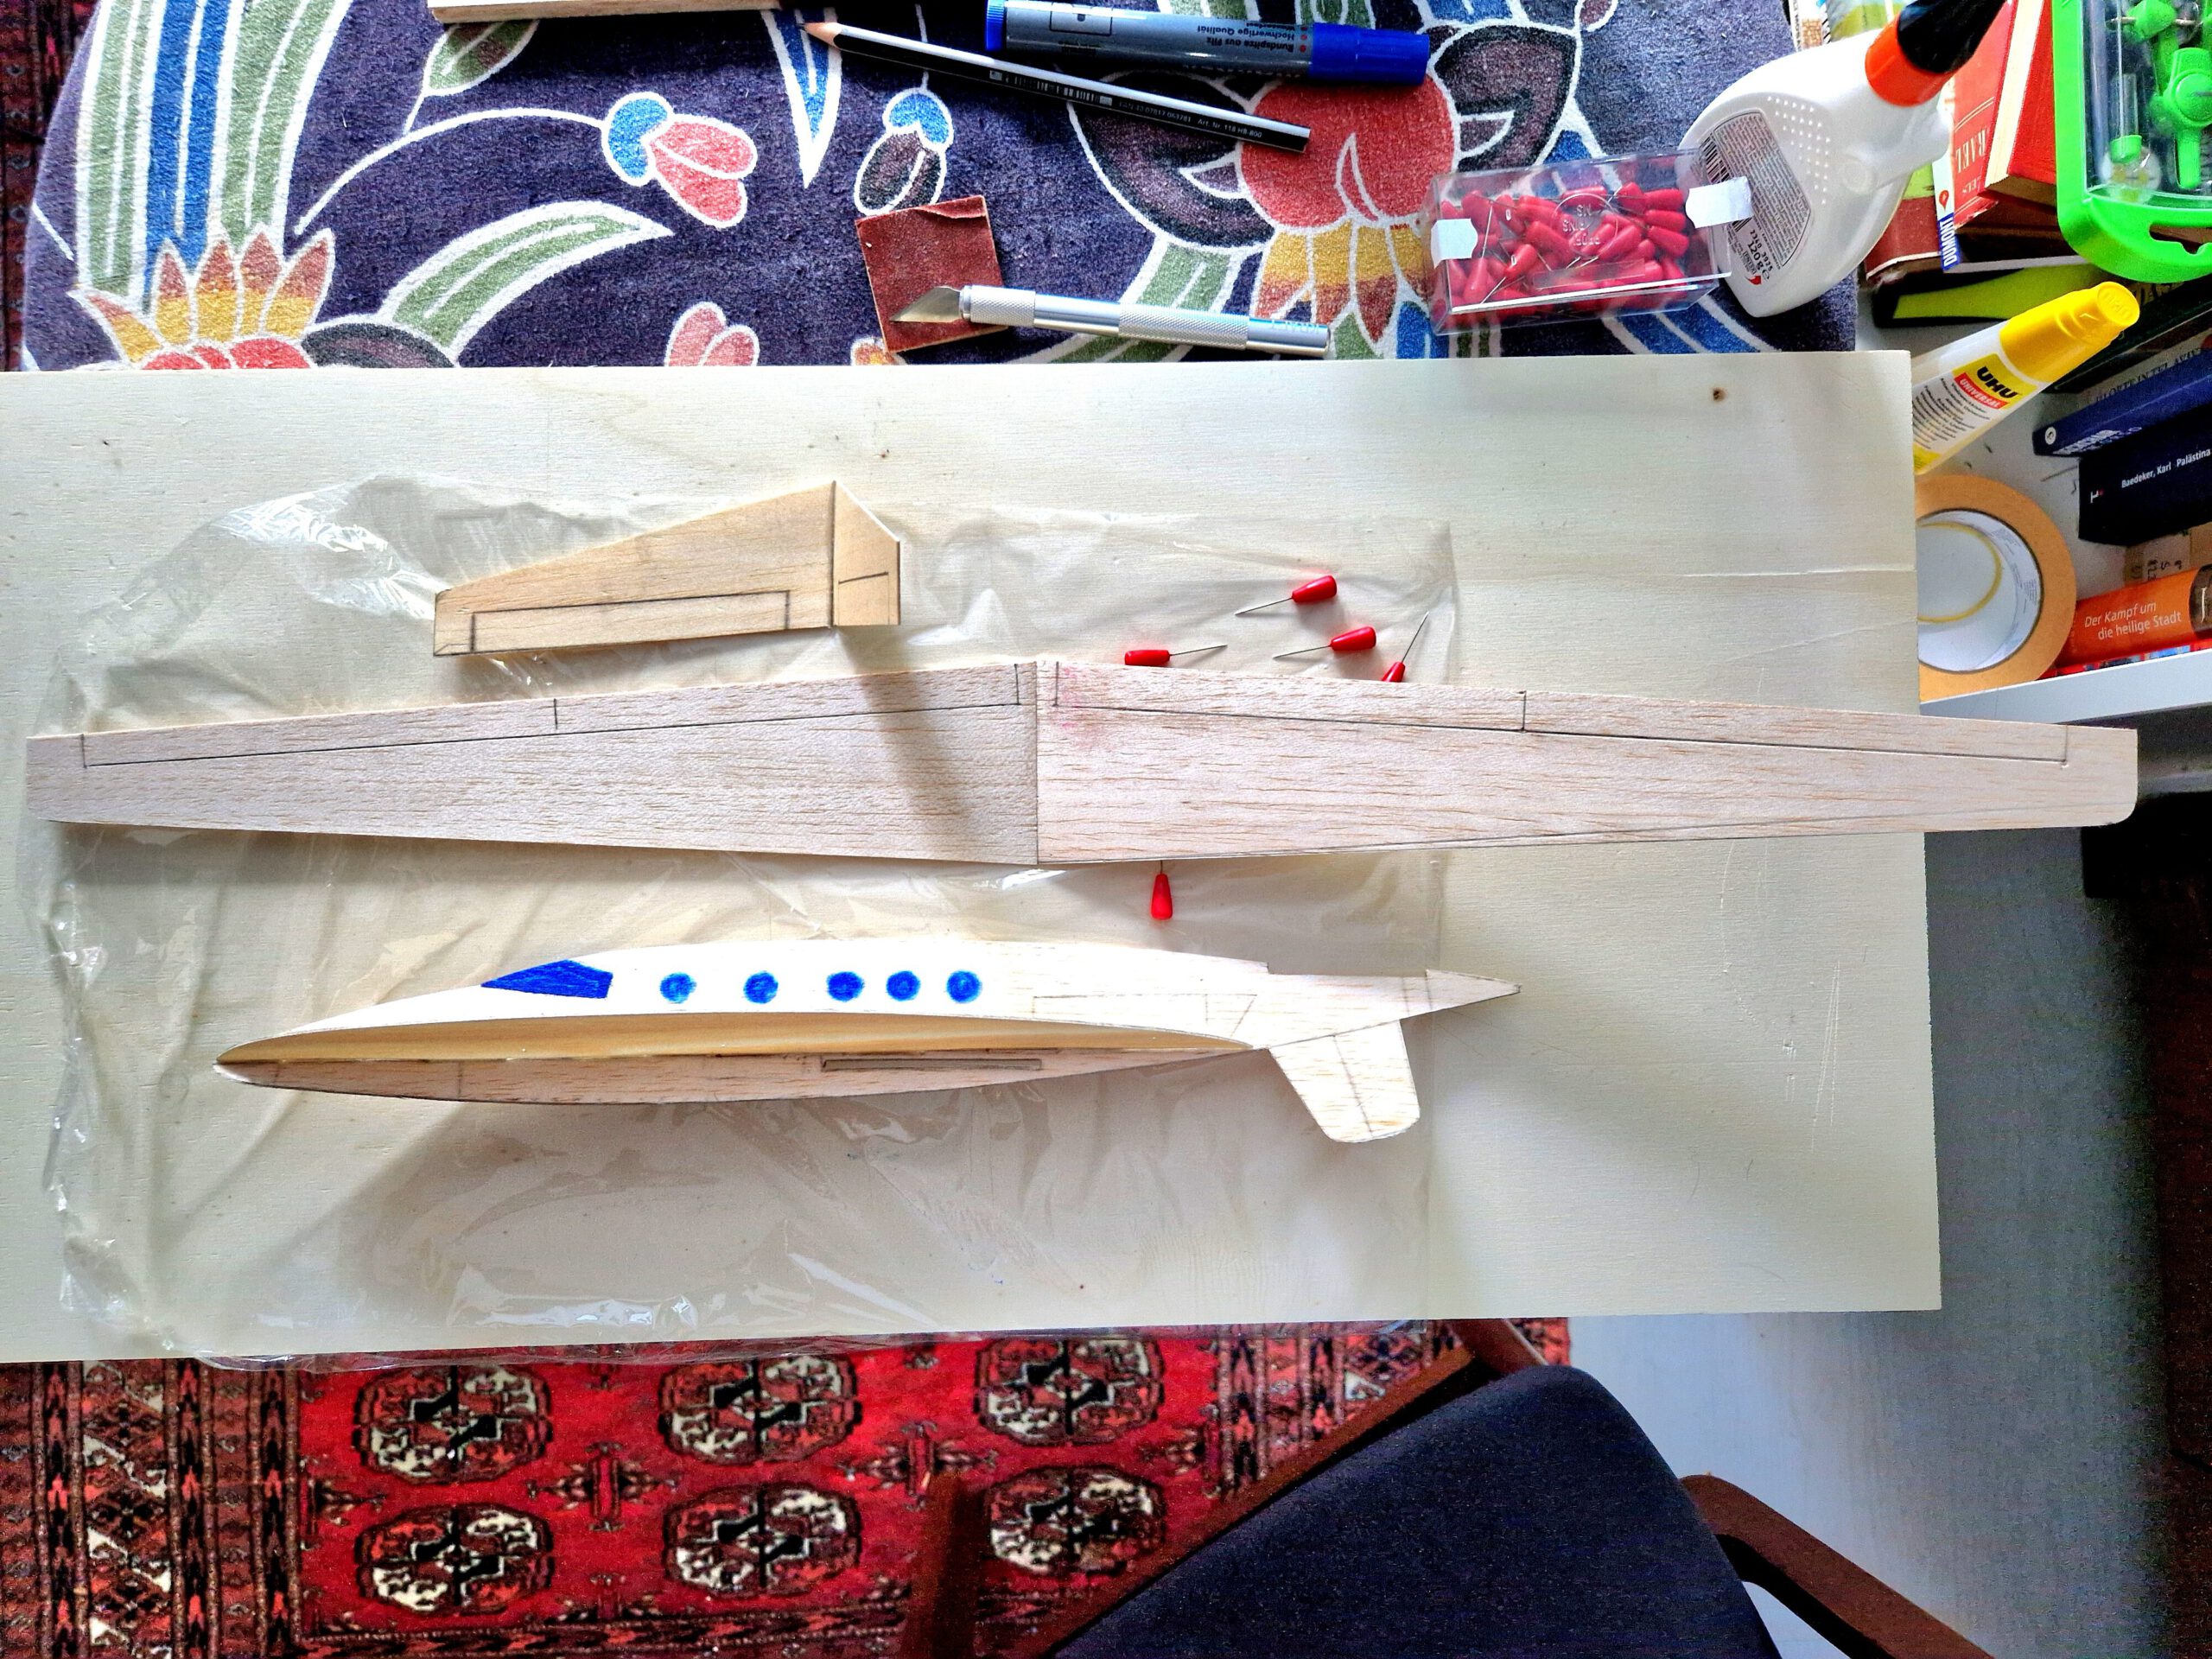
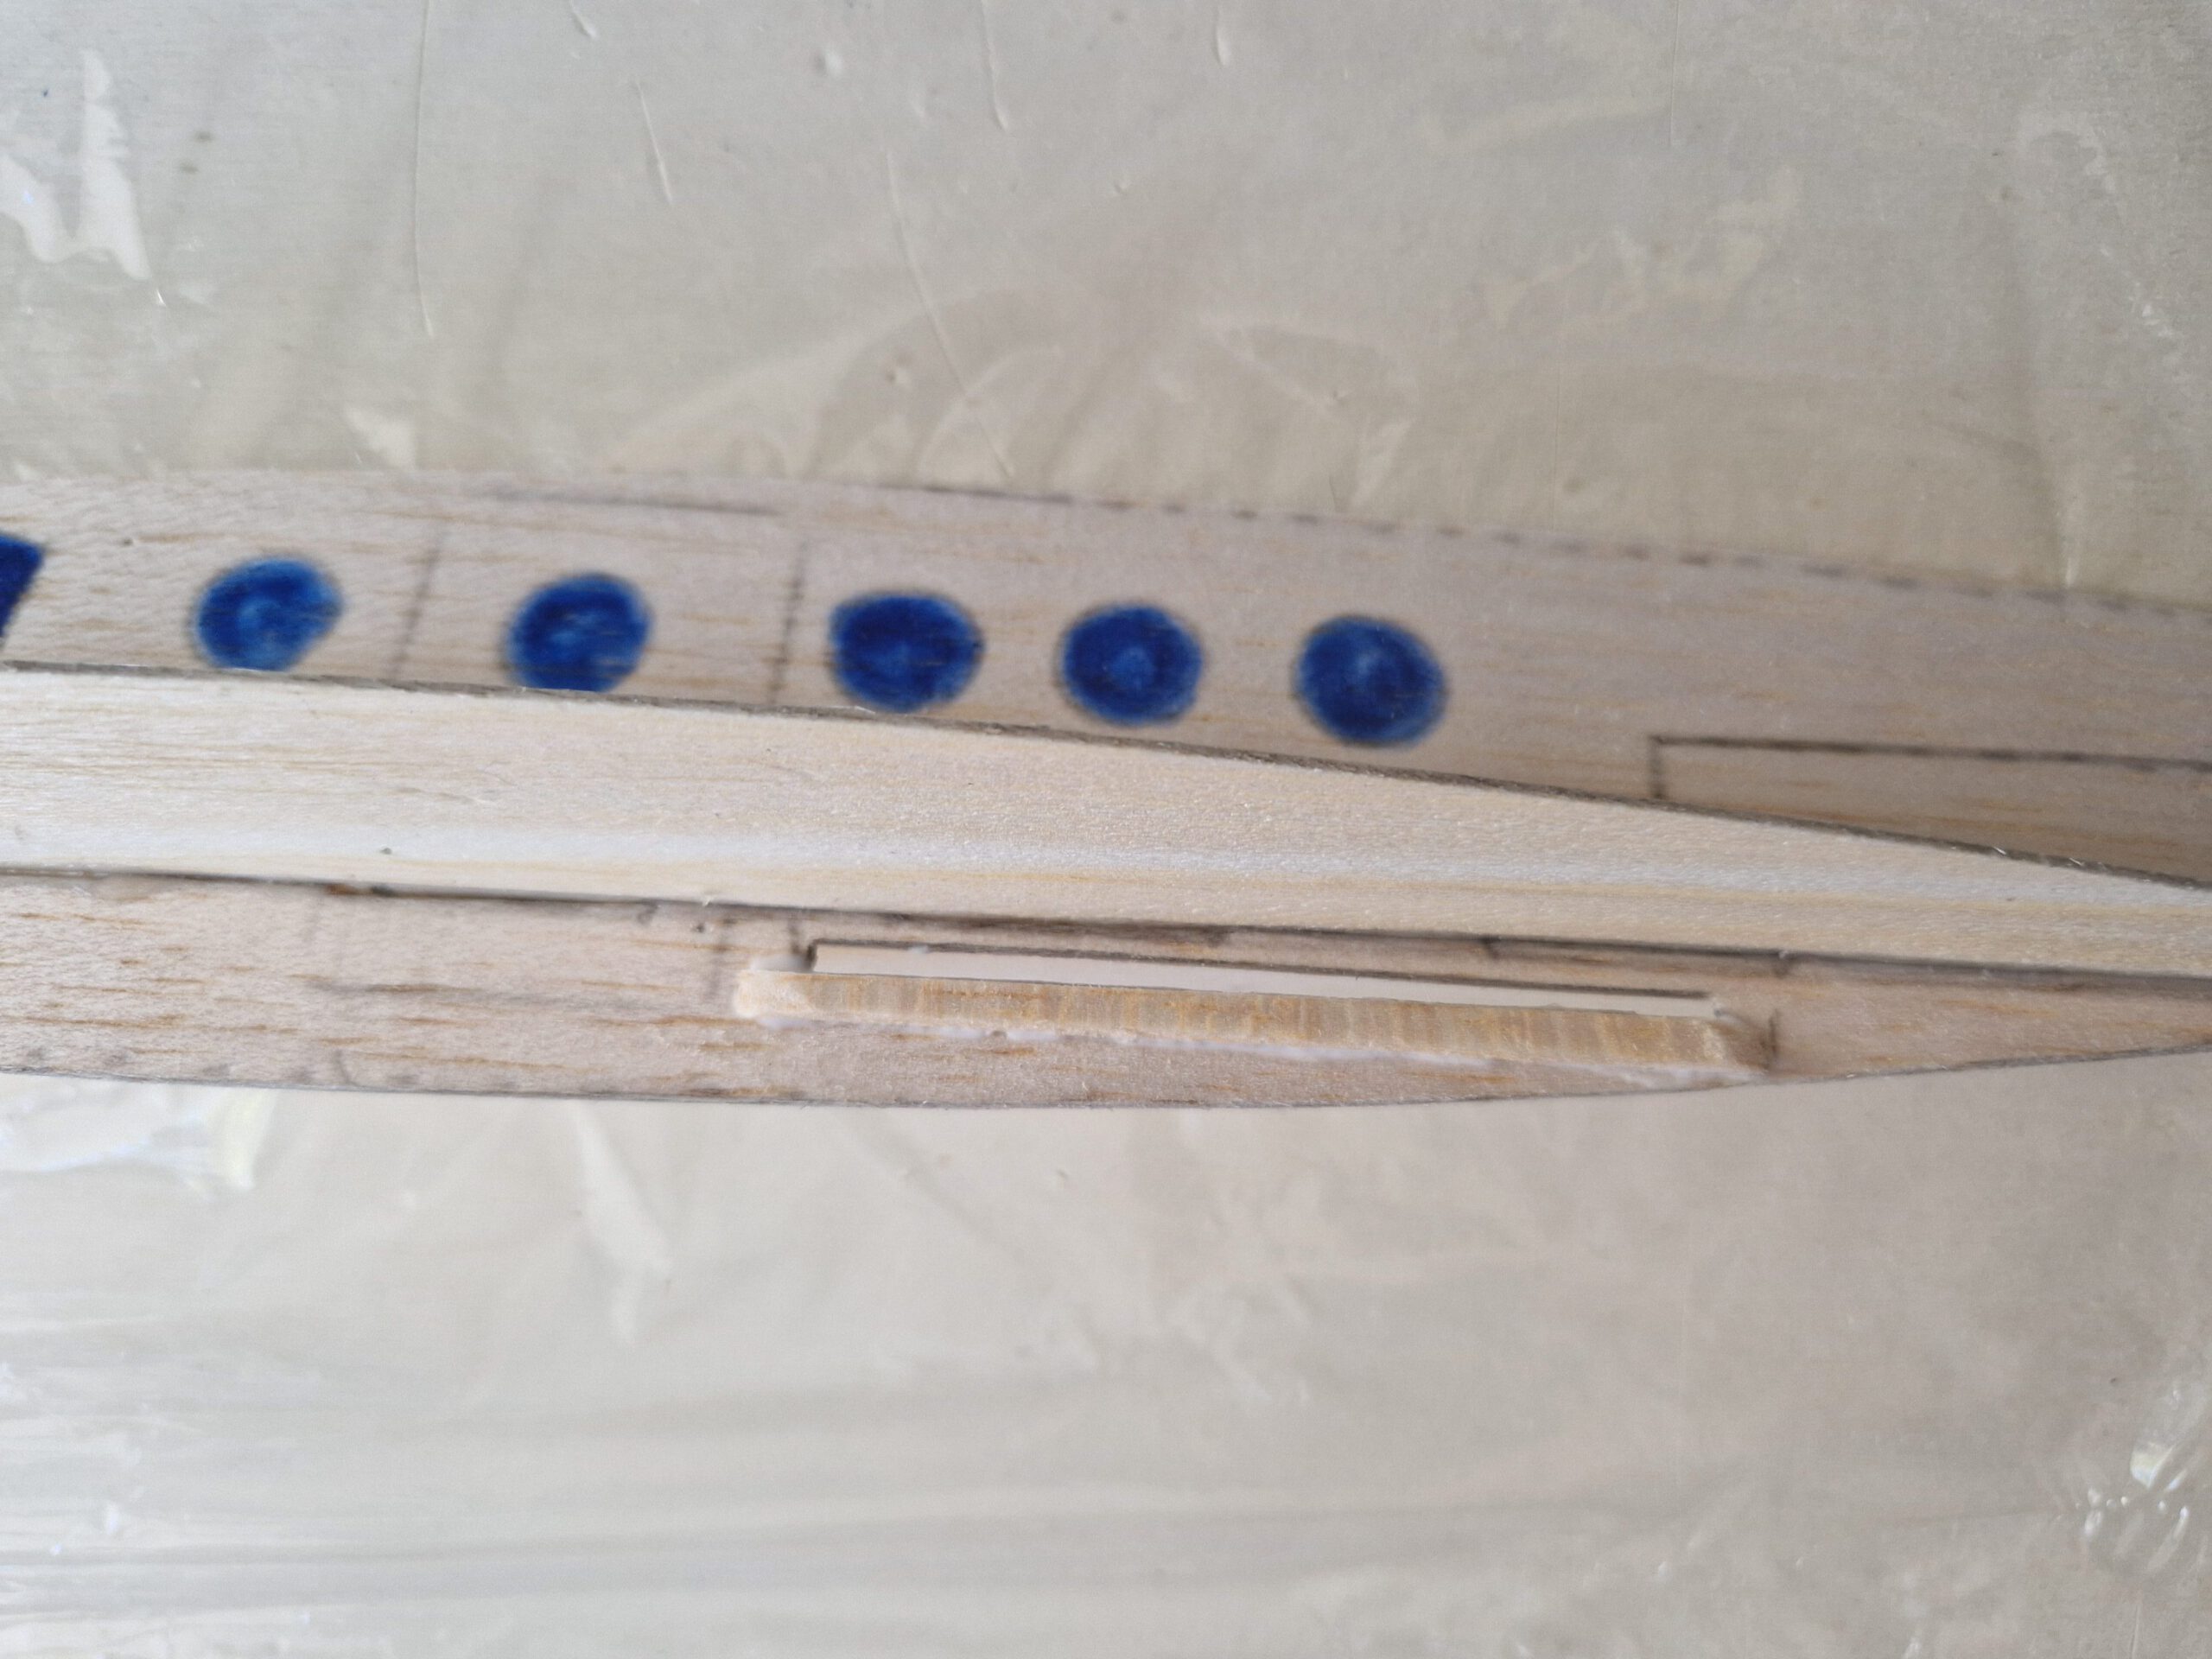
Fix fuselage on your building board with needles. Cement if desired sides stiffener at 90 ° angle on right side of fuselage (photo). Let dry. Repeat procedure on left side (photo). Let dry. Cement wing support strips in to their place on both sides of fuselage (photo) using clamps or clothespins.
Final Assembly:
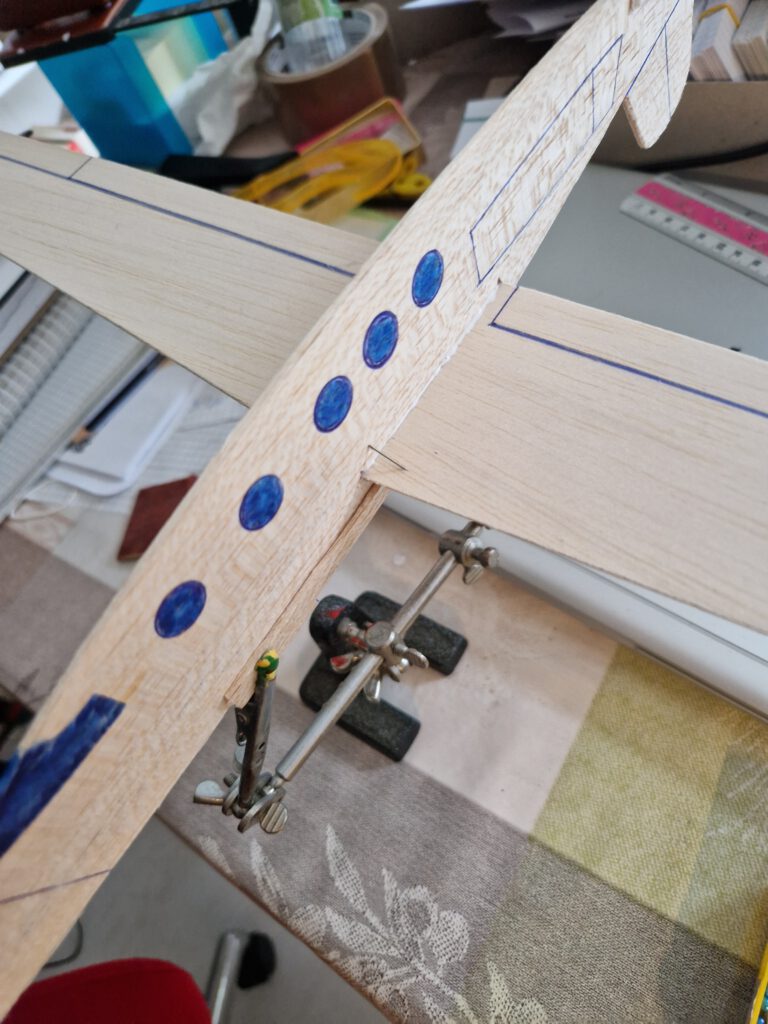
Cement wing into fuselage slot using needles to hold in place. Remember to visual check from all sides as obtaining symmetry should be your main aim at this step. Now repeat this procedure with empennage. Use so called „third hand“ to facilitate building (see photo). Let dry.
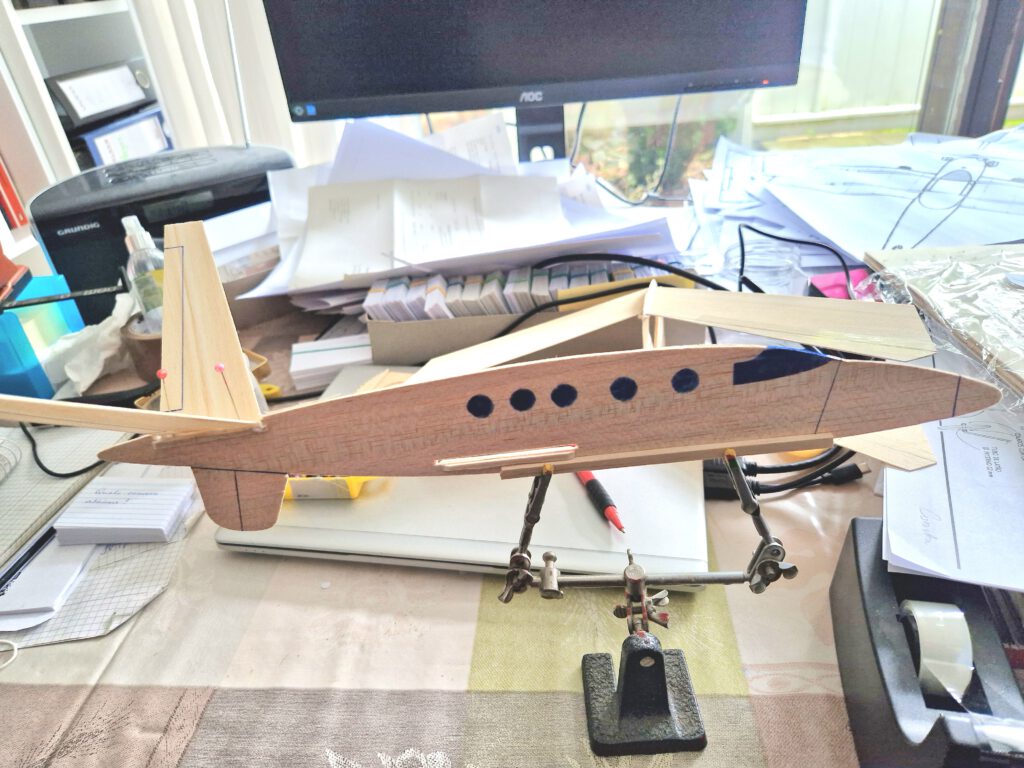
Balance model in accordance to given CG on plan (photo).
Buon volo! (гарного польоту!)

Leave a Reply