
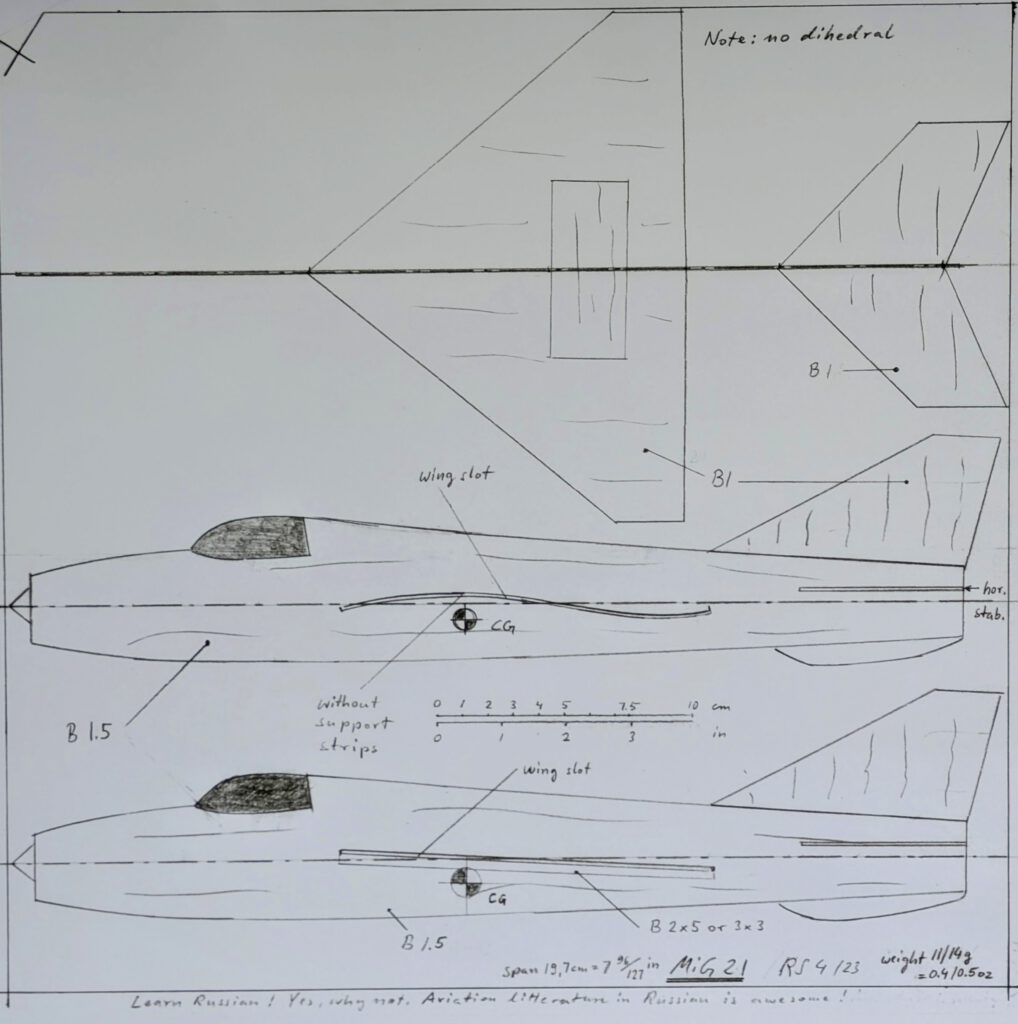
Span 19.5 cm / 8 in
Weight 11/14 g / 0.4/0.5 oz
The MiG-21 (Mi stands for Mikoyan and G for Gooryevitch) is one of the most produced warplanes of the post World War II era as more than 11,000 have been built in the USSR, in India and in Czechoslovakia. The Chinese added to these numbers more than 2,400 of their licence-built improved replicas named Chengdu J-7. Around sixty countries used the MiG-21 or even still have it in use. The first flight of the single seat supersonic fighter, interceptor aircraft and veteran of many wars took place in 1955. Wingspan is 7.154 m / 23 ft 6 in, length 14.7 m /48 ft 3 in (without pitot boom) and gross weight 8,725 kg / 19,235 lb. The MiG-21 has one built-in 23 mm autocannon and hardpoints for rockets, missiles and/or bombs. Endurance is short, range without drop tanks insignificant.
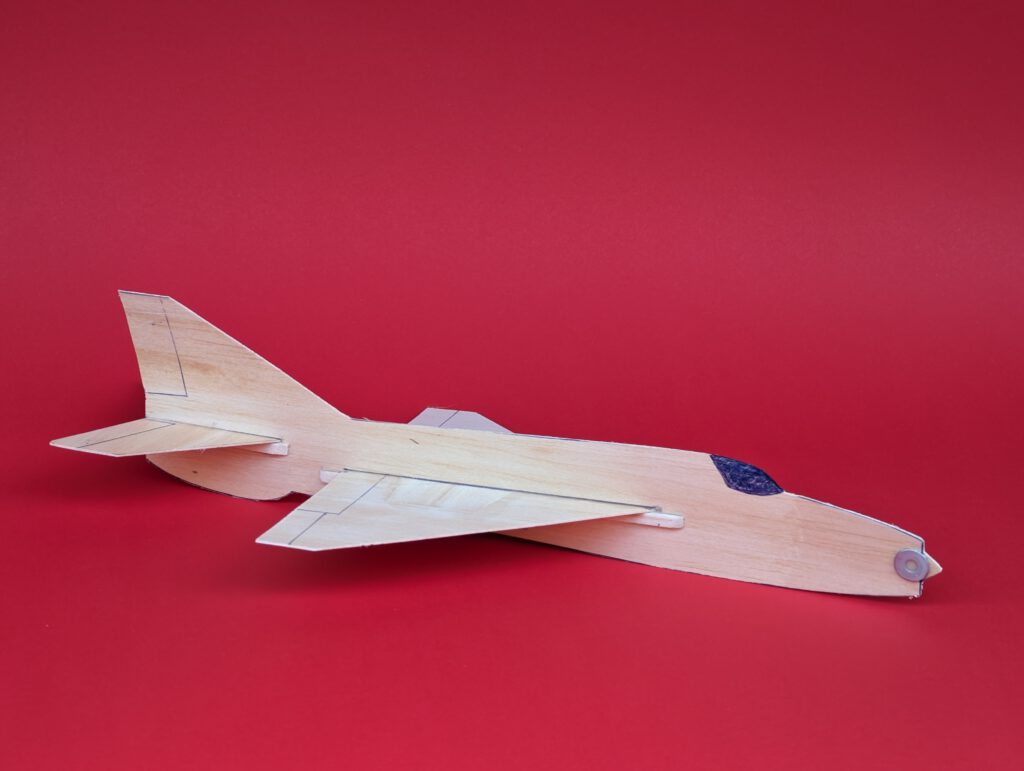
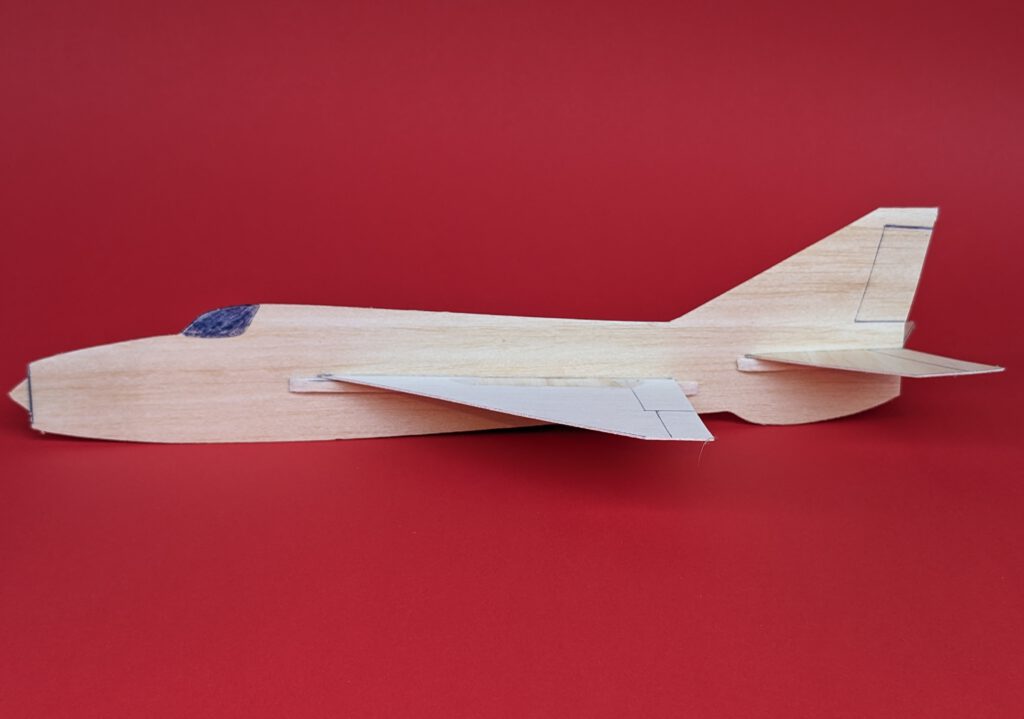
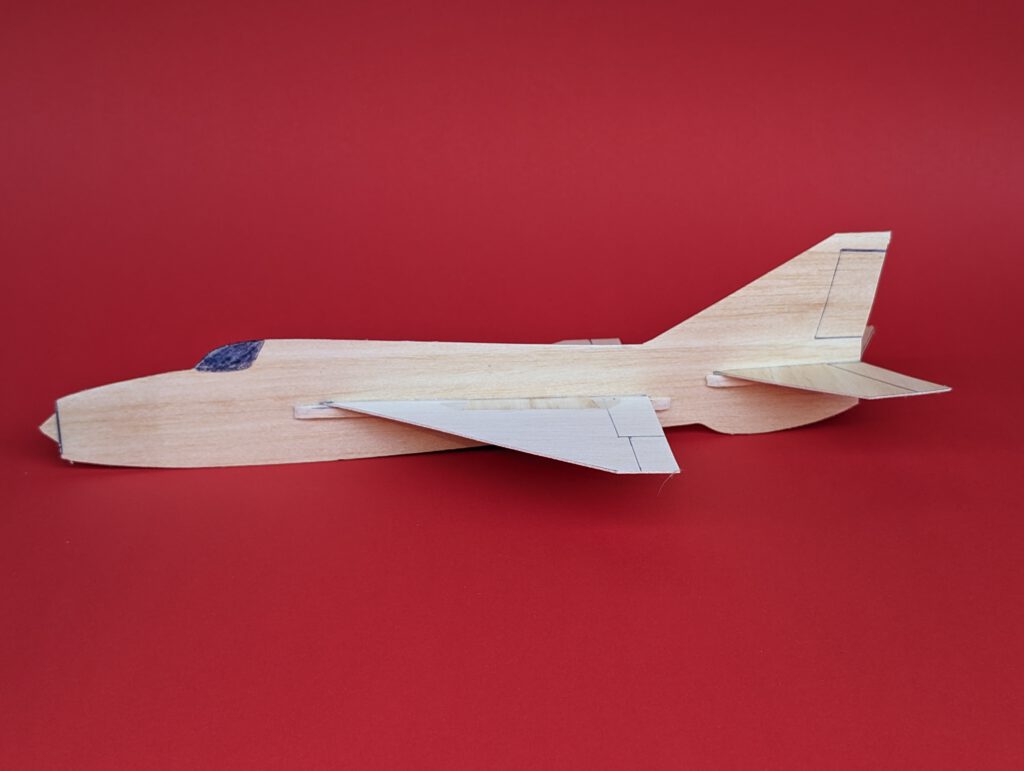
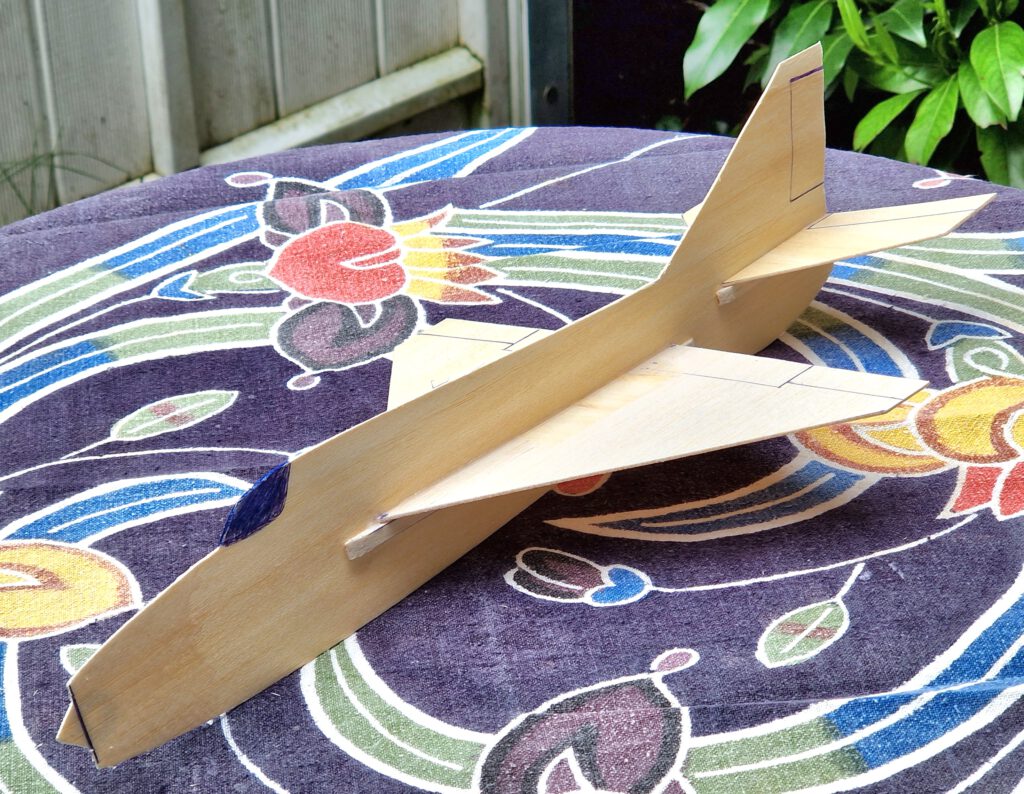
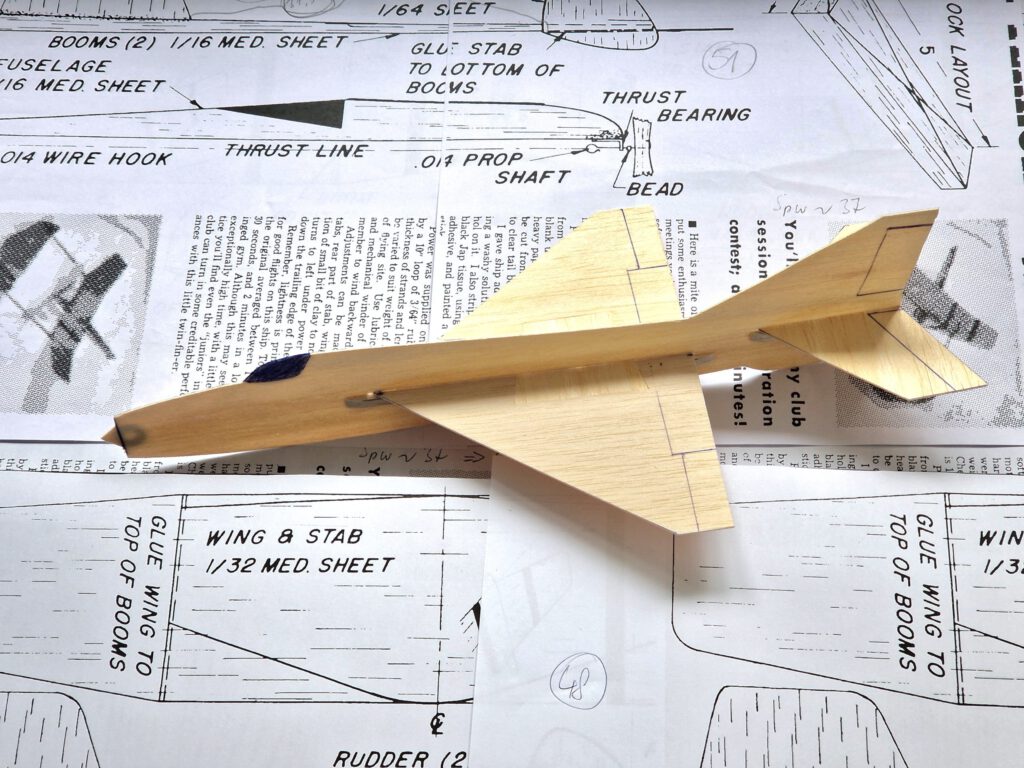
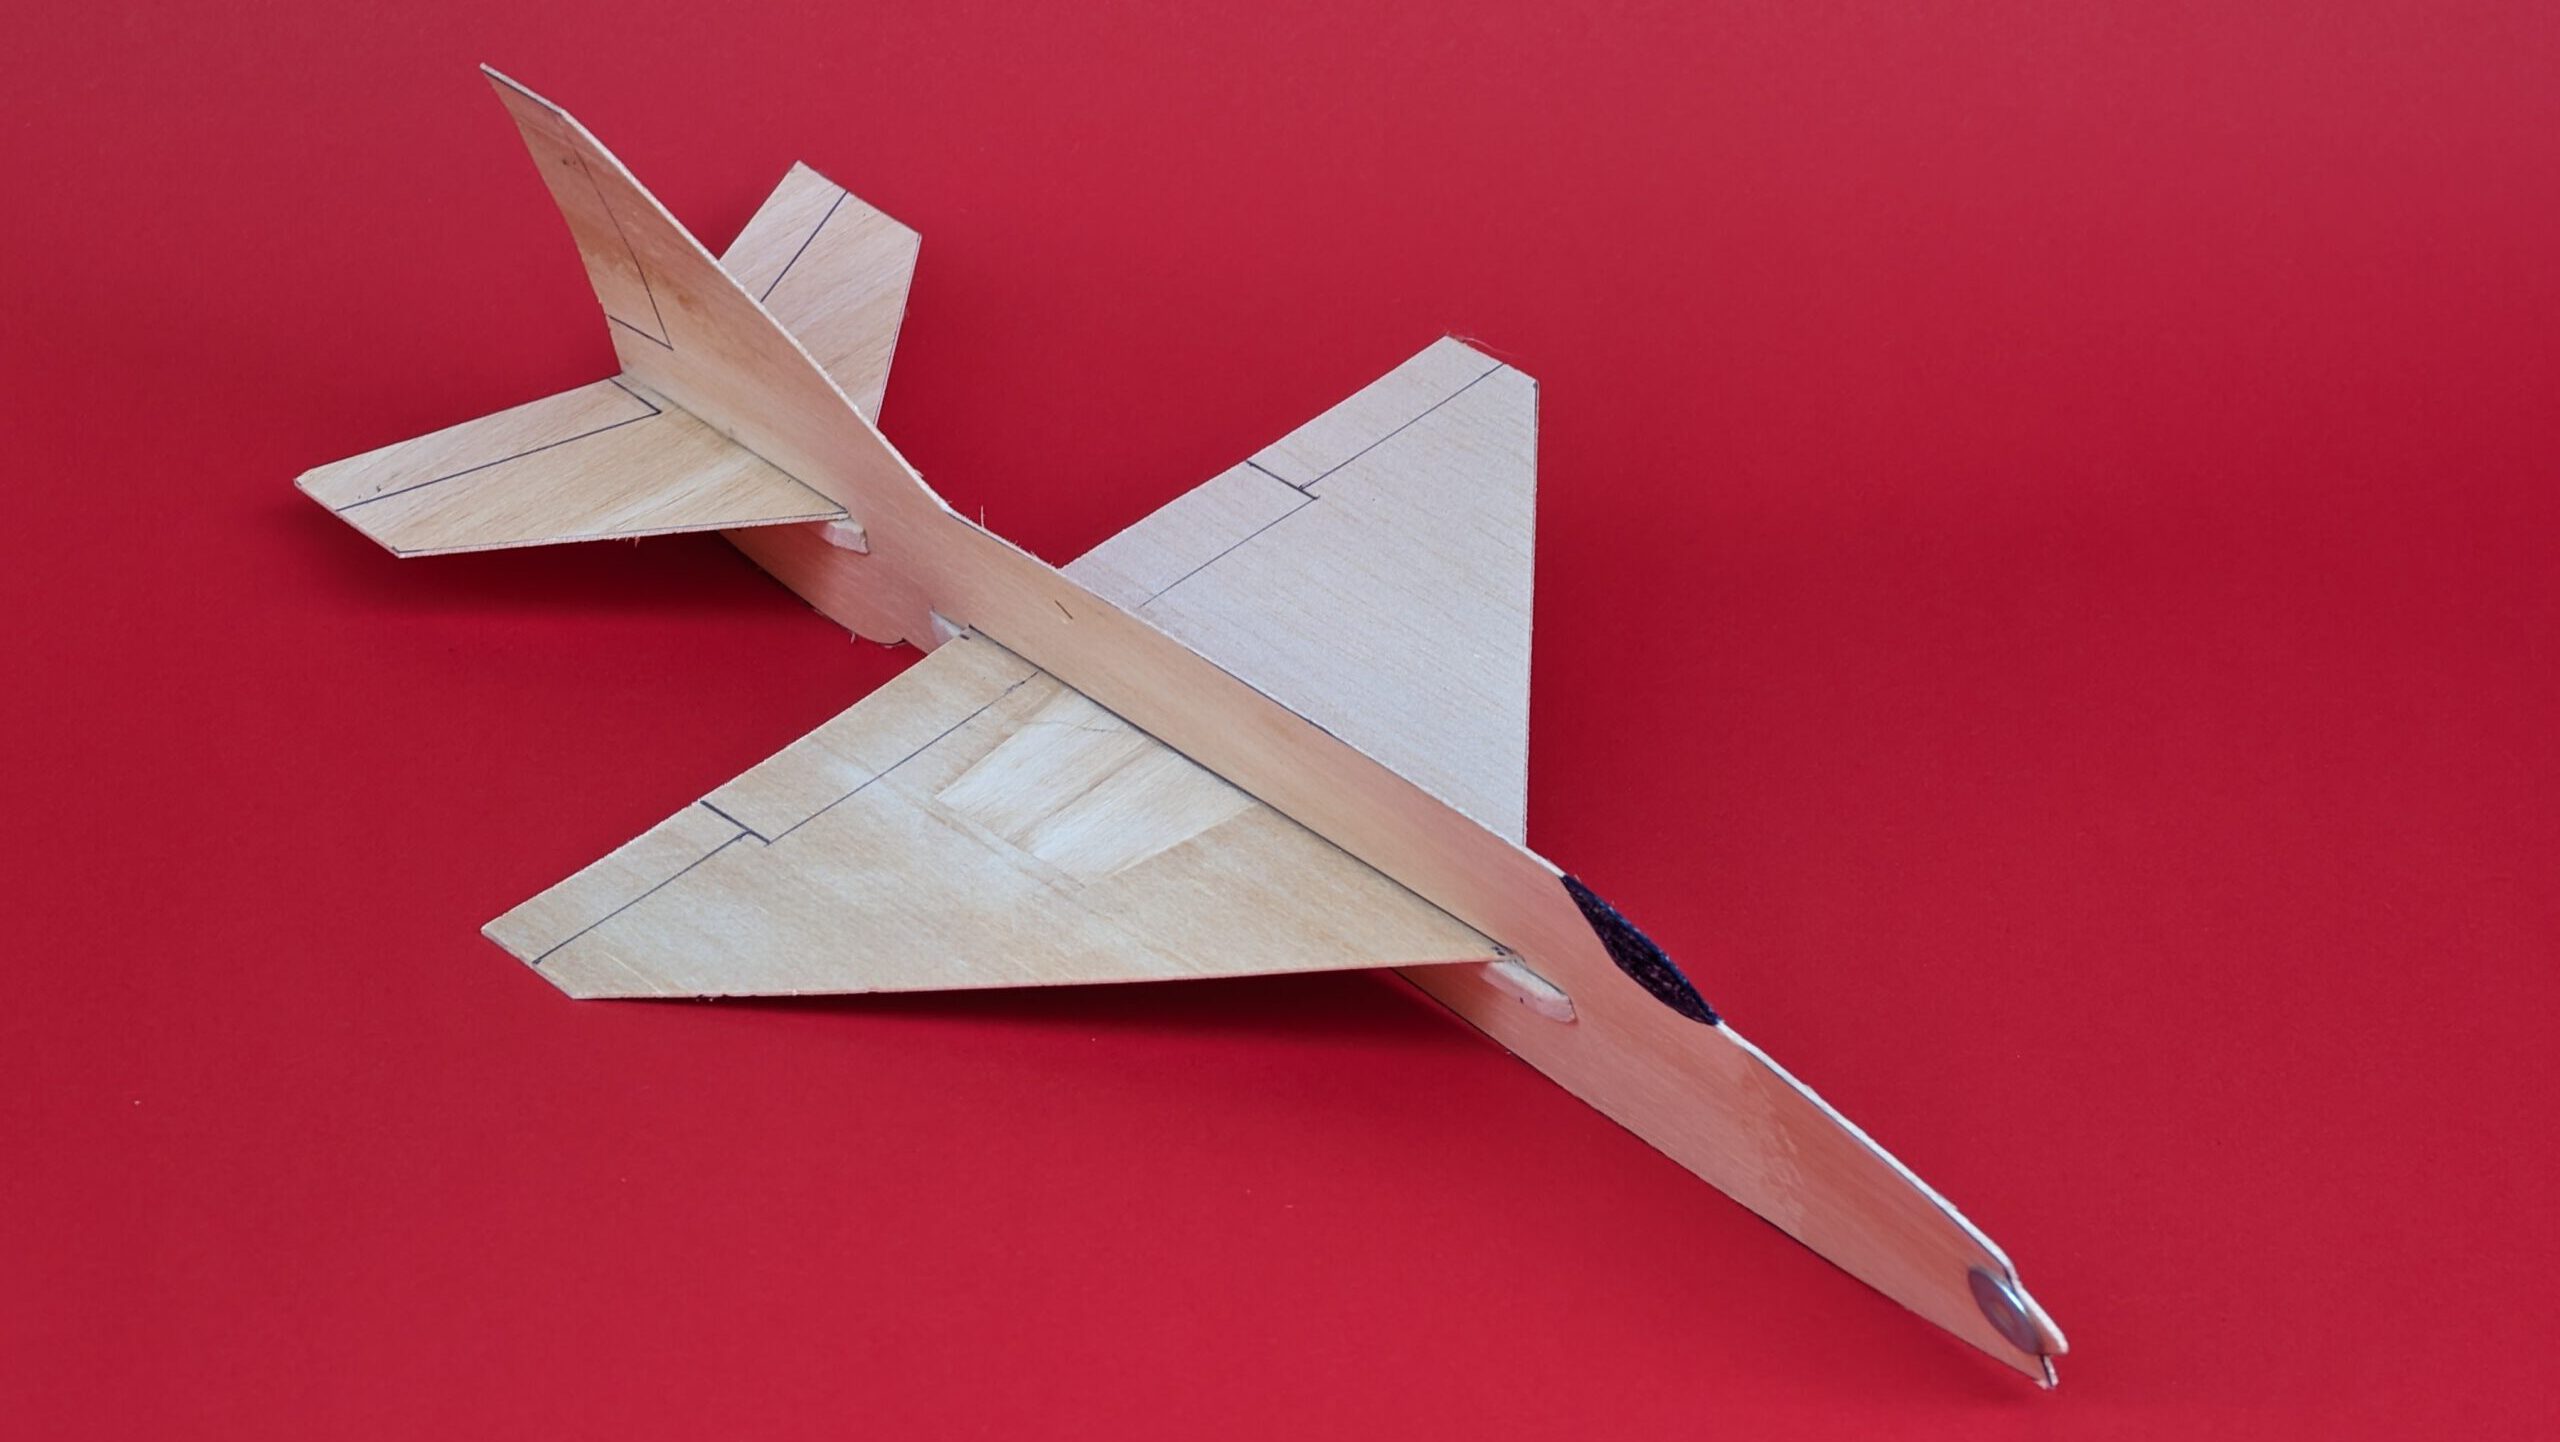
Building the sheet balsa glider MiG-21.
Note: This model has just like the original MiG-21 a very limited wing surface. This means build it light, build it as light as possible. Look for the lightest possible balsa sheets you can get. Use less cement as you would use on other models. If you follow this advice you will receive in return a real fine glider with never-thought-of performance.
On plan you find two different fuselages, one for a straight wing, the other for an S-shaped wing. Both layouts have comparable flight characteristics.
Materials:
Fuselage: B 1; wing supports and horizontal stabilizer supports: B strips 2 x 5 or 3 x 3; wings: B 1; horizontal stabilizer: B 1; Ballast: small piece of lead or scrap metal.
Assembly:
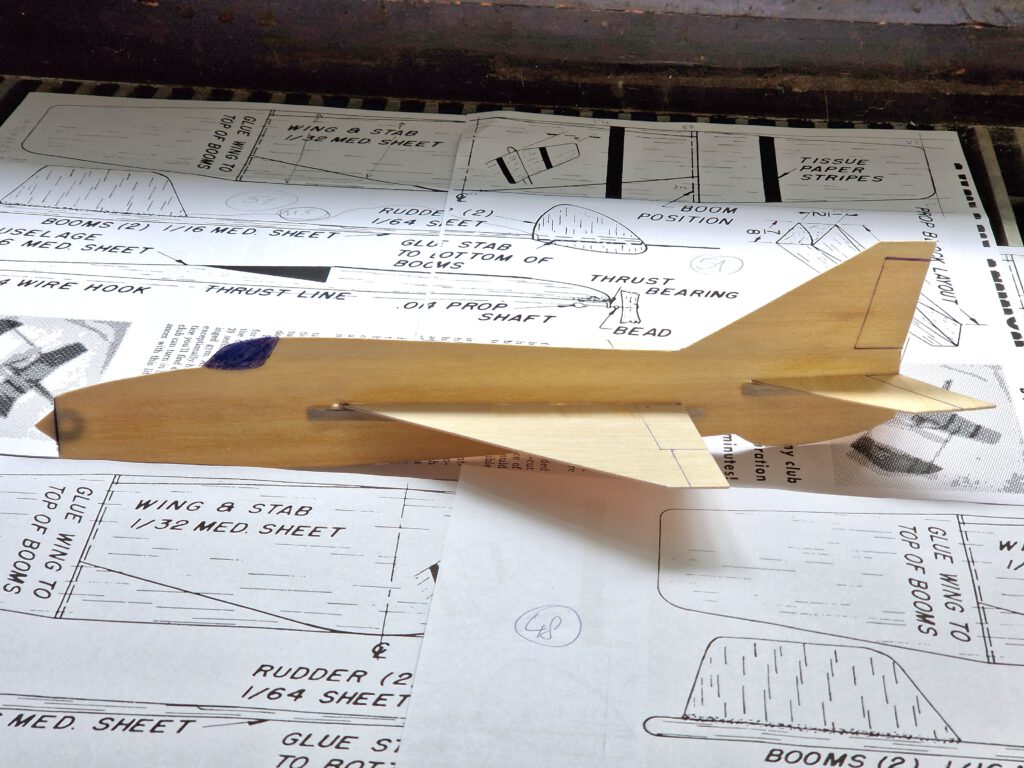
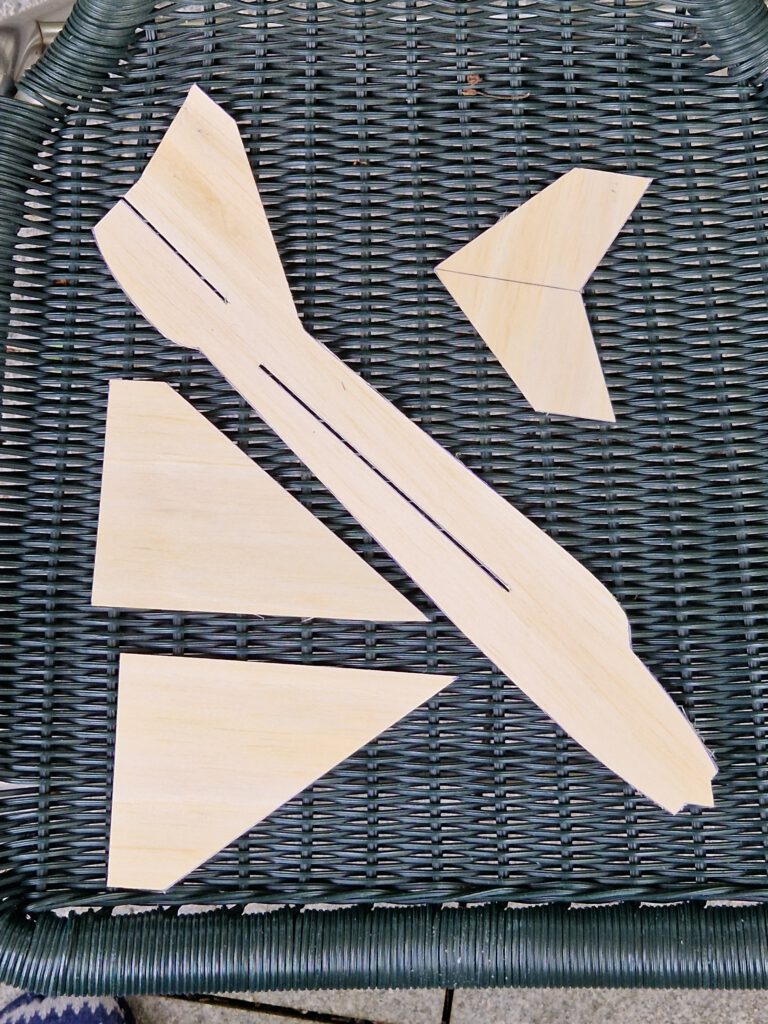
Cut out all balsa parts. Make slots for wing and horizontal stabilizer (see photo). Sand well. Transfer outlines of cockpit from paper to wood with pen.
Wings:
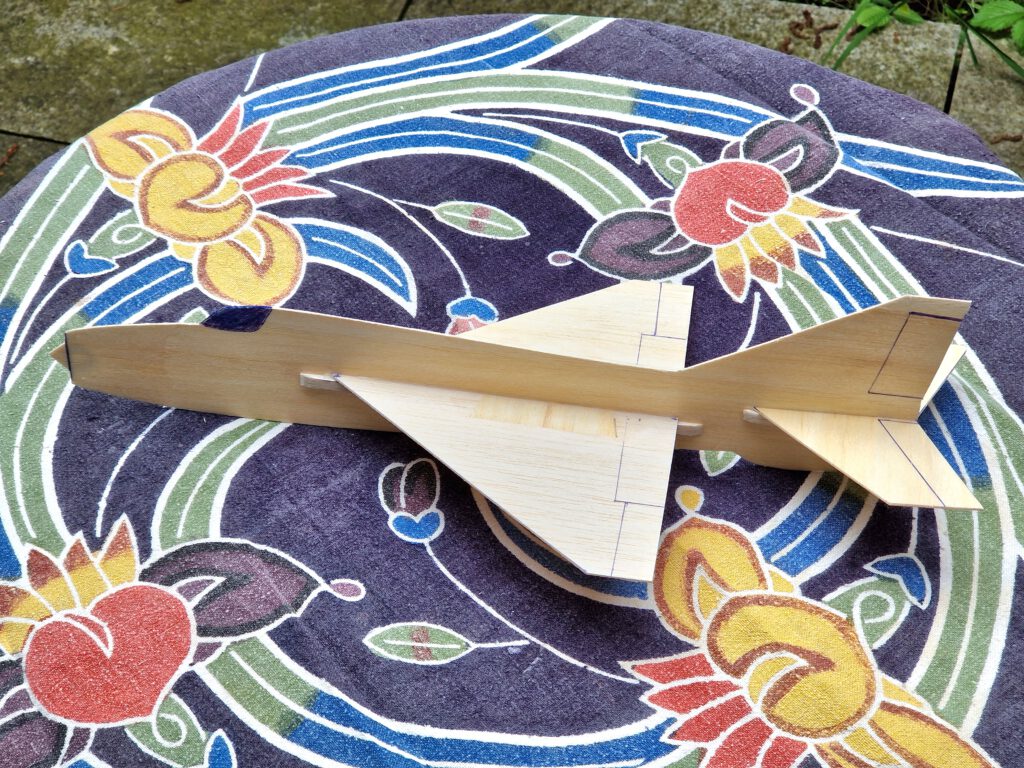
Note: On this model the grain direction of the wing is parallel to the length axle of the model. This may seem unusual but is compensated by cementing a piece of balsa in to the center of the wing with grain direction at an 90° angle to the length axle (see photo). This procedure helps against wing warping.
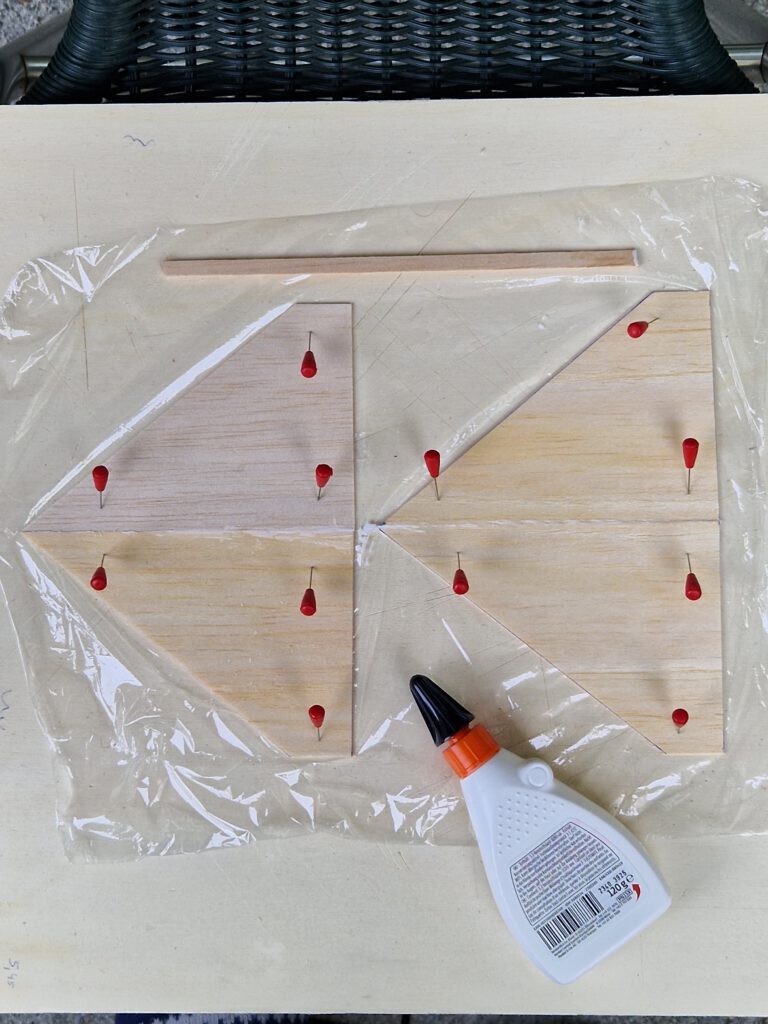
Fix one wing half on building board with needles. Cement other half to it without any dihedral. Do not use linen tape here. When dry make cutout in the wing center and put in the piece with the other (rotated) grain direction as described above.
Fuselage:
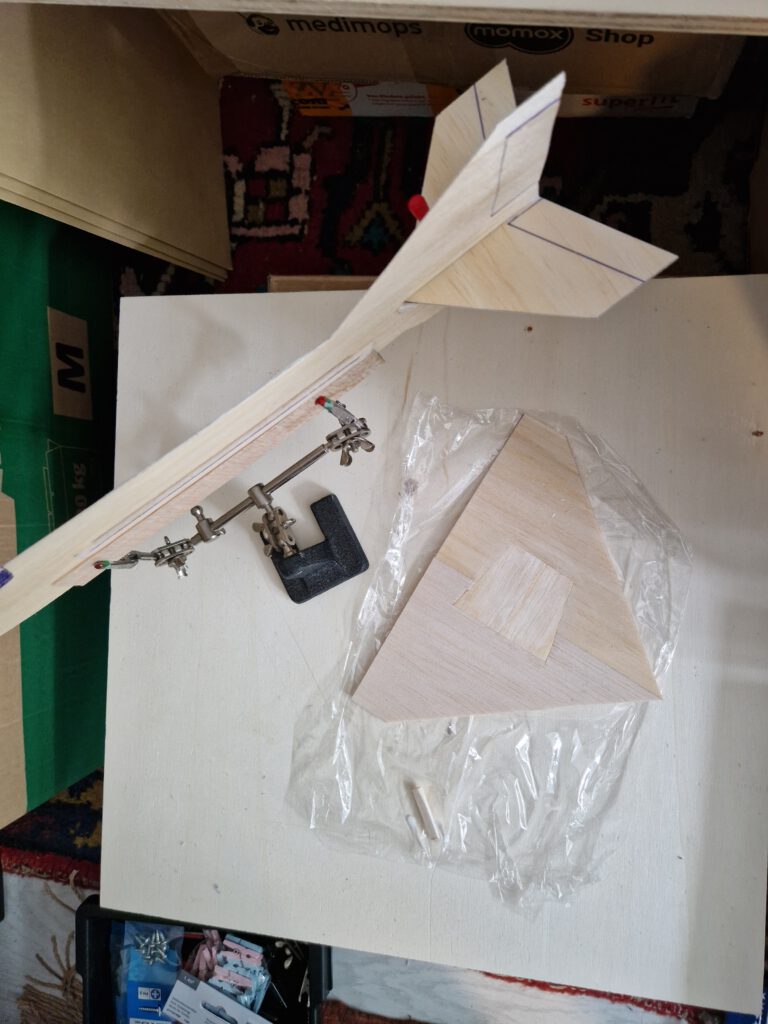
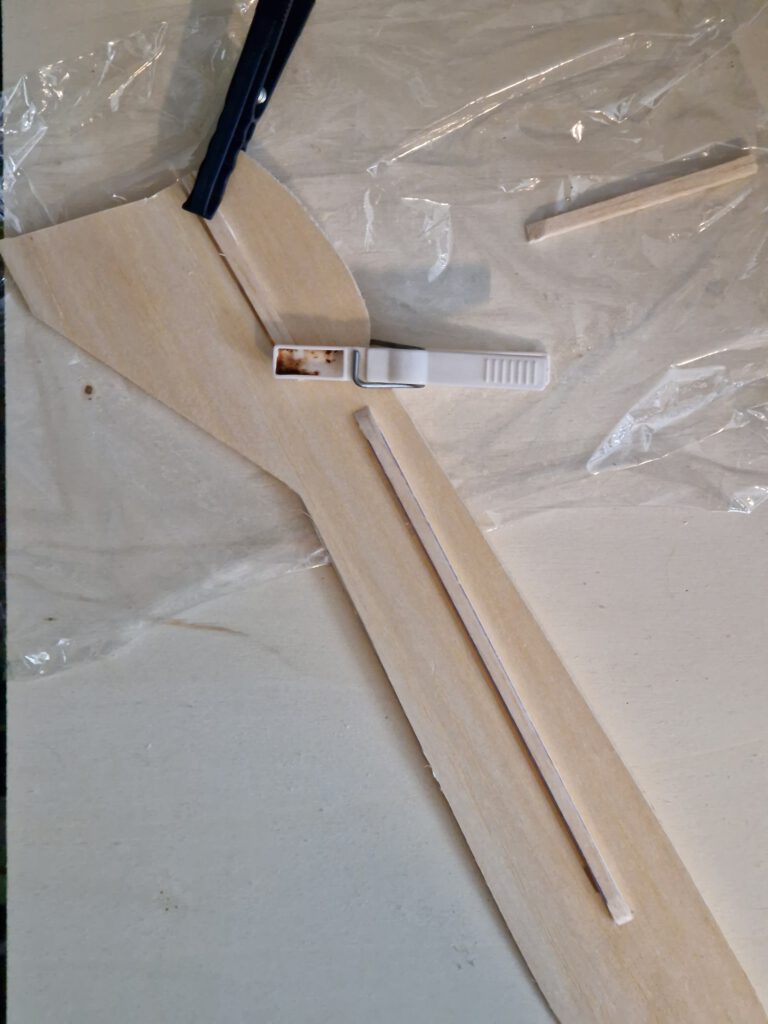
Cement wing support strips in to their place on both sides of fuselage using clamps or clothespins (see photo).
Final Assembly:
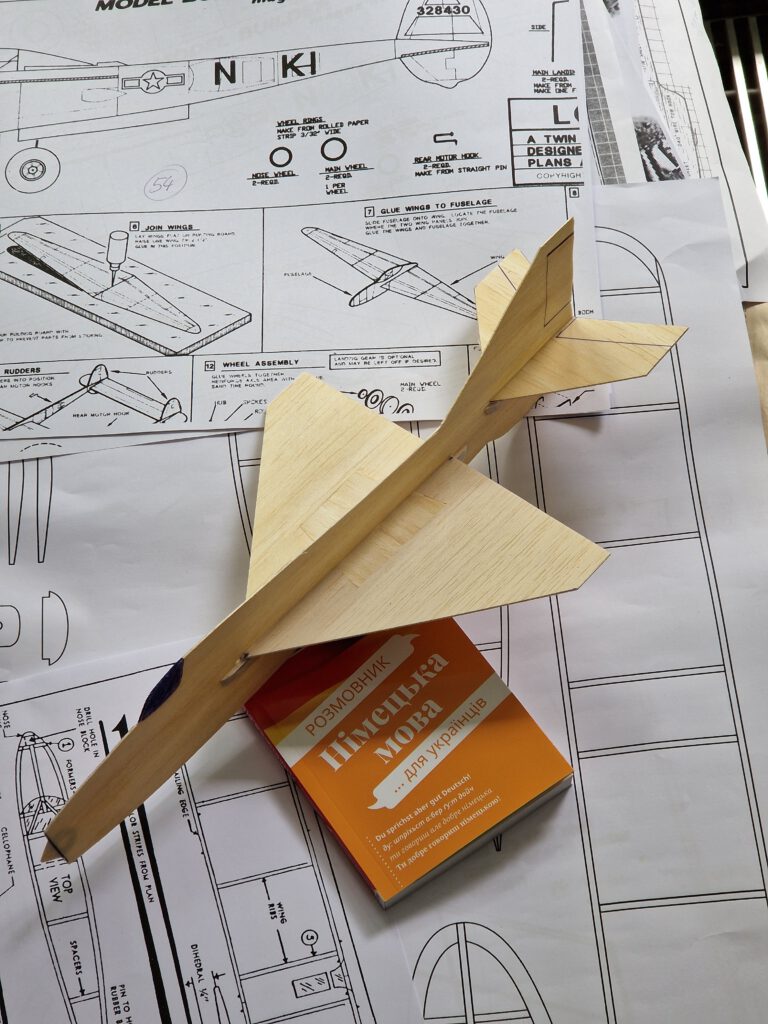
Use so called „third hand“ for following step (see photo). Cement horizontal stab into fuselage slot using needles to hold in place. Remember to visual check from all sides as obtaining symmetry is of great importance. Now repeat this procedure with the wing. Let dry.
Balance model in accordance to given CG on plan.
Buon volo! (Lep let!)
Leave a Reply