
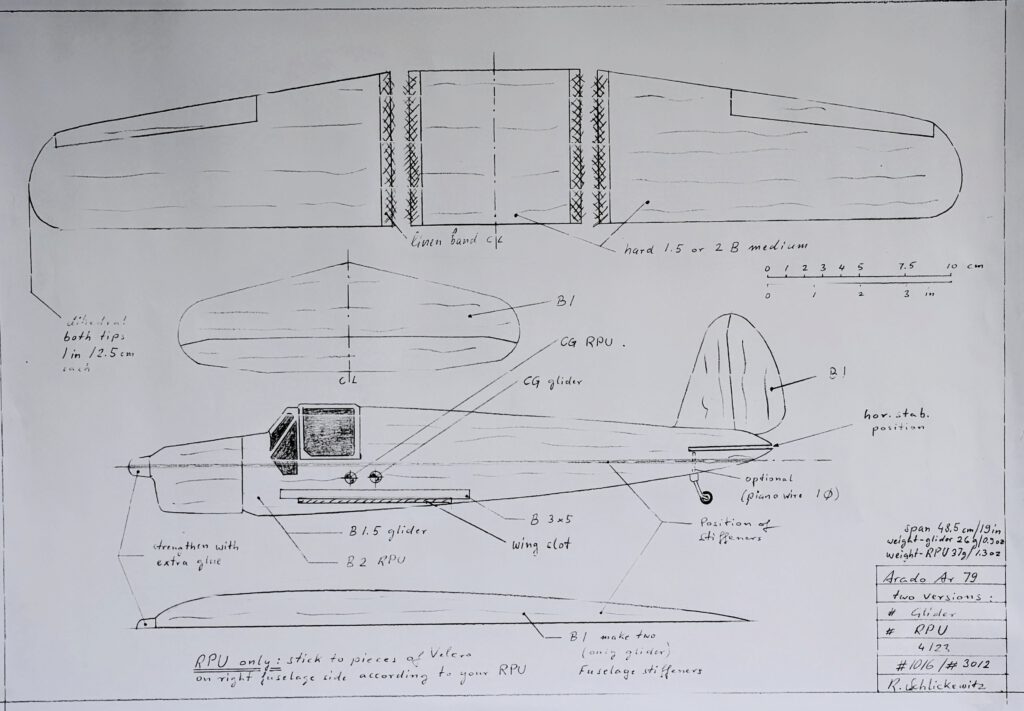
Span 48.5 cm / 19 in
Weight 26 g / 0.9 oz
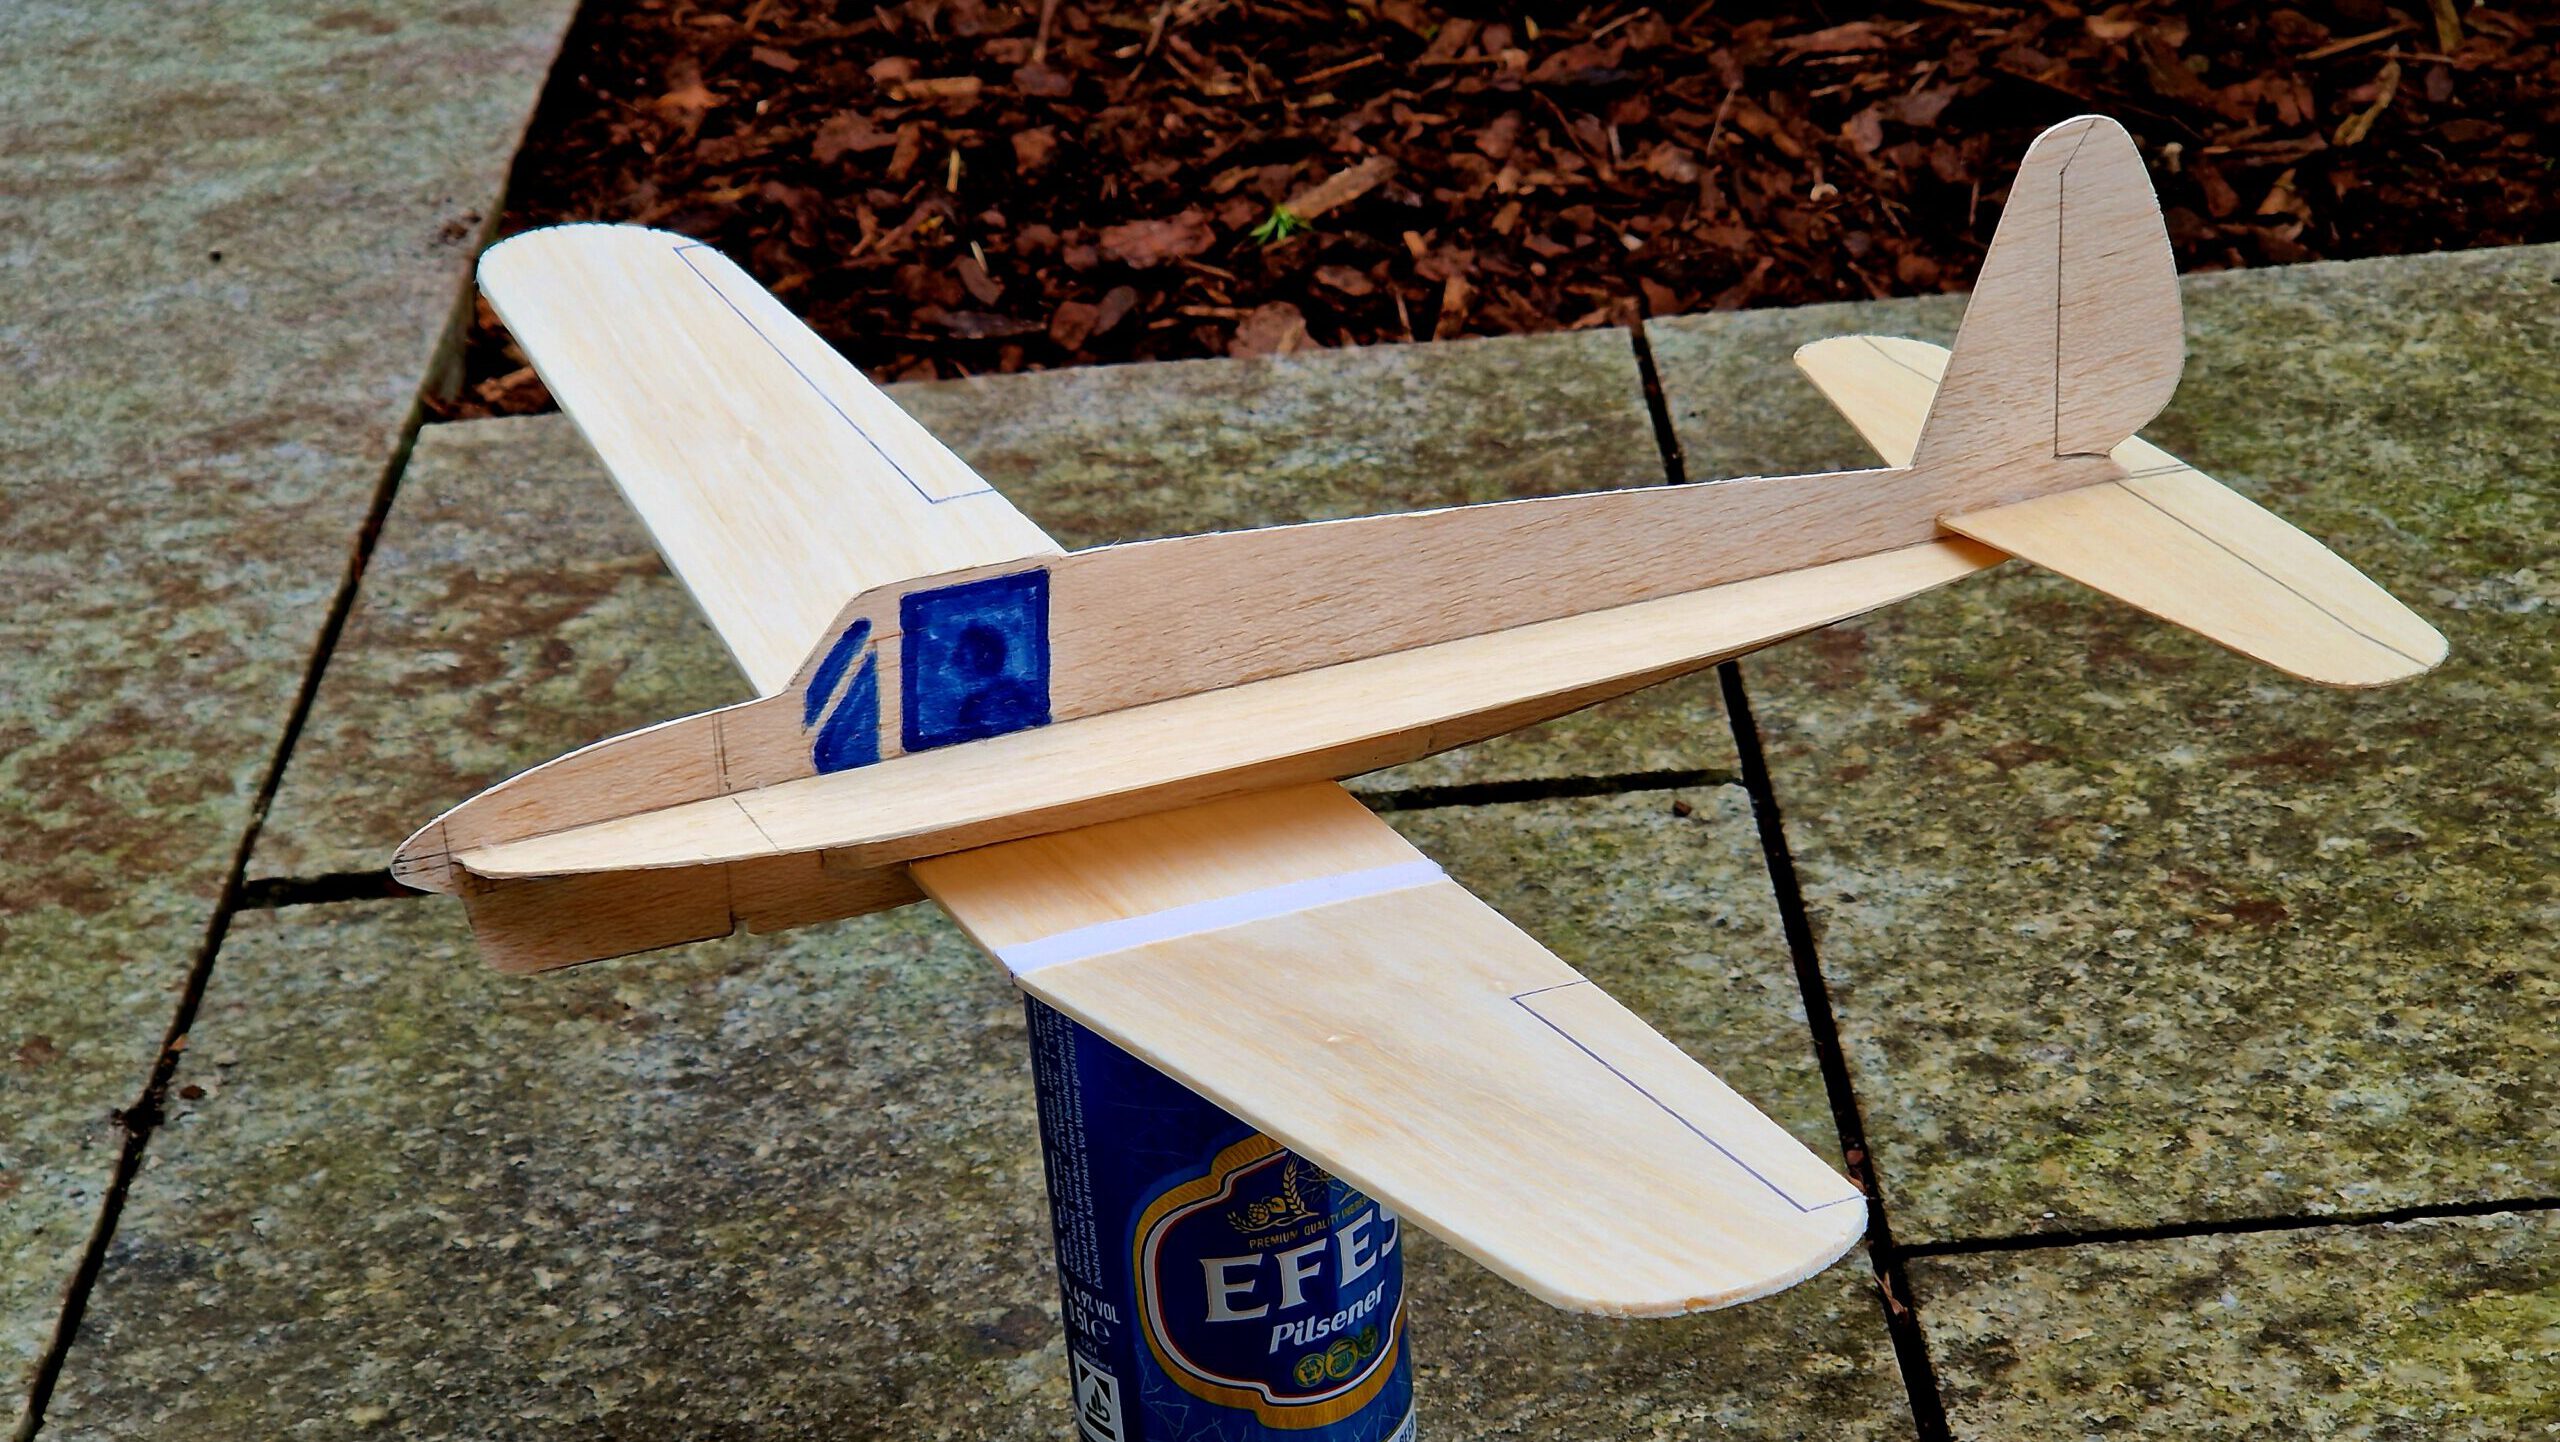
The original Ar 79 was an aerobatic two-seat trainer and touring aircraft from Germany. First flight took place in 1938 and 72 examples were built all together. As far as it is known only one survived, now on display in a Berlin museum. The Ar 79 had a retractable tailwheel undercarriage and was of mixed (material) construction. Although not sold in great numbers the aeroplane was considered a success as some Ar 79 set records in their class. Powerplant was a 105 hp Hirth four-cylinder piston engine. Wingspan measured 10 m / 32 ft 10 in, length 7.6 m / 24 ft 11 in and endurance was more than five hours.
Note: You will find three versions of the Ar 79 in my plans lists: glider (here), rubber powered 2012 and RPU 3012.
Why not build all three.
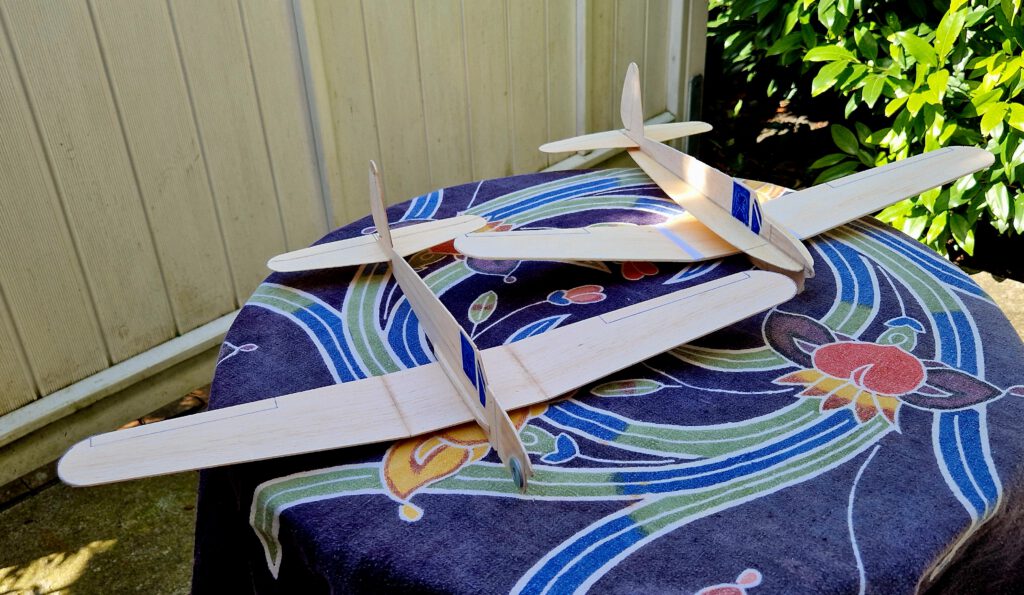
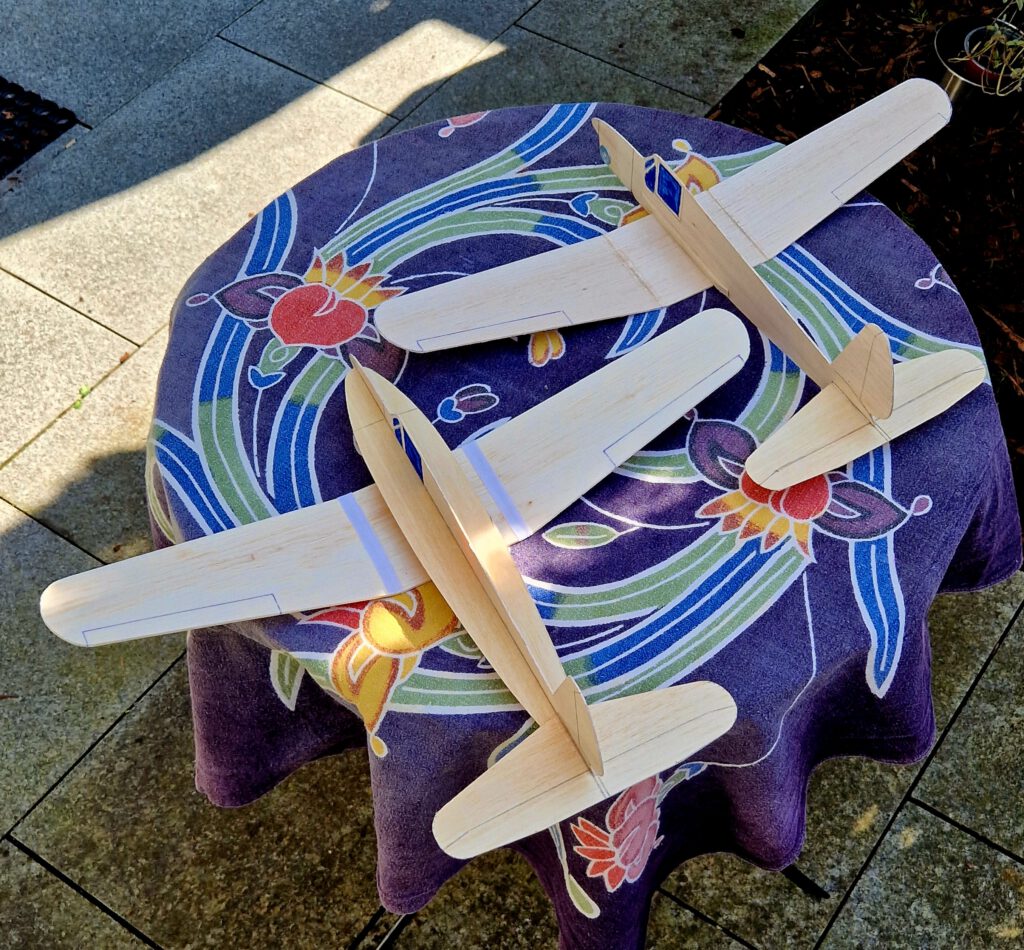
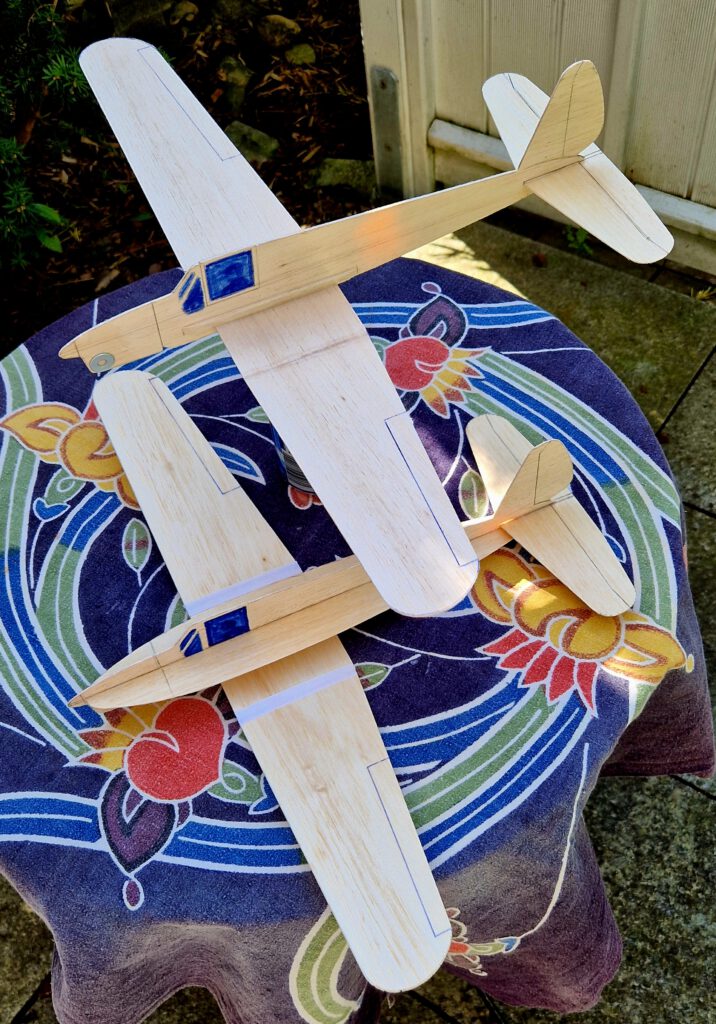
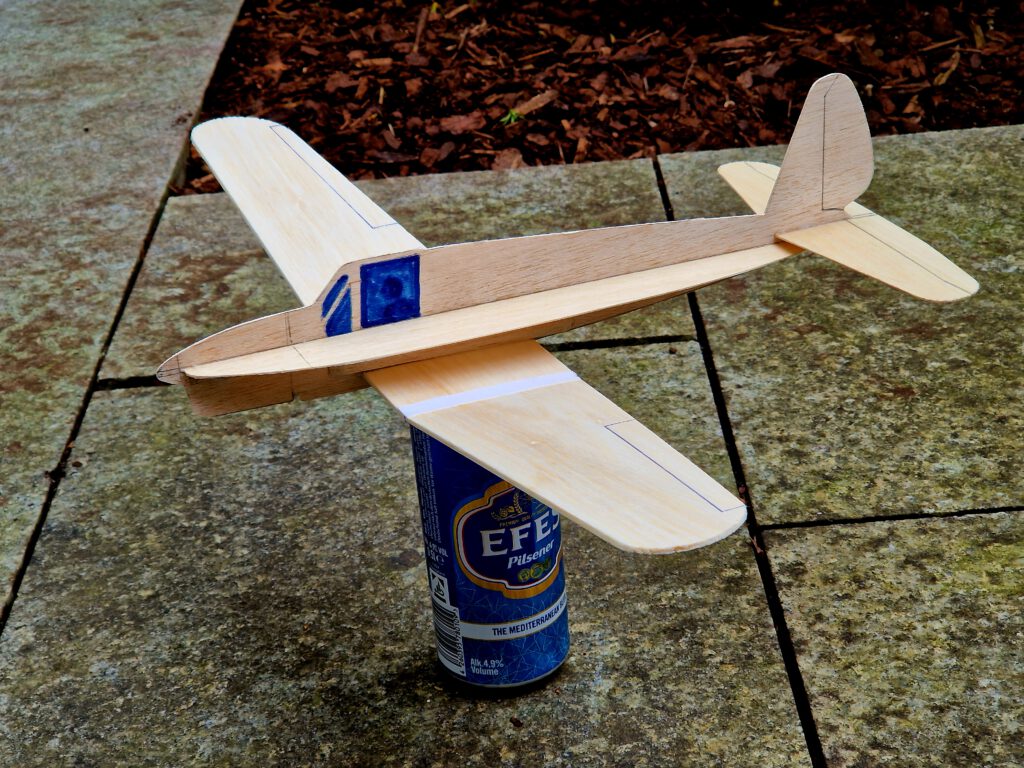
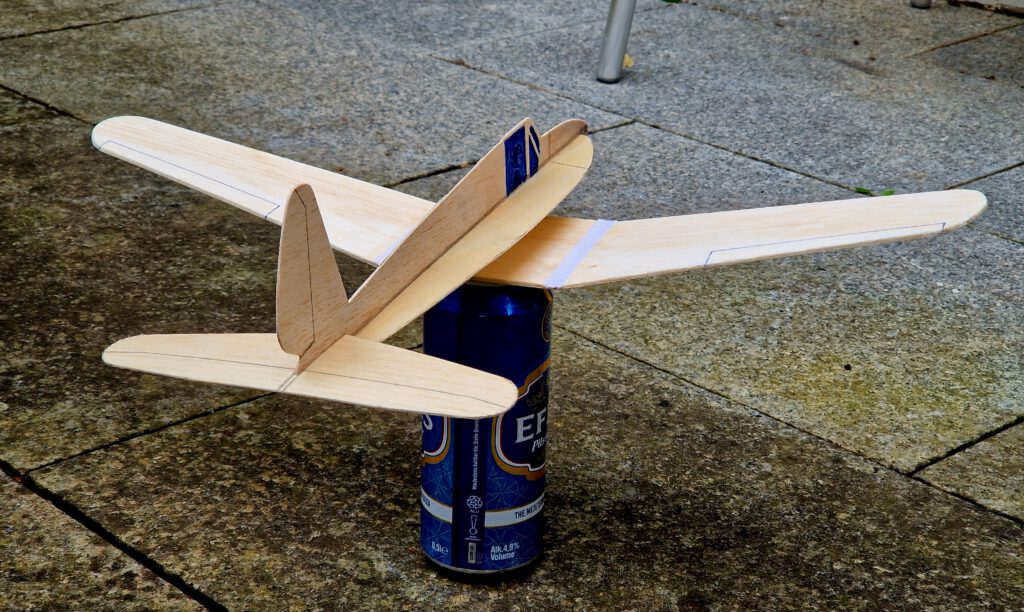
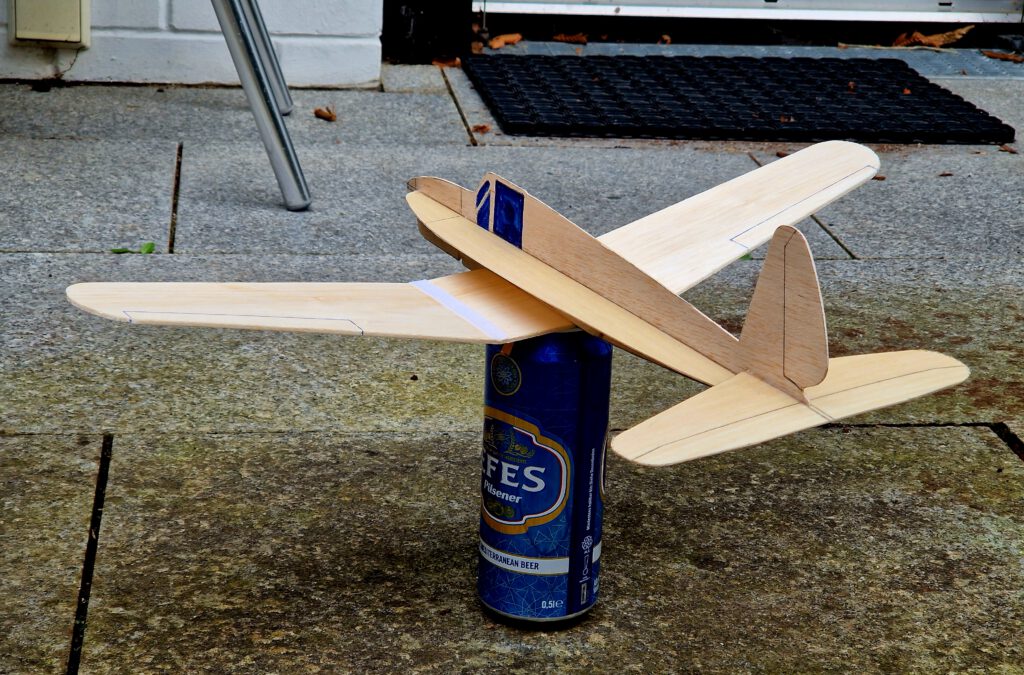
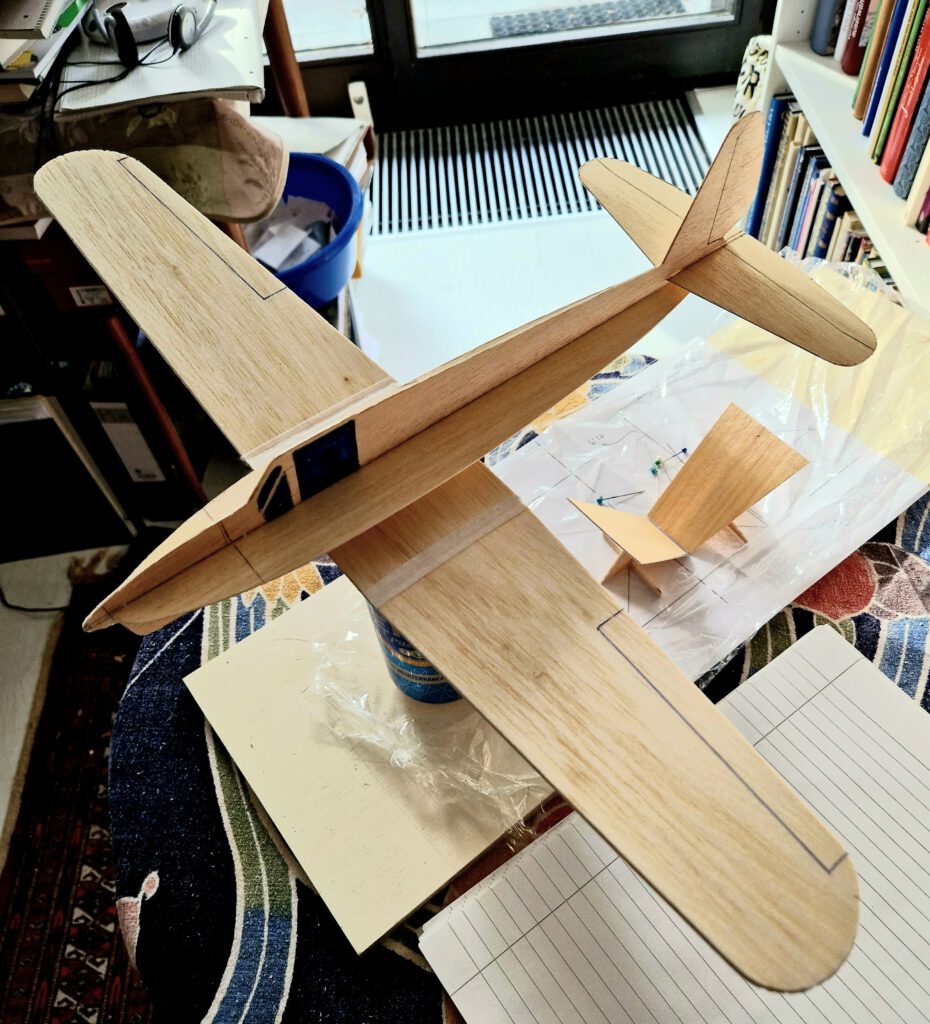

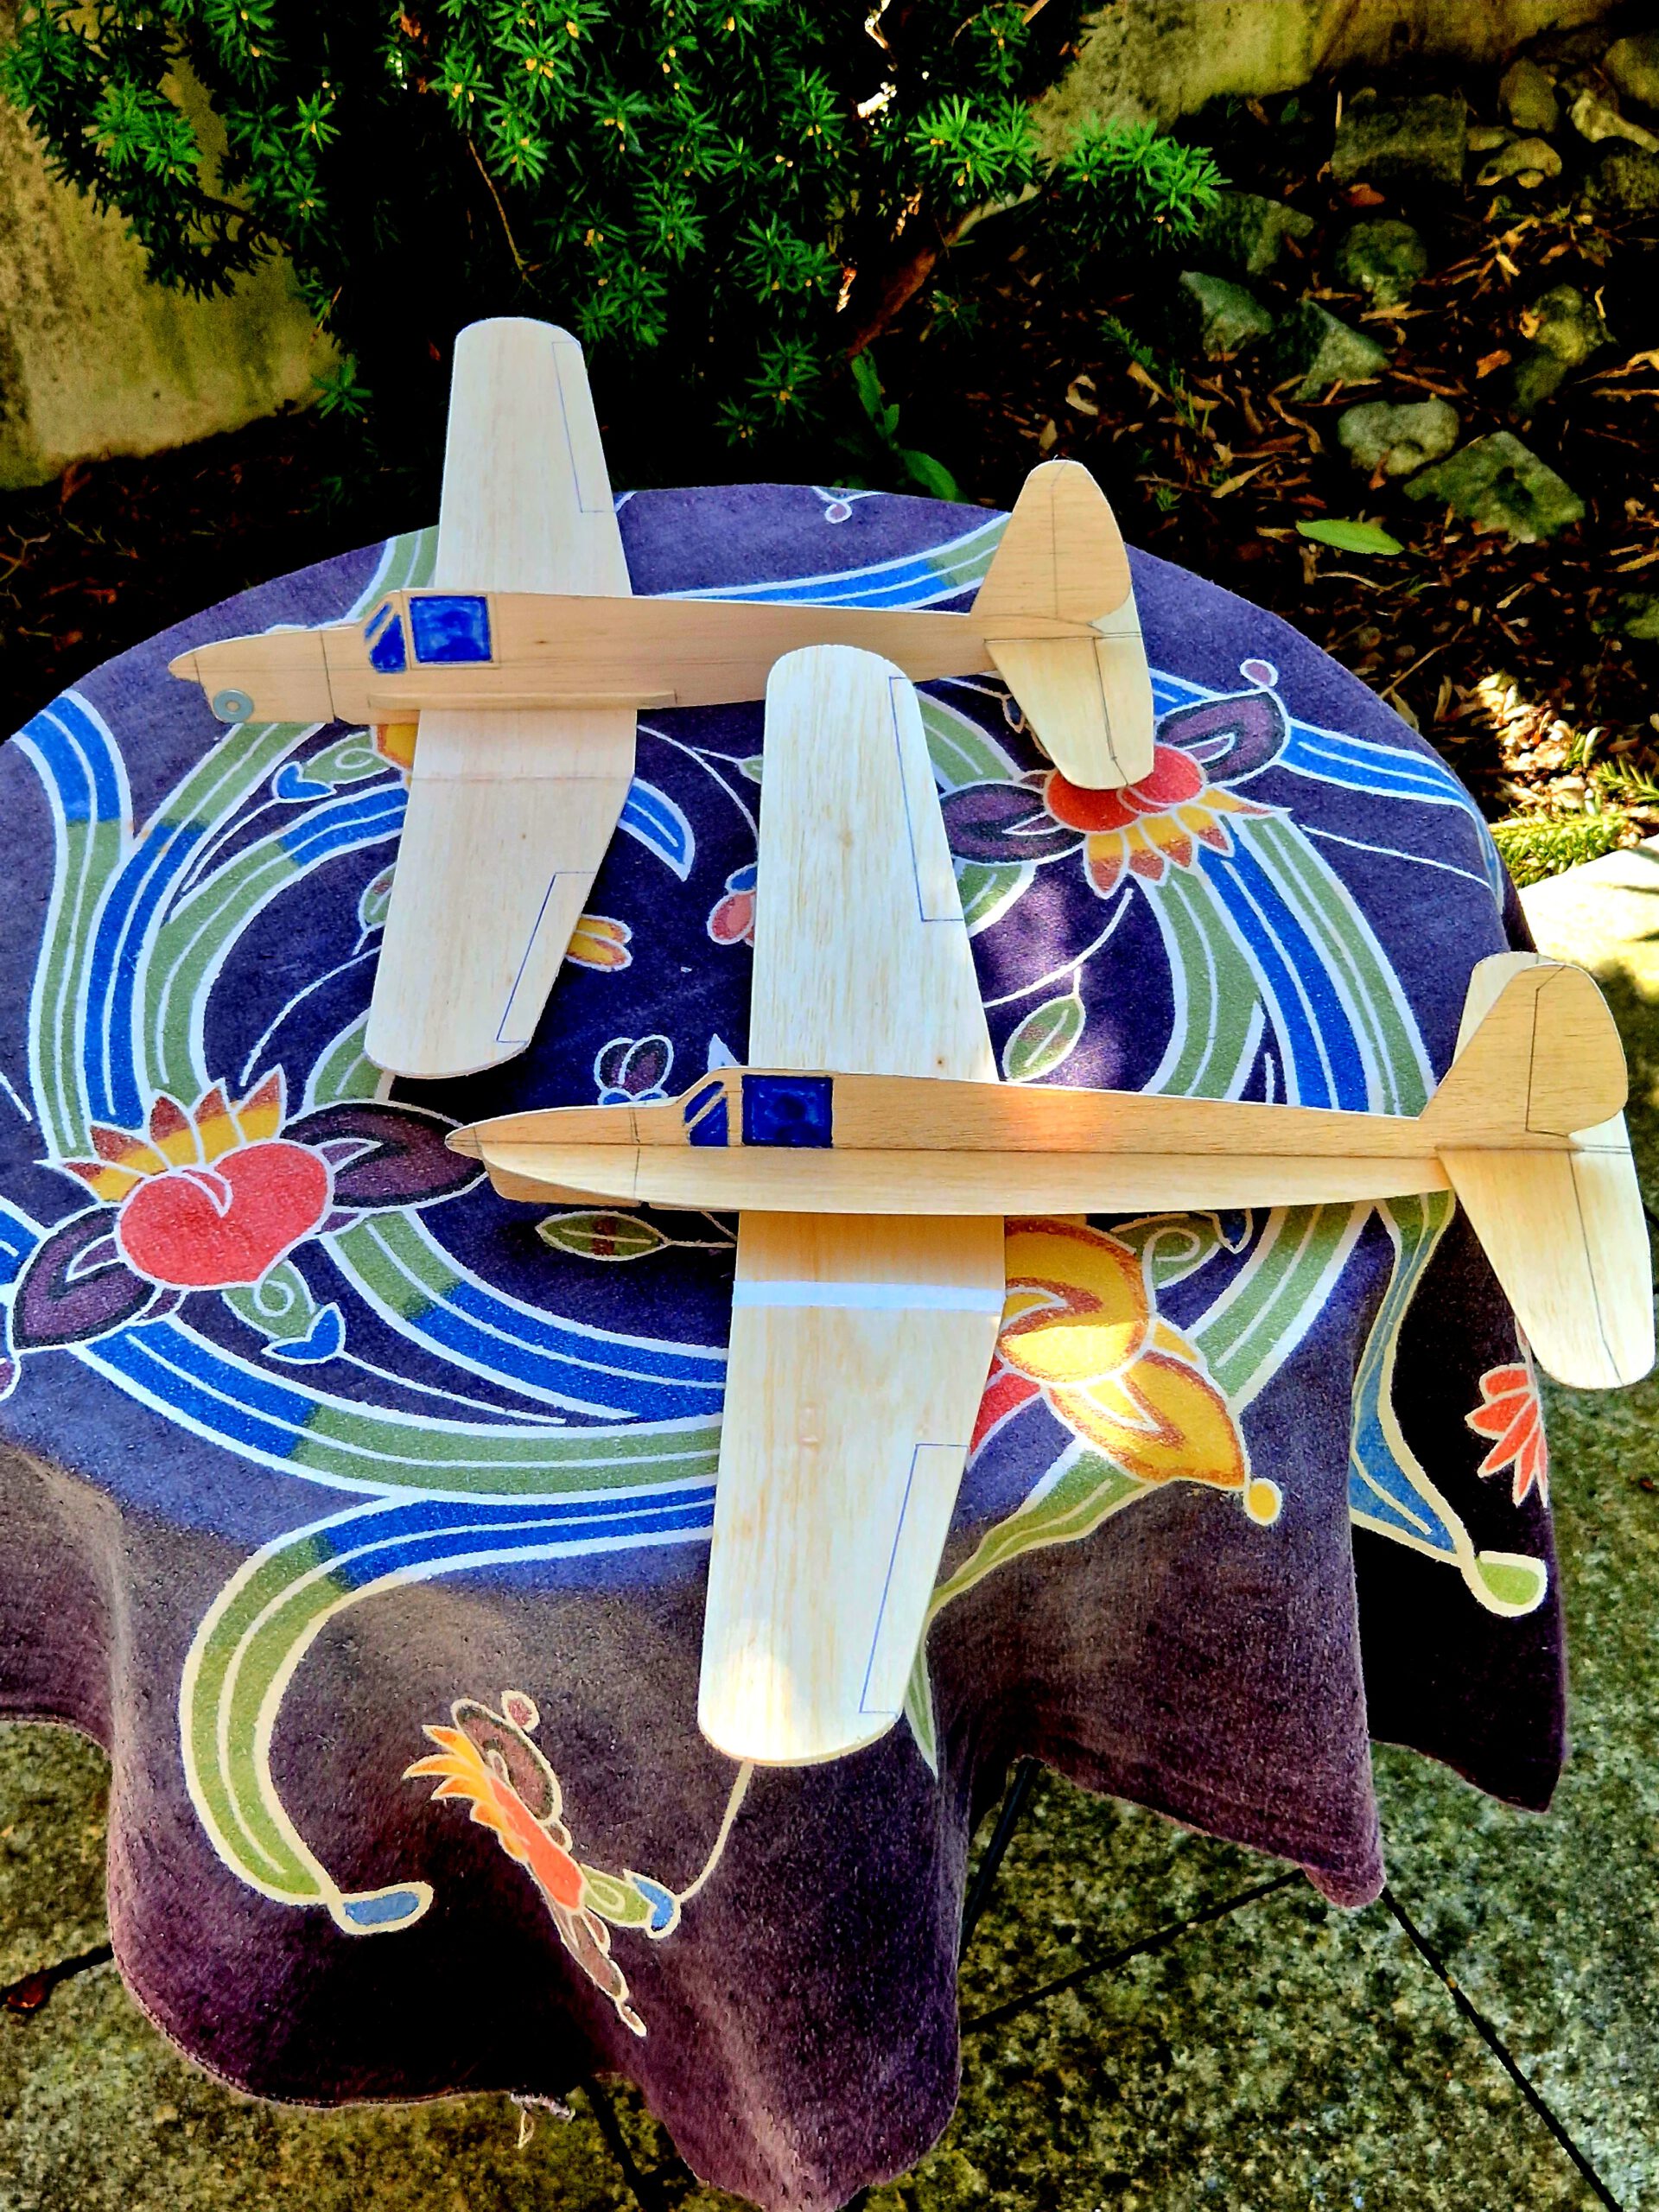
Building the sheet balsa chuck glider Arado Ar 79.
Materials:
Fuselage: B 1 if sides stiffeners are used, B 1.5 if not; fuselage side stiffener: B 1; wing supports: B strips 3 x 5; wings: hard B 1.5 or B 2 soft; horizontal stabilizer: B 0.8; linen band width 1/3 in; ballast: steel or lead.
Assembly:
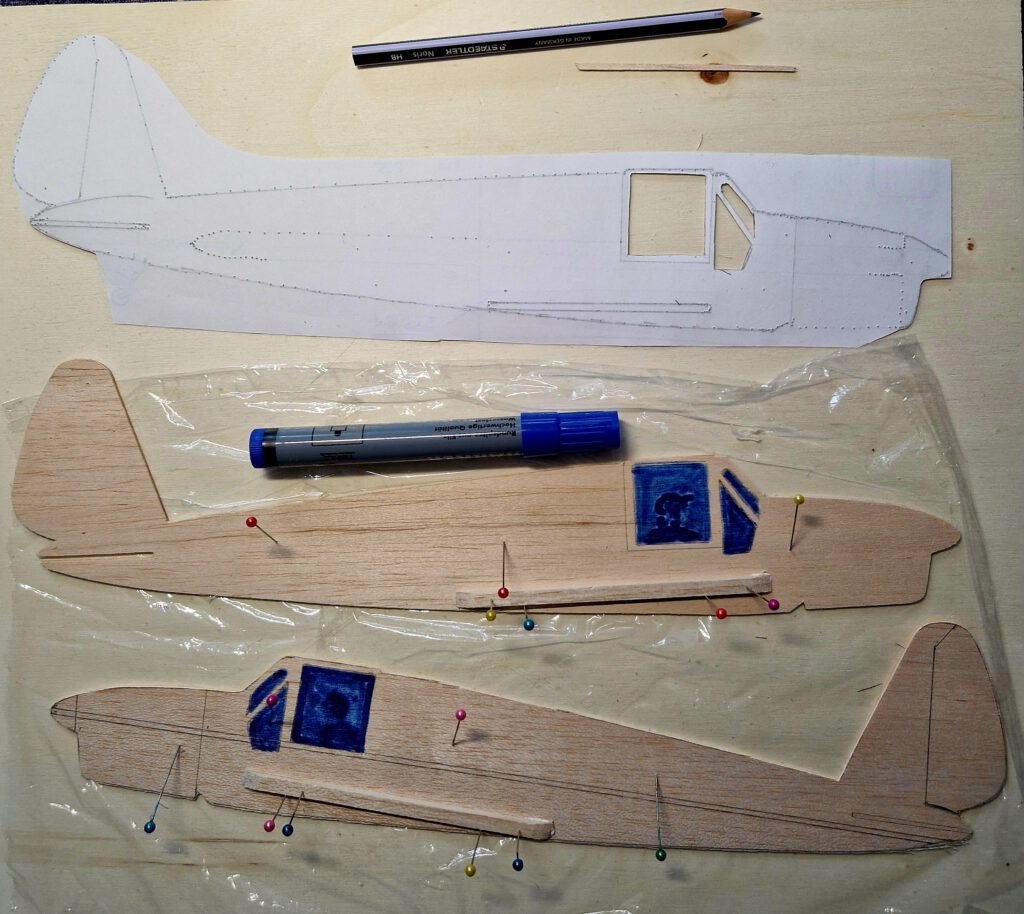
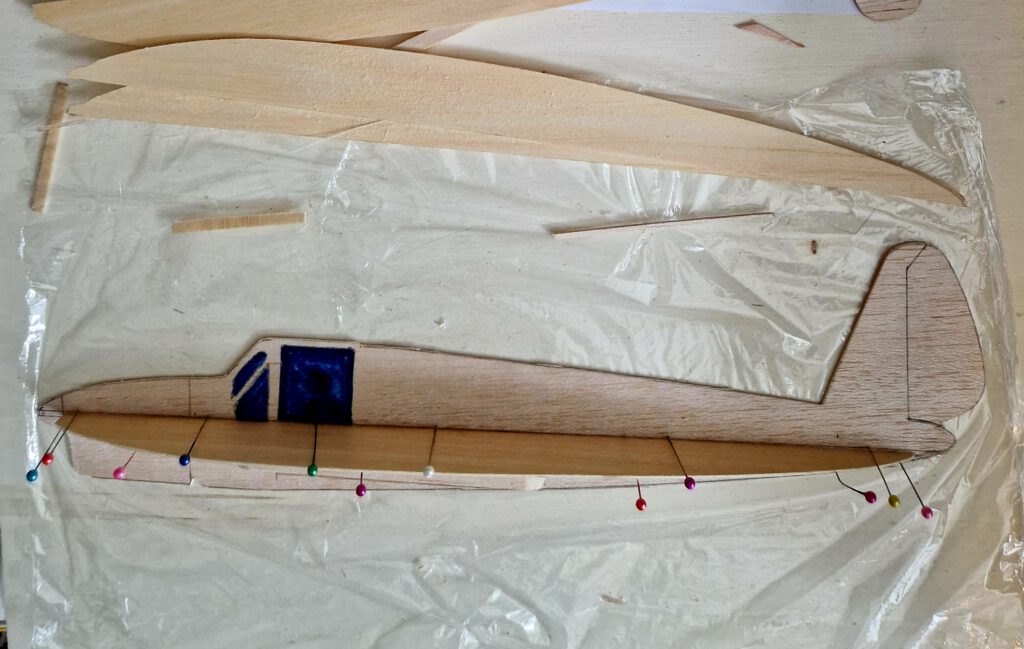
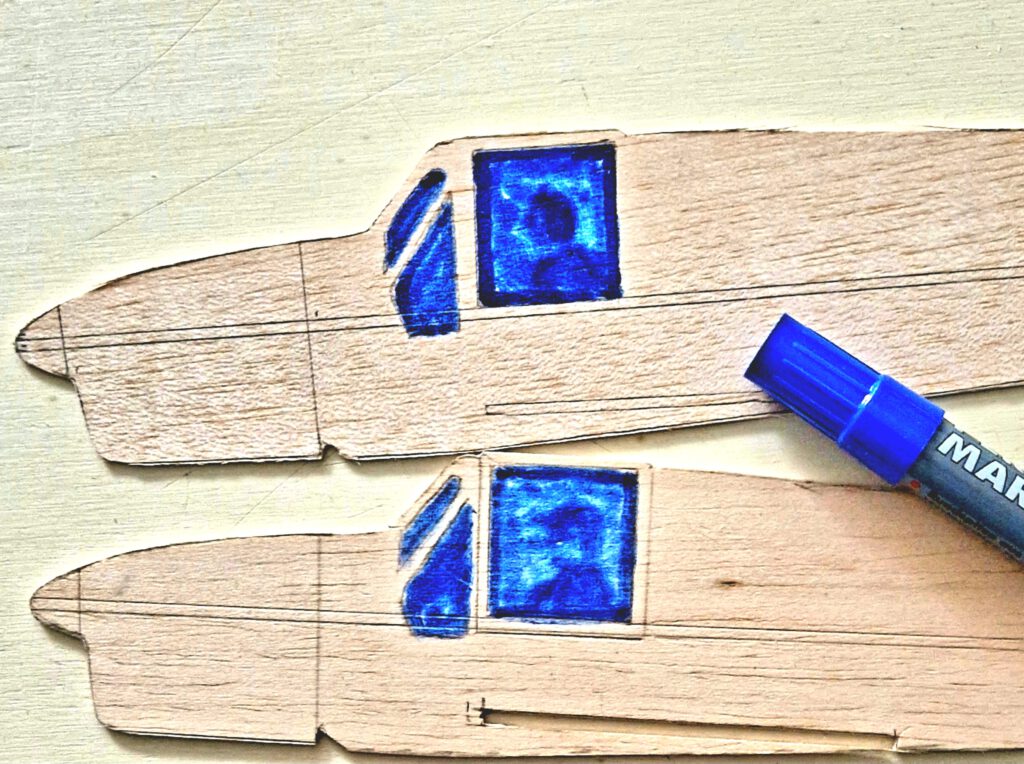
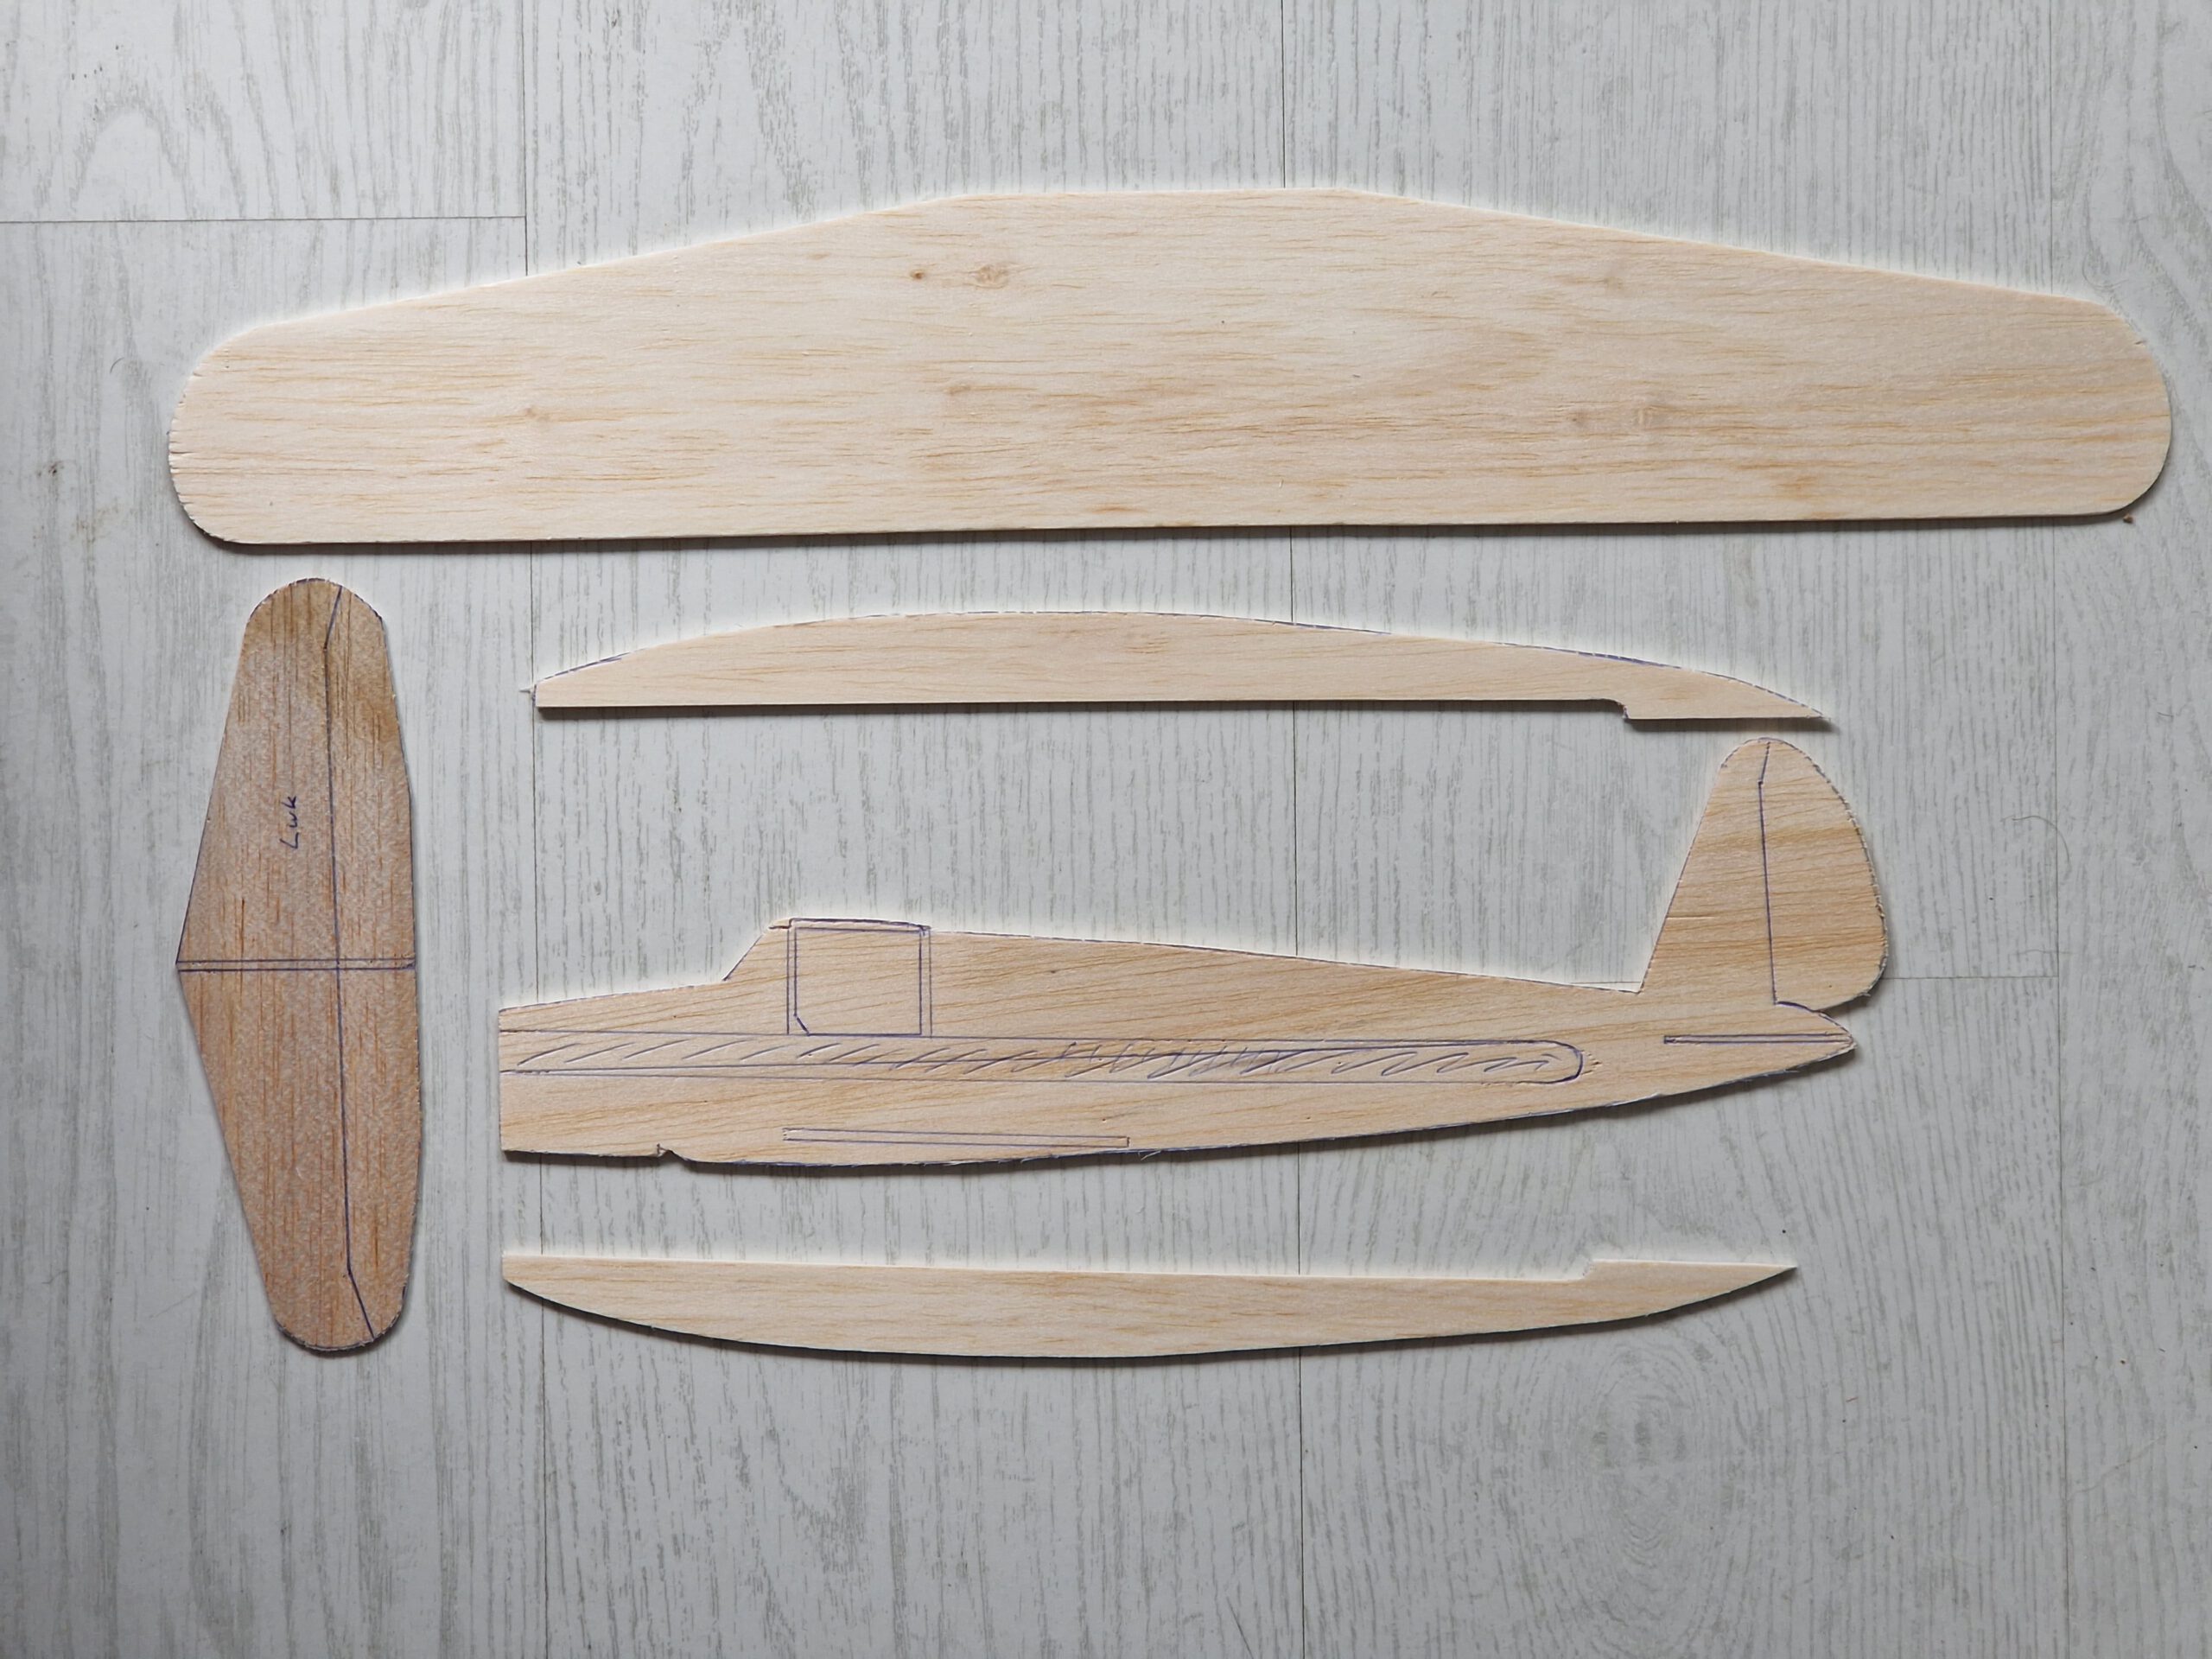
Cut out balsa parts in accordance to plan. Cut slots for wing and horizontal stabilizer into fuselage. Sand well. Transfer outlines of cabin windows, rudders, elevators, flaps ec. from paper to wood with pen.
Wing:
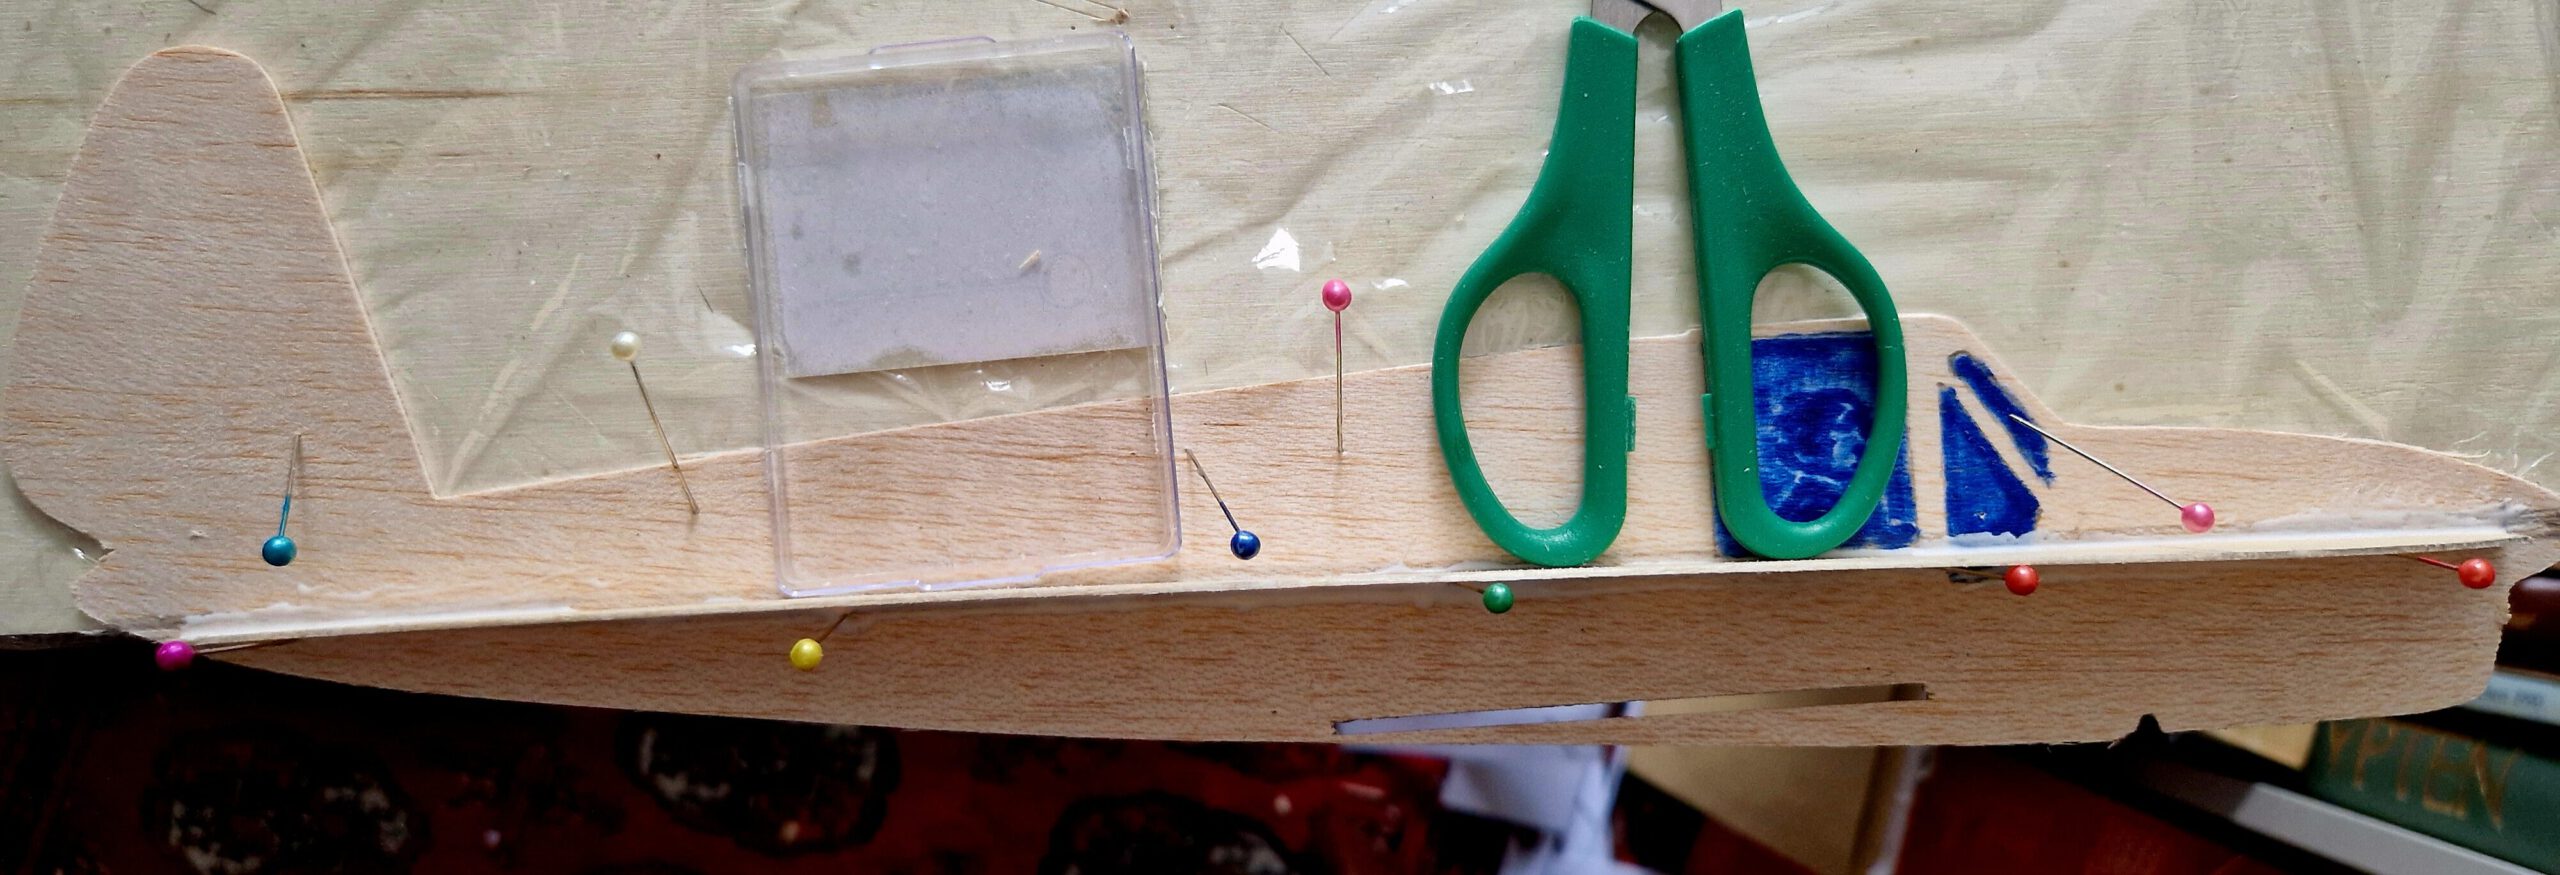
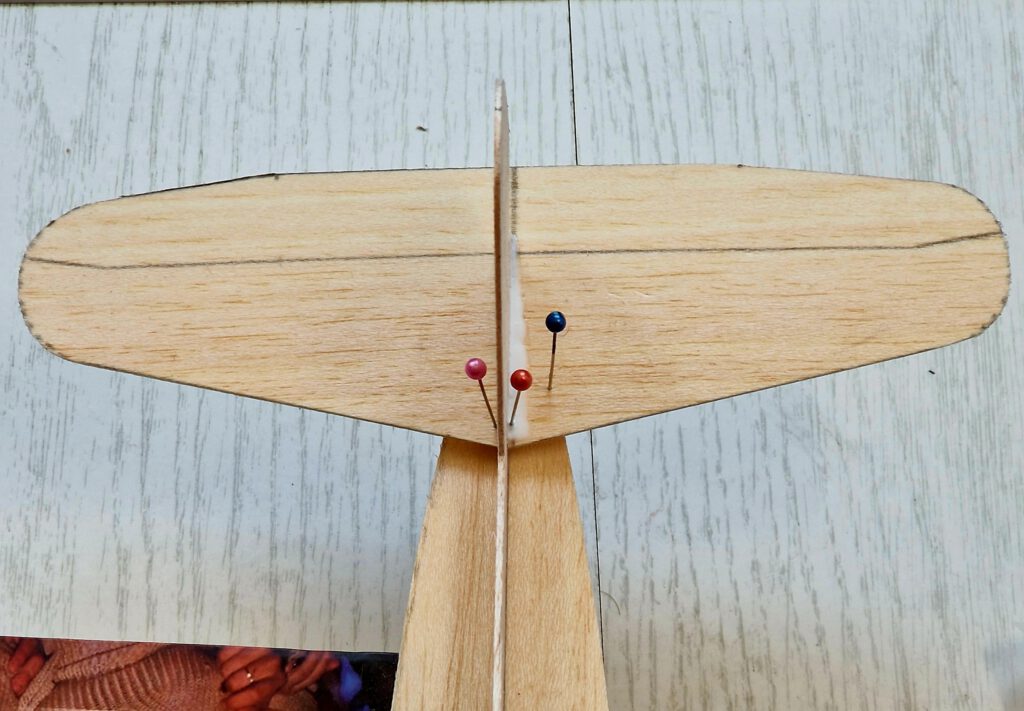
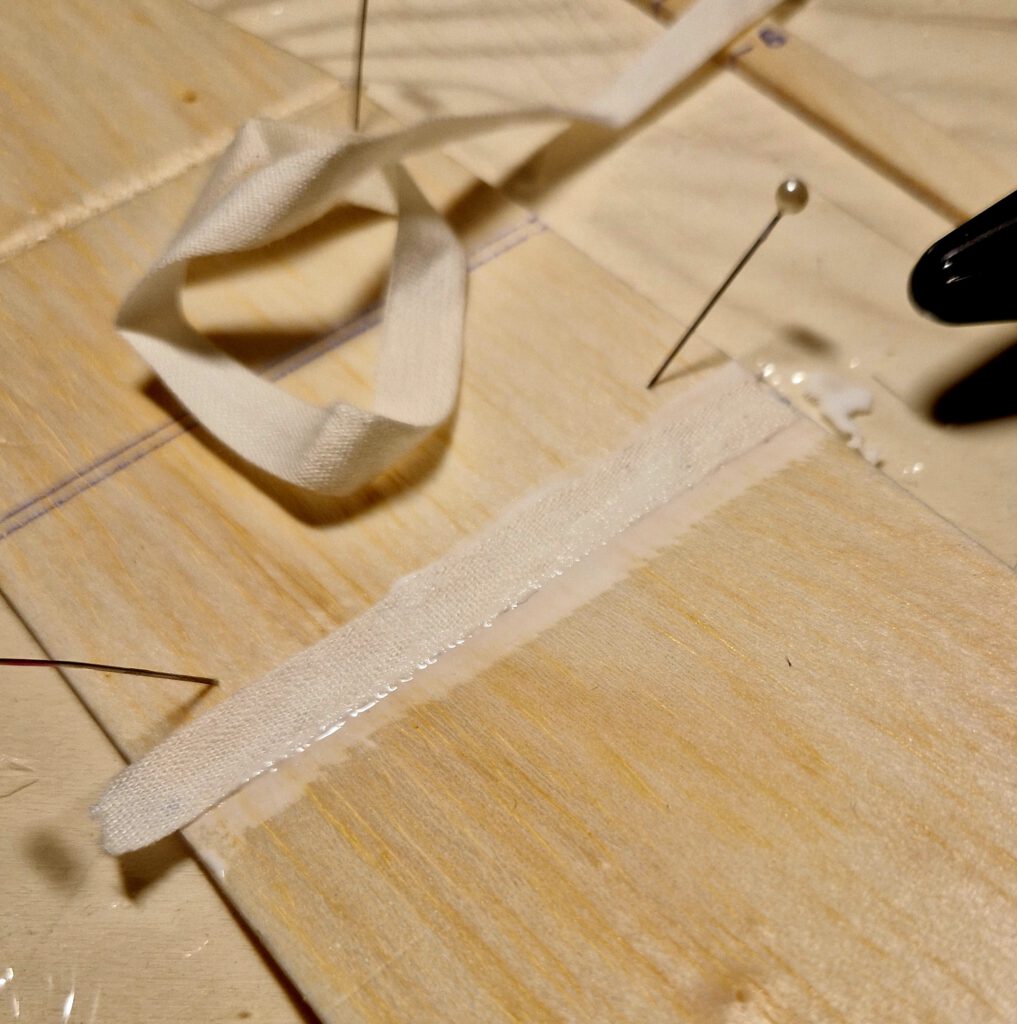
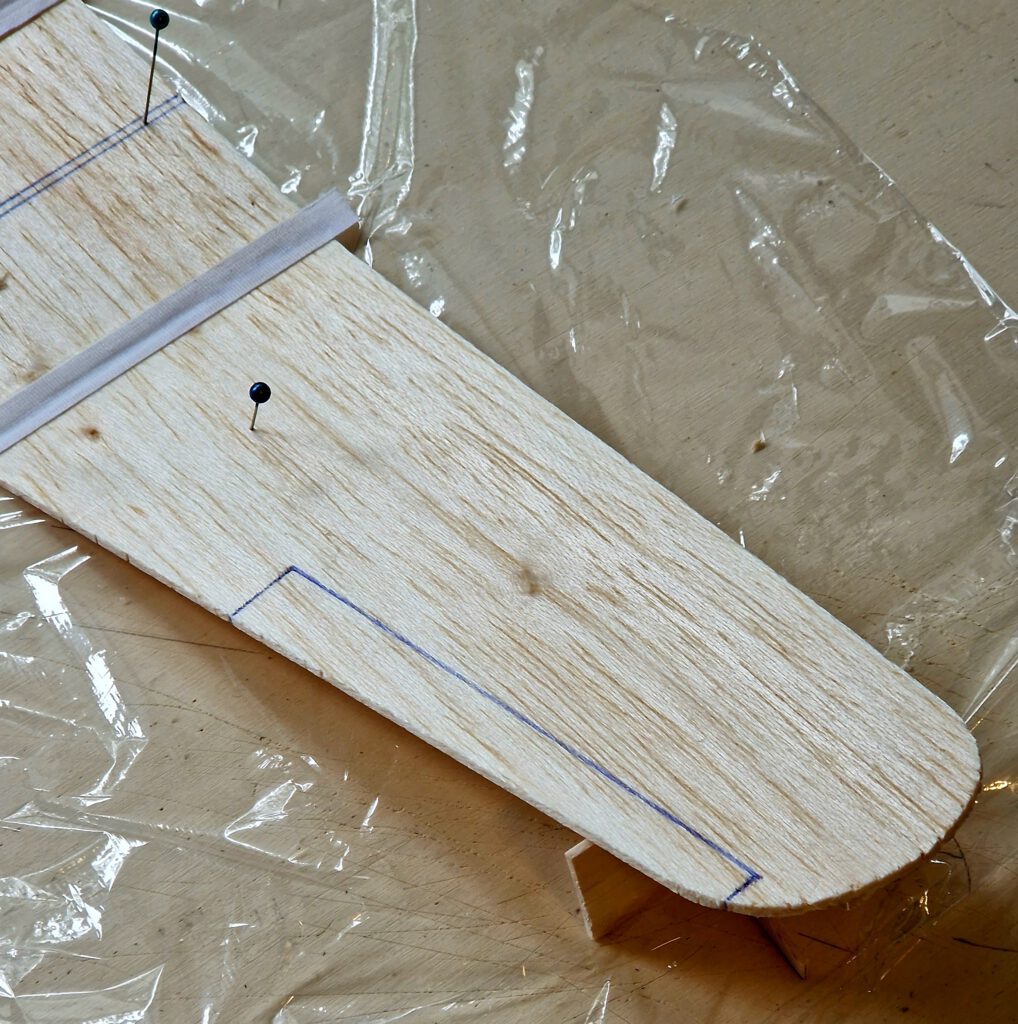
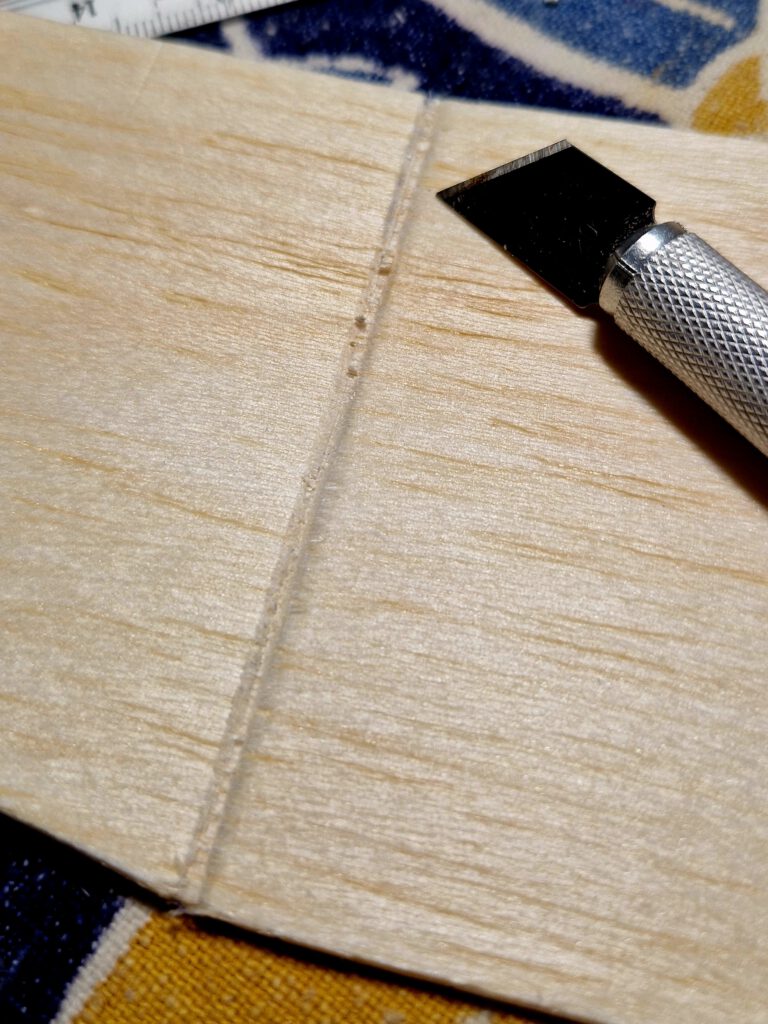
Wing consists of one part. Center section remains flat but wing outer sections have to be lifted for obtaining the necessary dihedral. Mark positions where wing outer sections have to be cut off from center section with pencil. Cut at this line slits using a knife or a saw (photo). Fix wing center section on building board with needles and crack or break left wing outer section on slit line upward. Underlay wing tip in accordance to required dihedral. Fill slit amply with cement and cover slit area with linen band. Let dry. Repeat this procedure for the other wing half. Set aside and let dry.
Fuselage:
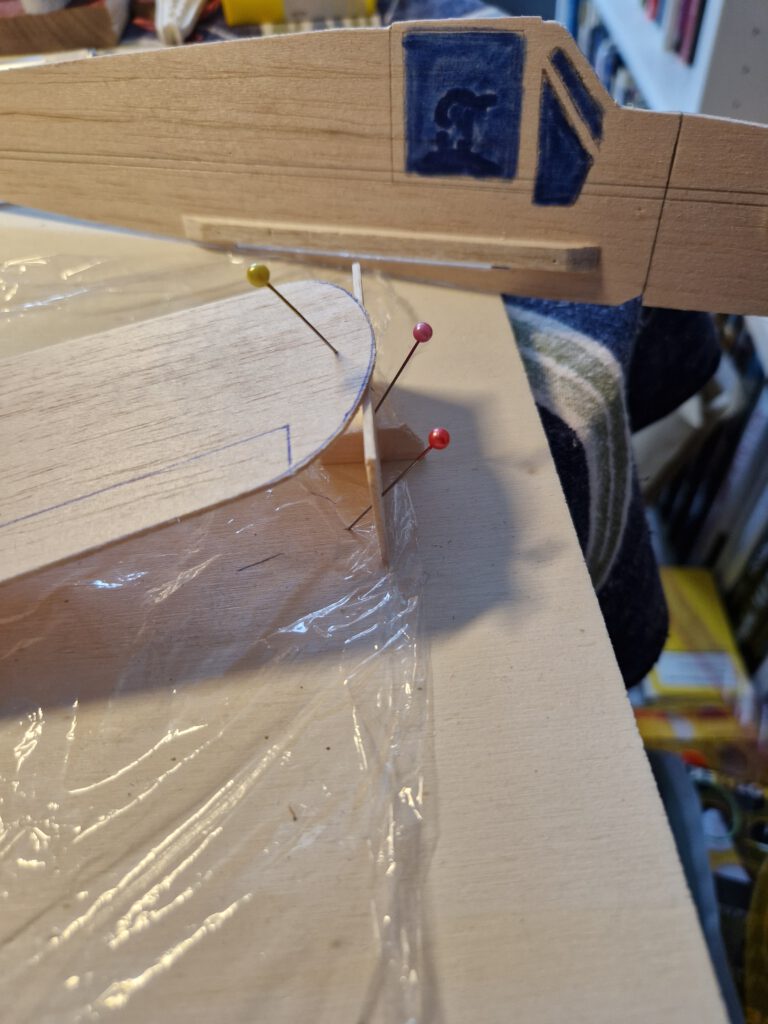
Cement wing support on left side into position (photo). Cement left side stiffener in place. Use needles and maintain right angle (90°)! Let dry. Turn fuselage, fix it on one edge of your building board and repeat this procedure on right side (photo).
Cement horizontal stab into position using needles (photo). Visual check at least twice that symmetry is obtained. Let dry.
Final Assembly:
Slide wing into fuselage slot and cement it. Use needles to hold in place. Doublecheck visually symmetry. Put aside and let dry.
Use small piece of lead or scrap metal to balance model at given position.
Remember correct center of gravity (CG) is essential for successful flights.
¡Muchos vuelos exitosos! (Size bol başarılı uçuşlar diliyorum!)
Leave a Reply