
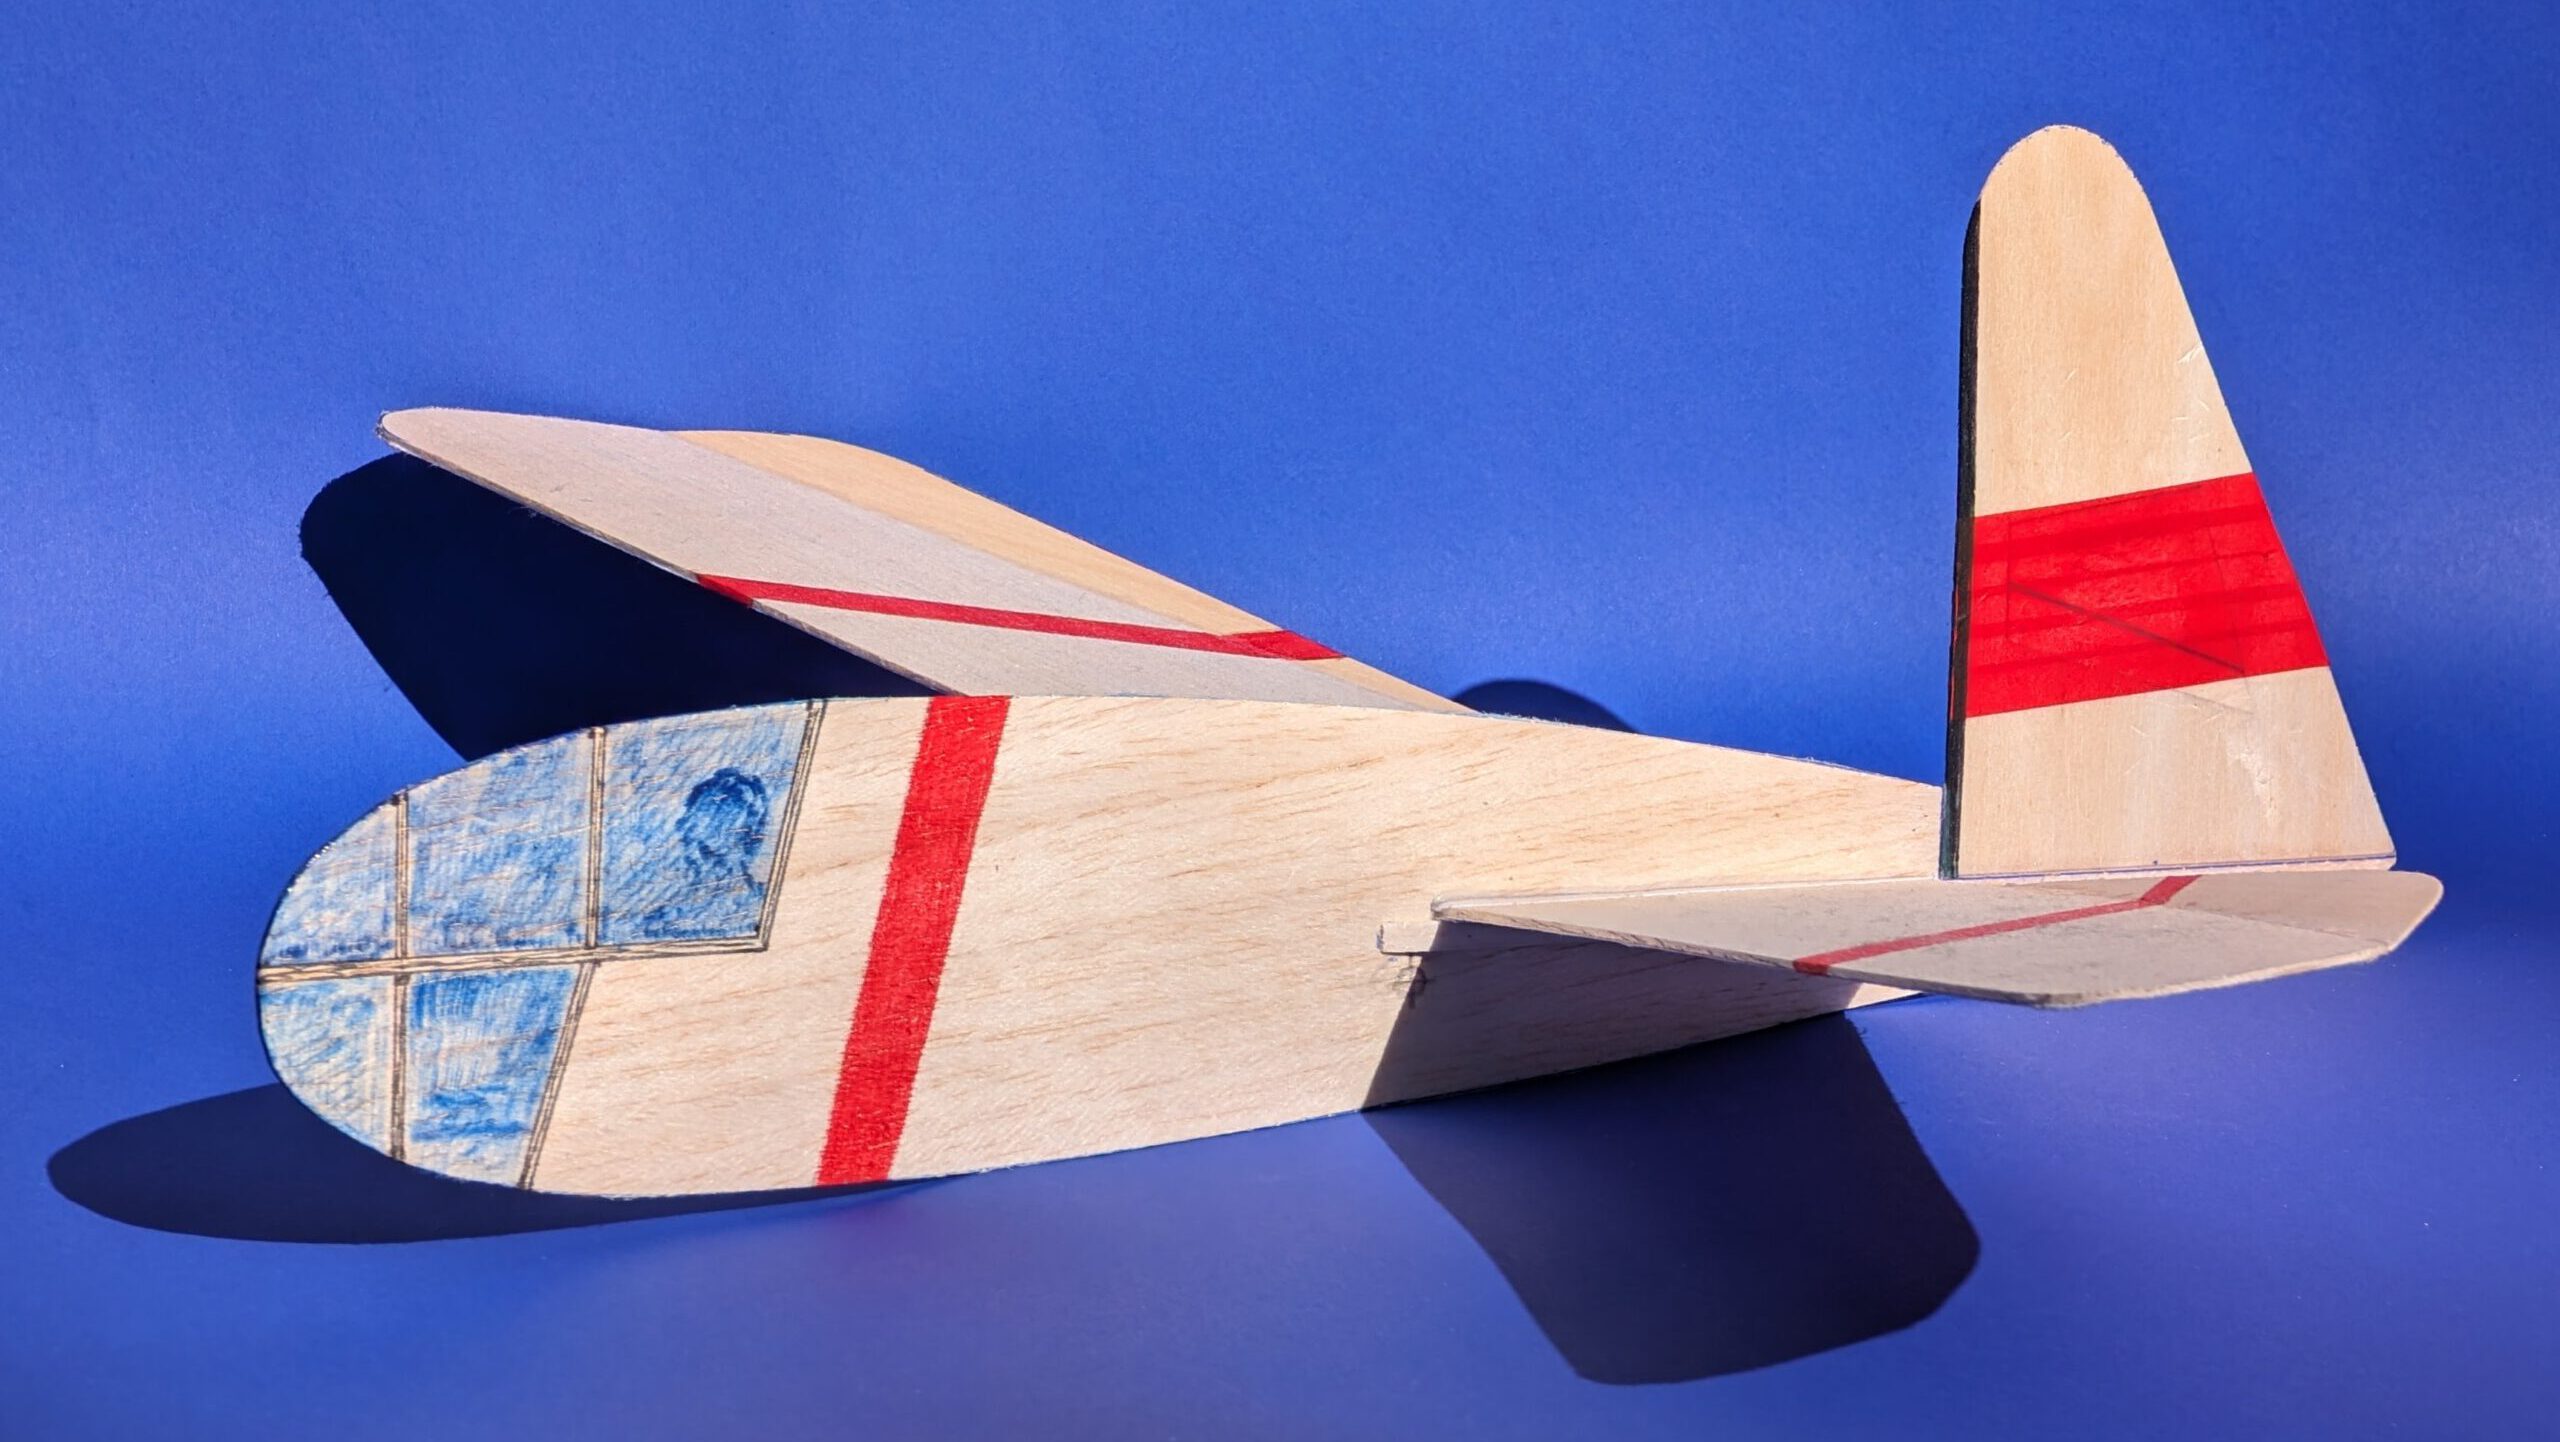
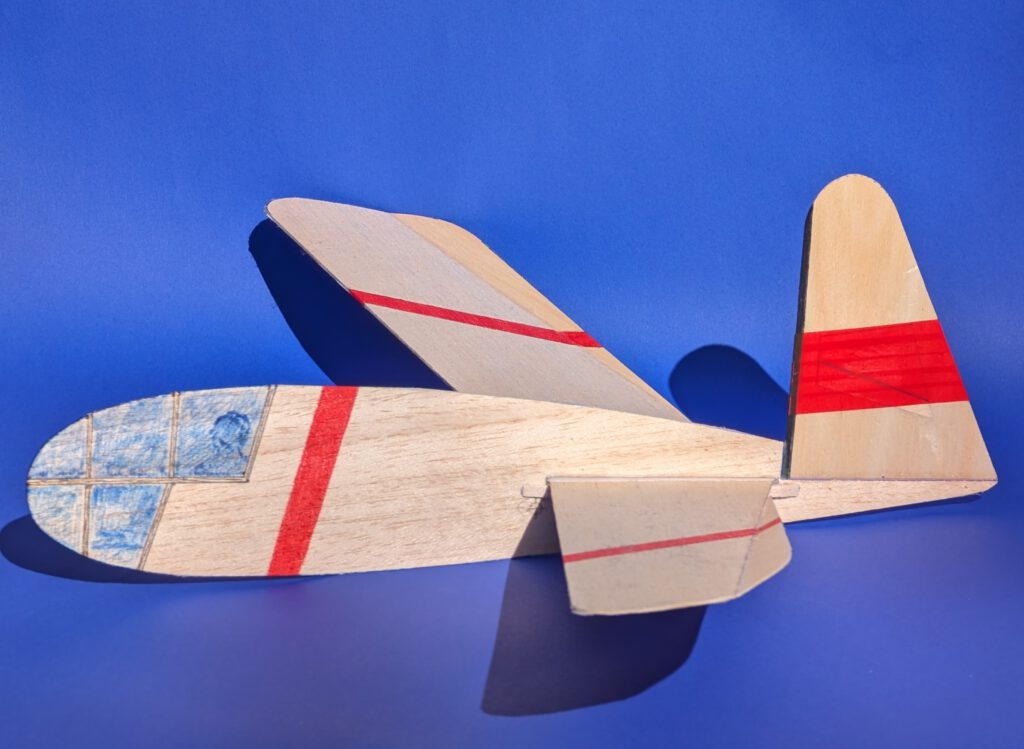
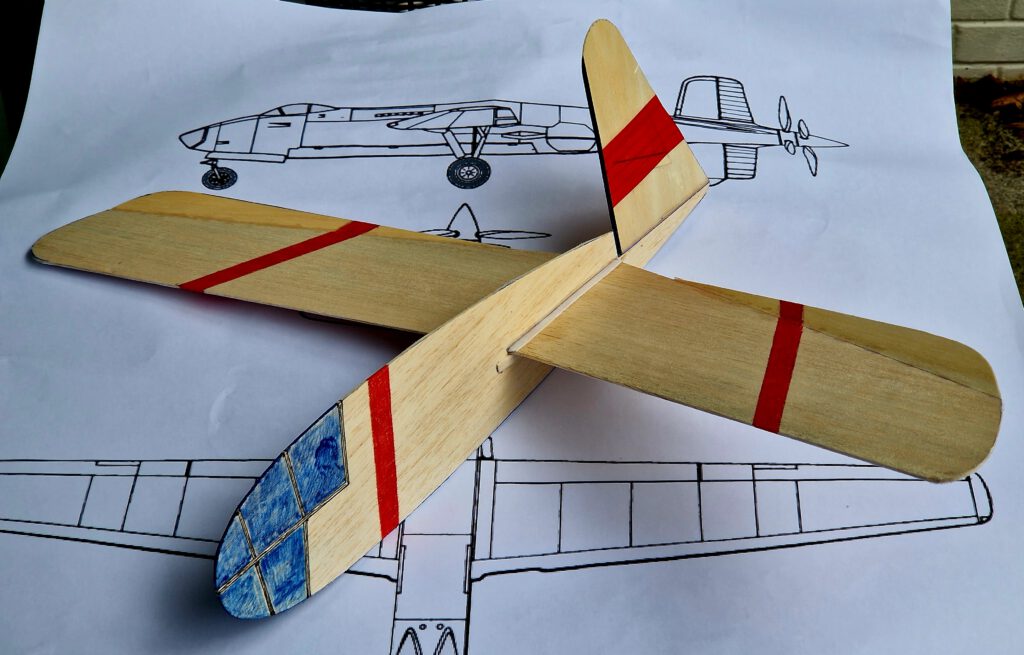
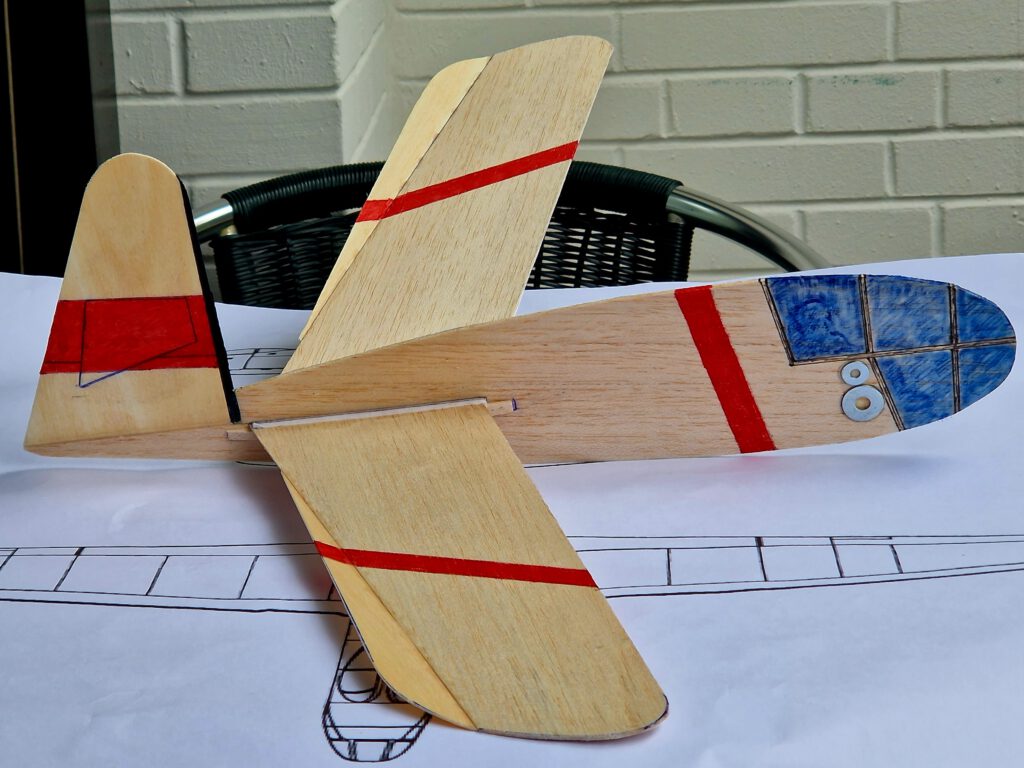
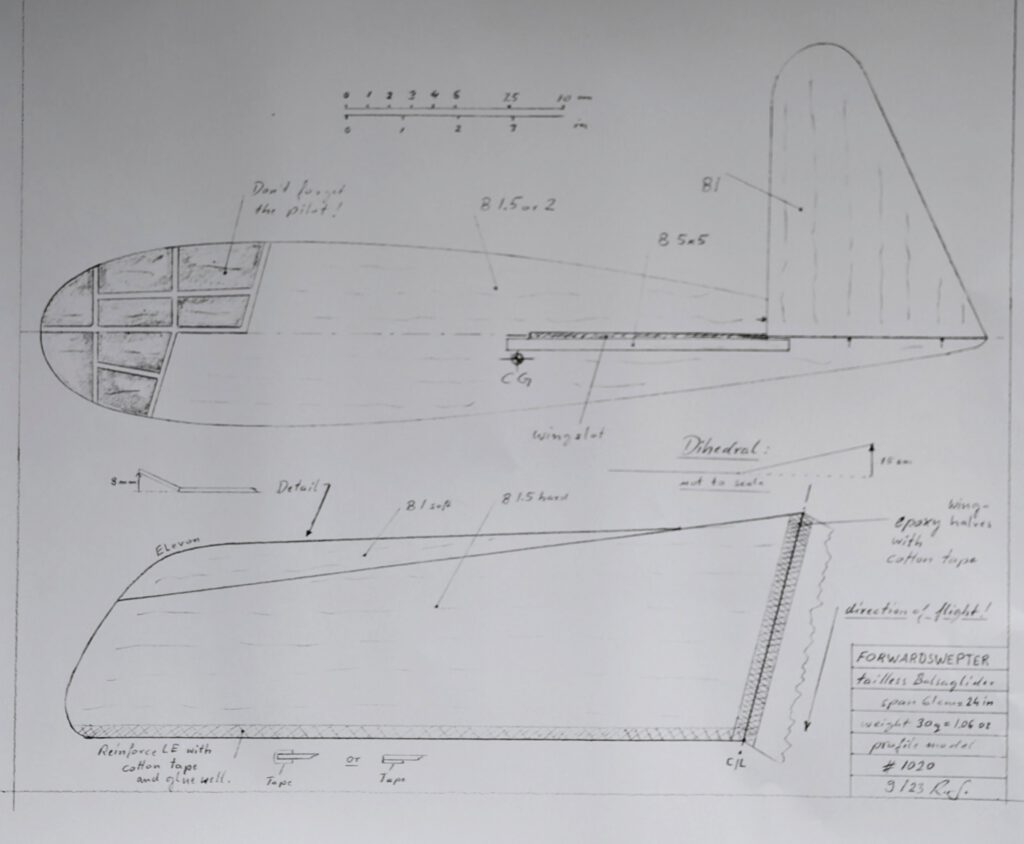
Span 61 cm / 24 in
Weight 30 g / 1.1 oz
The concept:
- Forward swept tailless design
- Easy to build
- Few parts
Q: Would it react differently or would it behave like any other swept wing tailless? – A: Well, after a couple of flights at windy and less windy conditions I found no difference and can unreservedly recommend to build and fly the Forwardswepter.
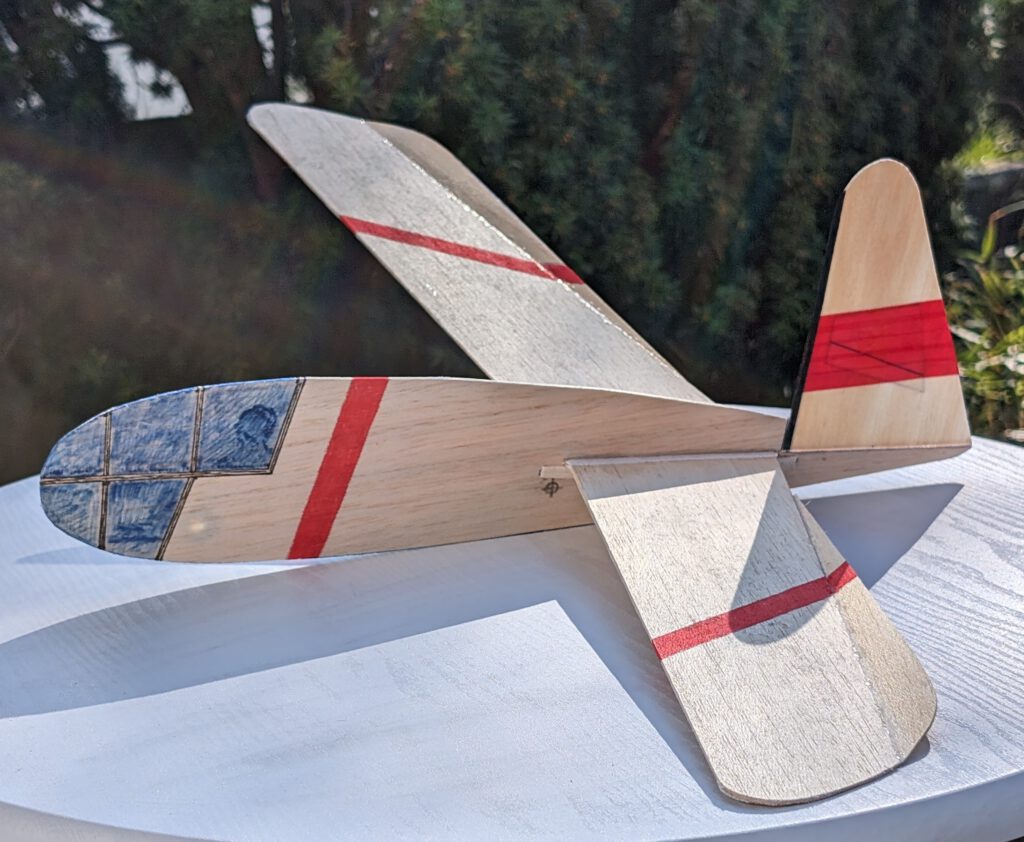
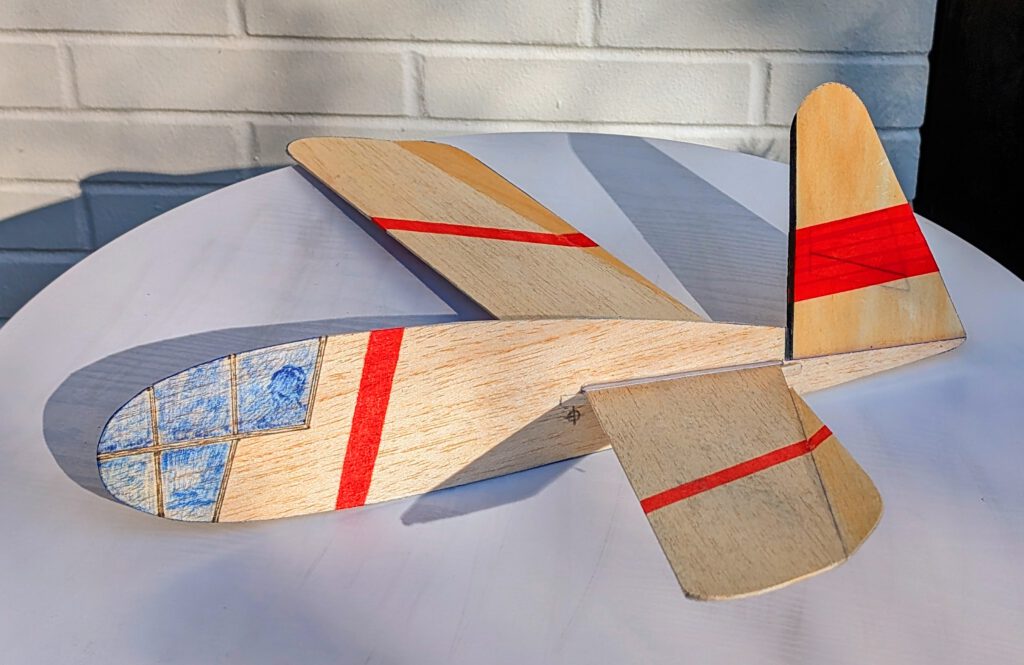
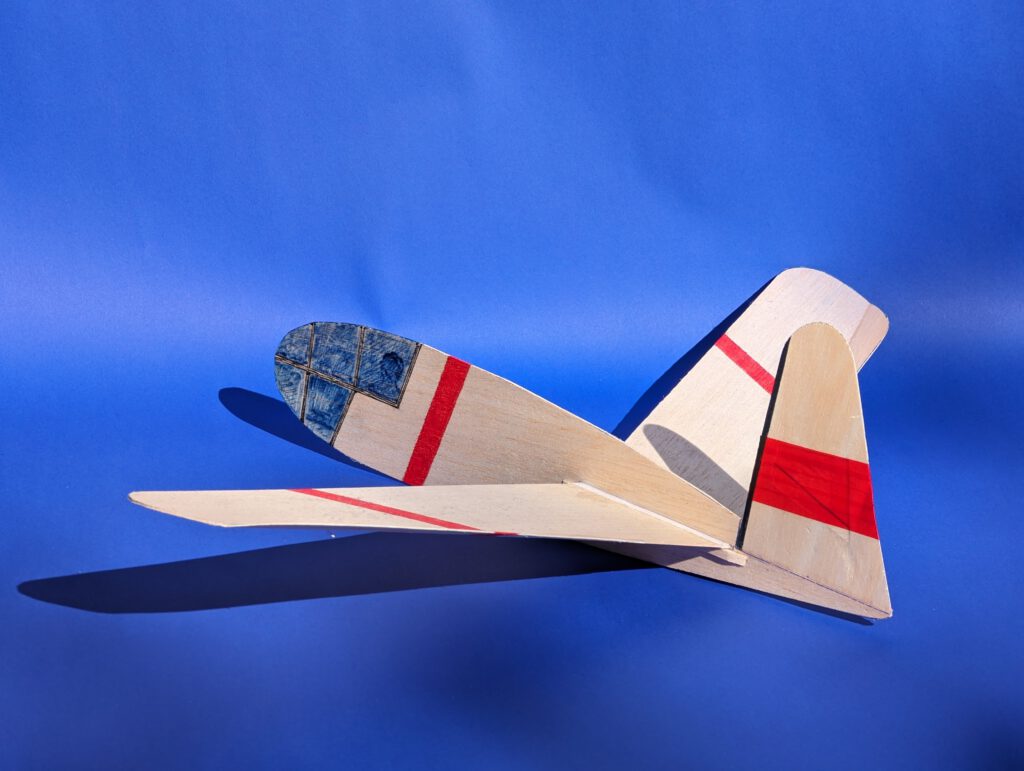
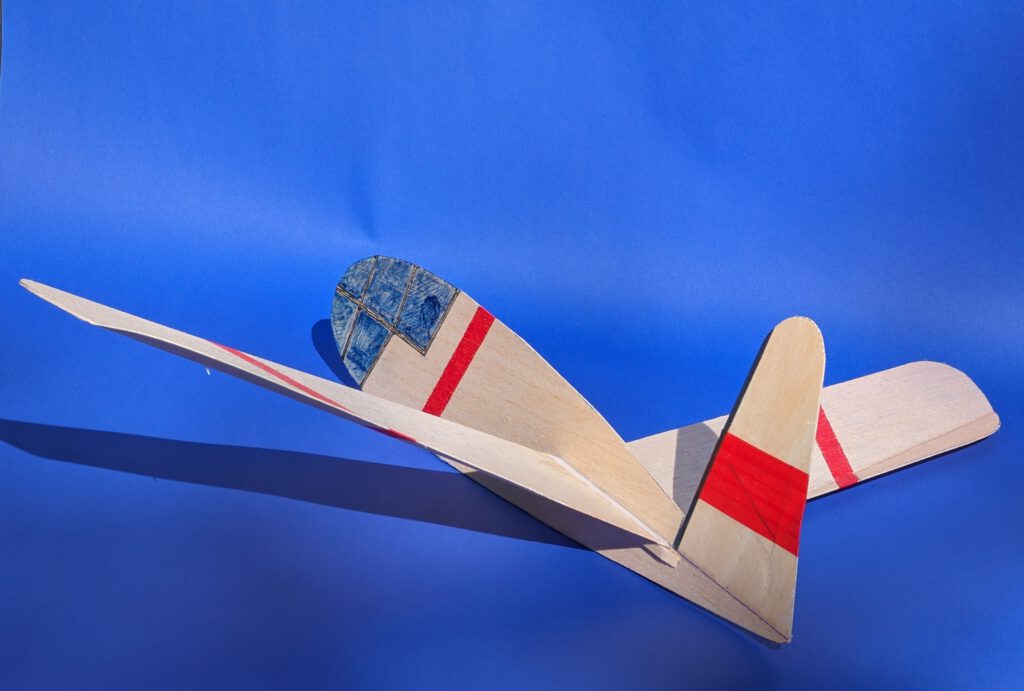
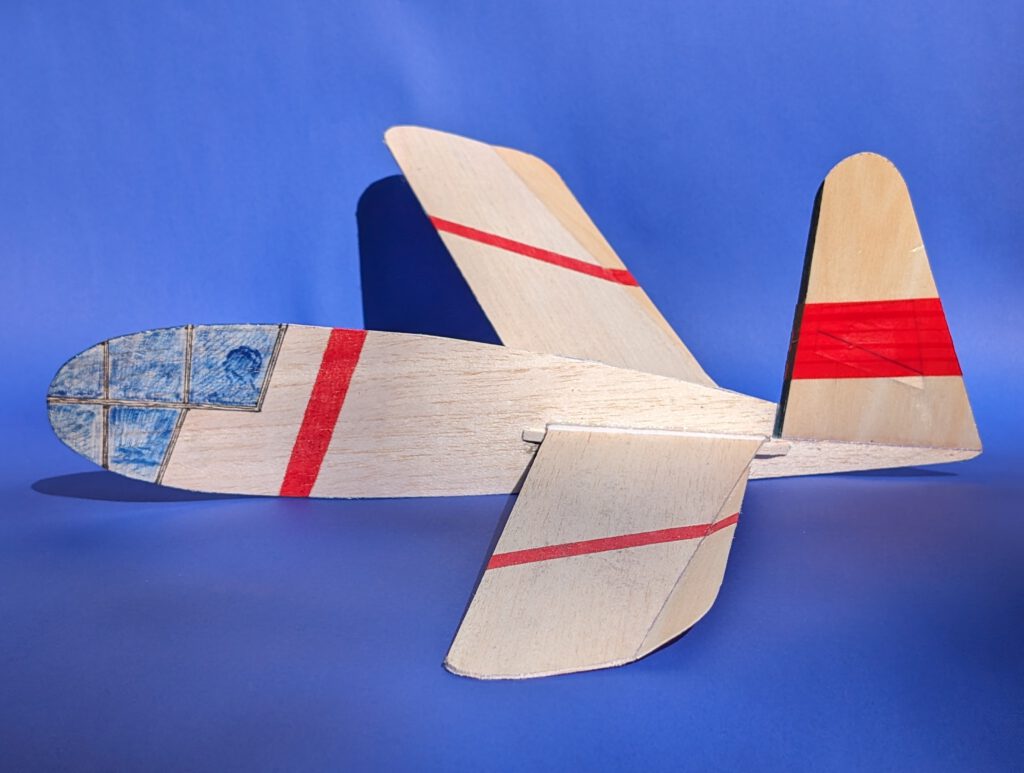
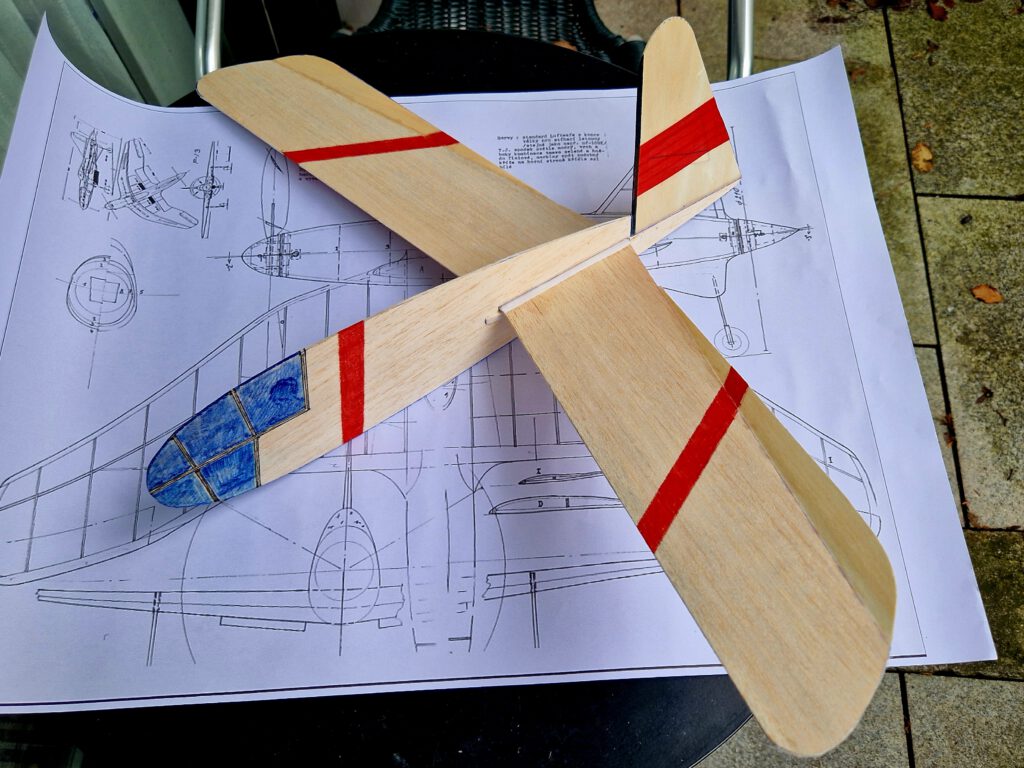
Building the tailless balsa sheet chuck glider Forwardswepter.
Materials:
Fuselage: B 1.5 or B 2; wings: B 1.5; wing supports: B strips 2 x 5 or 5 x 5; elevons: B 1; fin: B 1; linen/cotton band width 12 mm / ½ in; ballast: small piece of lead or scrap metal.
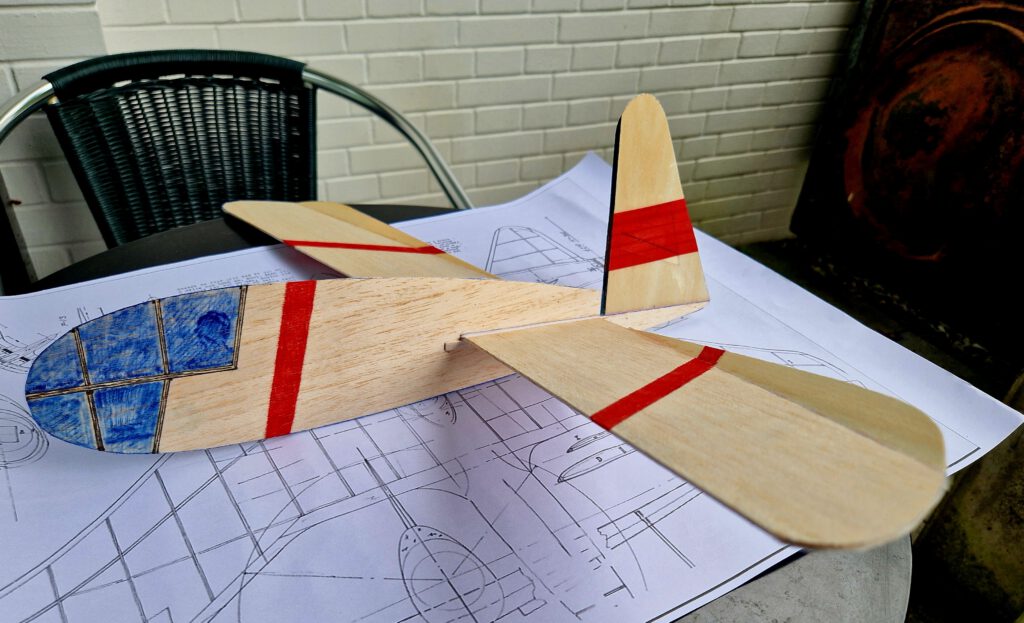
Assembly:
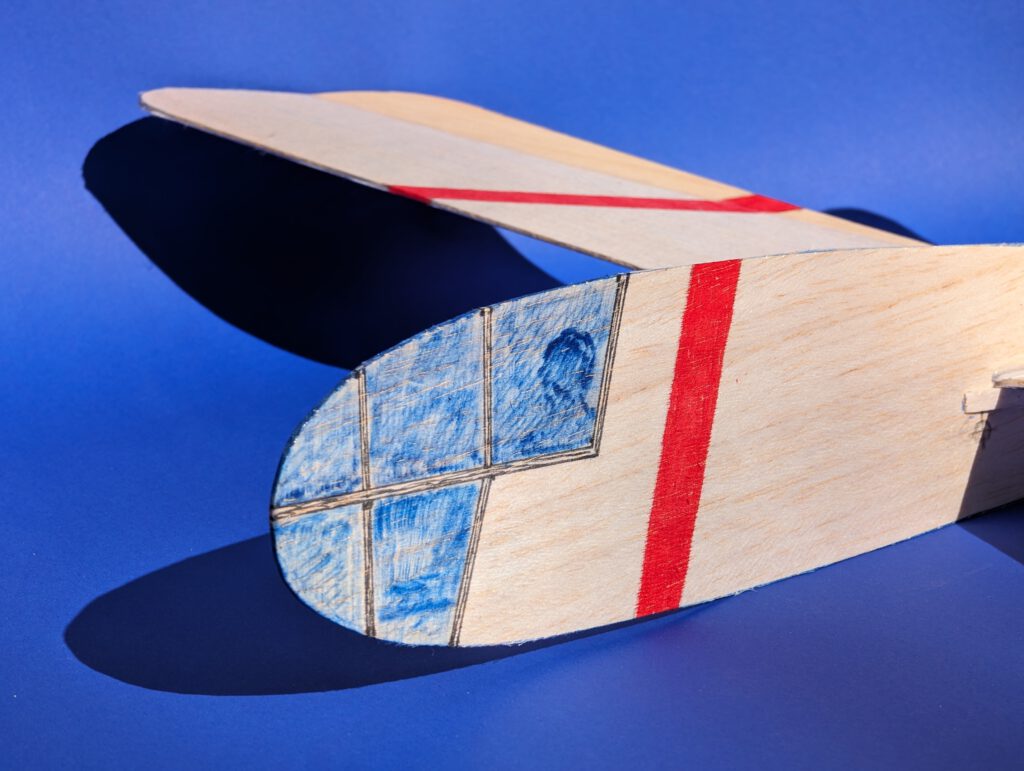
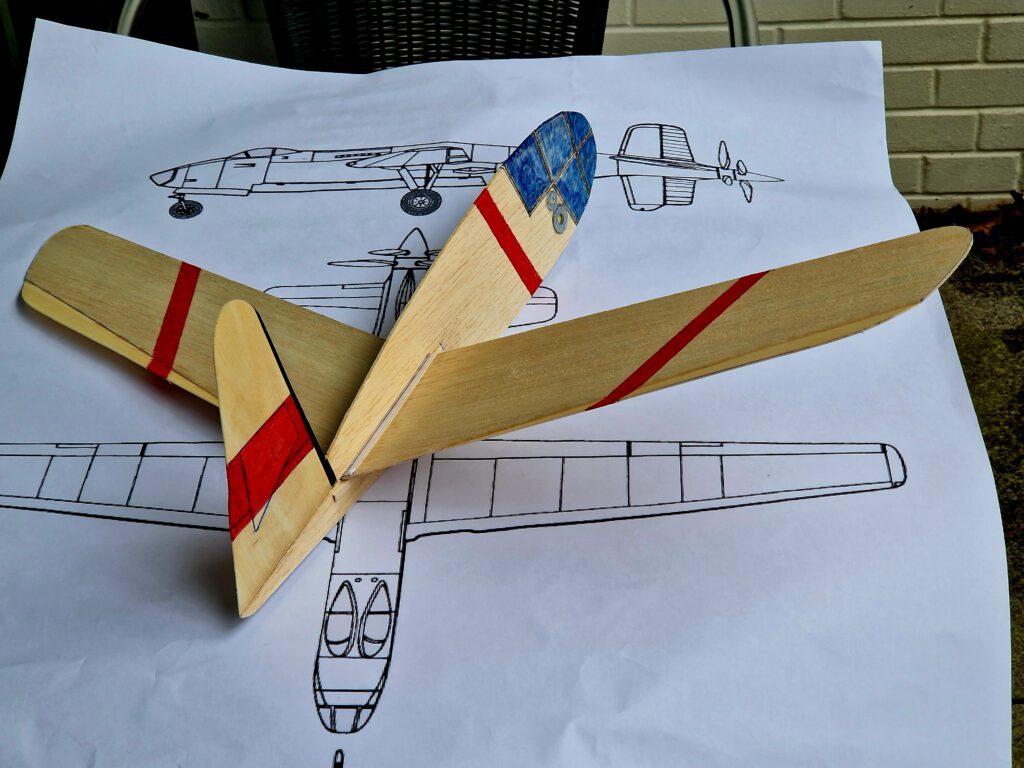
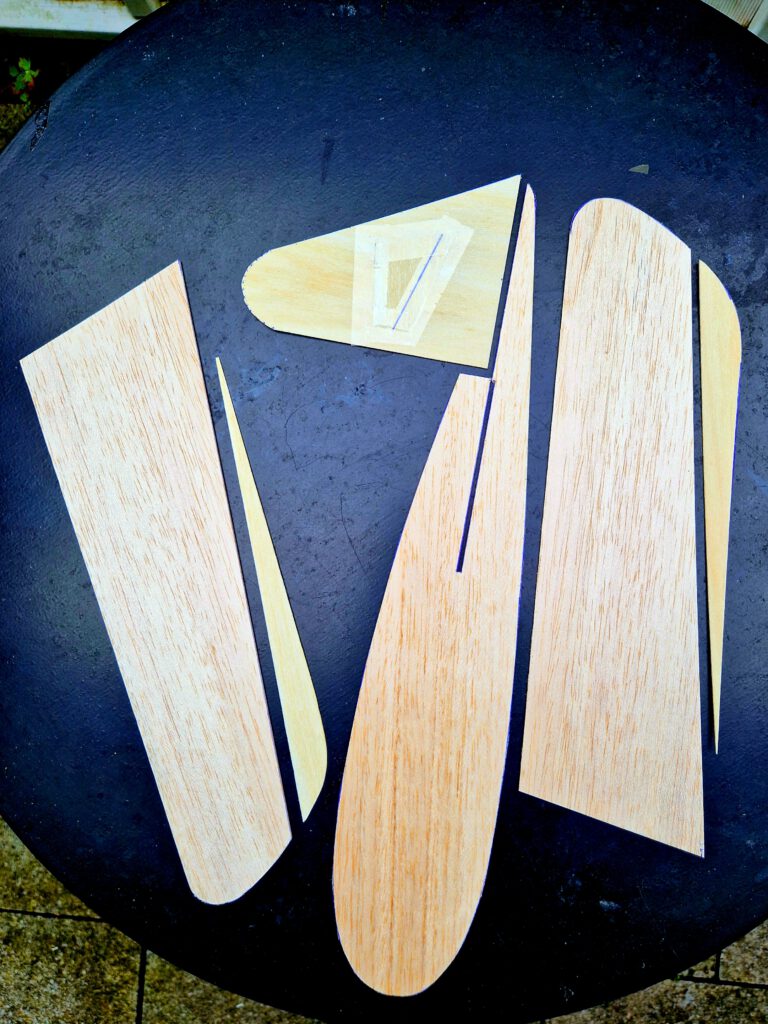
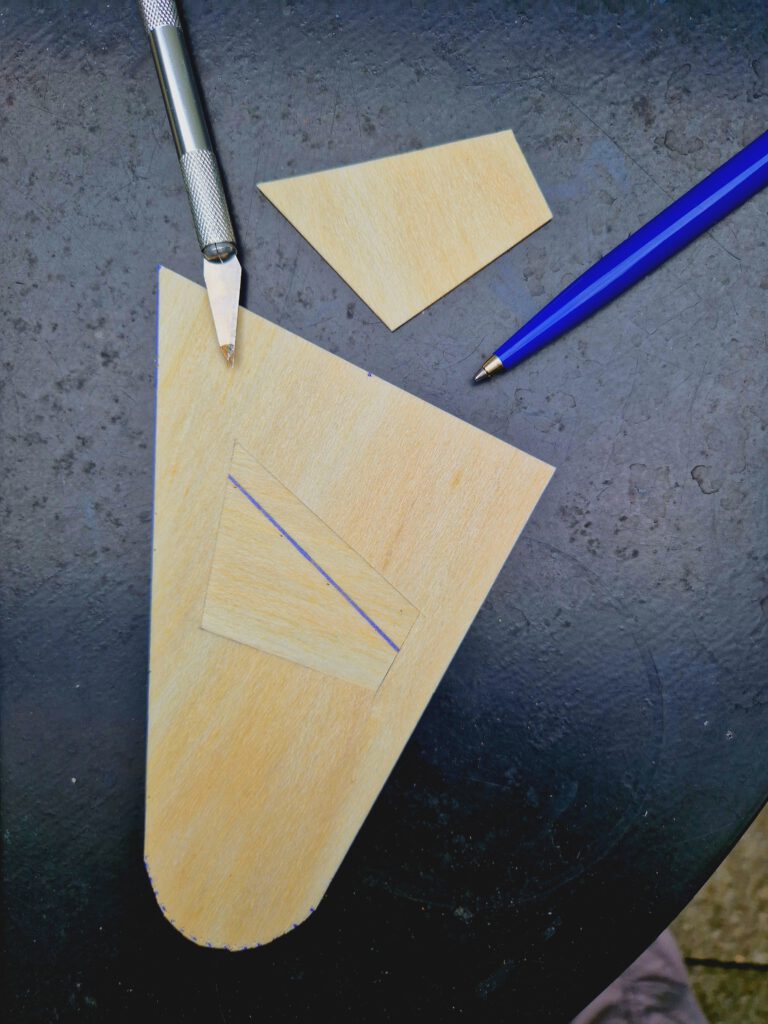
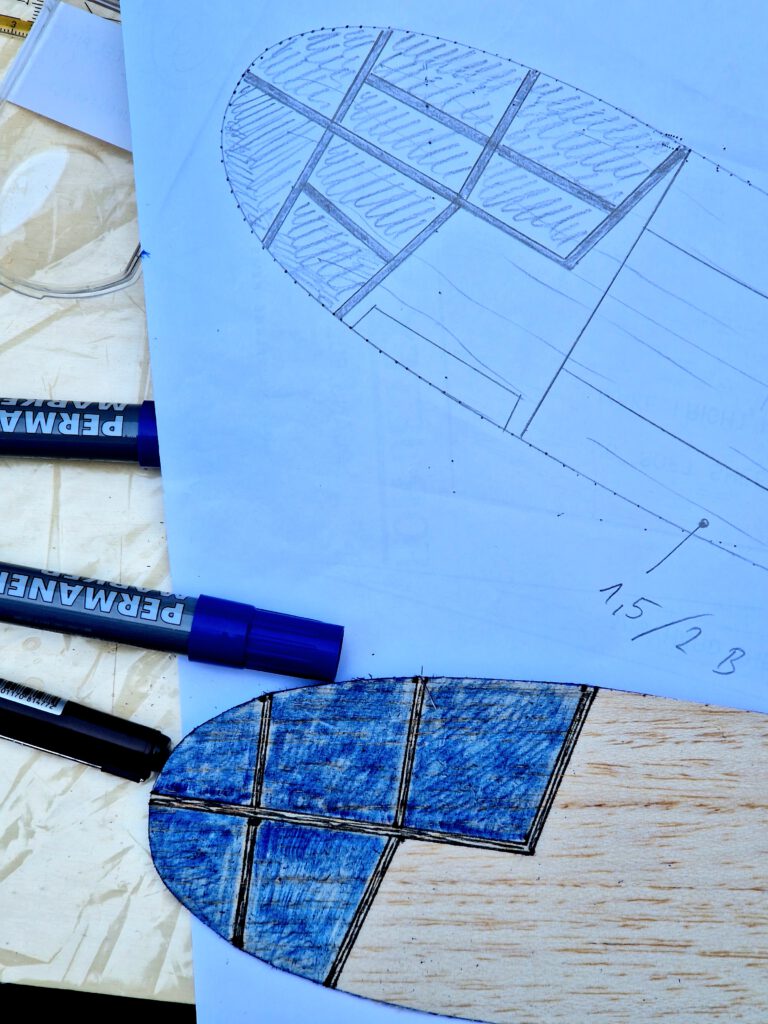
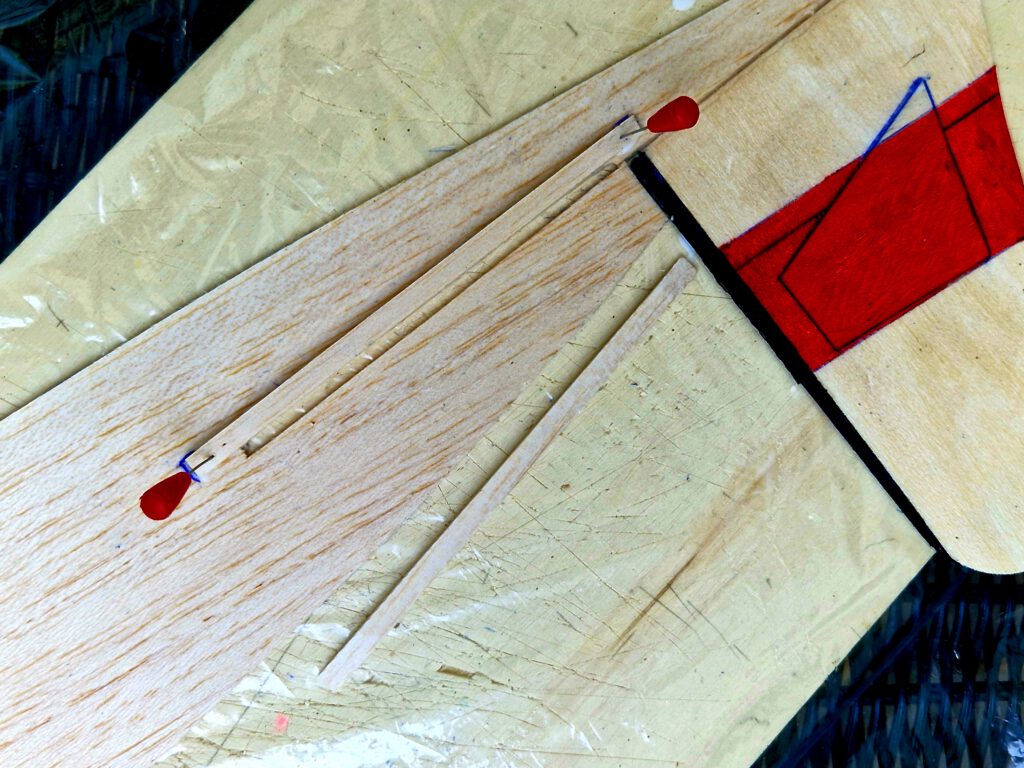
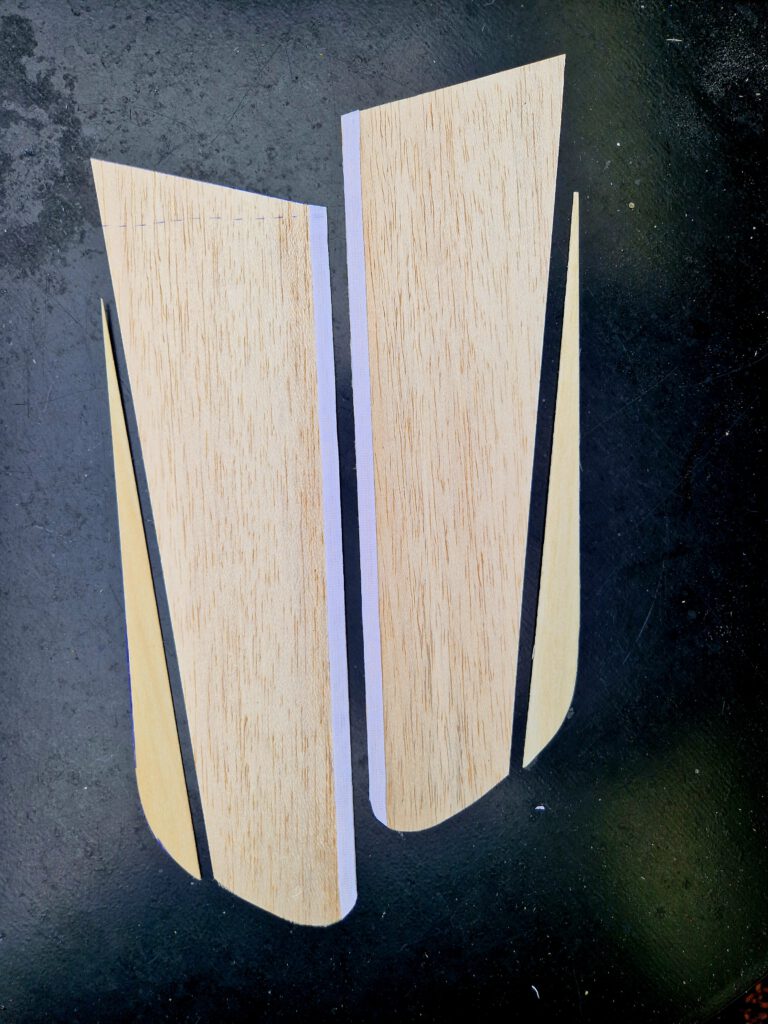
Cut out all balsa parts (photo). Make slot for wing. Cut out fin area. Sand well. Transfer outlines of canopy from paper to wood with pen (photo).
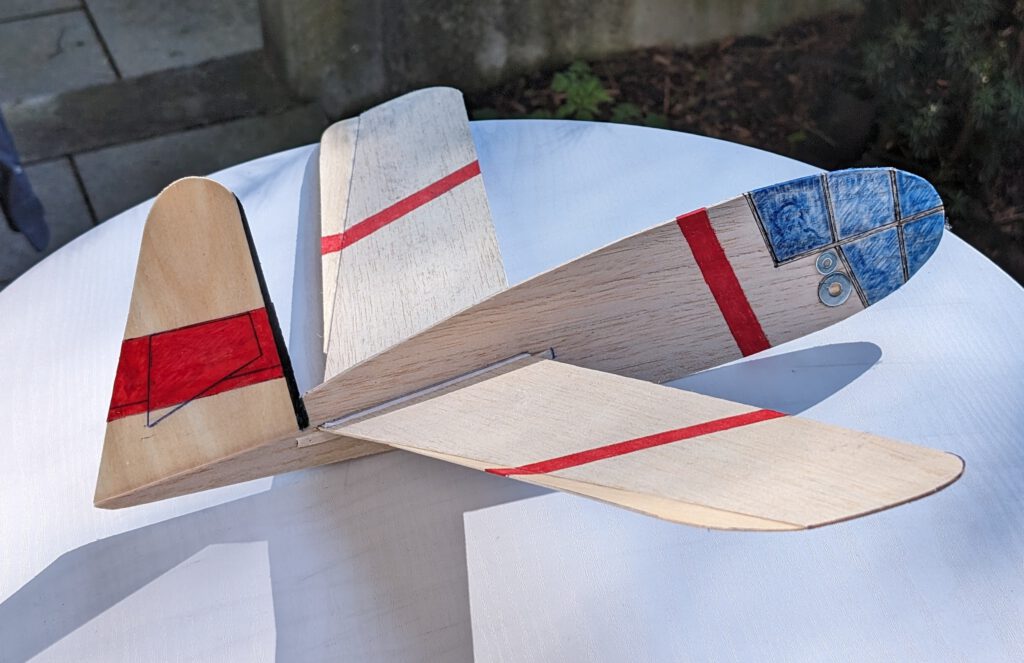
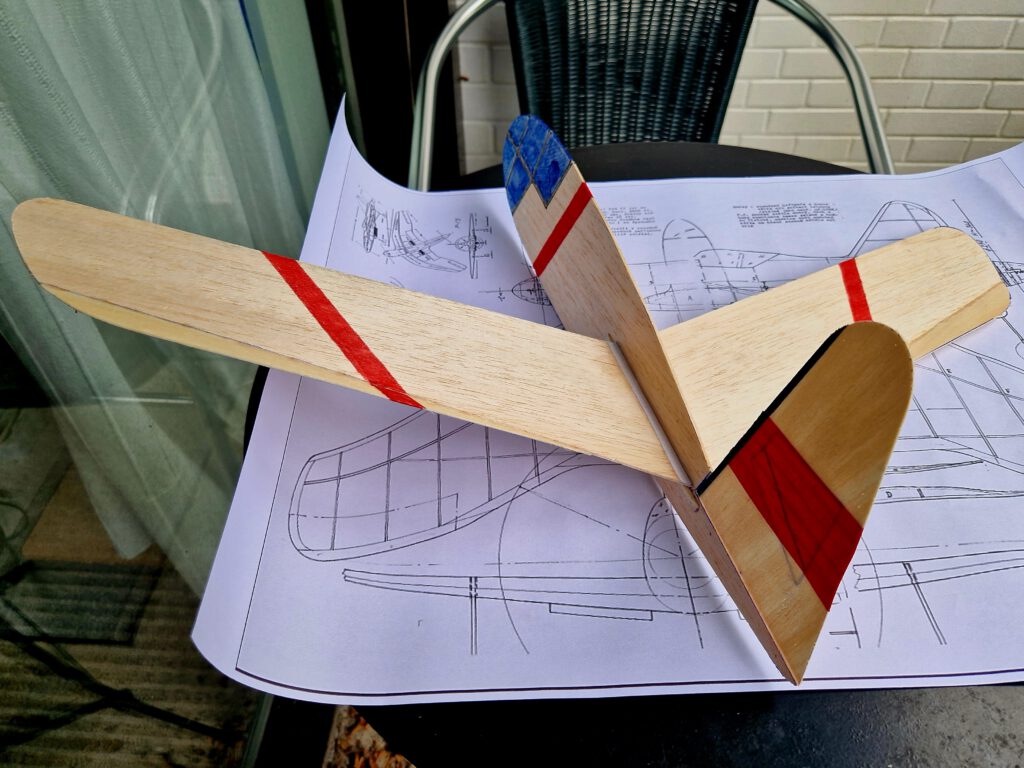
Fin:
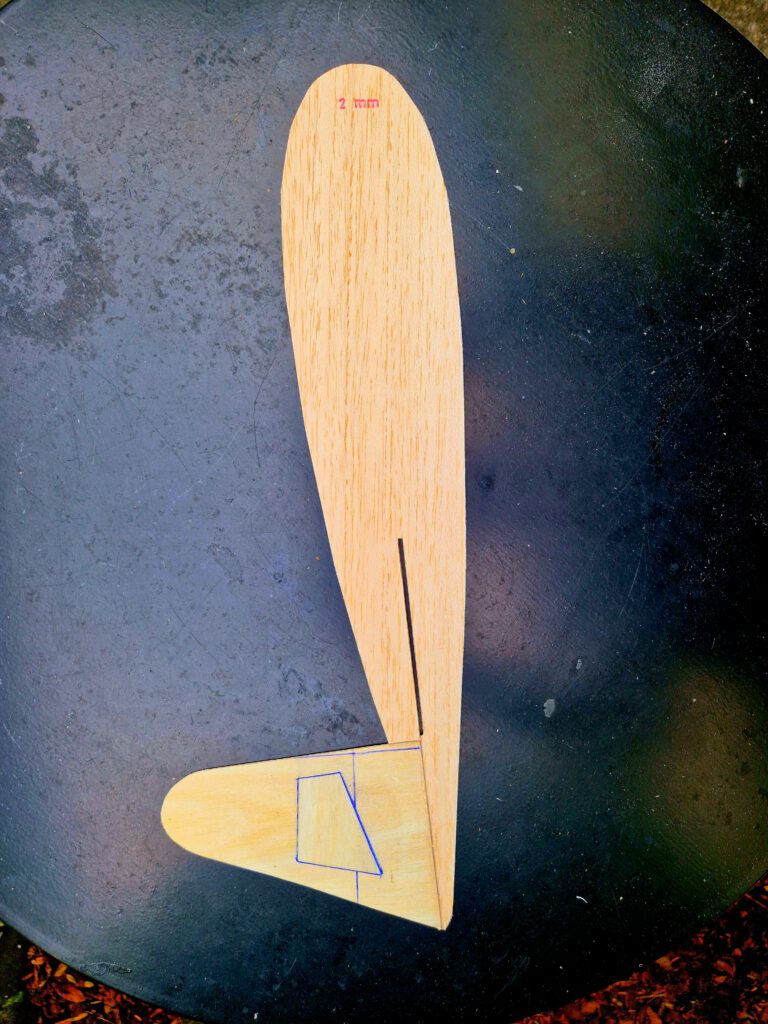
Cut out a portion in the center of the fin as shown on photo and put in a corresponding piece of balsa with other grain direction. This measure prevents fin warping.
Fuselage:
Fix fuselage with needles on your building board. Underlay fin area with thin cardboard or thin balsa sheet. As fin material is thinner than fuselage cardboard or balsa can lift fin into the center of the fuselage sheet. Cement fin into fuselage cutout (photo).
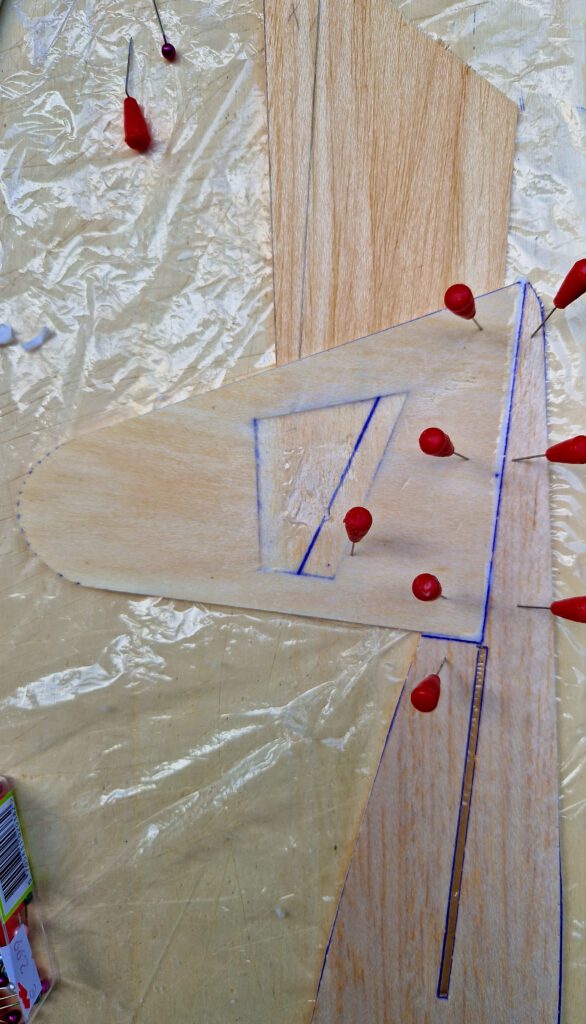
Cement wing support strips on right side. Use clamps or needles and let dry (photo). Repeat procedure on left side.
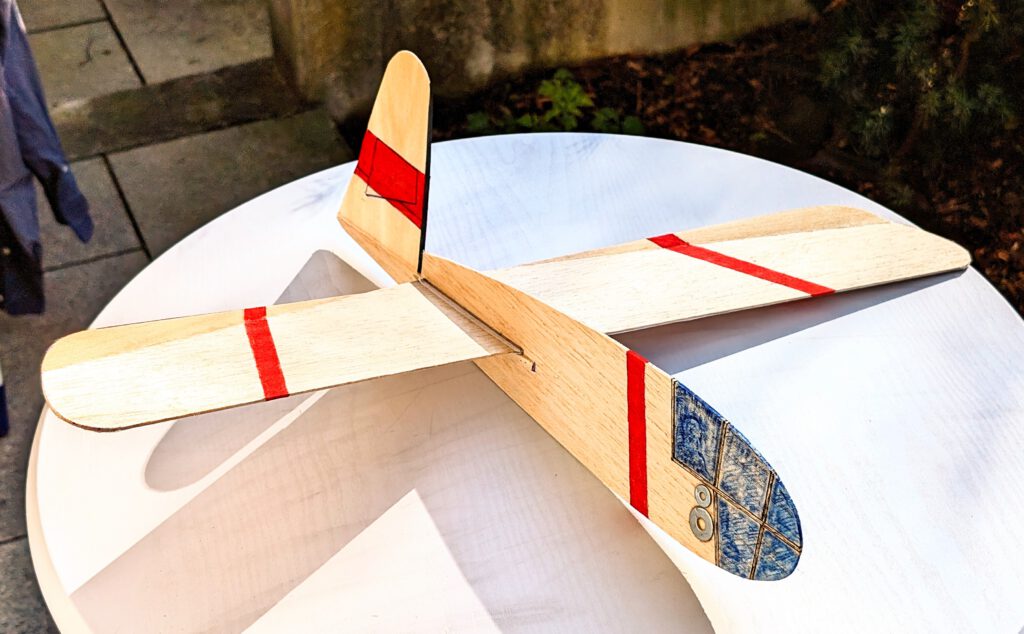
Wings:
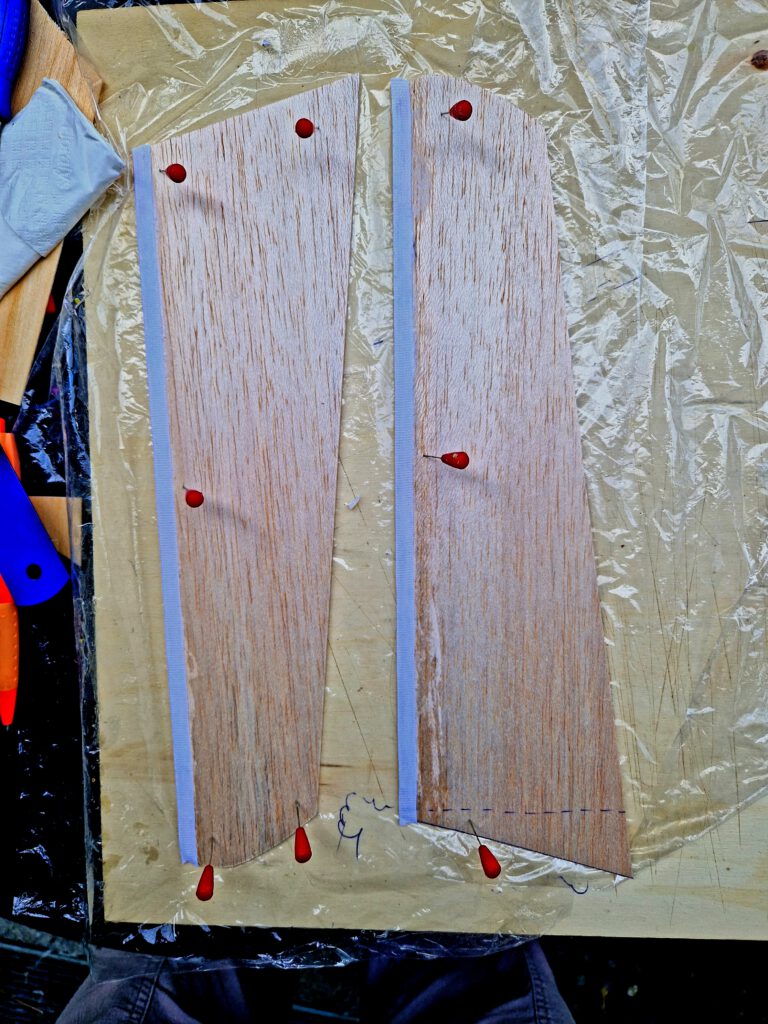
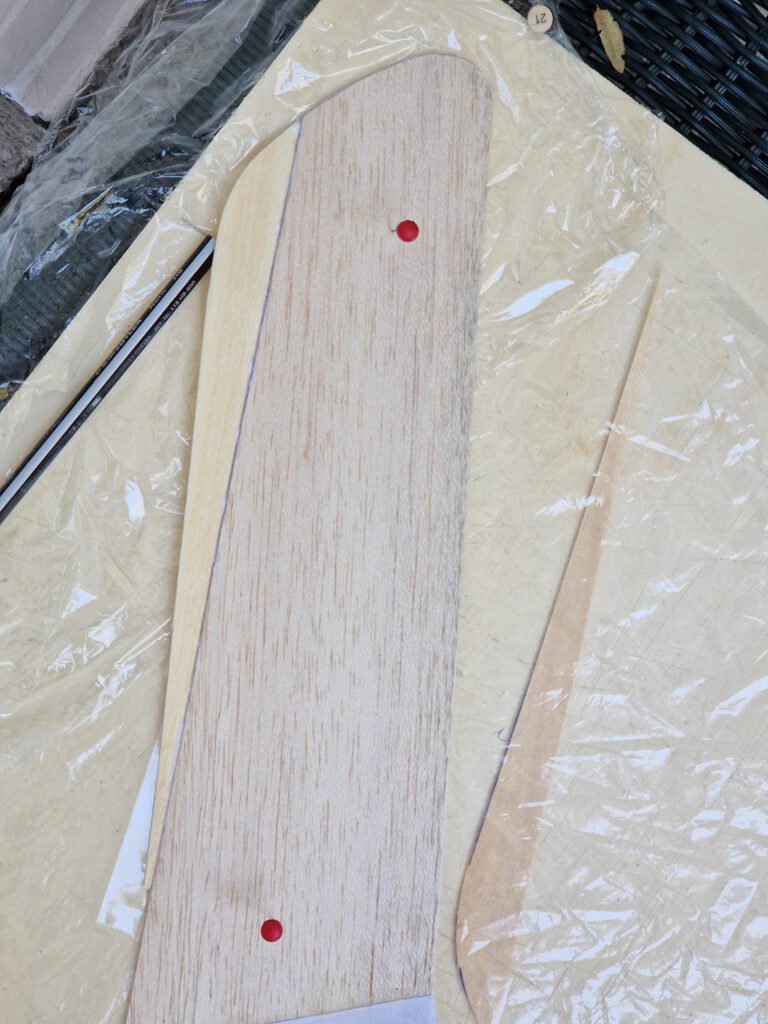
Strengthen leading edge of wing with linen band. This can be done either by band embracing the leading edge in form of the letter U or by cementing band flat on the underside corresponding the shape of the leading edge (photo). When dry fix one wing half with needles on building board and cement elevon just as shown on plan in place (photo). Let dry. Repeat procedure with other wing.
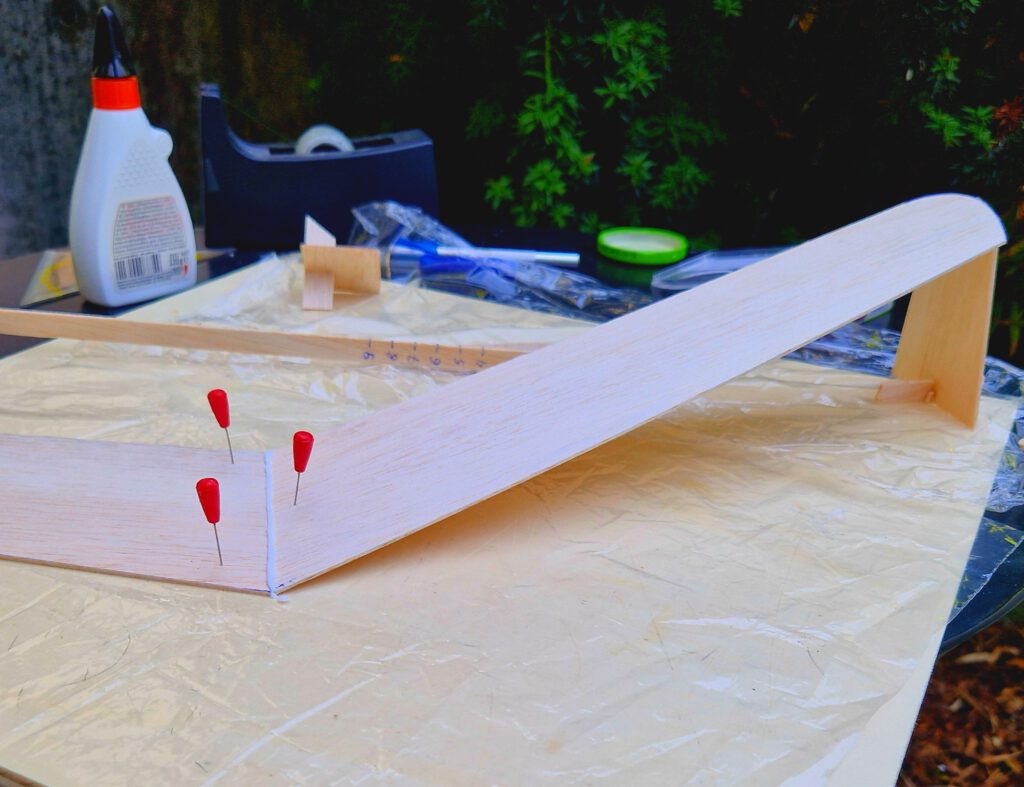
Again fix one wing half on building board with needles. Underlay tip of other wing half according to given dihedral and cement. Linen tape should be used to strengthen joining area on top and bottom. Let dry.
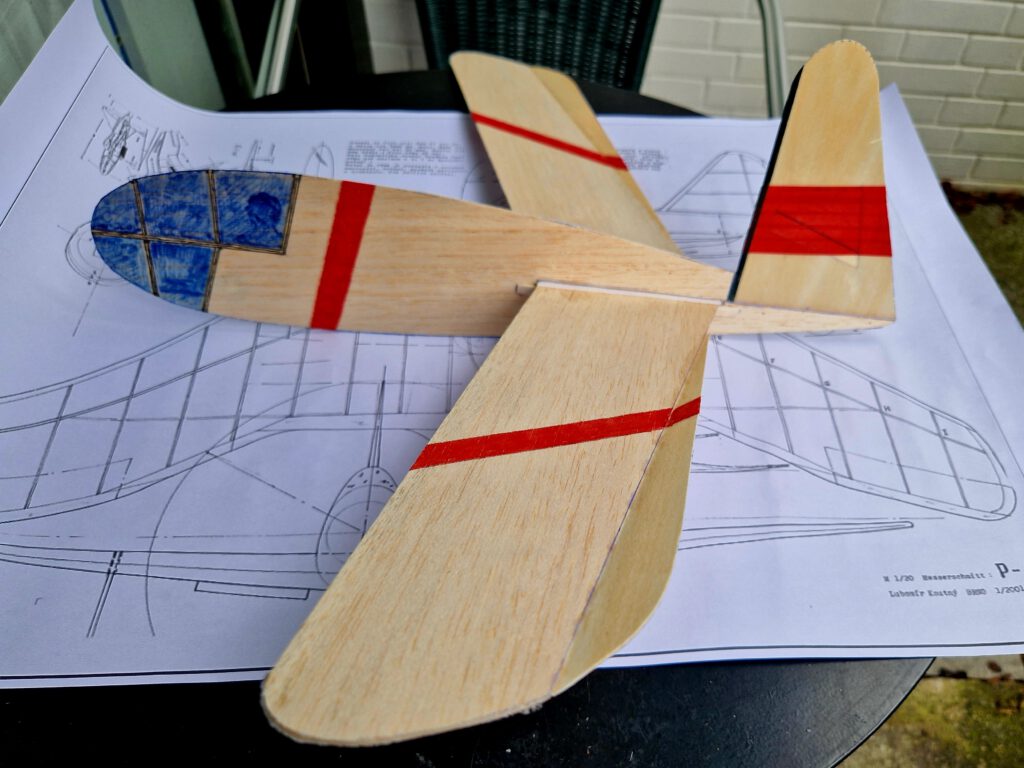
Final Assembly:
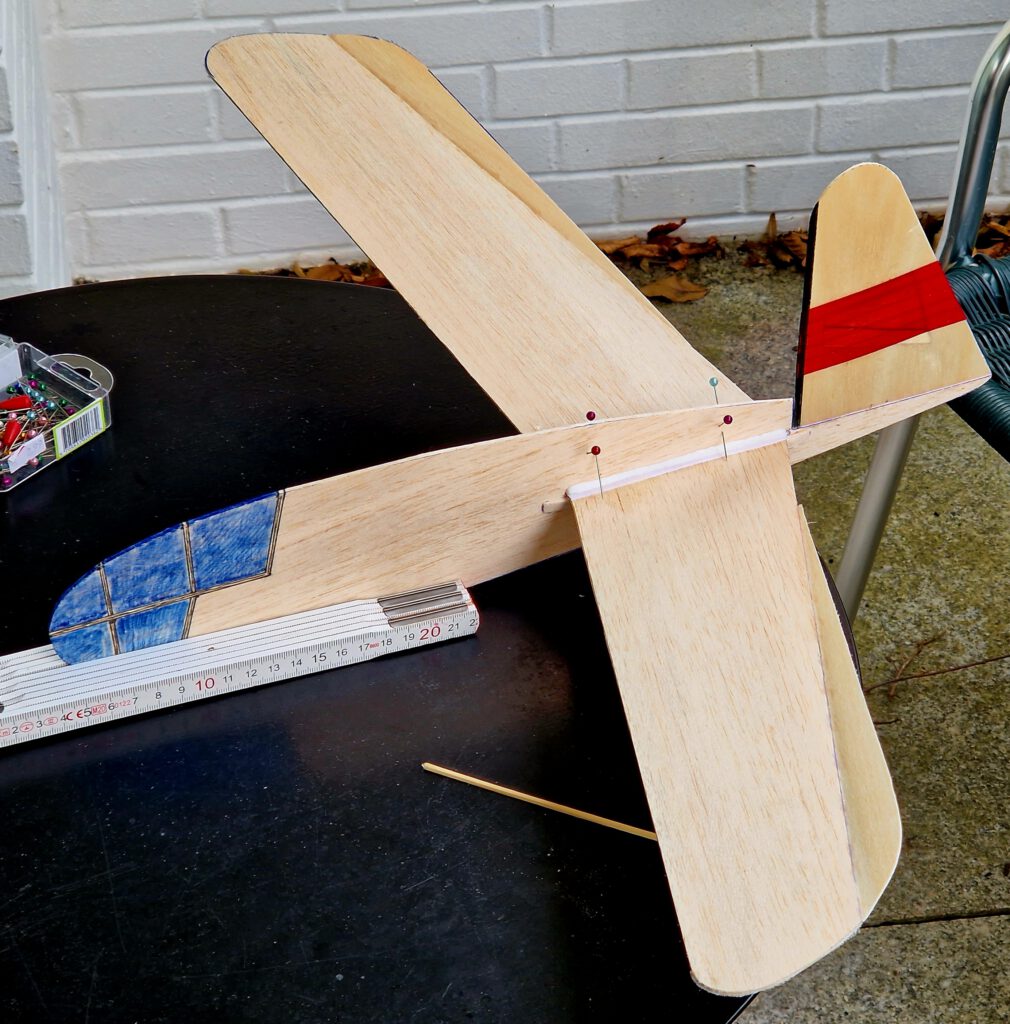
Fix fuselage on a “third hand” (photo). Slide wing with elevons through slot. Visual check from all sides for obtaining symmetry. Cement Wing into slot using needles to hold in place (photo). Let dry.
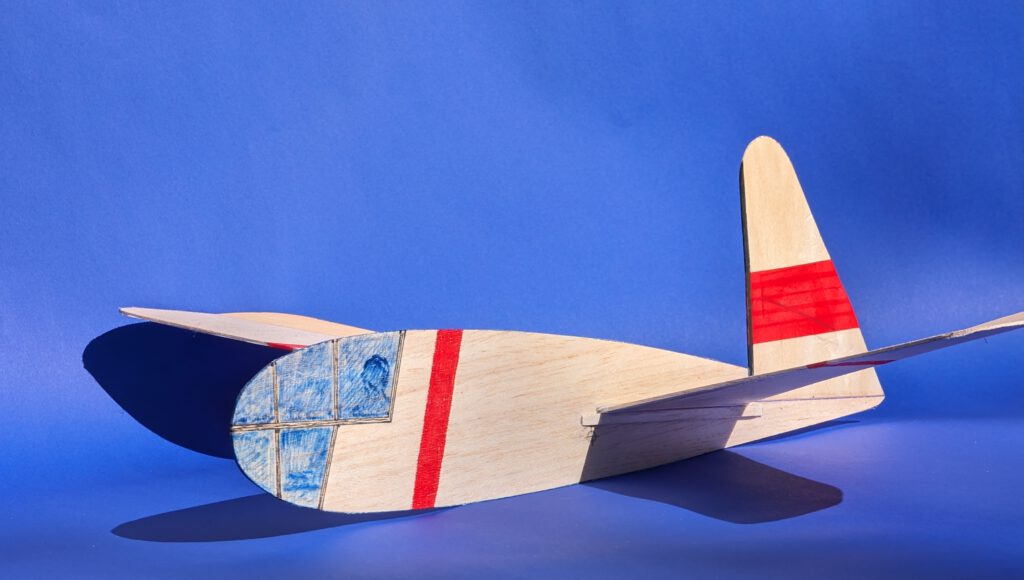
Balance model in accordance to given CG on plan.


Buon volo! (ugodan let!)
Leave a Reply