
Span 35.5 – 51 cm / 14 – 20 in
Weight 13 – 20 g / 0.46 – 0.7 oz
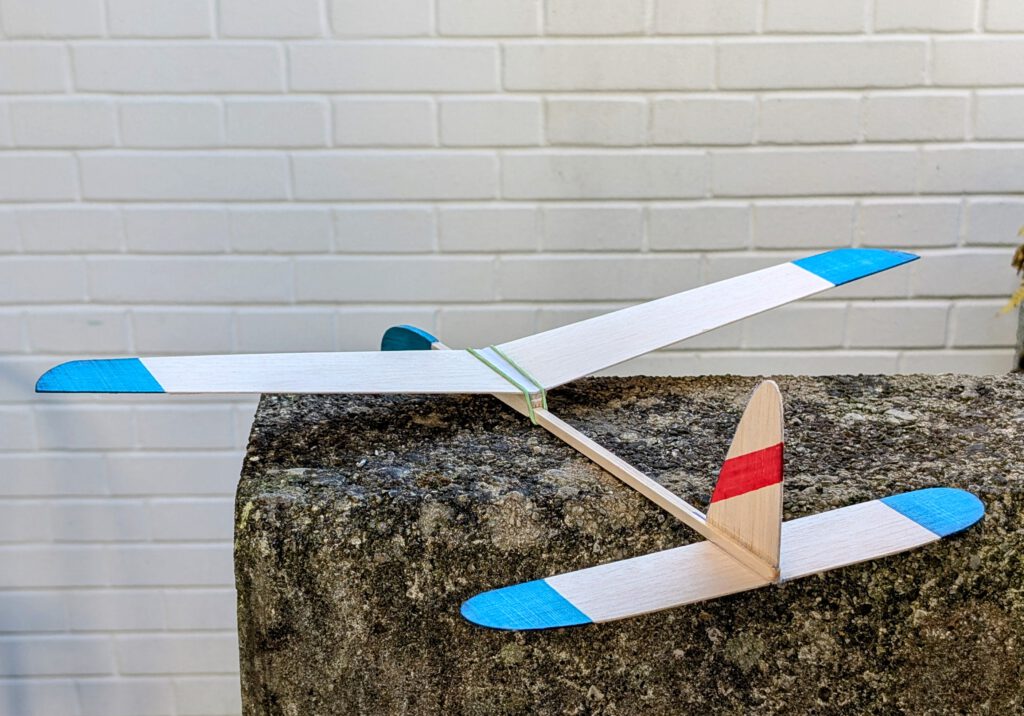
The concept:
- Hand Launched Gliders
- Good flight characteristics
- Simple to build
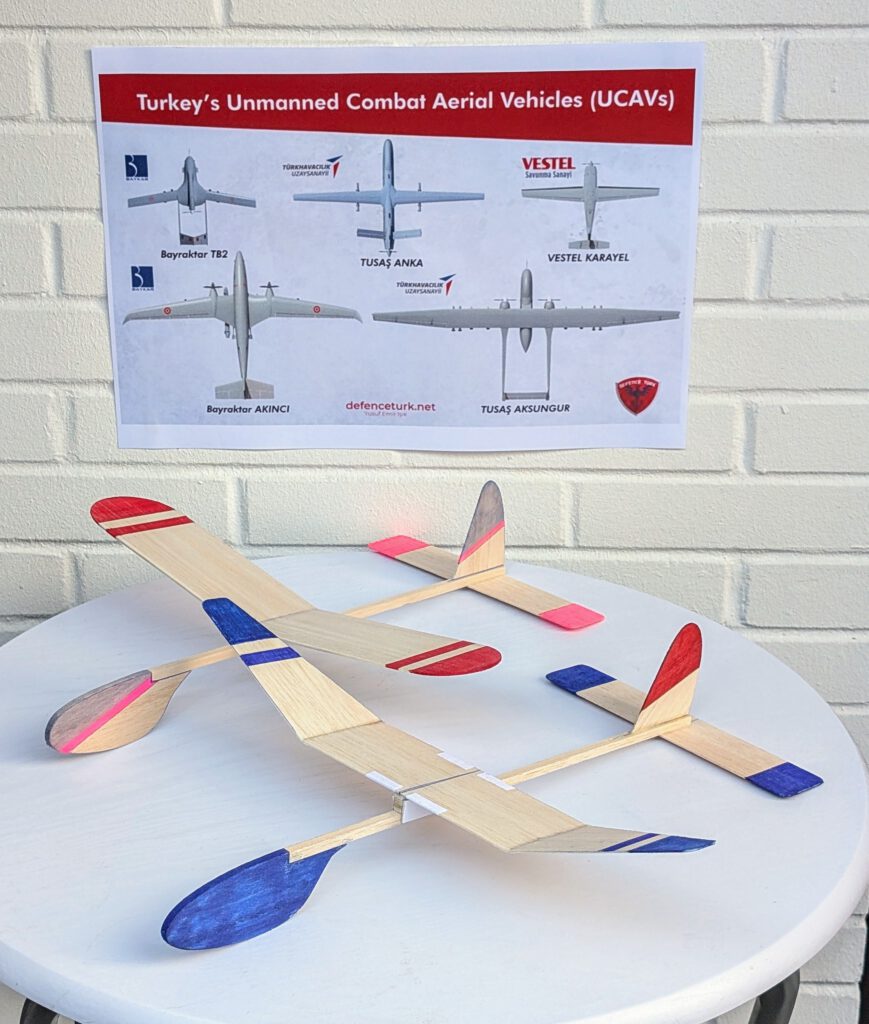
- Choice between interchangeable parts
- Rod-like balsa fuselage
- Two horizontal stabs to select
- Five optional nose sections
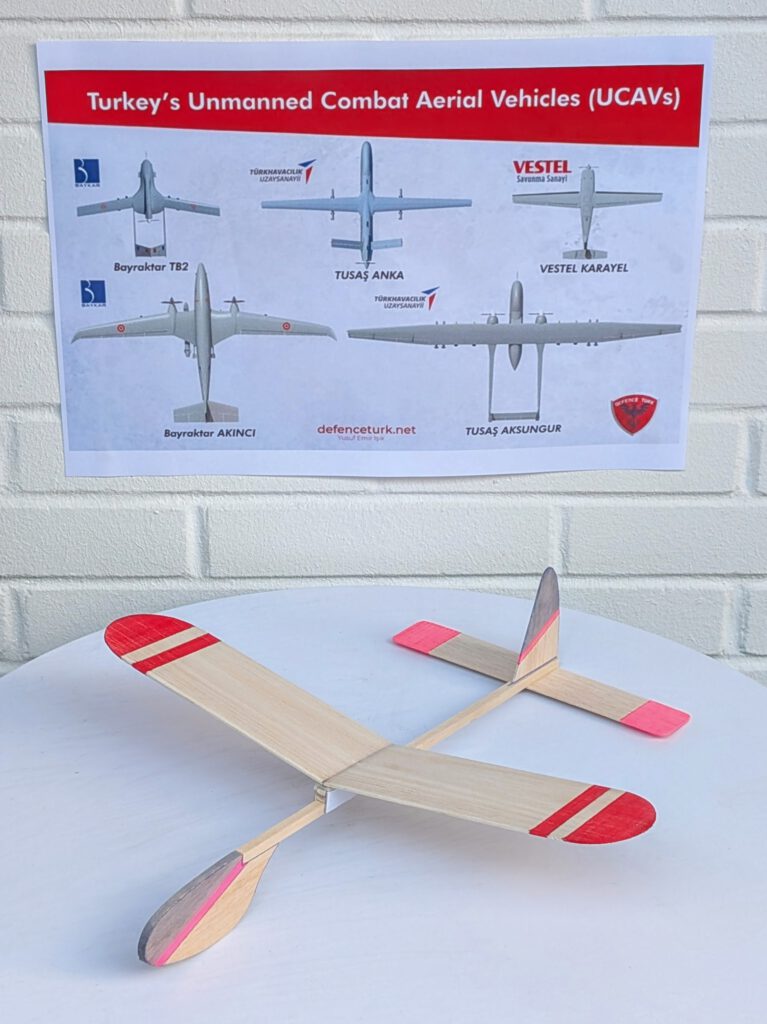
- Five optional wing planforms
- Wing seat movable forward/backward
- One household rubber ring holds wing on fuselage
- Four fins to select

Building the sheet balsa chuck gliders:
Materials:
Fuselage: B stick 6 x 6 x 335 mm; wings: B 1; wing seat parts: B strips 5 x 12 x 65 mm, B 1 x 12 x 65, B or pine B 3 x 6 x 65, B 5 x 5 x 3, copy-paper 65 x 12, ; fins: B 1; horizontal stab: 1; linen/cotton band width ½ in; ballast: piece of steel or lead.
Assembly:
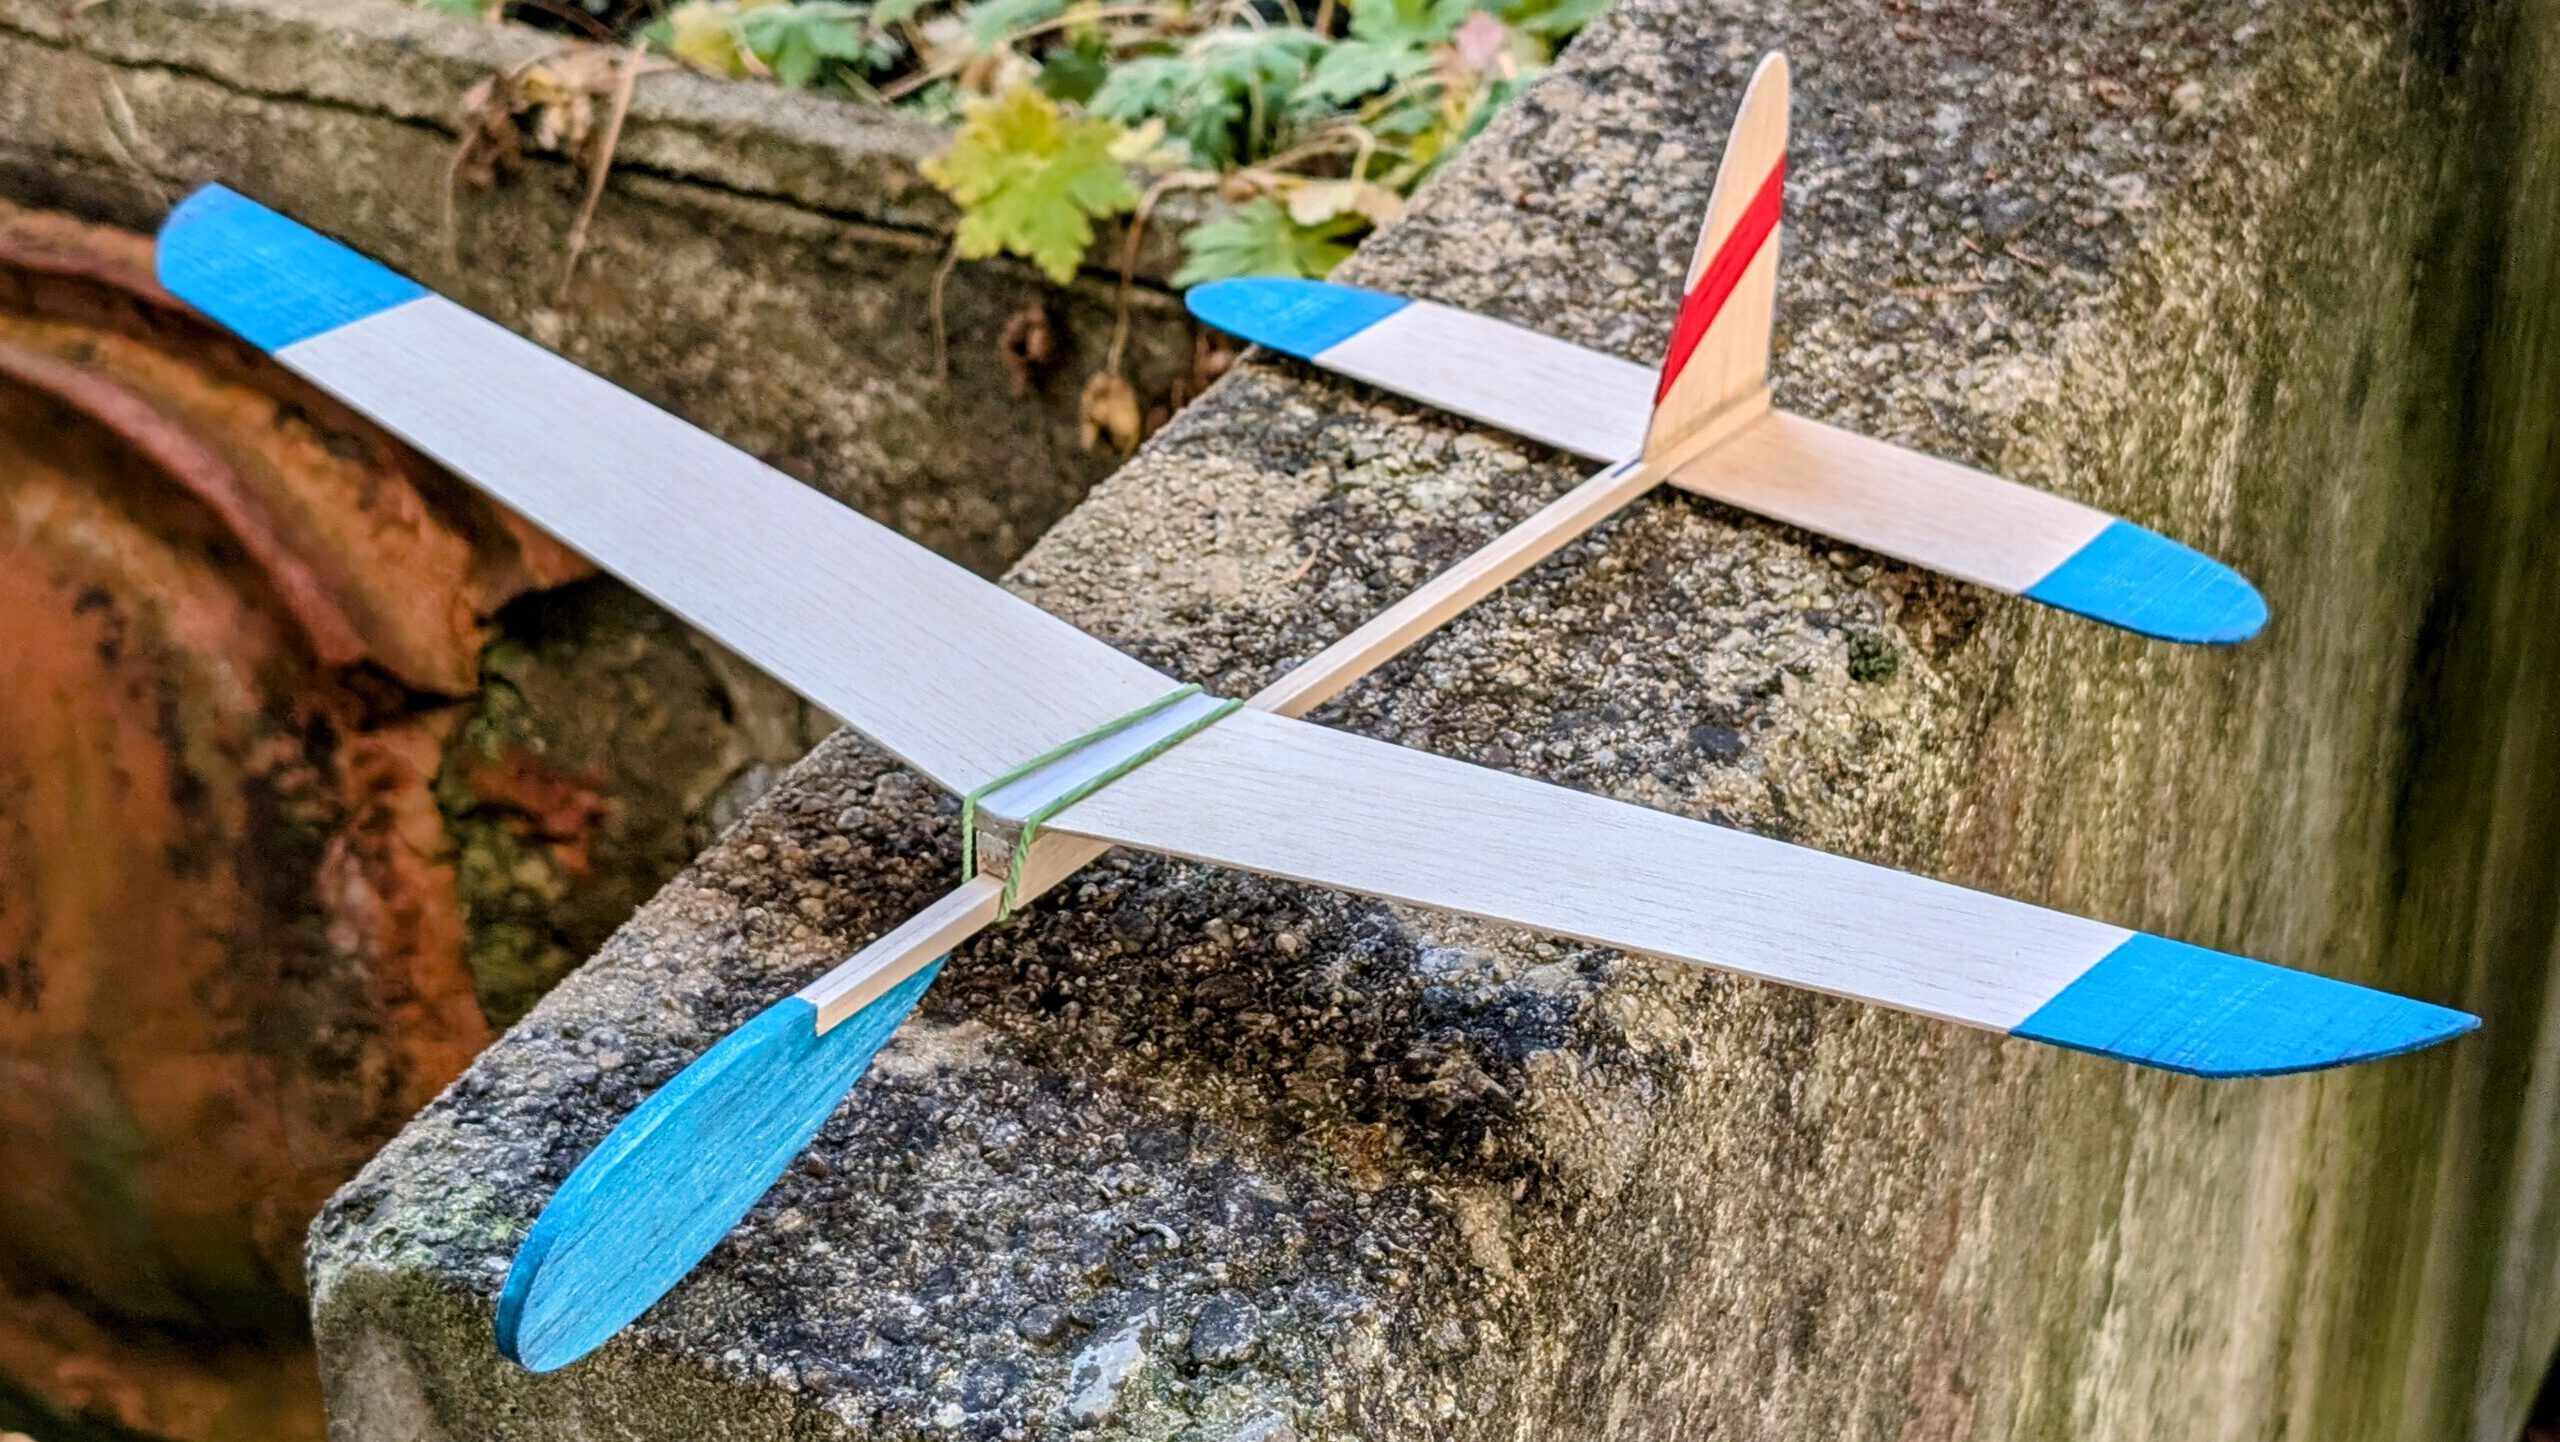
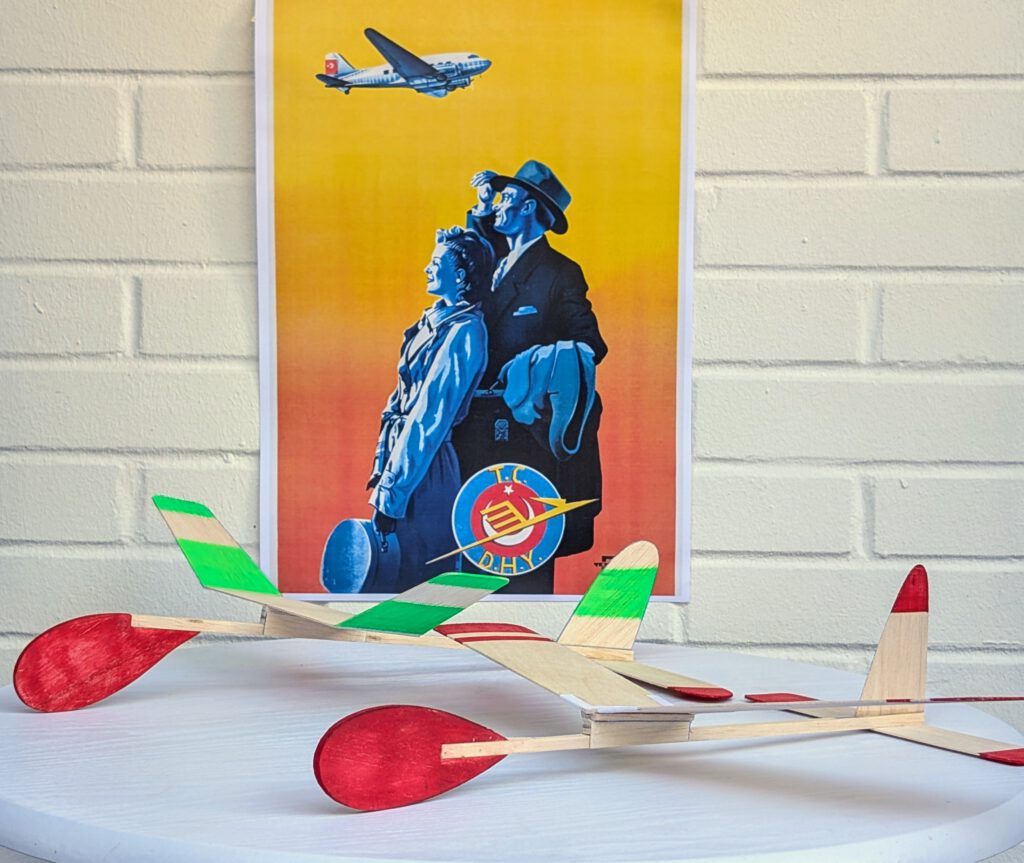
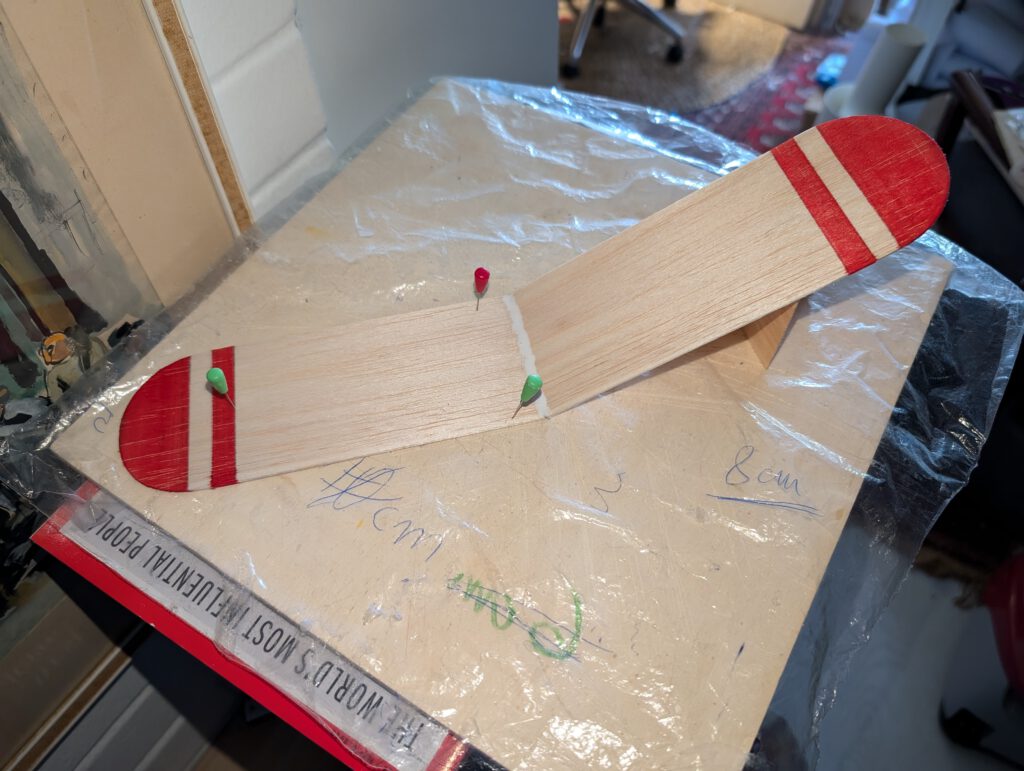
Cut out balsa parts according to plan. Sand meticulously. Make coloring now, if wished (photo).
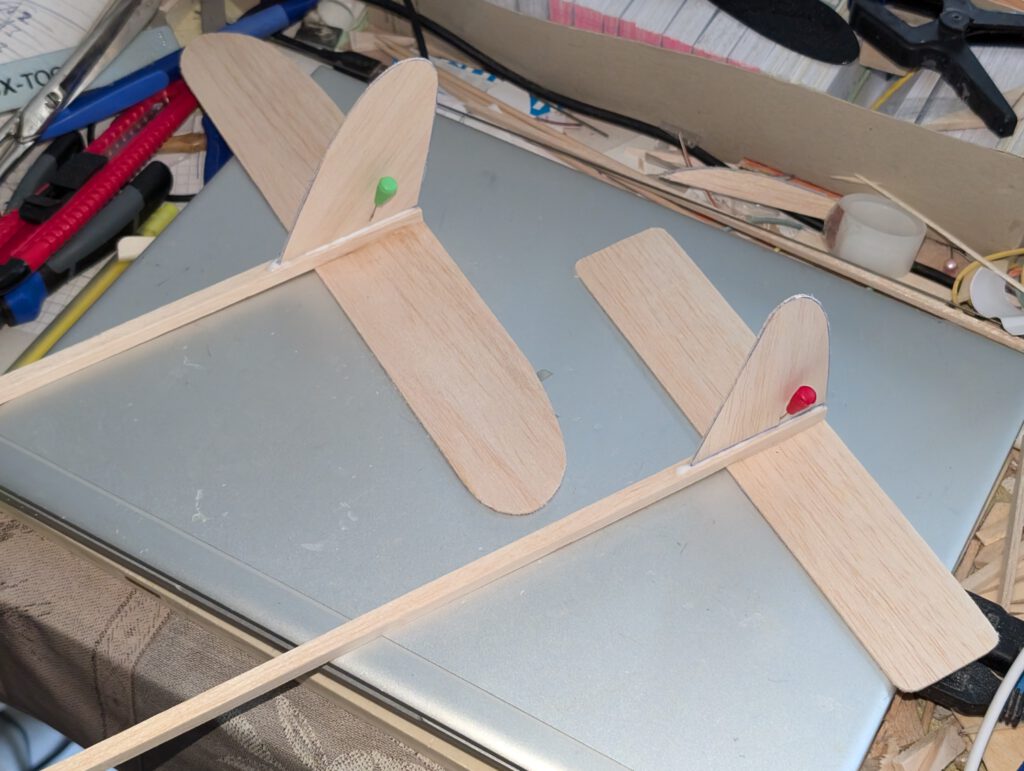
Fuselage and empennage:
Cement horizontal stab under one end of fuselage stick and let dry. Cement nose part on other end of fuselage. Let dry. Cement fin above horizontal stab on fuselage (photos). At each step watch symmetry.
Wings:
Three wings are made of two wing halves (A), two wings are made of a center section und two outer sections (B).
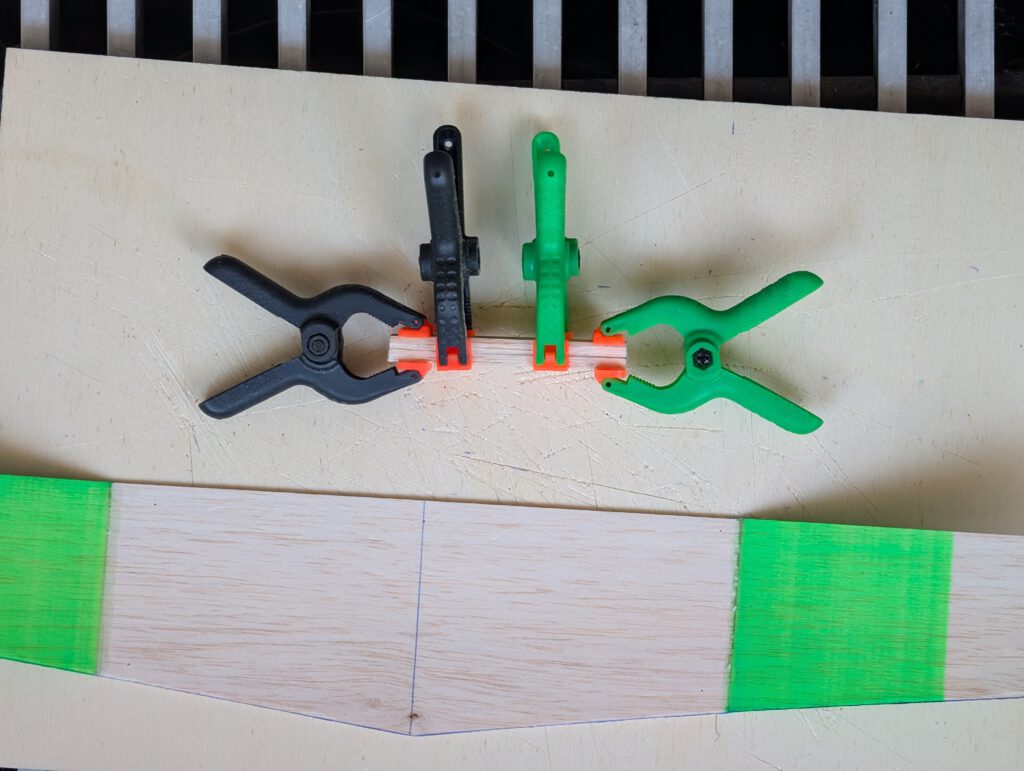
- Fix one wing half on building board using needles. Bring other half in position observing given wing dihedral and cement both halves. Upper joining area may be covered with linen band. Let dry. Make vee-shaped wing bed (5 x 12 x 65) as shown on detail sketch and cement to wing. Centrally cement wing seat (3 x 6 x 65) on bottom of wing bed. Cement copy paper on side parts (1 x 12 x 65). When dry cement this part as shown on plan. The small part (5 x 5 x 3) which enables the necessary angle of attack must be cemented under front of wing seat. When cement is dry connect wing with fuselage using a rubber ring.
- Fix wing center section with needles on building board. Cement one outer section to center section thereby observing necessary wing dihedral. Let dry. Repeat step with other outer section and let dry. A wing bed is here not necessary. So cement centrally two wing seat parts (3 x 6 x 65), one on the other, to wing underside. Cement copy paper on side parts (1 x 12 x 65). When dry cement this part as shown on plan. The small part (5 x 5 x 3) which enables the necessary angle of attack must be cemented under front of wing seat. When cement is dry connect wing with fuselage using a rubber ring.
Final hint.
To find out correct center of gravity wing can be moved forward or backward on fuselage. Alternatively a small ballast weight may be installed in a hollowed-out section of the nose parts. Have fun experimenting with different CG positions.
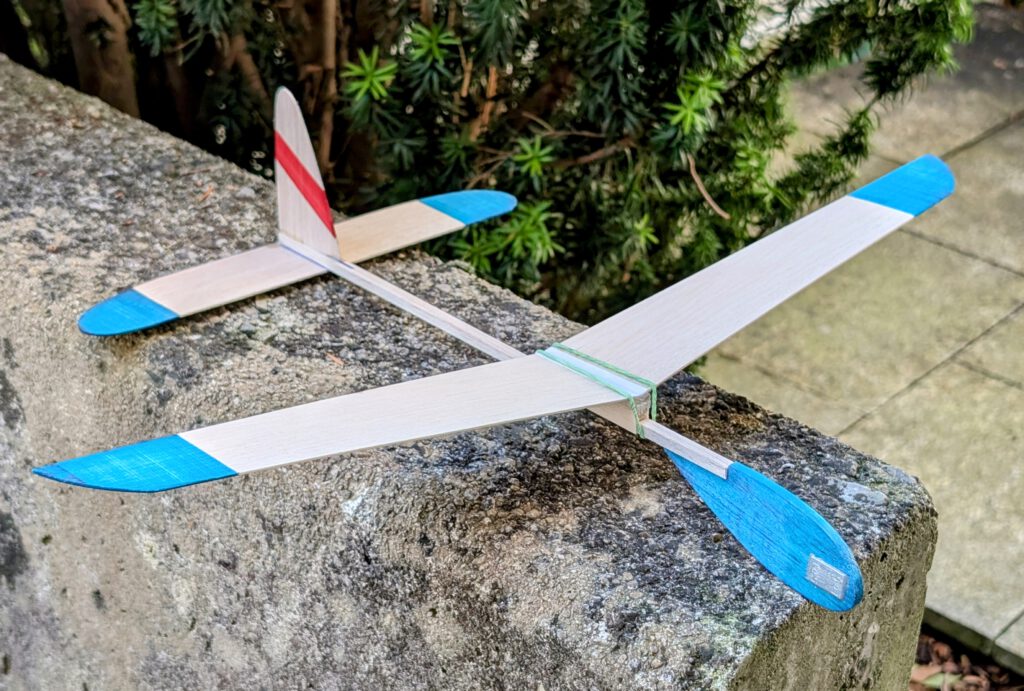
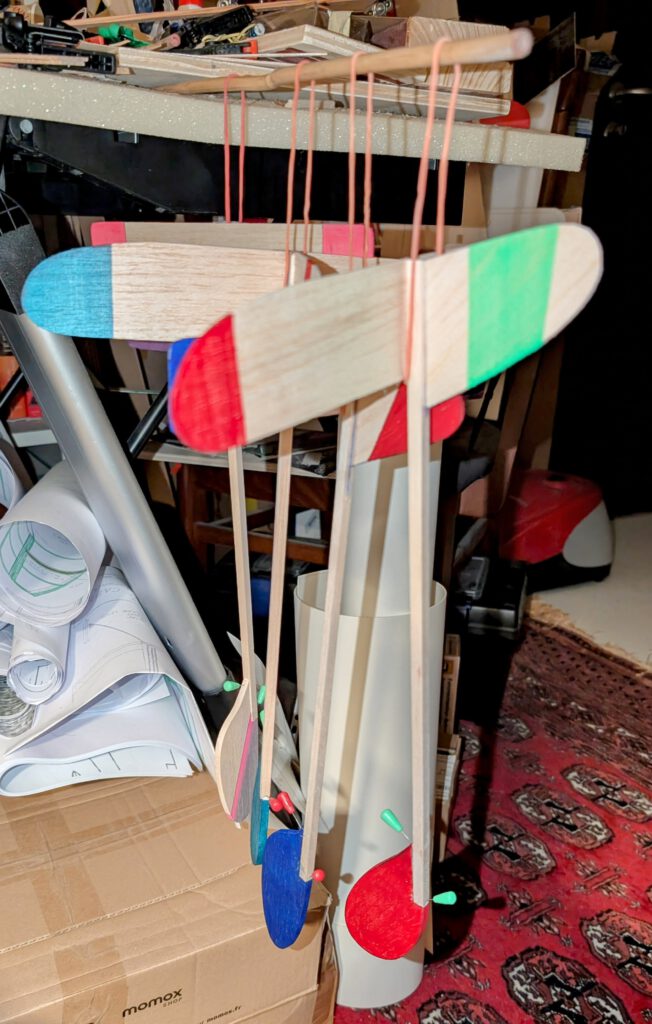
Note: although some of the photos show my HLGs without rubber rings it is recommended to use them.
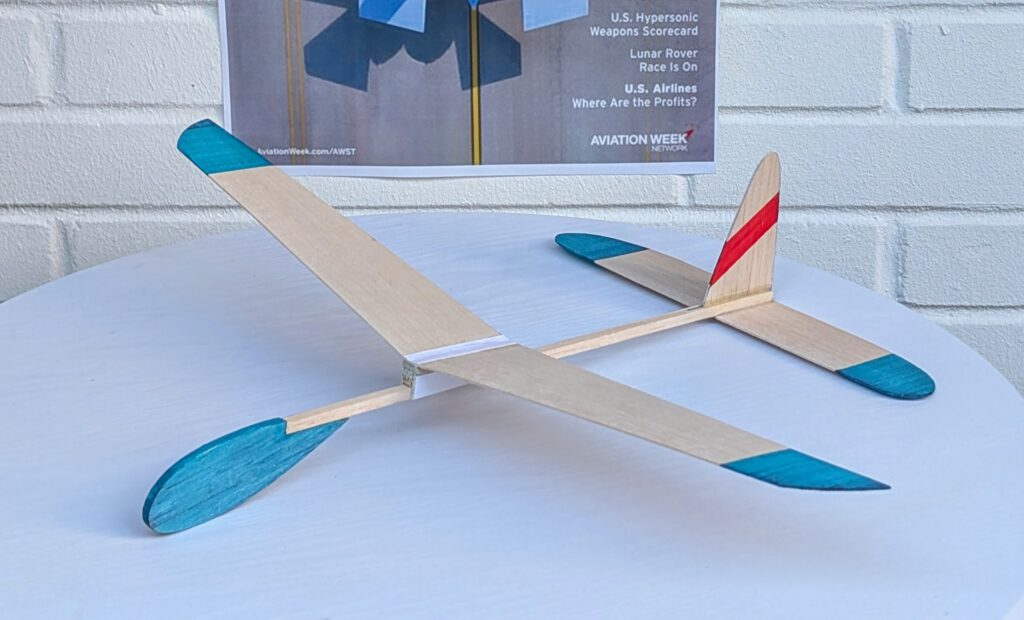
All five of the here depicted HLGs showed exceptionally well flying characteristics.


Hegaldi ona! (Nijadenn vat!)

Leave a Reply