
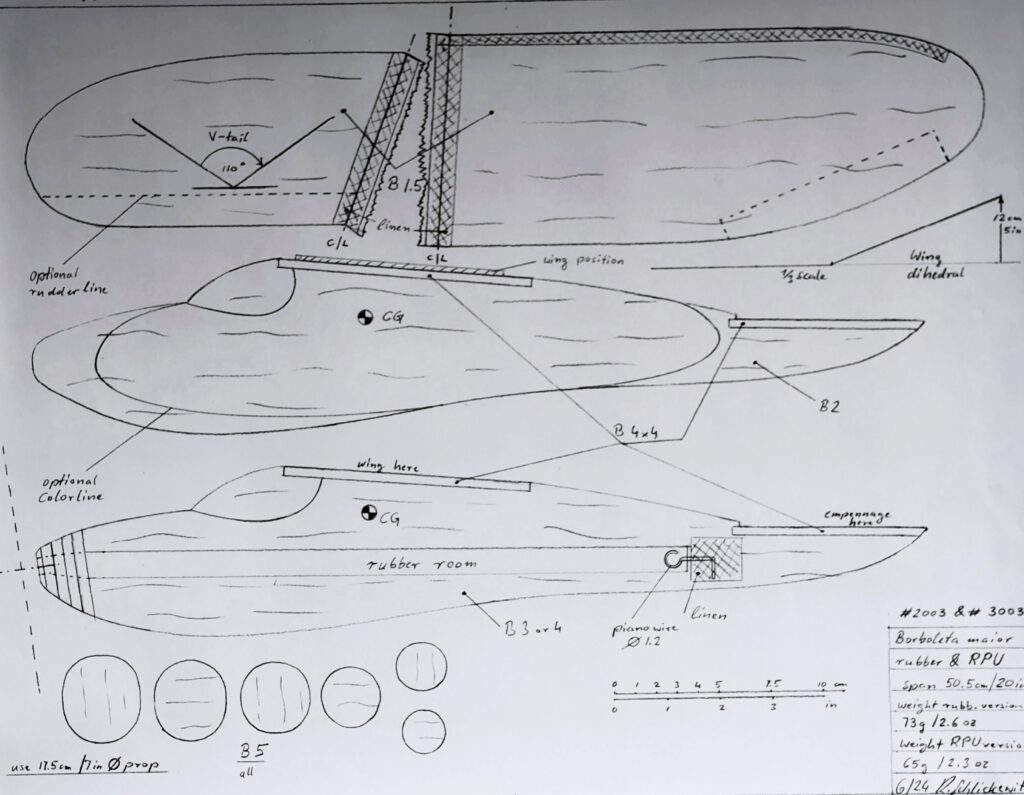
Span 50.5 cm / 20 in
Weight 73 g / 2.6 oz
The concept:
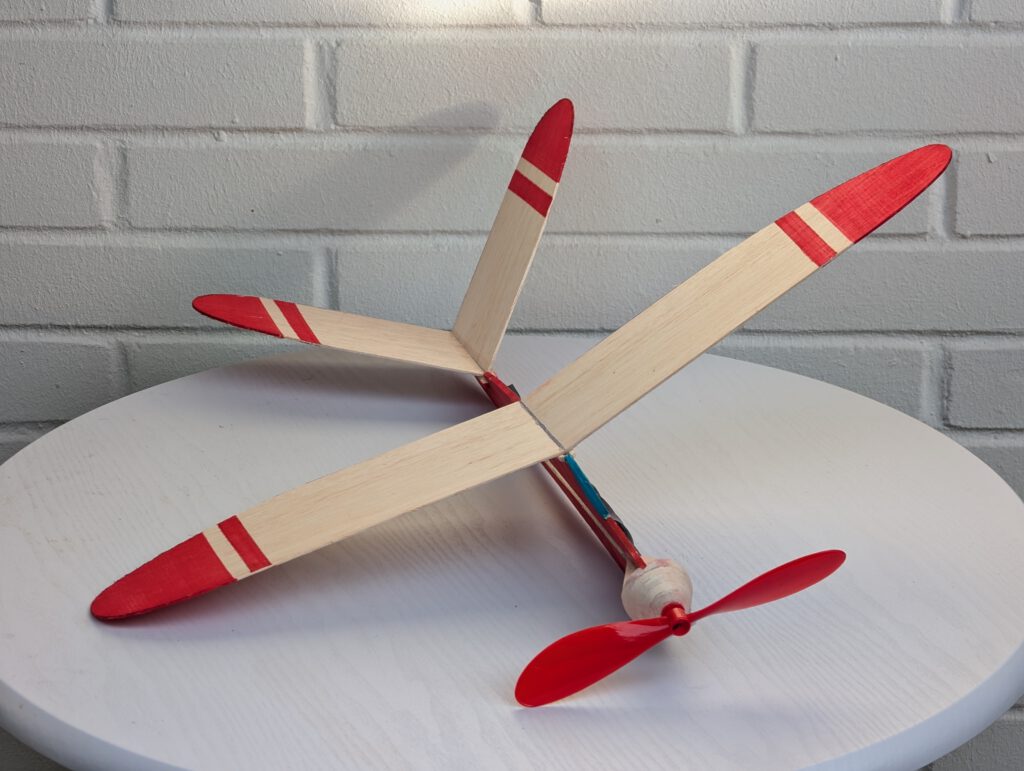
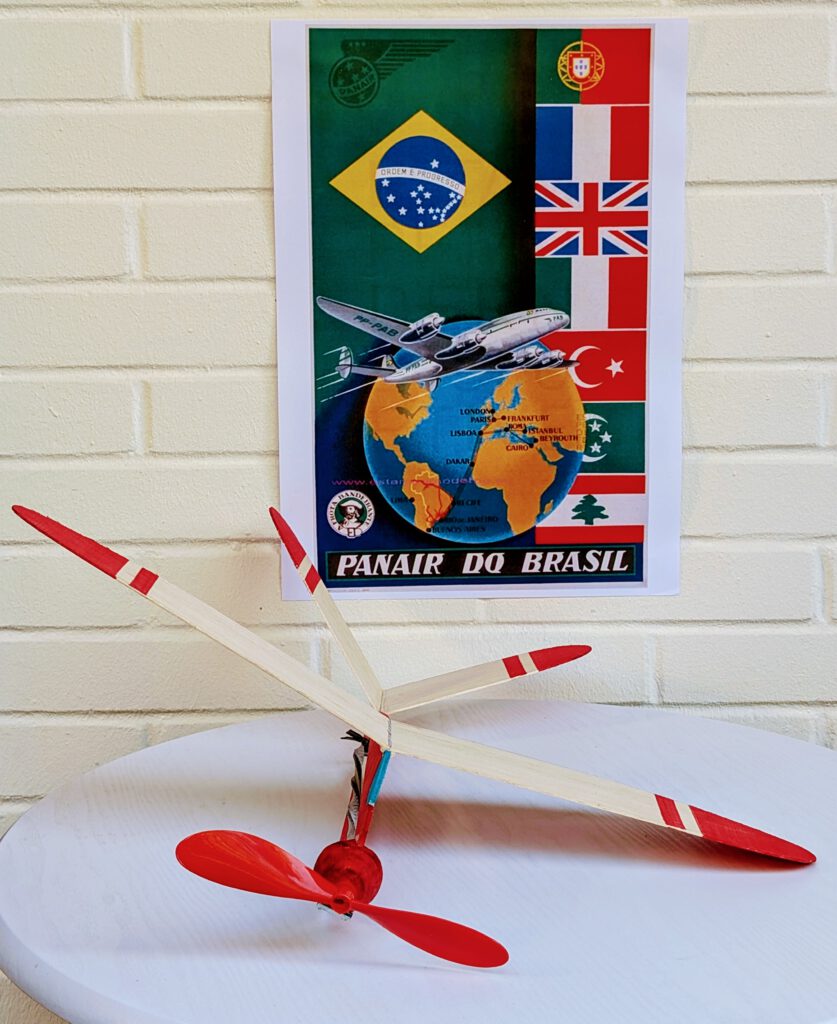
- high-wing monoplane
- V-tail
- easy to build
- few parts
- good flight characteristics
- two versions, one for rubber motor (here) the other for RPU 30
Name: As the combination of wing and empennage somewhat looks like a butterfly seen from above or below I thought Borboleta, the Brazilian equivalent to butterfly, could be an appropriate name. Maior means bigger.


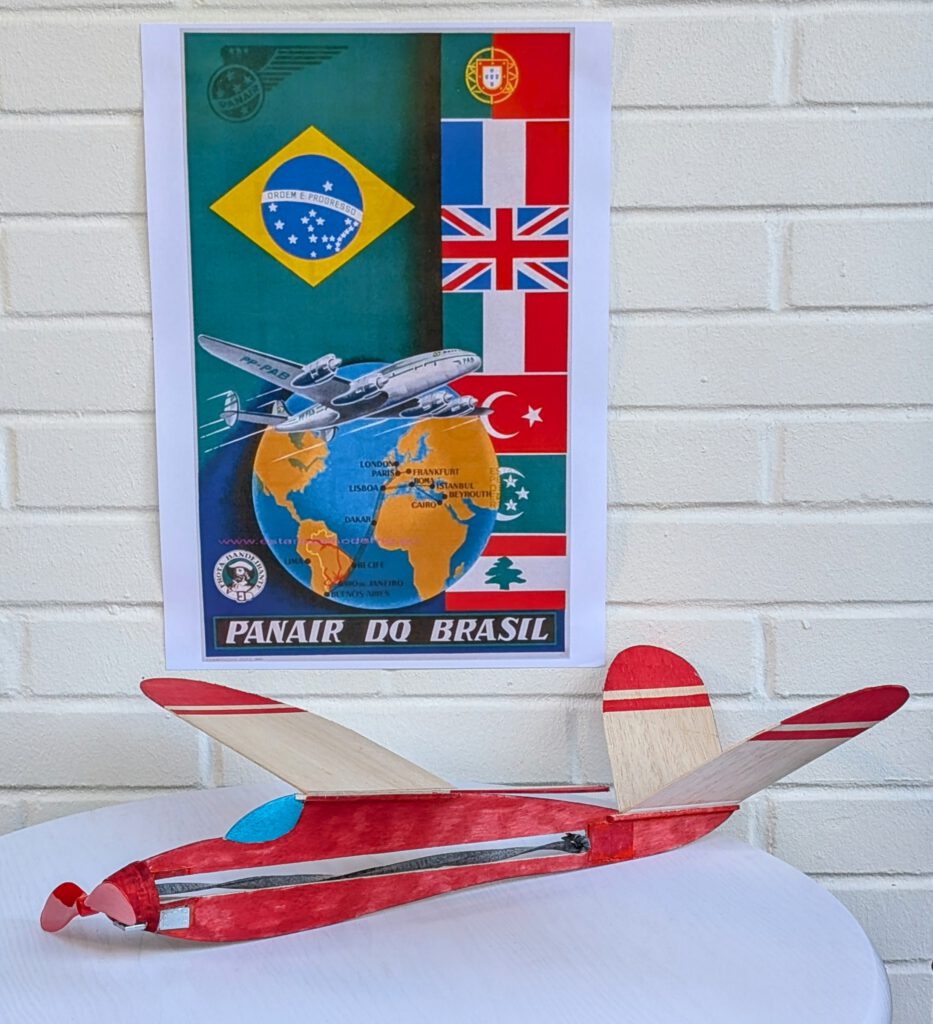
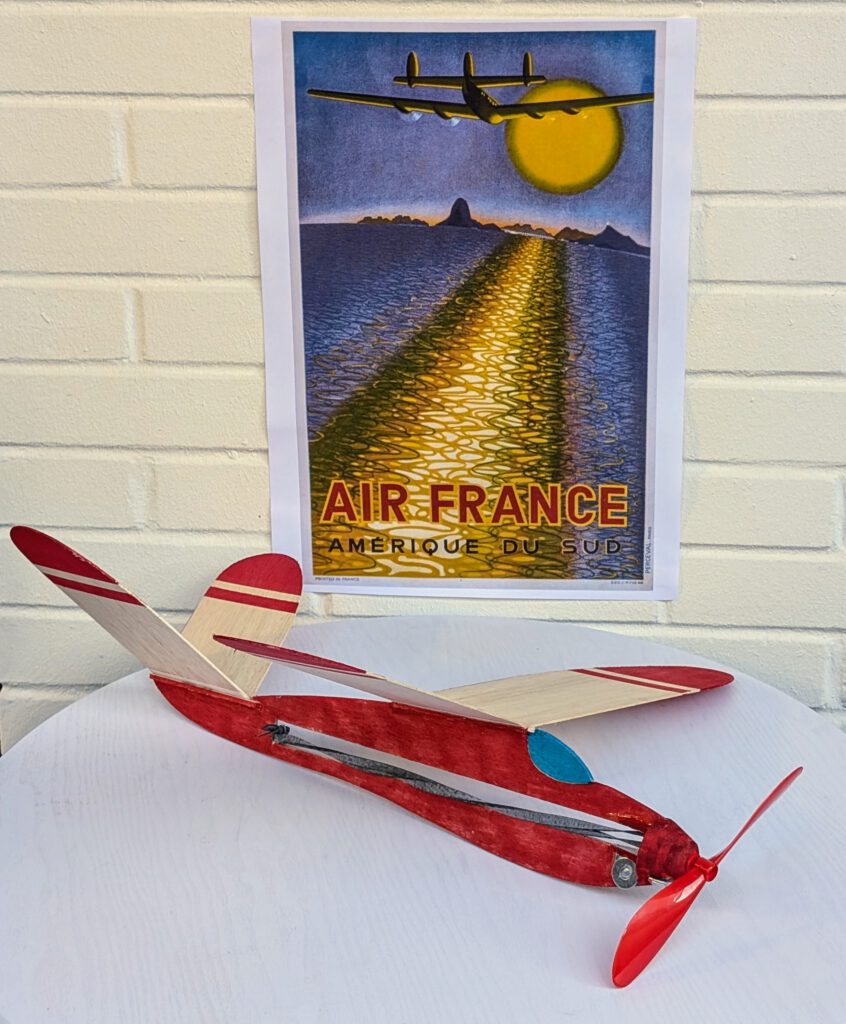
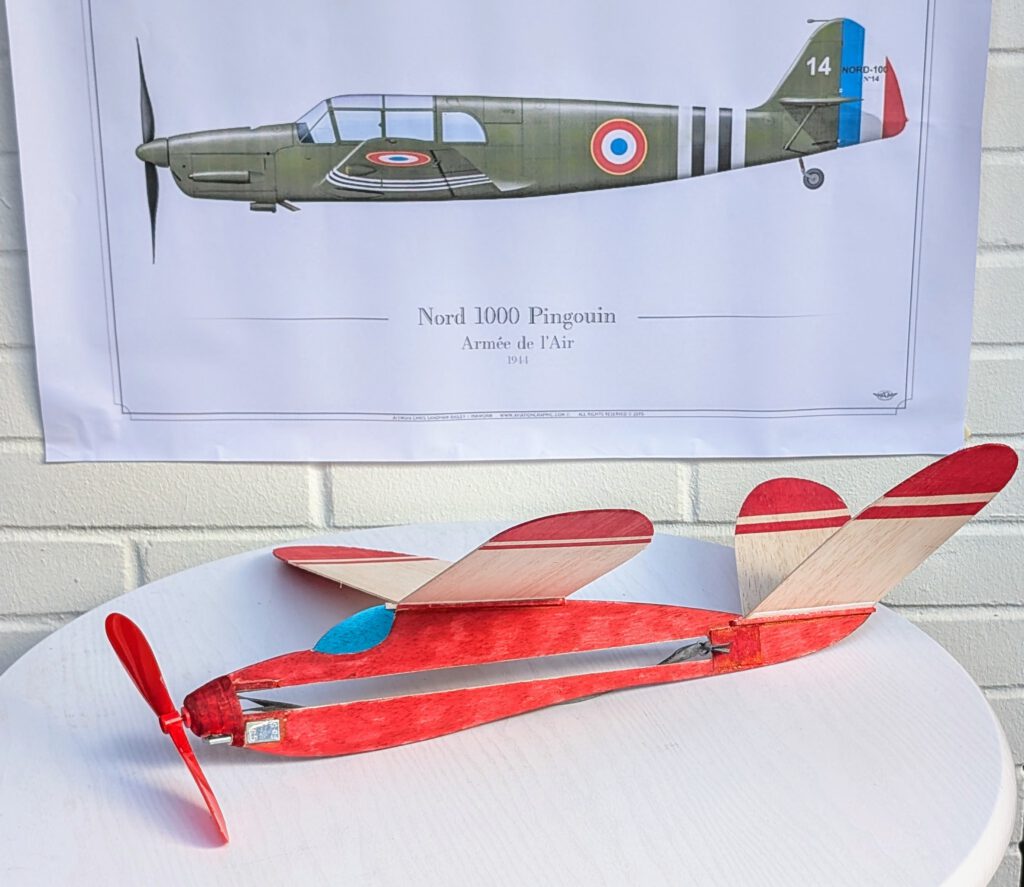

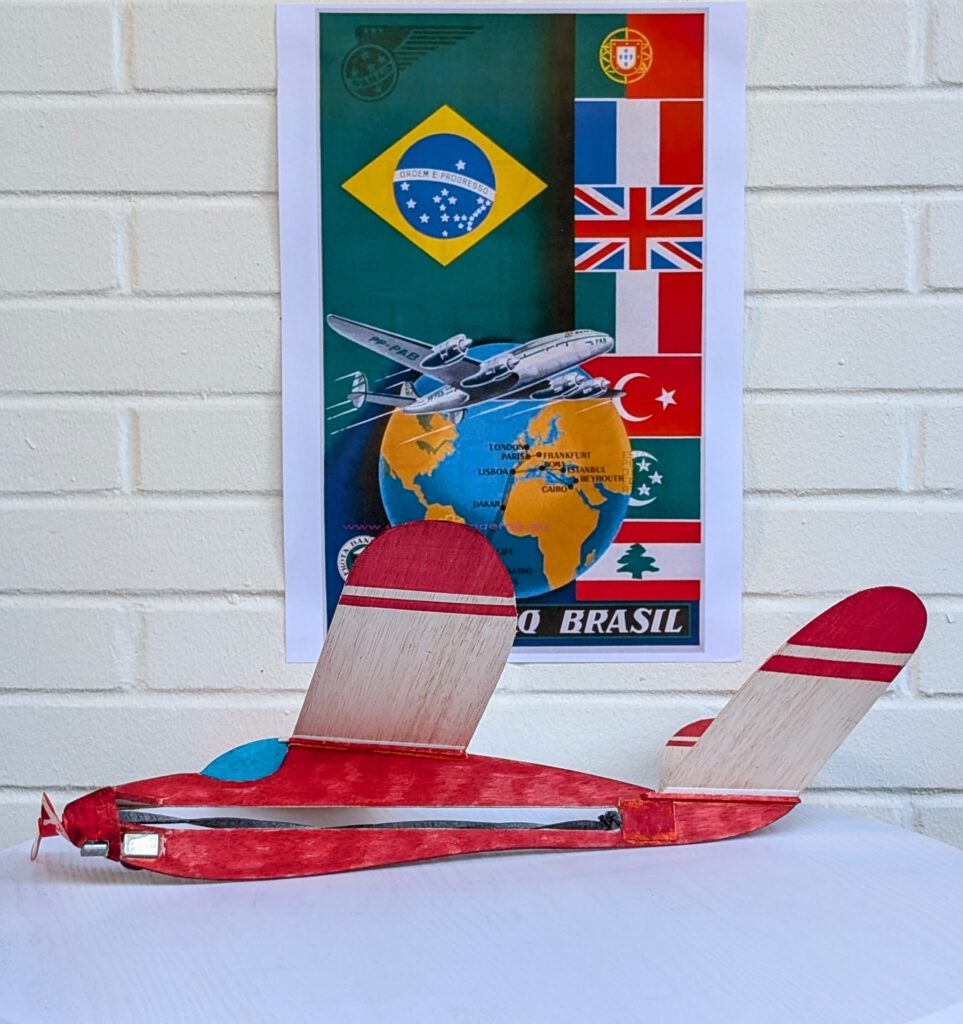
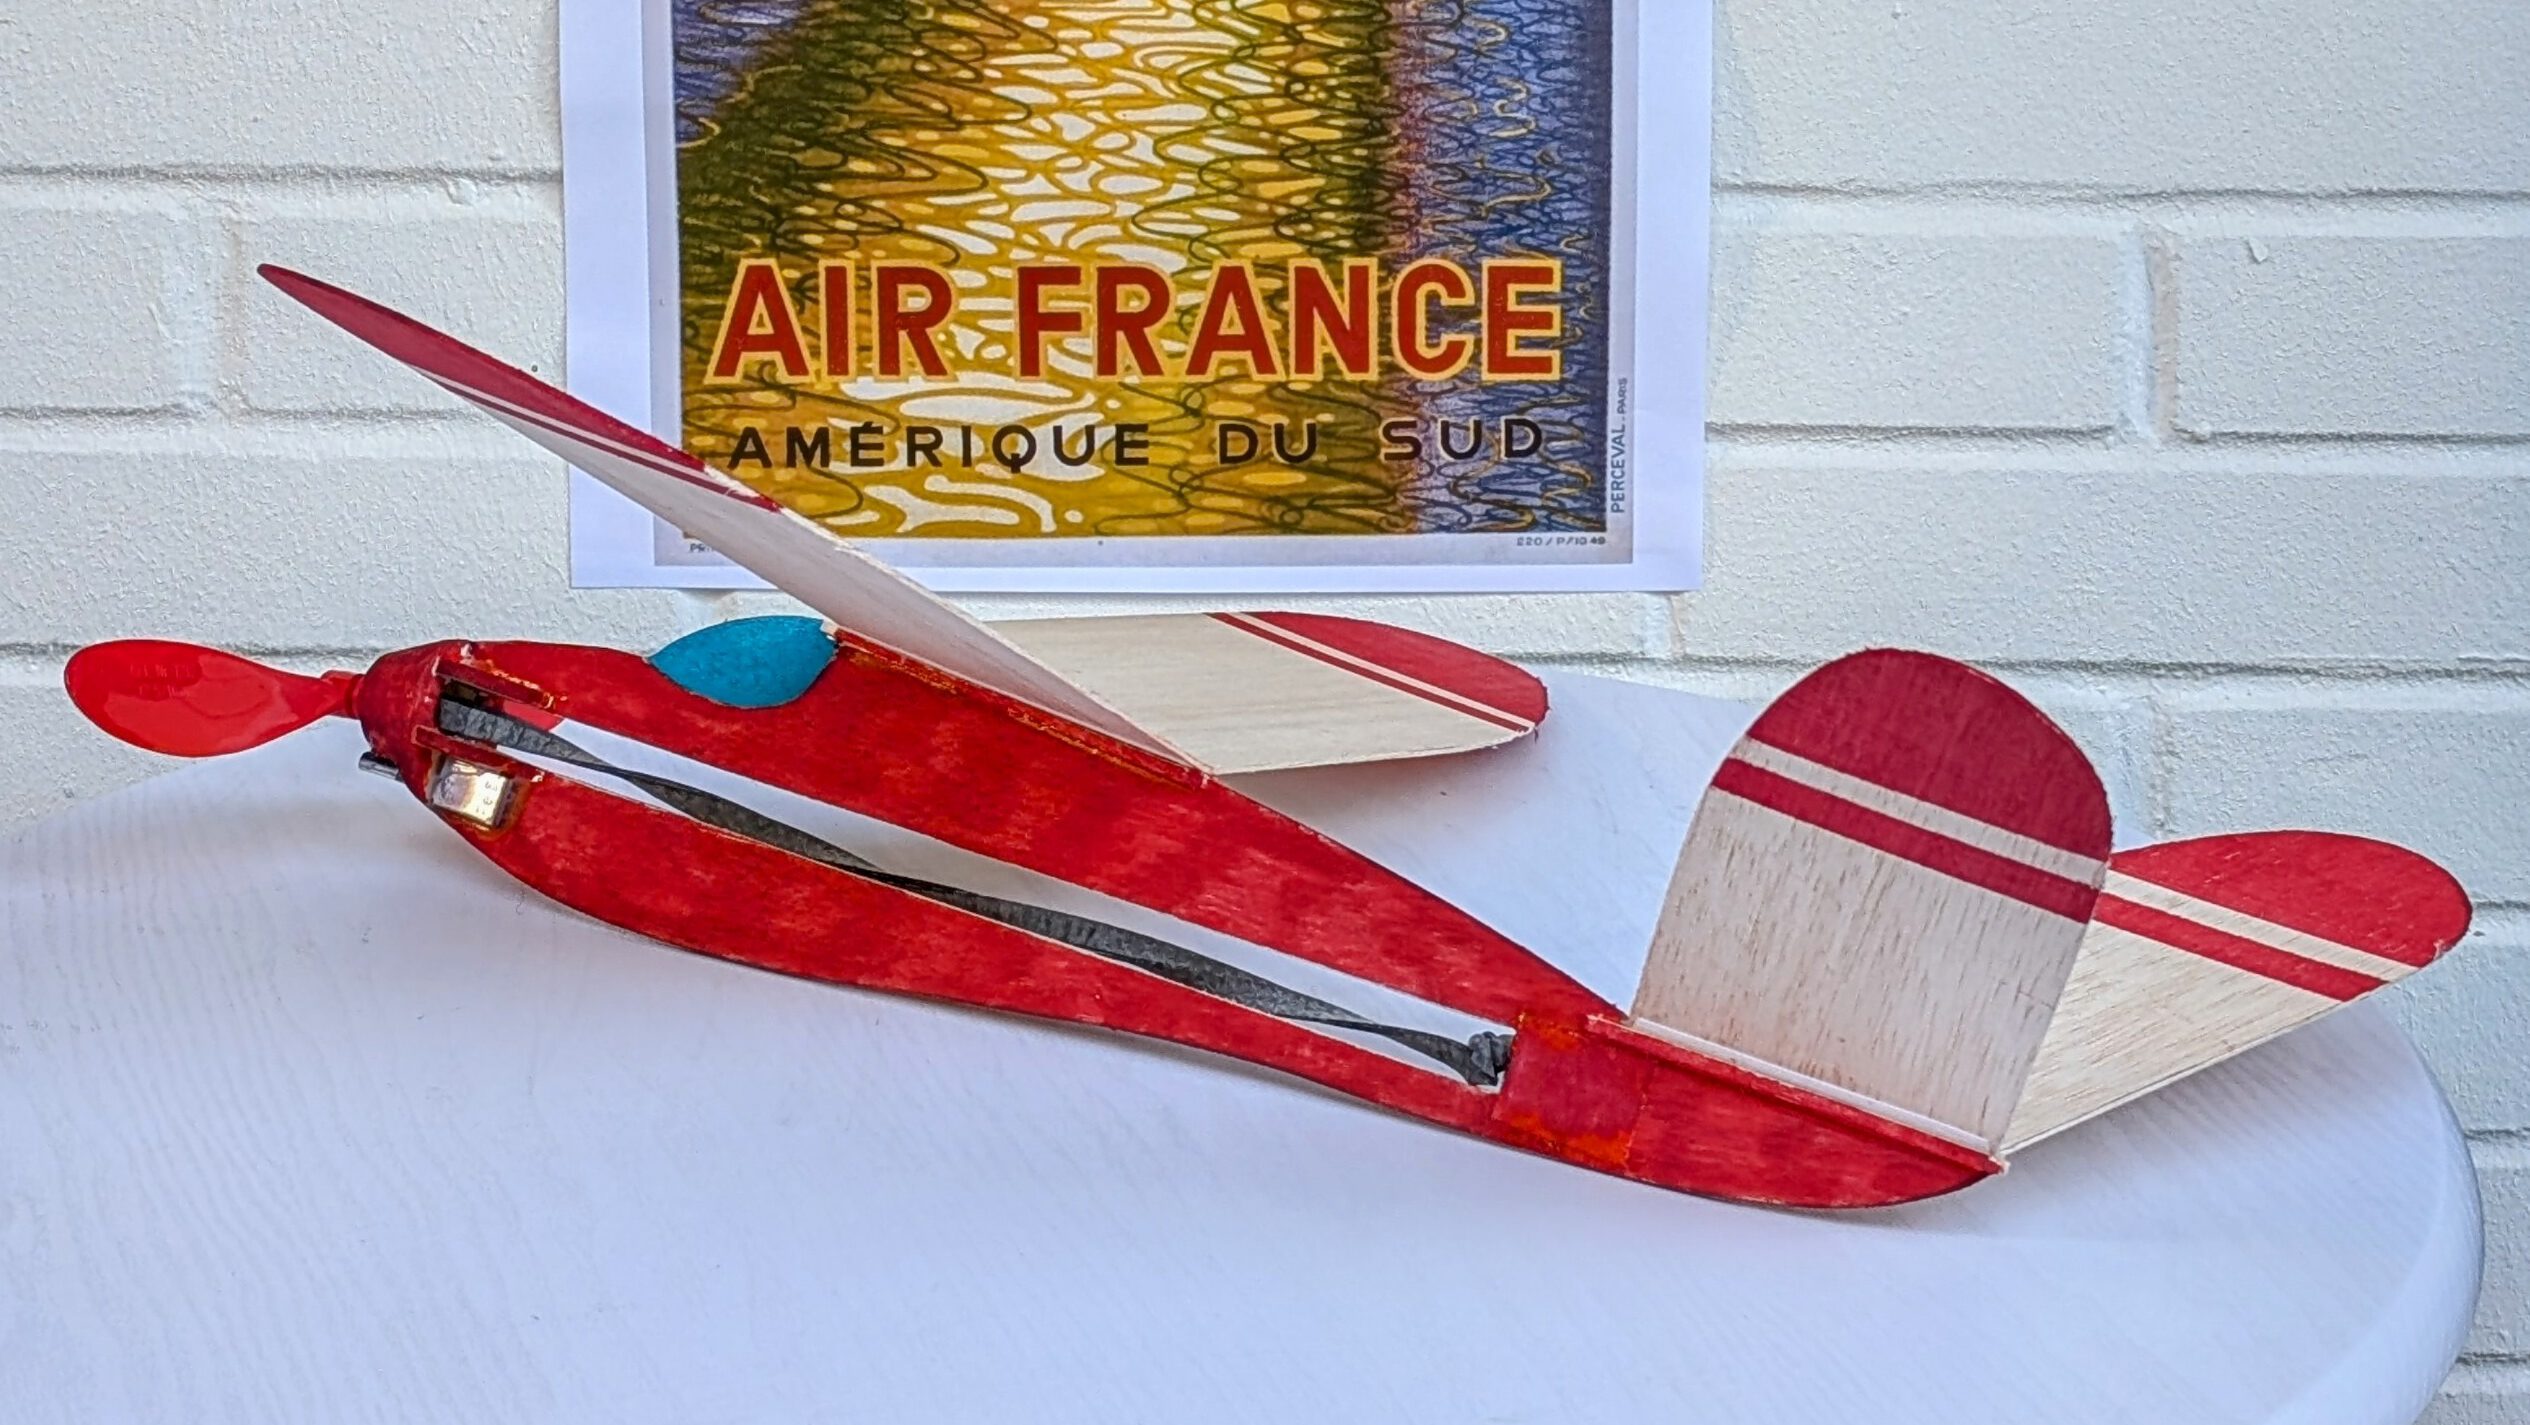
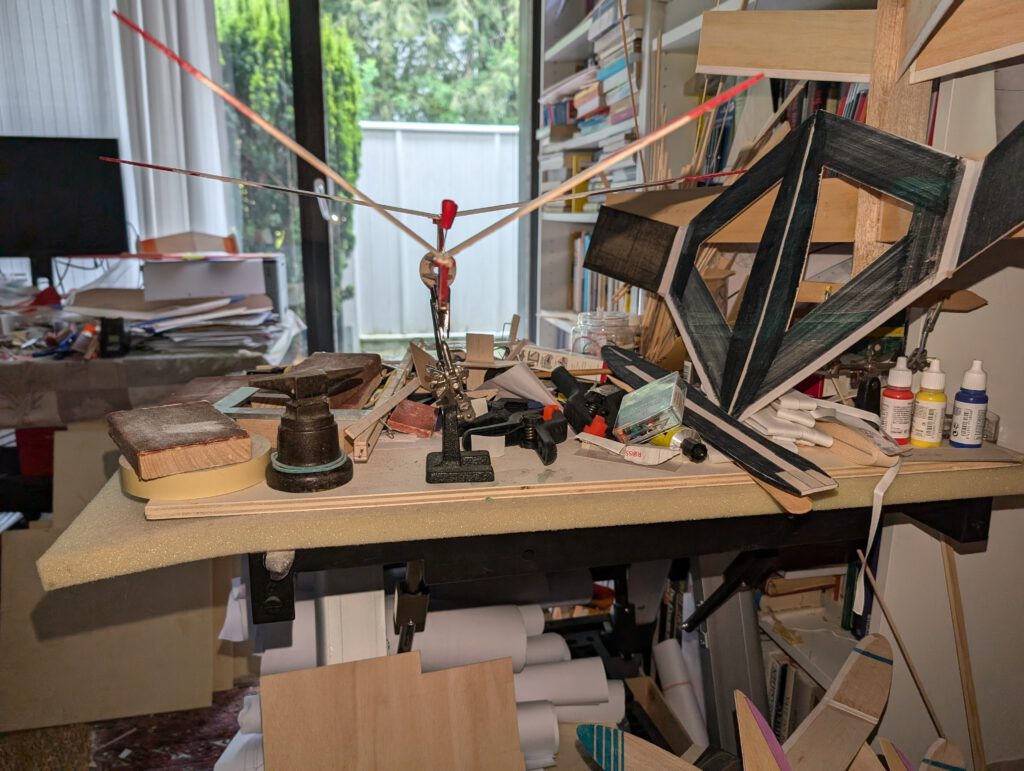
Building the rubber powered balsa profile-fuselage model Borboleta maior.
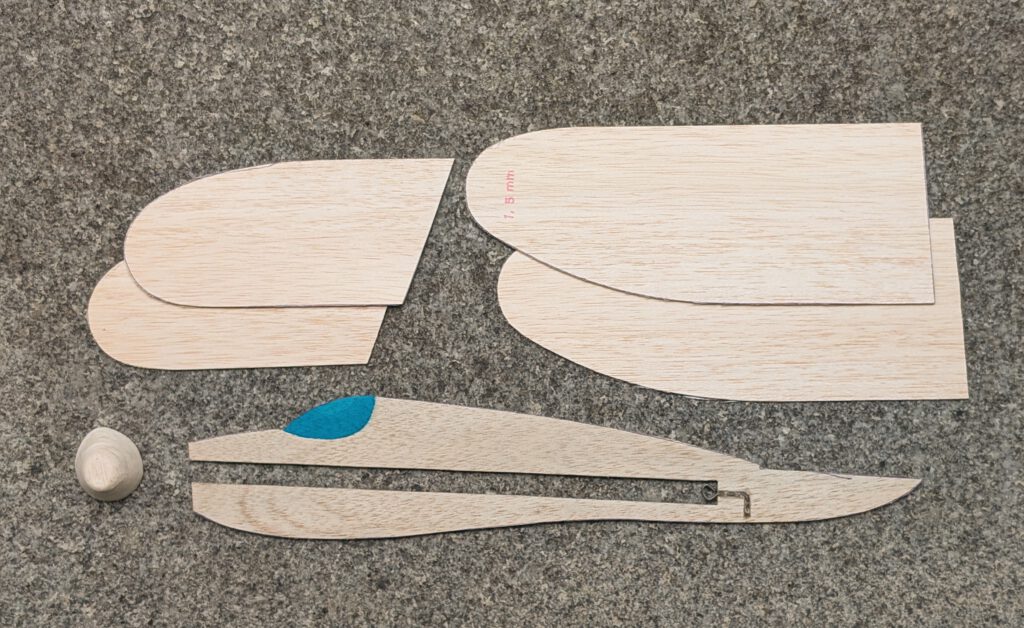
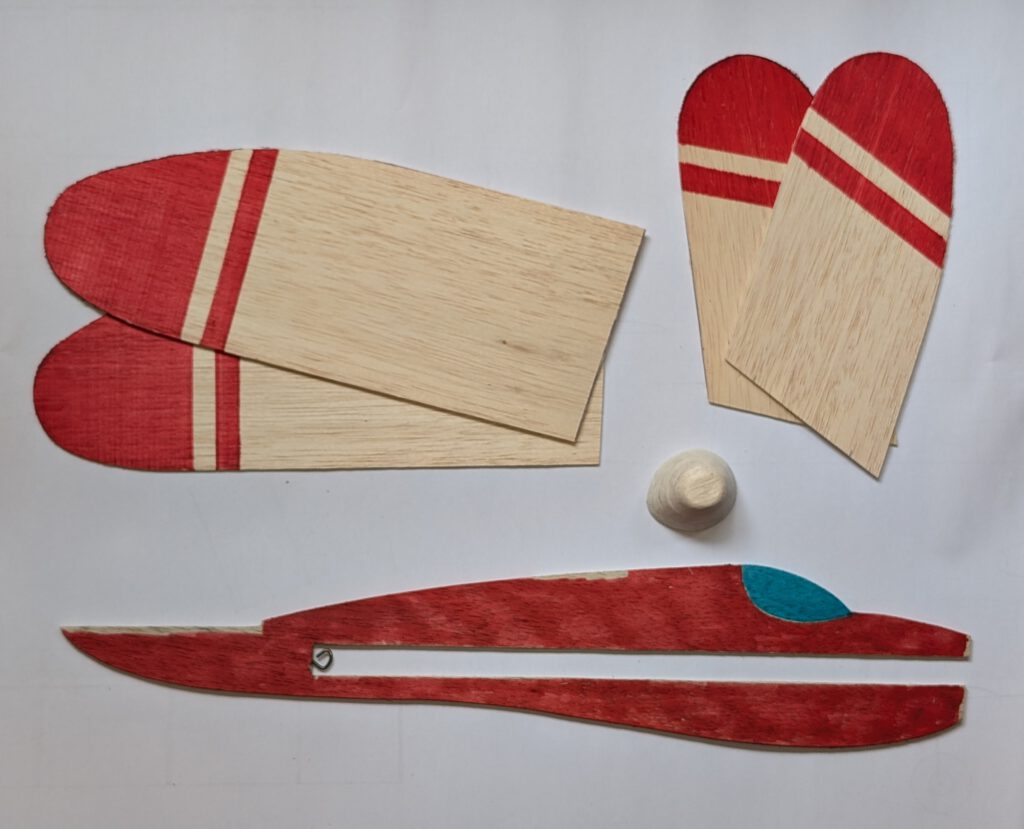
Materials:
Fuselage: B 3 or 4; round nose parts: B 5; triangle-shaped nose parts: B 3 or 4 or 5; rubber hook: piano wire 1.2 or 1.5 mm diameter; wings: B 1.5 or 2; wing supports: B strips 3 x 3 or 5 x 5; V-tail: B 1; V-tail supports: B 3 x 3; linen band width 10 – 12 mm / ½ in; ballast: scrap metal or lead; one commercial plastic airscrew 6 in diameter or more; greyish-black rubber.
Assembly:
Cut out balsa parts in accordance to plan. Sand well. Transfer outlines of cabin etc. from paper to wood with pen.
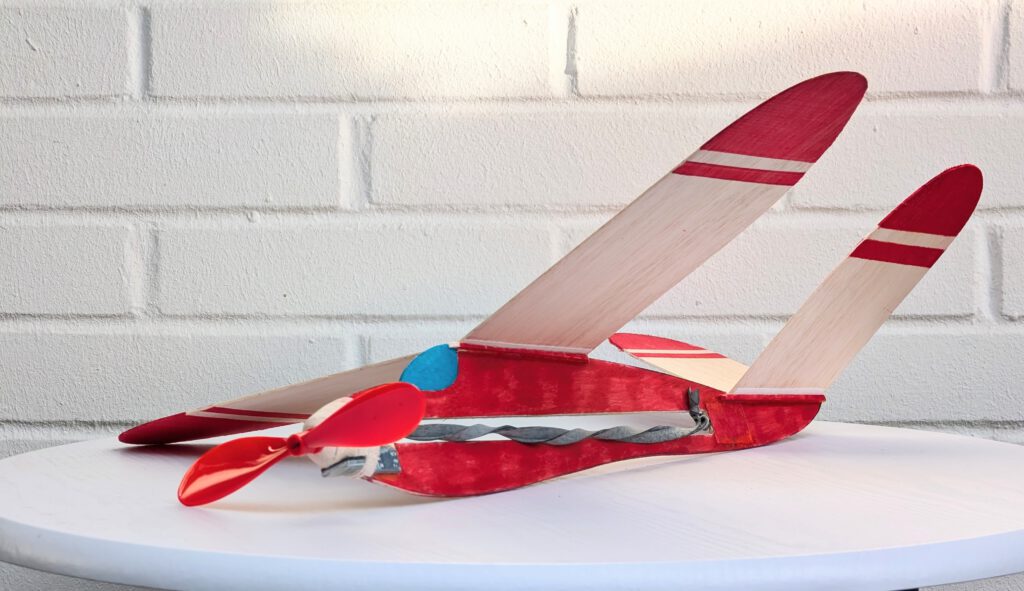
Wing:
Wing consists of a right and a left wing half. Reinforce both wing half leading edges with linen band or with a B 1 strip on its underside when you chose soft balsa for wing. Let dry. Fix one wing half on building board with needles. Underlay the other wing half’s tip in accordance to required dihedral. Join both halves and cover wing center area with linen band. Let dry. If wing has the tendency to rest only on one side then it is too heavy on this side. To compensate imbalance disperse an amount of white wood glue on the opposite wing tip’s underside. Do it if necessary twice until balance is obtained.
Fuselage:
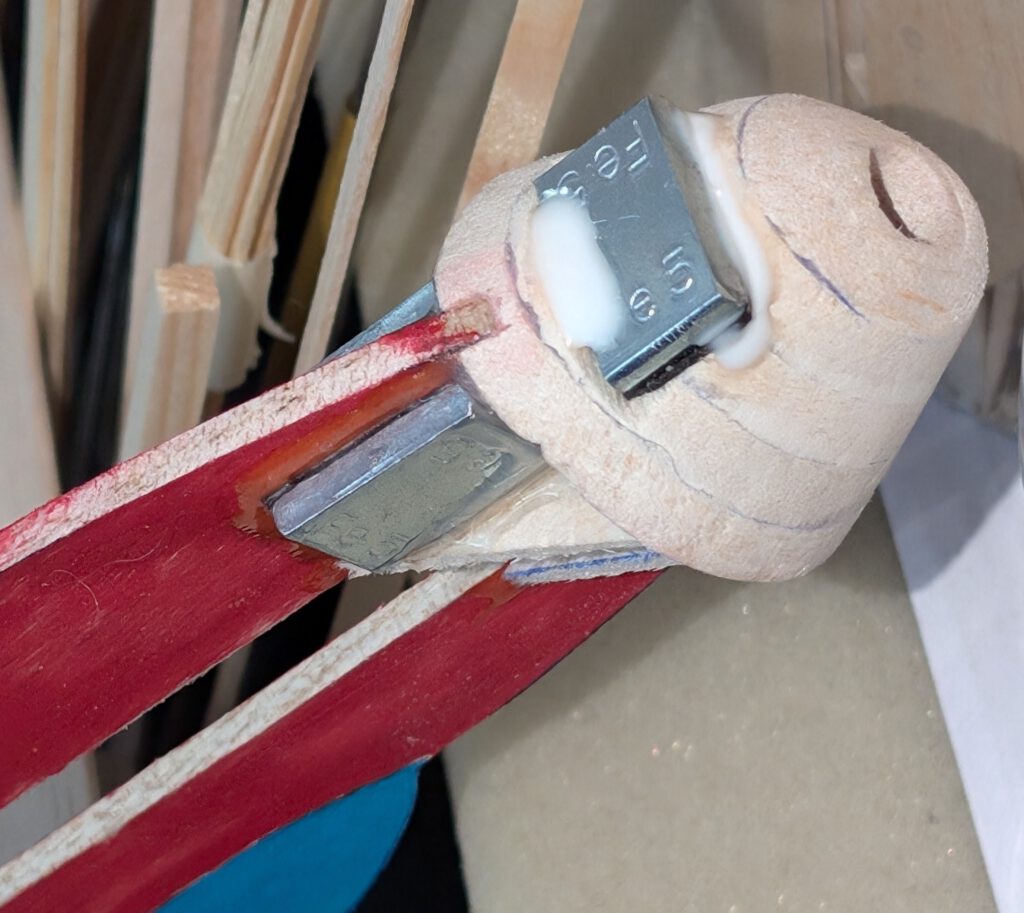
Bend as shown on plan piano wire into given hook shape. Carve out with knife and round file seat for rubber hook on left or right side of fuselage. Cement hook in place and cover hook area generously with glue and linen band. Let dry.
Cement B 5 nose parts one on the other as shown on plan and let dry. Sand well than treat this part with balsa putty. When dry sand again. May be this procedure has to be repeated. When the nose part is smooth you can start to carve out opening which holds prop-bearing. Start from behind and do it not in a hurry. A little electric drill machine can be useful.
Cement nose on fuselage referring to photos. When dry add nose support triangle-shaped parts.
V-tail:
Reinforce both stabilizer leading edges with linen band on their underside if the balsa of your choice is soft. Let dry. Fix one V-tail component on building board with needles. Use self-made template to get the other component into given angle and cement. Visual check symmetry from all sides. Let dry.
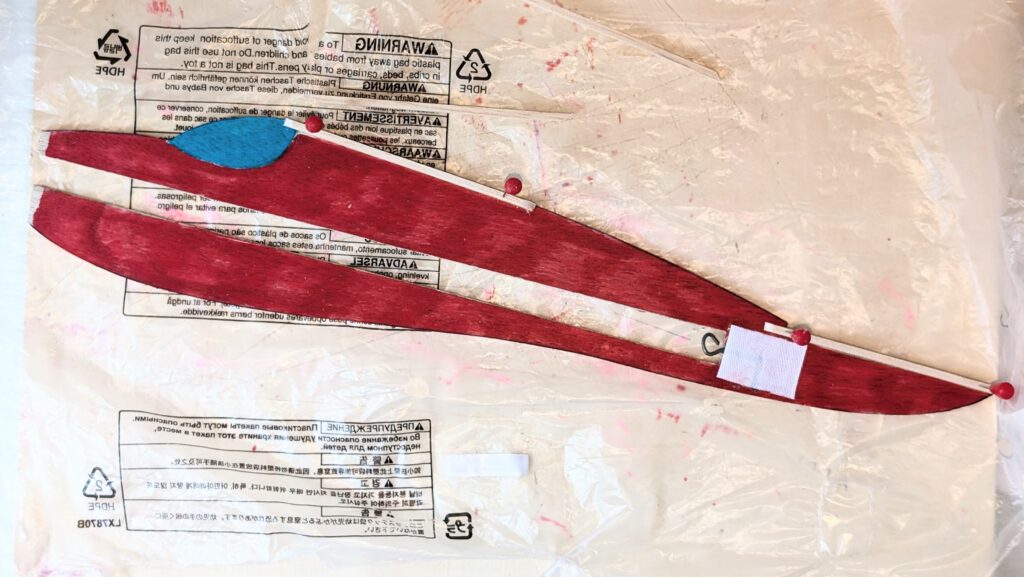
Final Assembly:
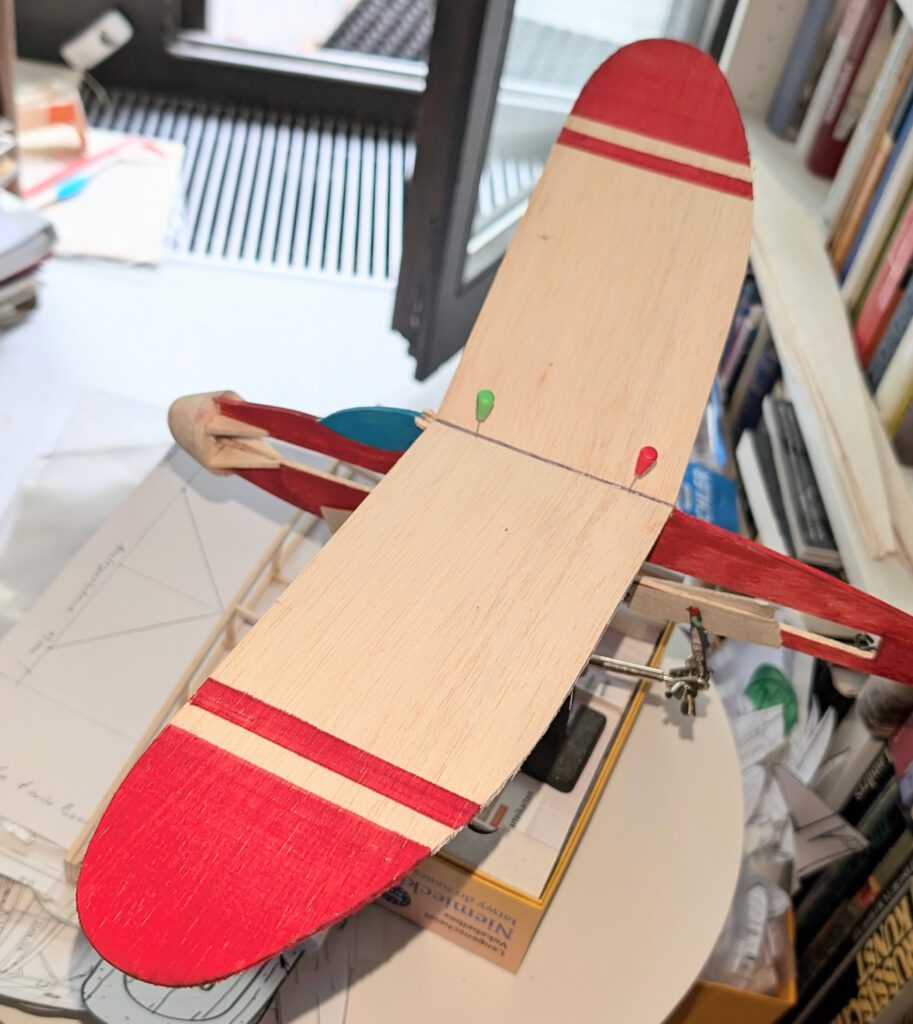
Put fuselage on a so called “third hand”. Cement wing on fuselage supports using needles to hold in place. Doublecheck visually symmetry. Let dry. This procedure is to be followed by attaching the V-tail onto the fuselage end in the same manner.
Use a piece of lead or scrap metal to balance model at given position.
Remember correct center of gravity (CG) is essential for successful flights.
Observation:
As you may have noticed my model is much too heavy for its size. I should have used lighter balsa wood throughout. Yet after exchanging the 6 in prop for a 7 in airscrew the overheavy Borboleta maior showed quiet convincing flight characteristics unexpectedly.
So do not use very hard balsa for the fuselage as I did and as for the empennage a softer balsa variant might also do better. Wing may be of medium density. Flight characteristics improved even more after I gave the wing a profile by cementing one rib under each half at a distance of 10.5 cm from center line.

Size bol başarılı uçuşlar diliyorum! (Prajem vel’a príjemných letov!)
Leave a Reply