
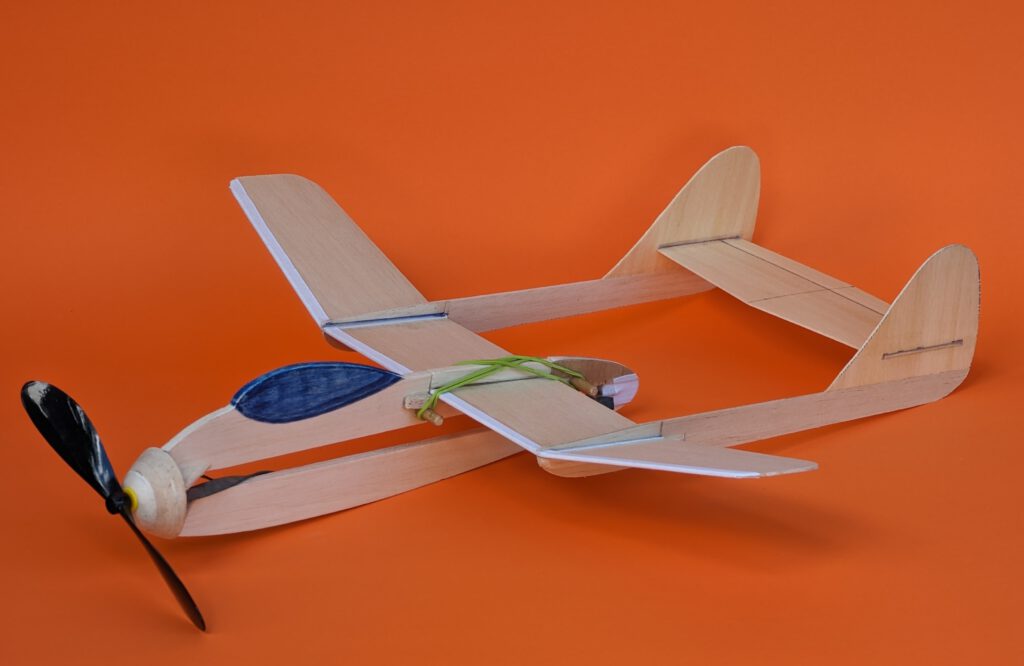
Span 55 cm / 21.5 in
Weight 48 g / 1.7 oz
The concept:
- easy to build
- twinboom layout
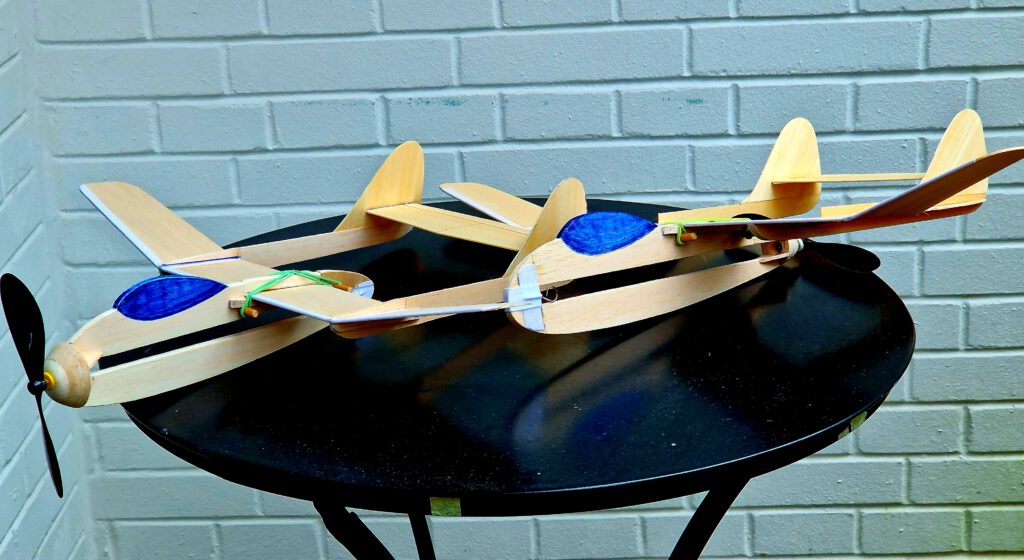
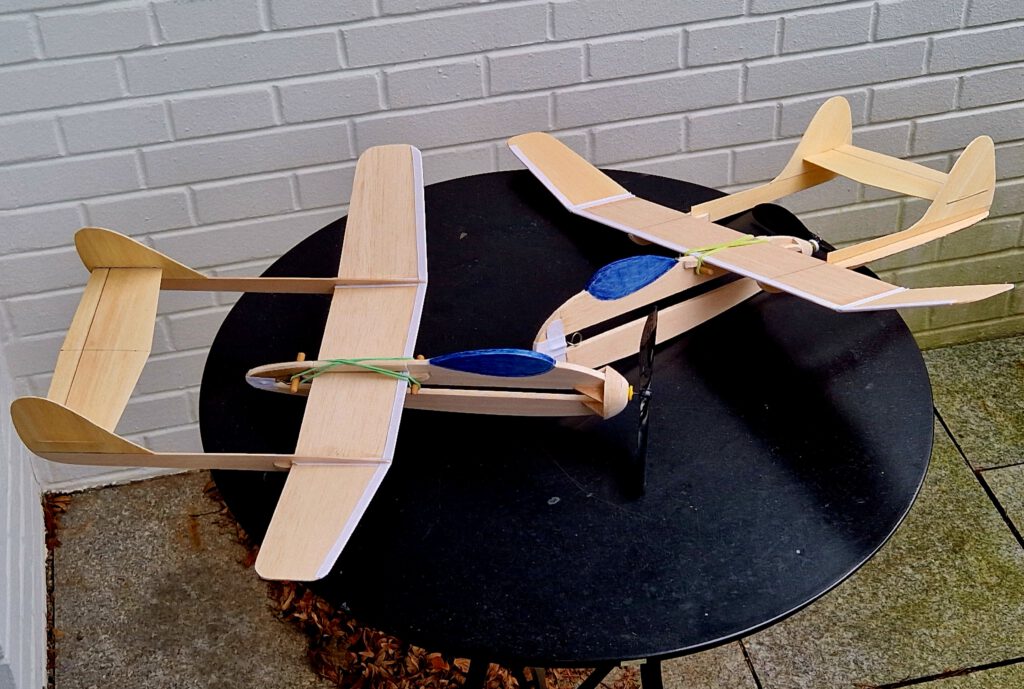
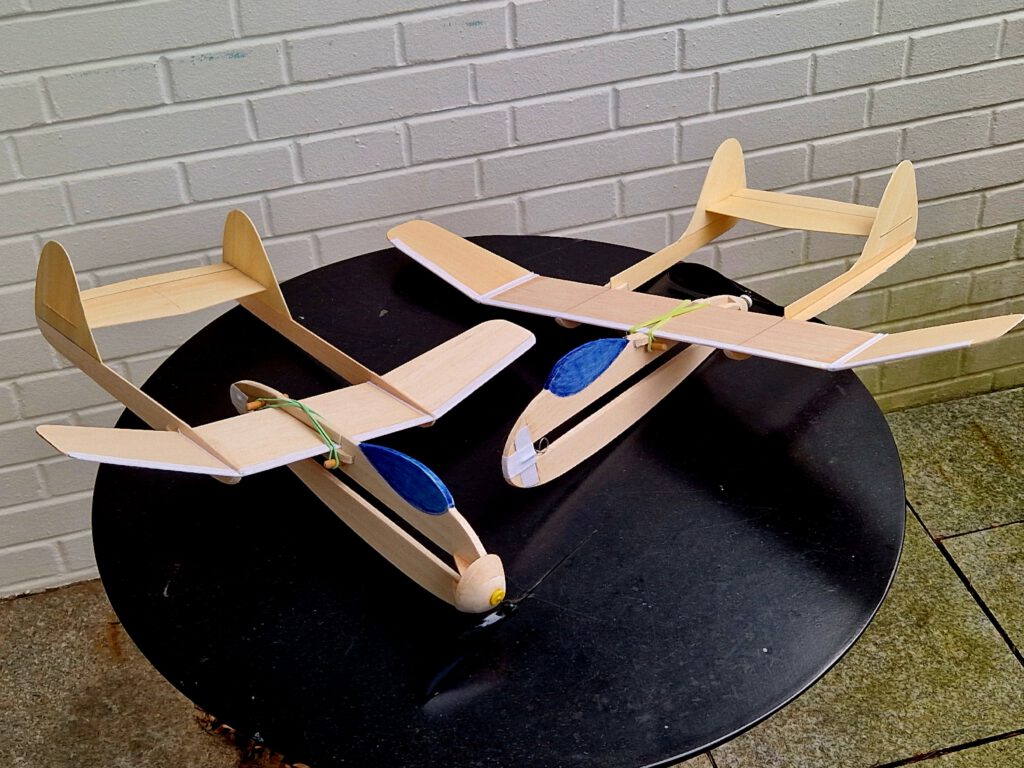
- detachable (longer) wing
- tractor configuration
- good flight characteristics
- rubber powered
Name: Akrep is the Turkish word for scorpion.
Note: wing of cousin-model Akrav can be used as well.
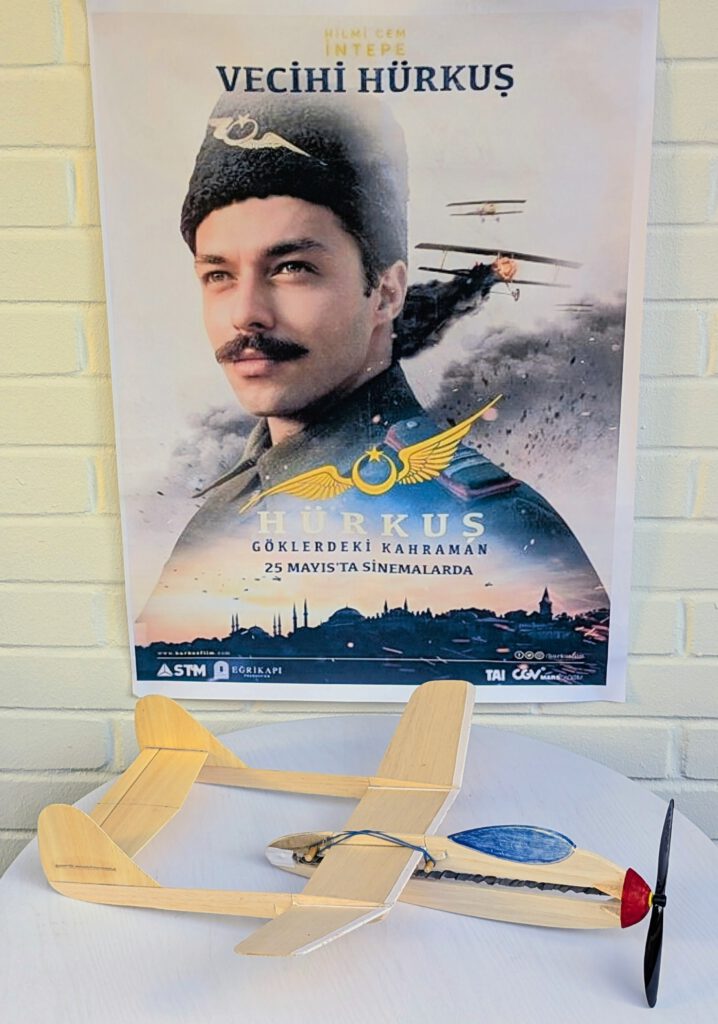
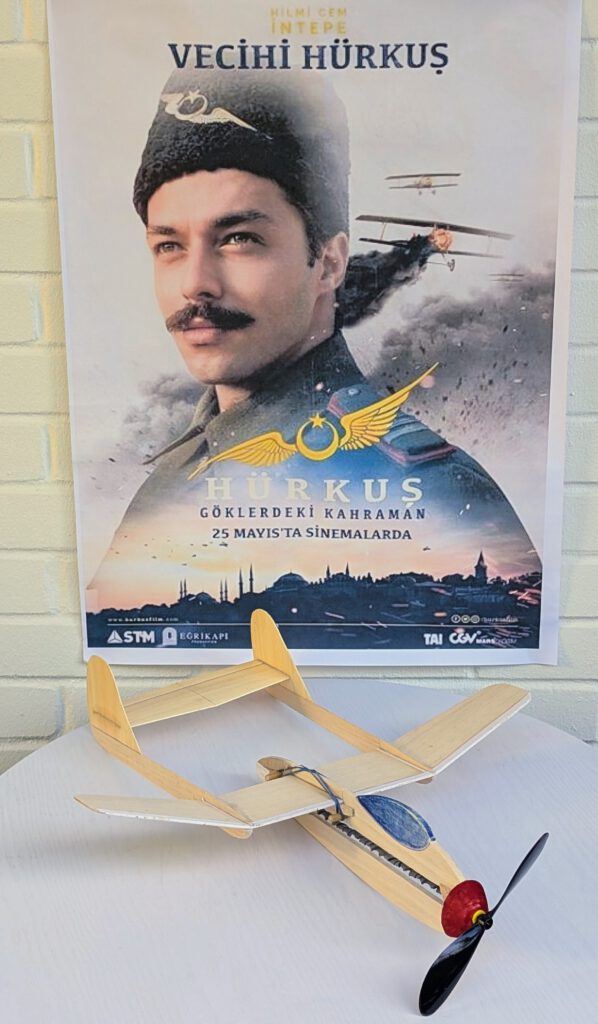
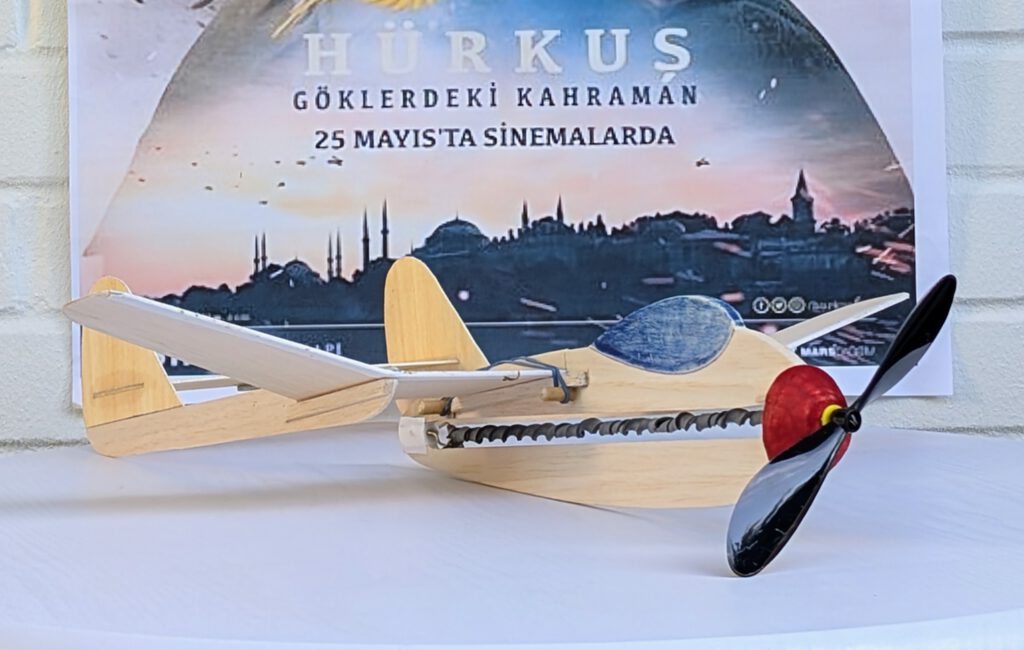
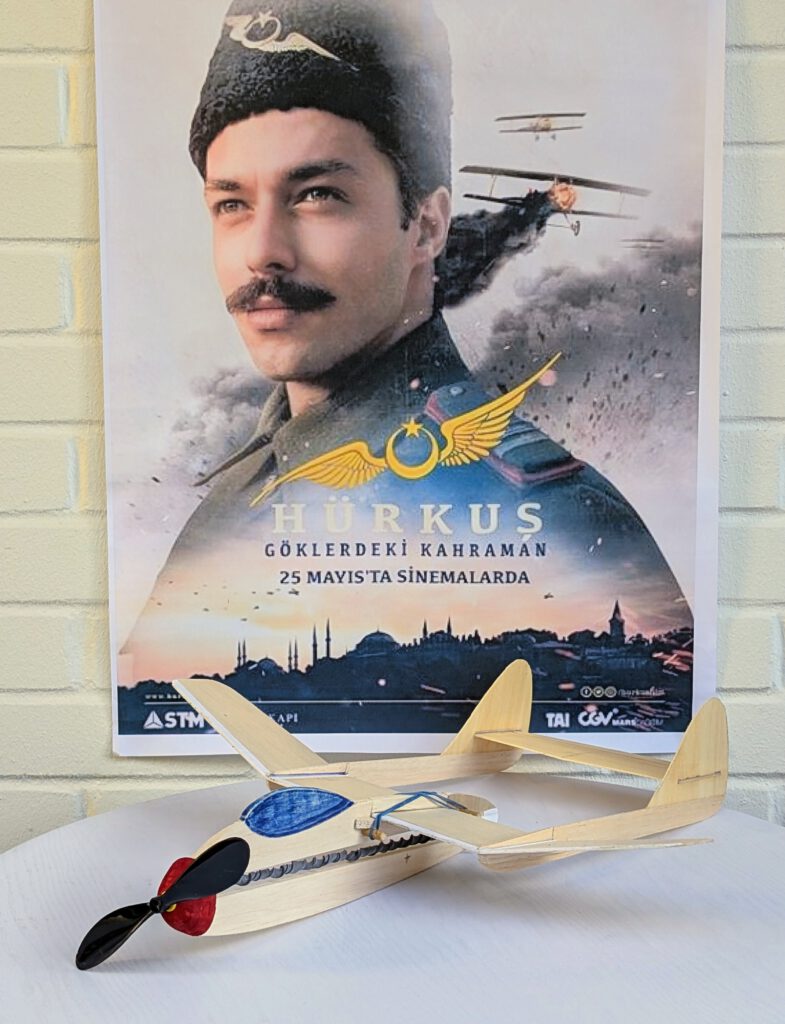
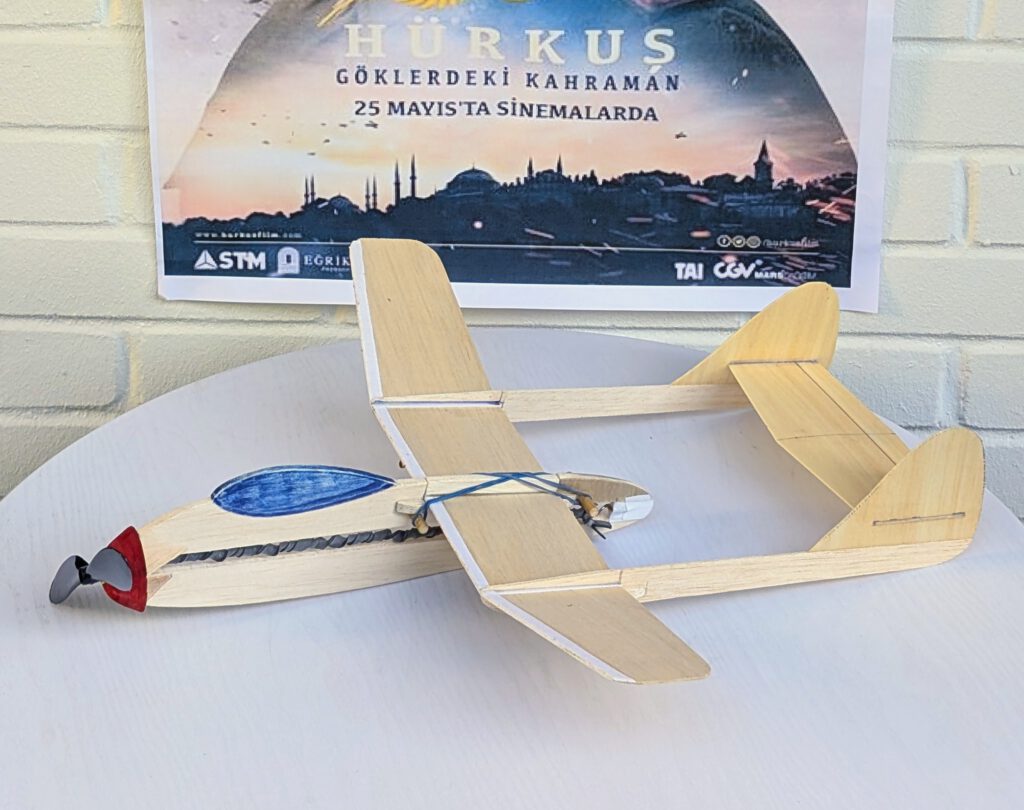
Building the rubber powered balsa profile-fuselage model Akrep.
Materials:
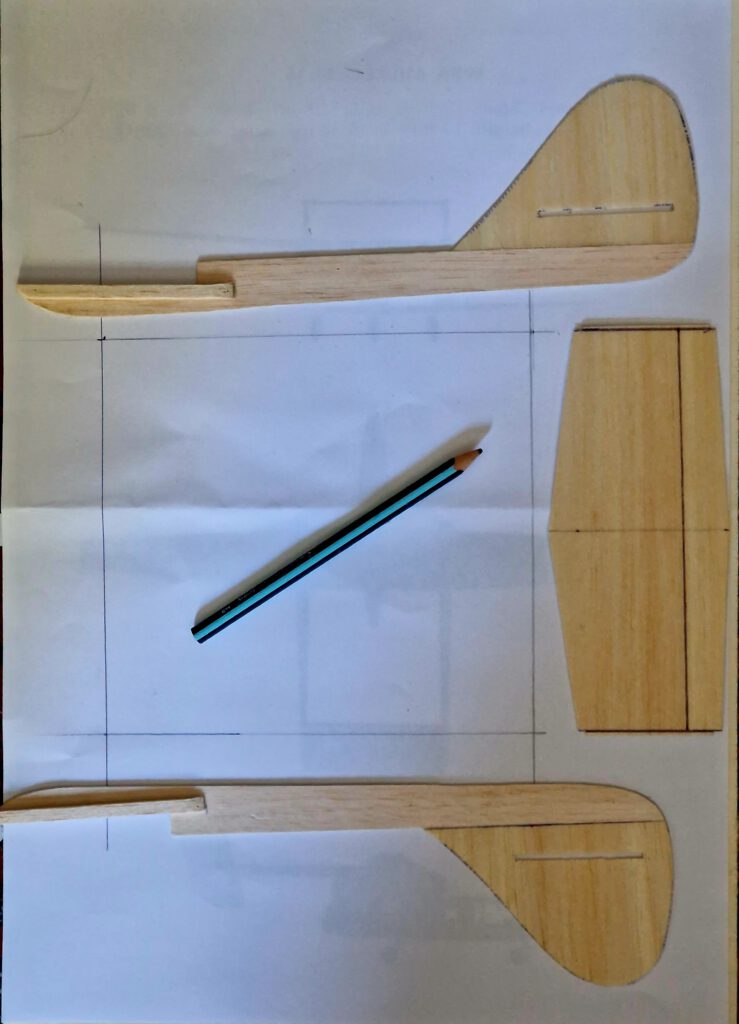
Fuselage gondola: B 5; nose parts: B 5; nose supports: B 3; bamboo dowels: 5 diameter; rubber hook: piano wire 1.2 or 1.5 mm diameter; booms: B 1.5; boom-wing supports: B 2 x 5; fins: B 1; wing supports: B strips 5 x 5; wings: B 1.5; horizontal stabilizer: B 1; linen band width 1 cm / ½ in; ballast: small piece of lead or scrap metal; commercial airscrew 15 cm / 6 in diameter; black rubber.
Assembly:
Cut out all balsa parts. Make slots on fins and on booms. Sand well. Transfer outlines of cabin etc. from paper to wood with pen. Mark positions of dowels on fuselage-gondola with pencil.
Fuselage-gondola:
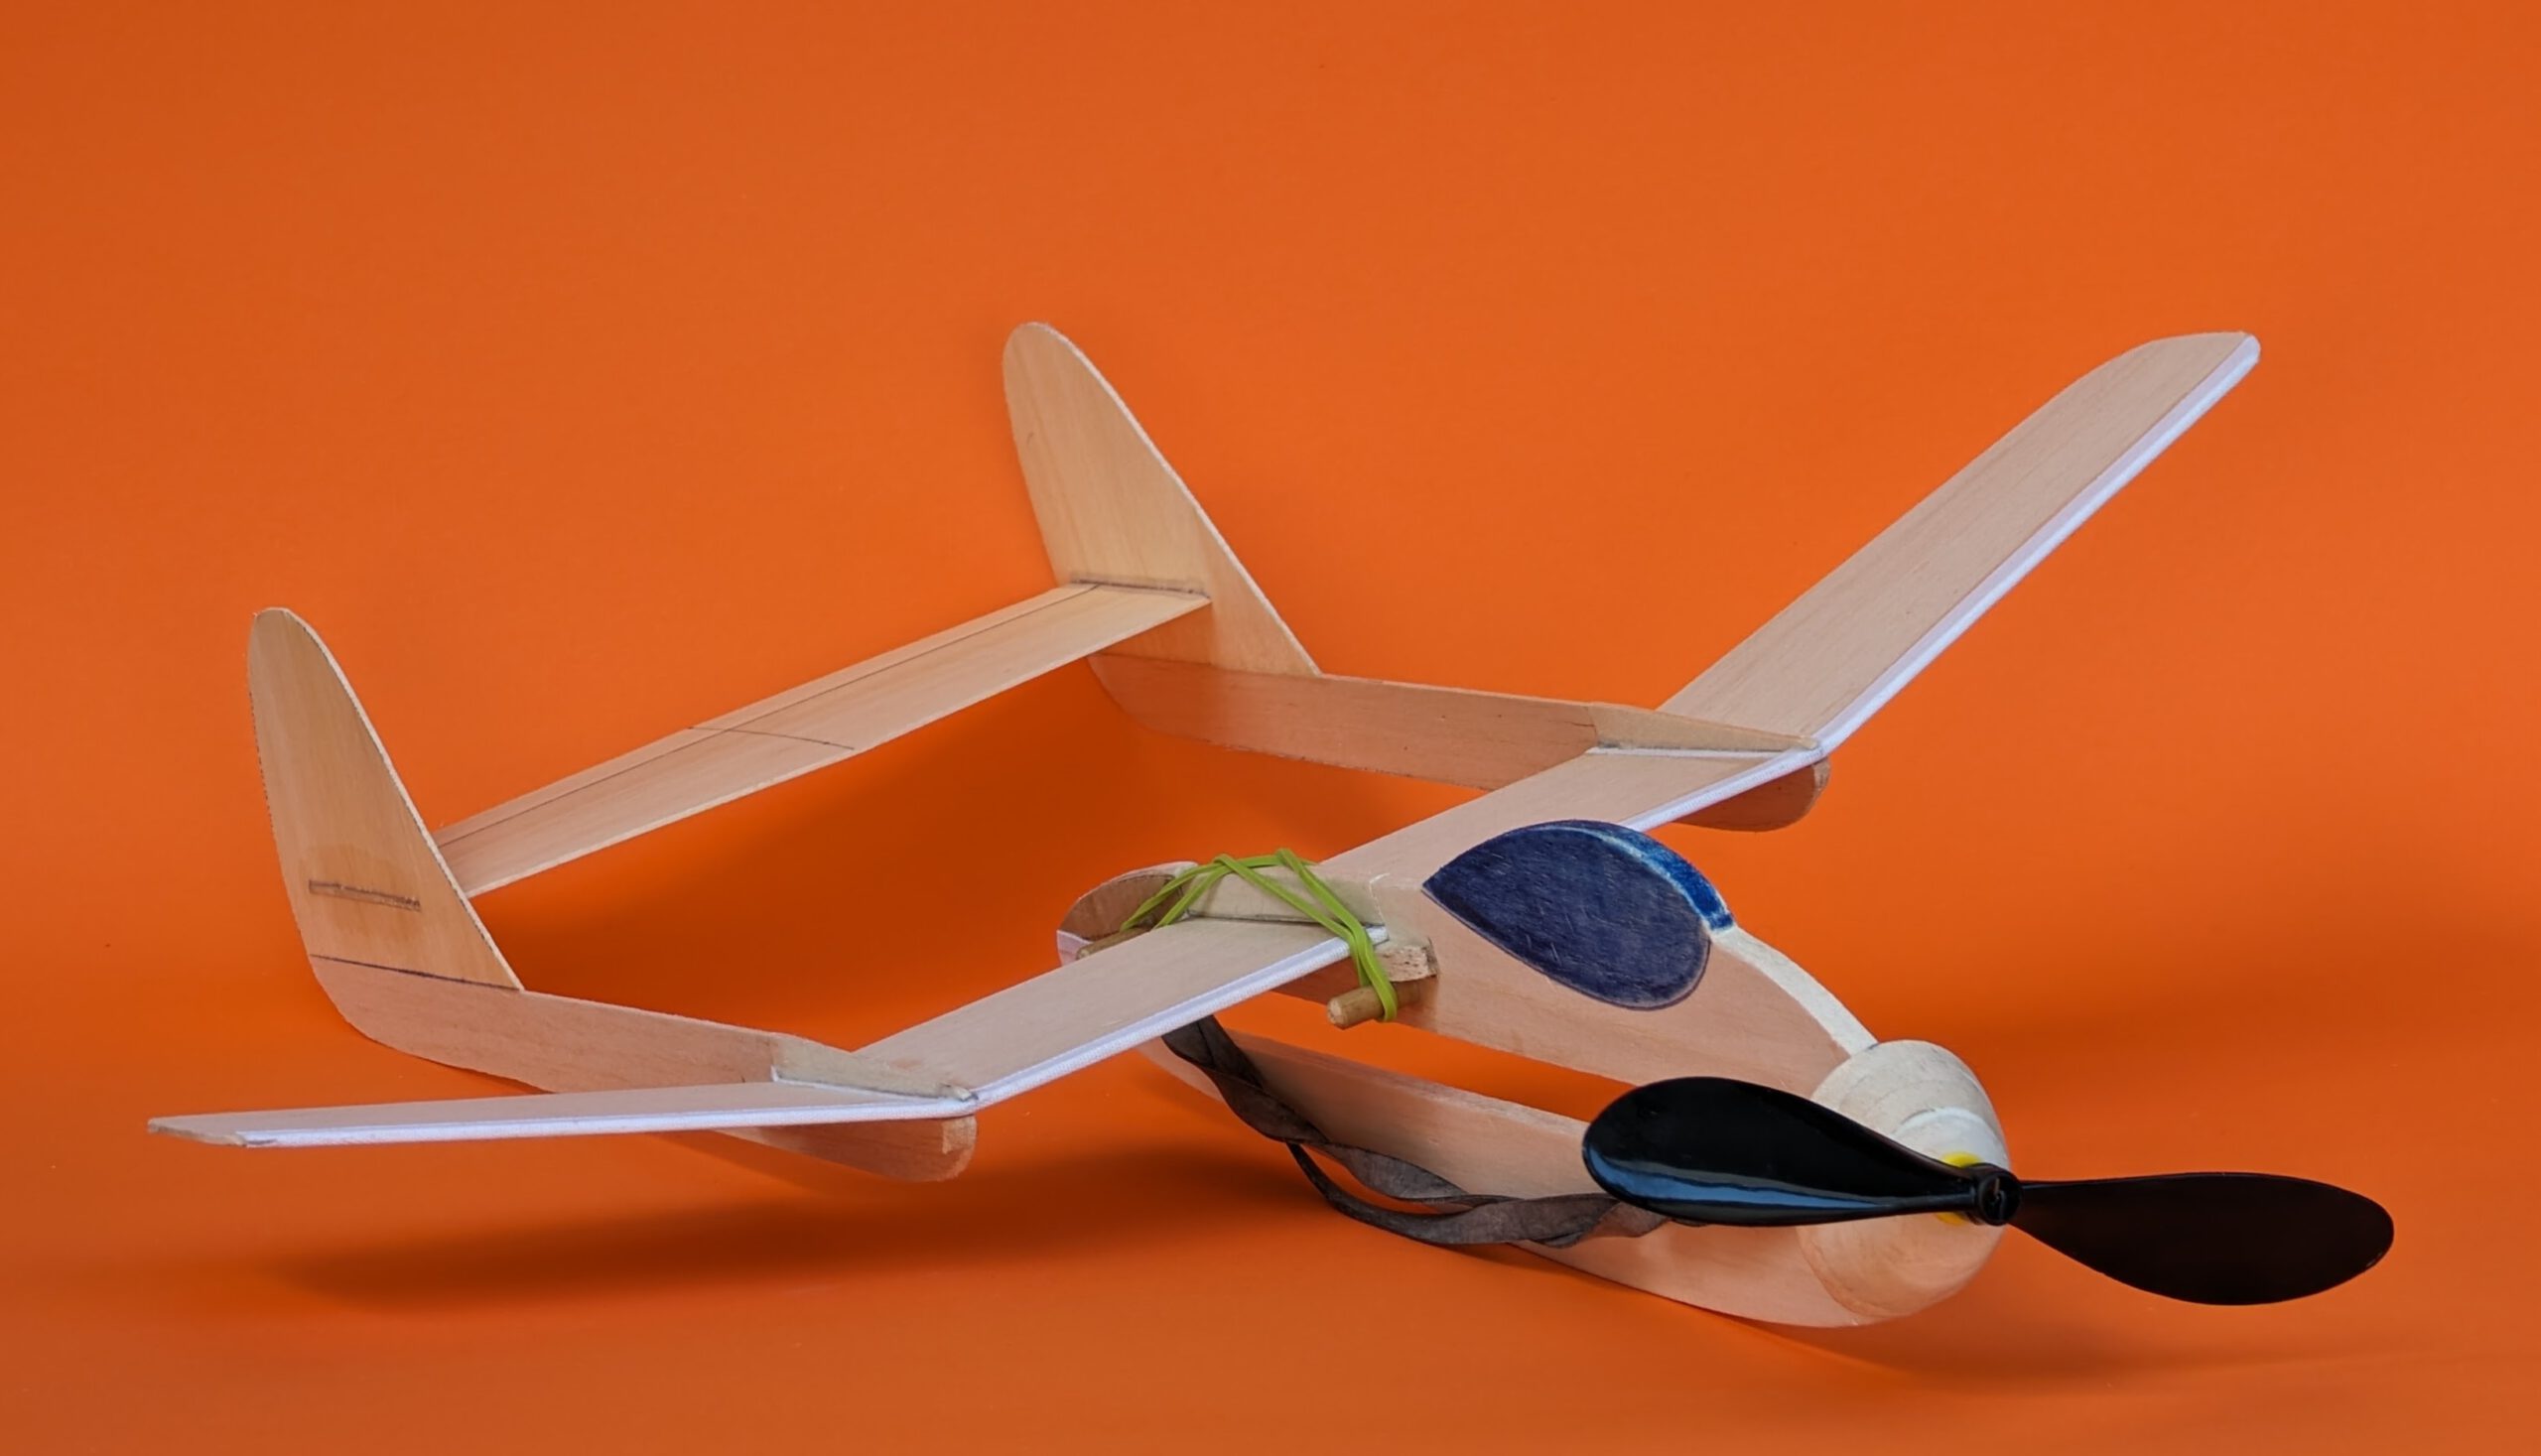
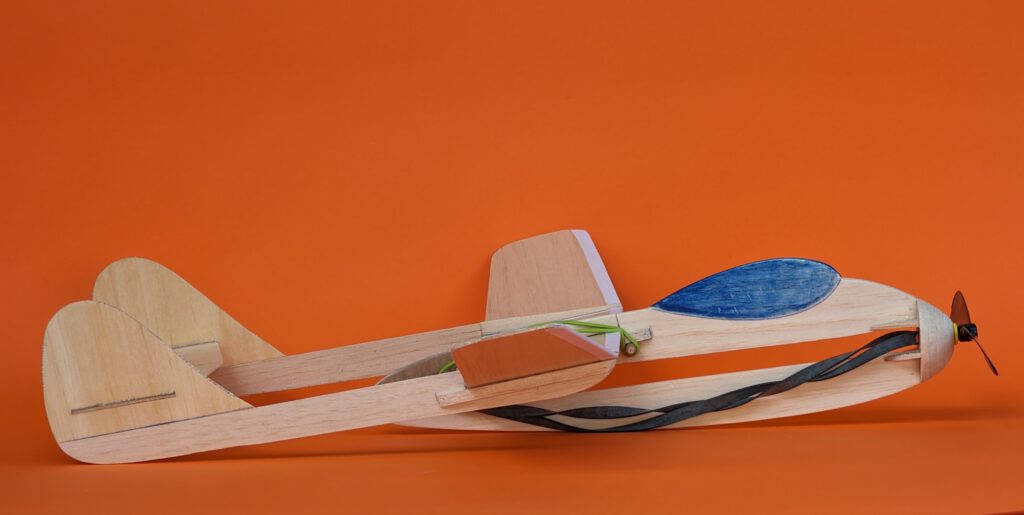
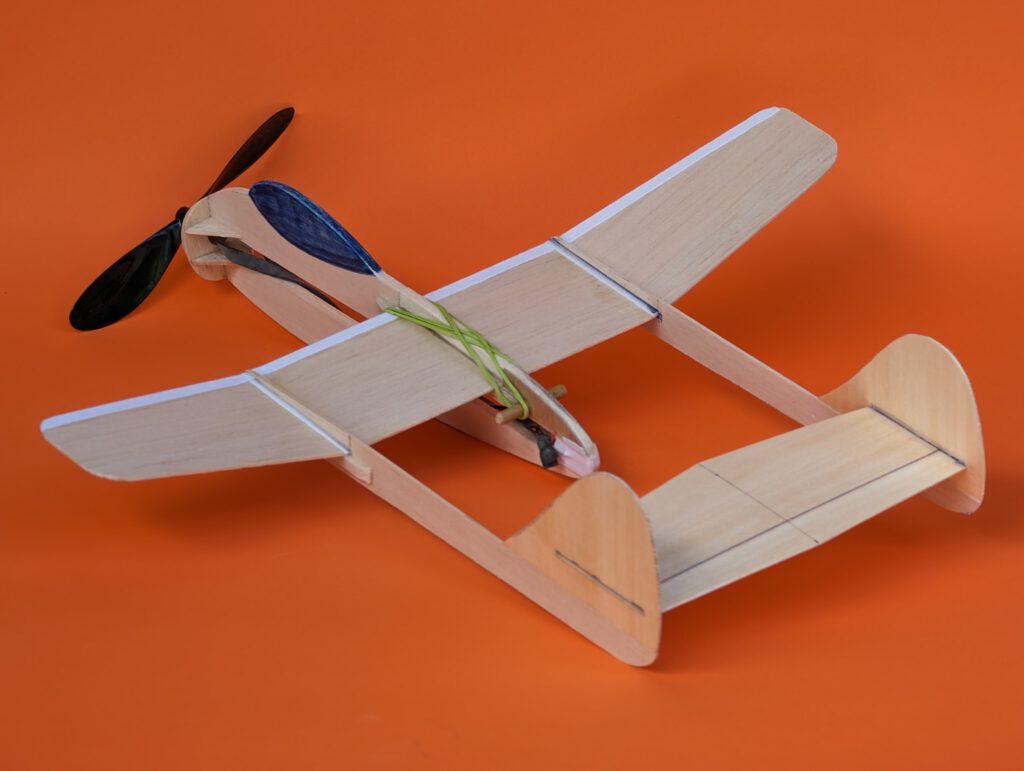
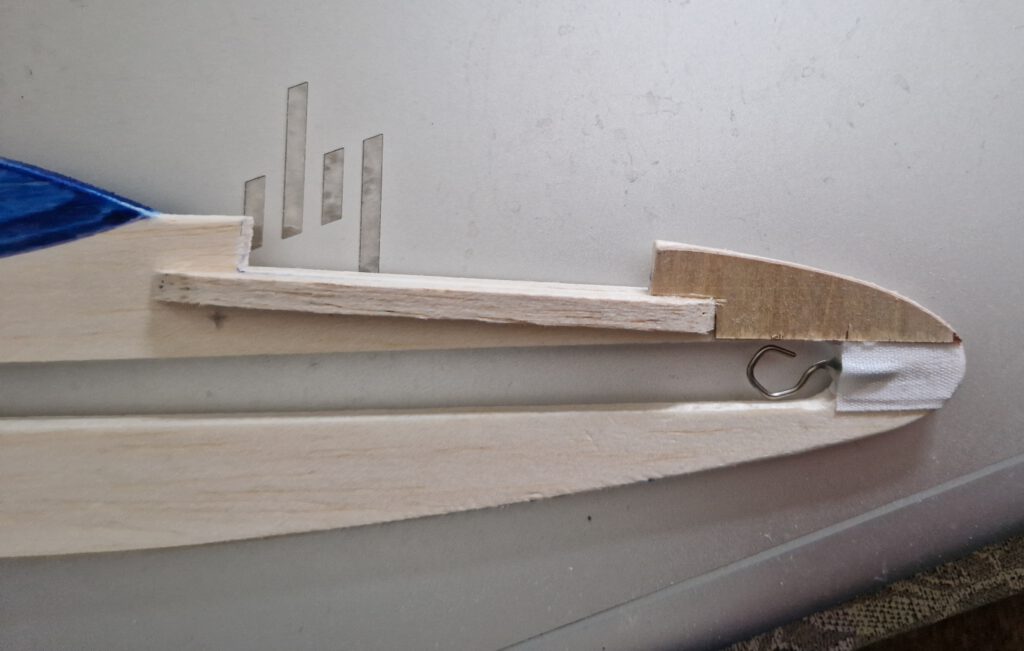
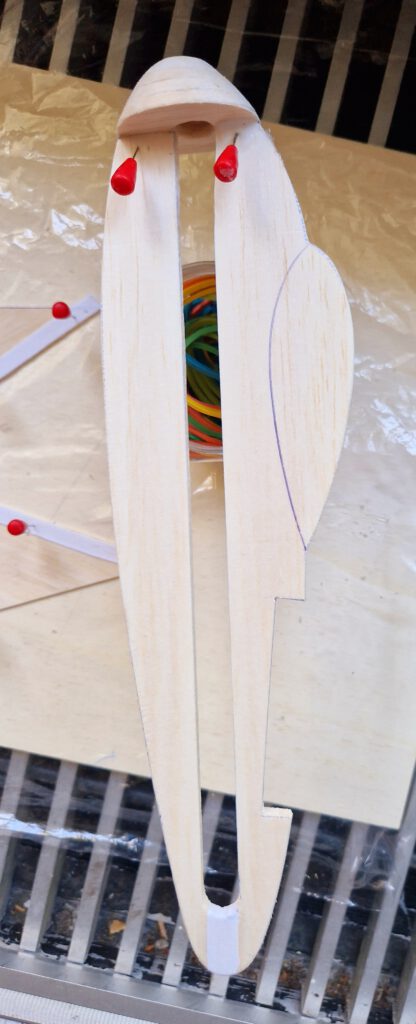
Bend as shown on plan piano wire into given hook shape. Carve out with knife and round file seat for rubber hook on left or right side of rear fuselage. Cement hook in place and cover hook area with linen band as seen on photos. Let dry. Cement wing support strips (photo) in to their place on both sides of fuselage gondola using needles or clamps.
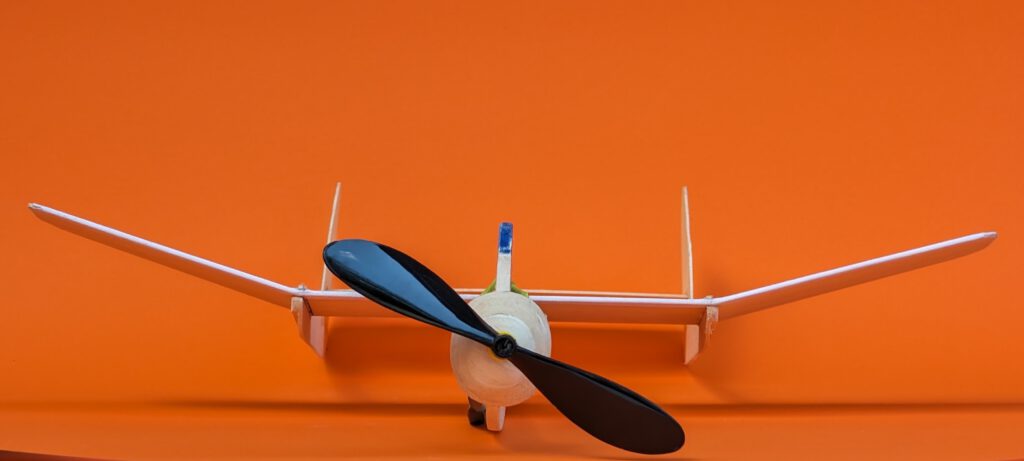
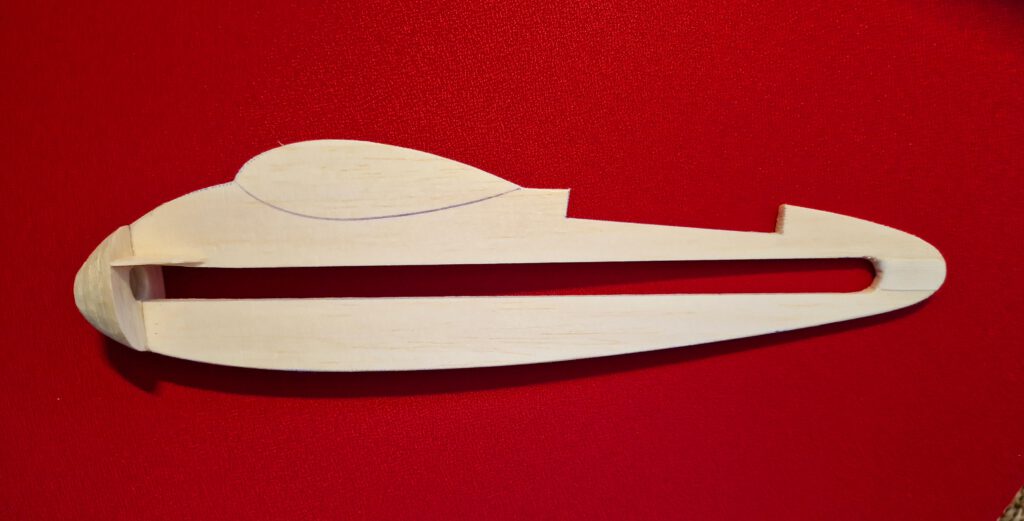
Cement B 5 nose parts one on the other as shown on plan and let dry. Sand well than treat this part with balsa putty. When dry sand again. May be this procedure has to be repeated. When the nose part is smooth you can start to carve out opening which holds prop-bearing. Start from behind and don’t do it in a hurry. A little electric drill machine can be useful.
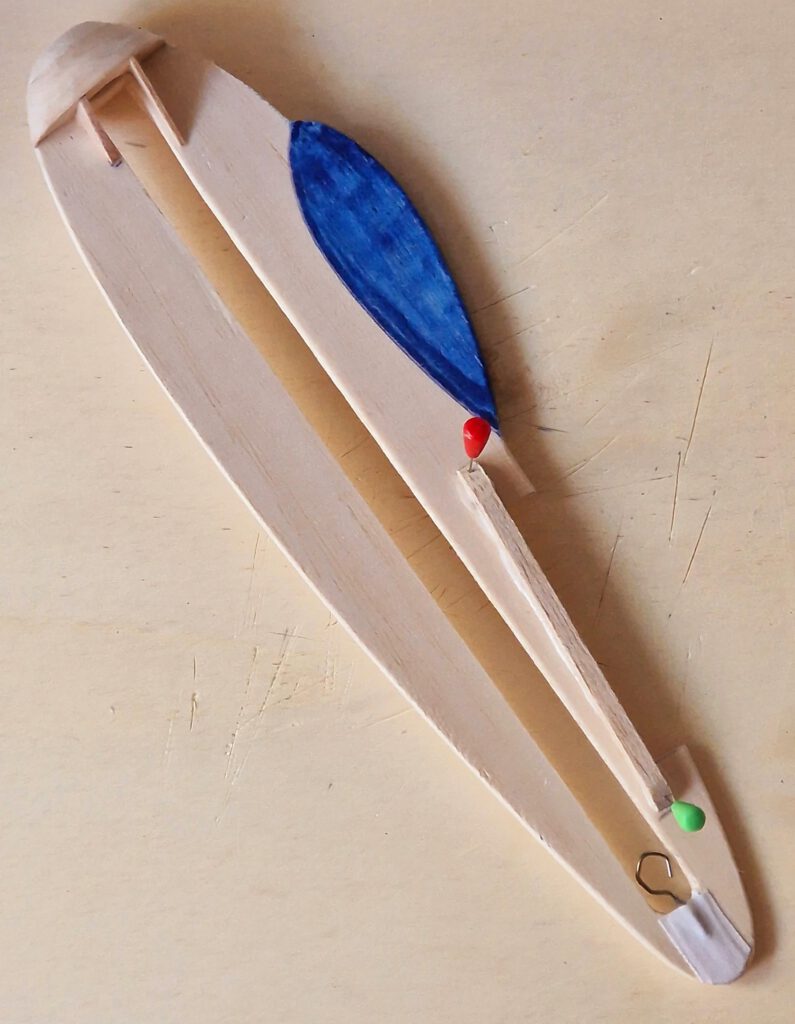
Cement completed nose to fuselage according to photo. When dry add triangle nose supports two on each side (photo).
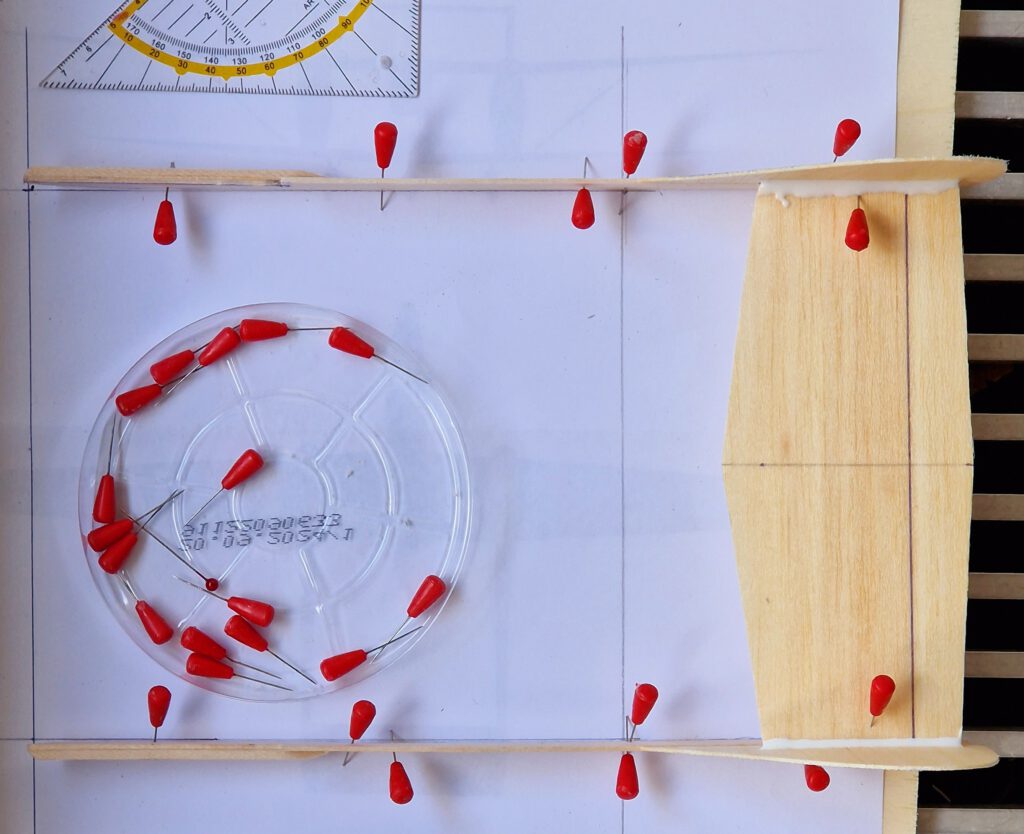
Booms:
Cement fins on rear ends of both booms and let dry. Add now boom-wing supports on the outer sides of each boom (photo). Hold with clamps or clothespins. Let dry and sand.
Wing:
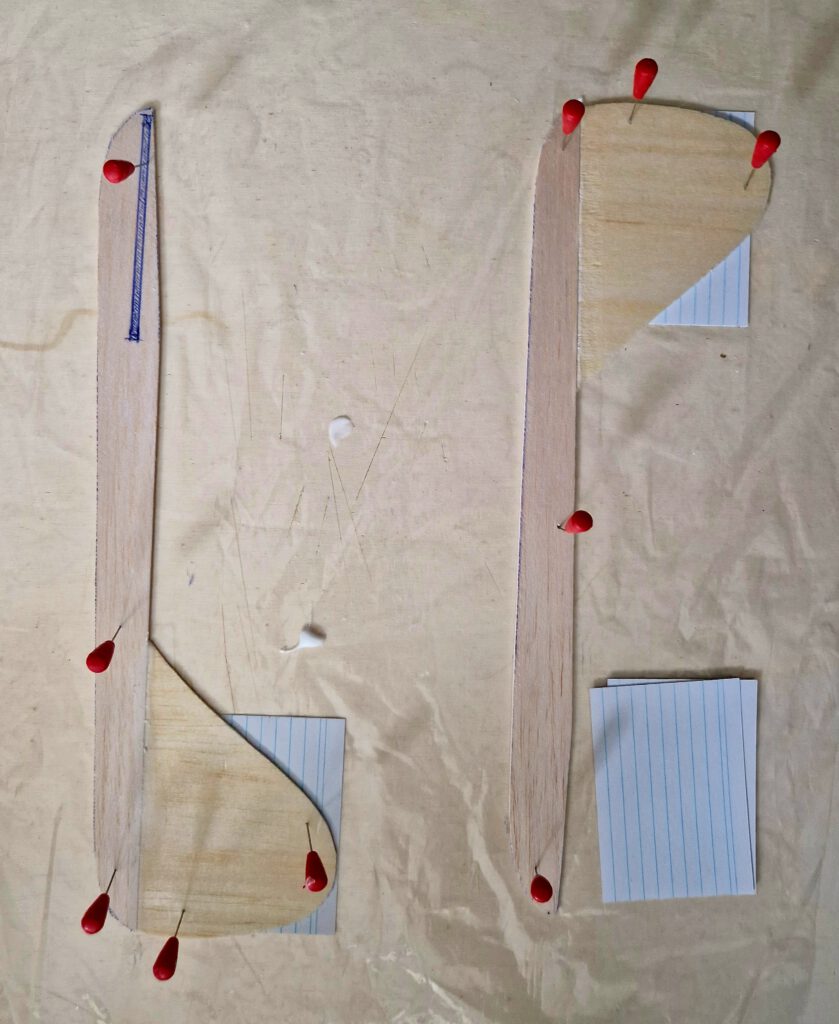
Cement linen band along and around the whole leading edge of your wing. The band should embrace the edge in form of the letter U. Work carefully and precisely as uniformity on the leading edge looks professional afterwards. When dry saw off both wing outer sections. Fix wing center section with needles on your building board. Underlay tips of wing outer sections according to given dihedral and join both to center section. Cover joining areas with ample glue and linen band. Let dry.
Mark positions of fuselage gondola and booms on wing with pencil.
Final Assembly:
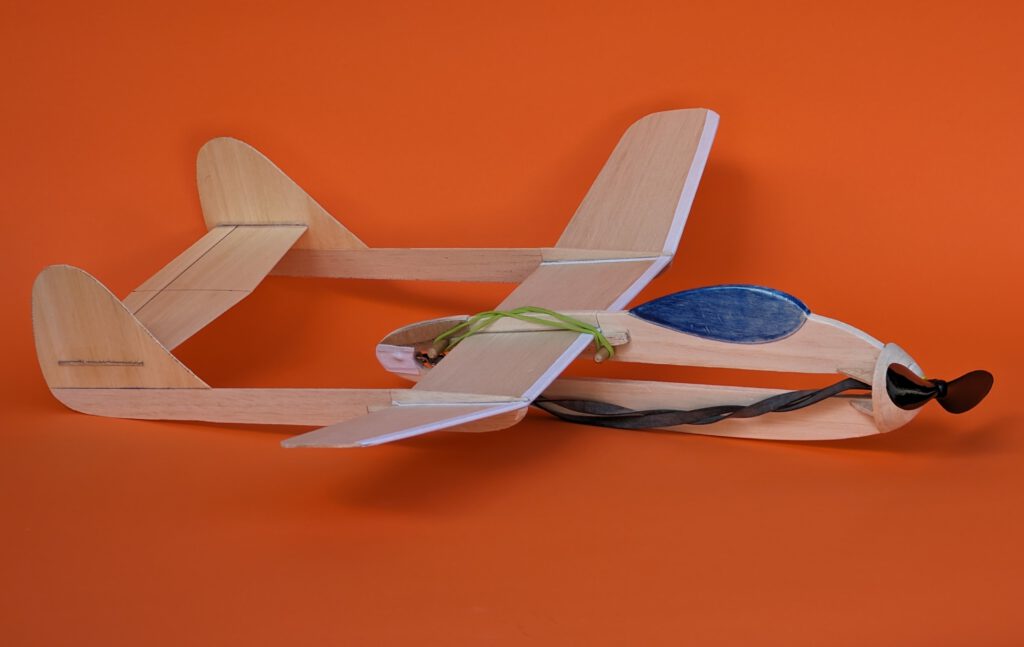
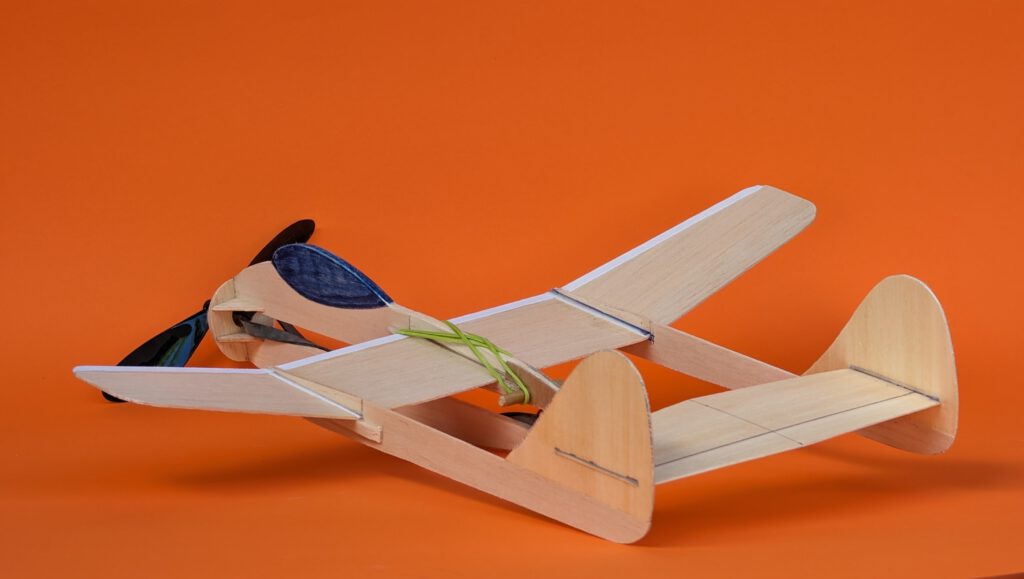
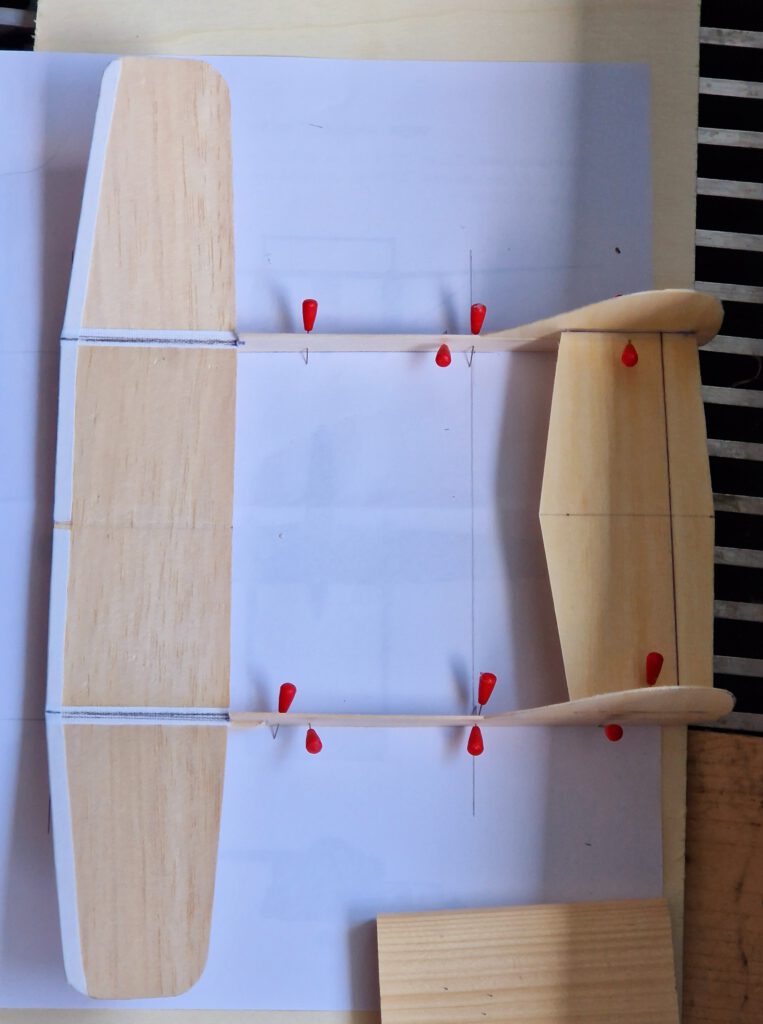
The following step requires great care. Fix right and left boom on plan with needles (photo). Both parts must be absolutely parallel and straight. Visual check from all sides. Cement now wing on both boom-wing supports and let dry.
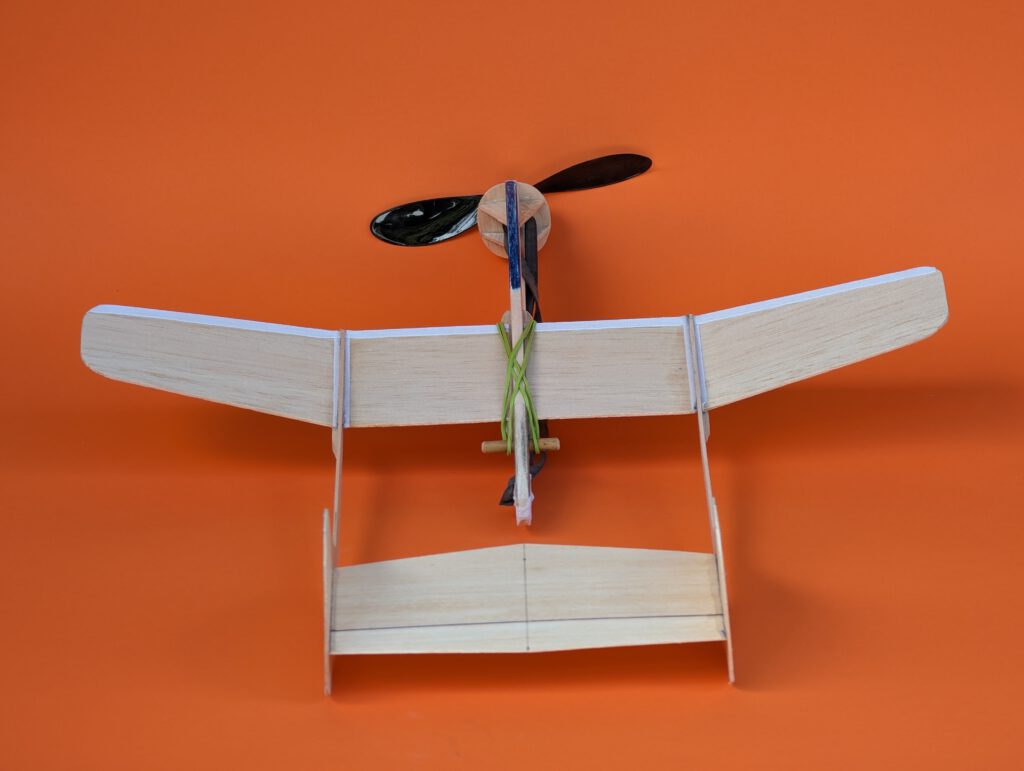
Insert horizontal stabilizer into slots on fins and cement. Use needles to hold in place. Let dry (photo).
Remove wing-boom assembly from building board and put it on the fuselage-gondola. Secure with rubber rings, insert then rubber-motor and airscrew. Now balance your model in accordance to given CG on plan.
Many pleasant flights! (Tanti voli piacevuli!)

Leave a Reply