
Span 50.5 cm / 20 in
Weight 65 g / 2.3 oz ready to fly
The concept:
- easy to build
- few parts
- high-wing monoplane
- V-tail
- good flight characteristics
- two versions, one for rubber motor the other for RPU 30 (here)
Name: As the combination of wing and empennage somewhat looks like a butterfly seen from above or below I thought Borboleta, the Brazilian equivalent to butterfly, could be an appropriate name. Maior means bigger.
What is RPU?
RPU stands for rubber power unit.
This is a device designed for the modelbuilder who likes to fly many models with one only powerunit. Main material of the RPU comes from the grocery store around the corner: four barbecue skewer chopsticks. Add to them scratch balsa, a hook made from piano wire, some black rubber and a commercial plastic airscrew. That’s all.
The unit is attachable through two pieces of Velcro tape and can thus be used for example first on a little Spitfire five minutes later on a Mitsubishi Zero and ten minutes later on a Macchi Folgore of the same configuration. You build only one RPU and use it on as many modelplanes as you wish.
Models with RPU use the same asymmetrical principle as is known from No-cal models. From the one side they look handsome as from the other the power unit disturbs the harmonic view considerably.
Generally there is no great difference between the flight performances of a balsa sheet profile model with built-in rubber motor and a model flying on a RPU.
Why not try both principles? Among the plans range of beginner.zone you will find models of both categories. Sit down, build, fly, compare!
I developed and tested three different types of RPUs.
- The one for small models of 30 cm / 11.8 in to 40 cm / 15.75 in wingspan is the RPU 20 (lenghth 20 cm / 7.9 in).
- The one for medium sized models with a span of 40 cm / 15.75 in to 60 cm / 23.6 in is the RPU 30 (length 30 cm / 11.8 in).
- The one for larger models of up to 80 cm / 31.5 in wingspan is the RPU 40 (length 40 cm / 15.75 in).
- The RPU 40 is made from slightly different material. Instead of the skewer chopsticks it uses two strips of bamboo wooden sticks (400 x 9 x 3 mm). The rest is identical.
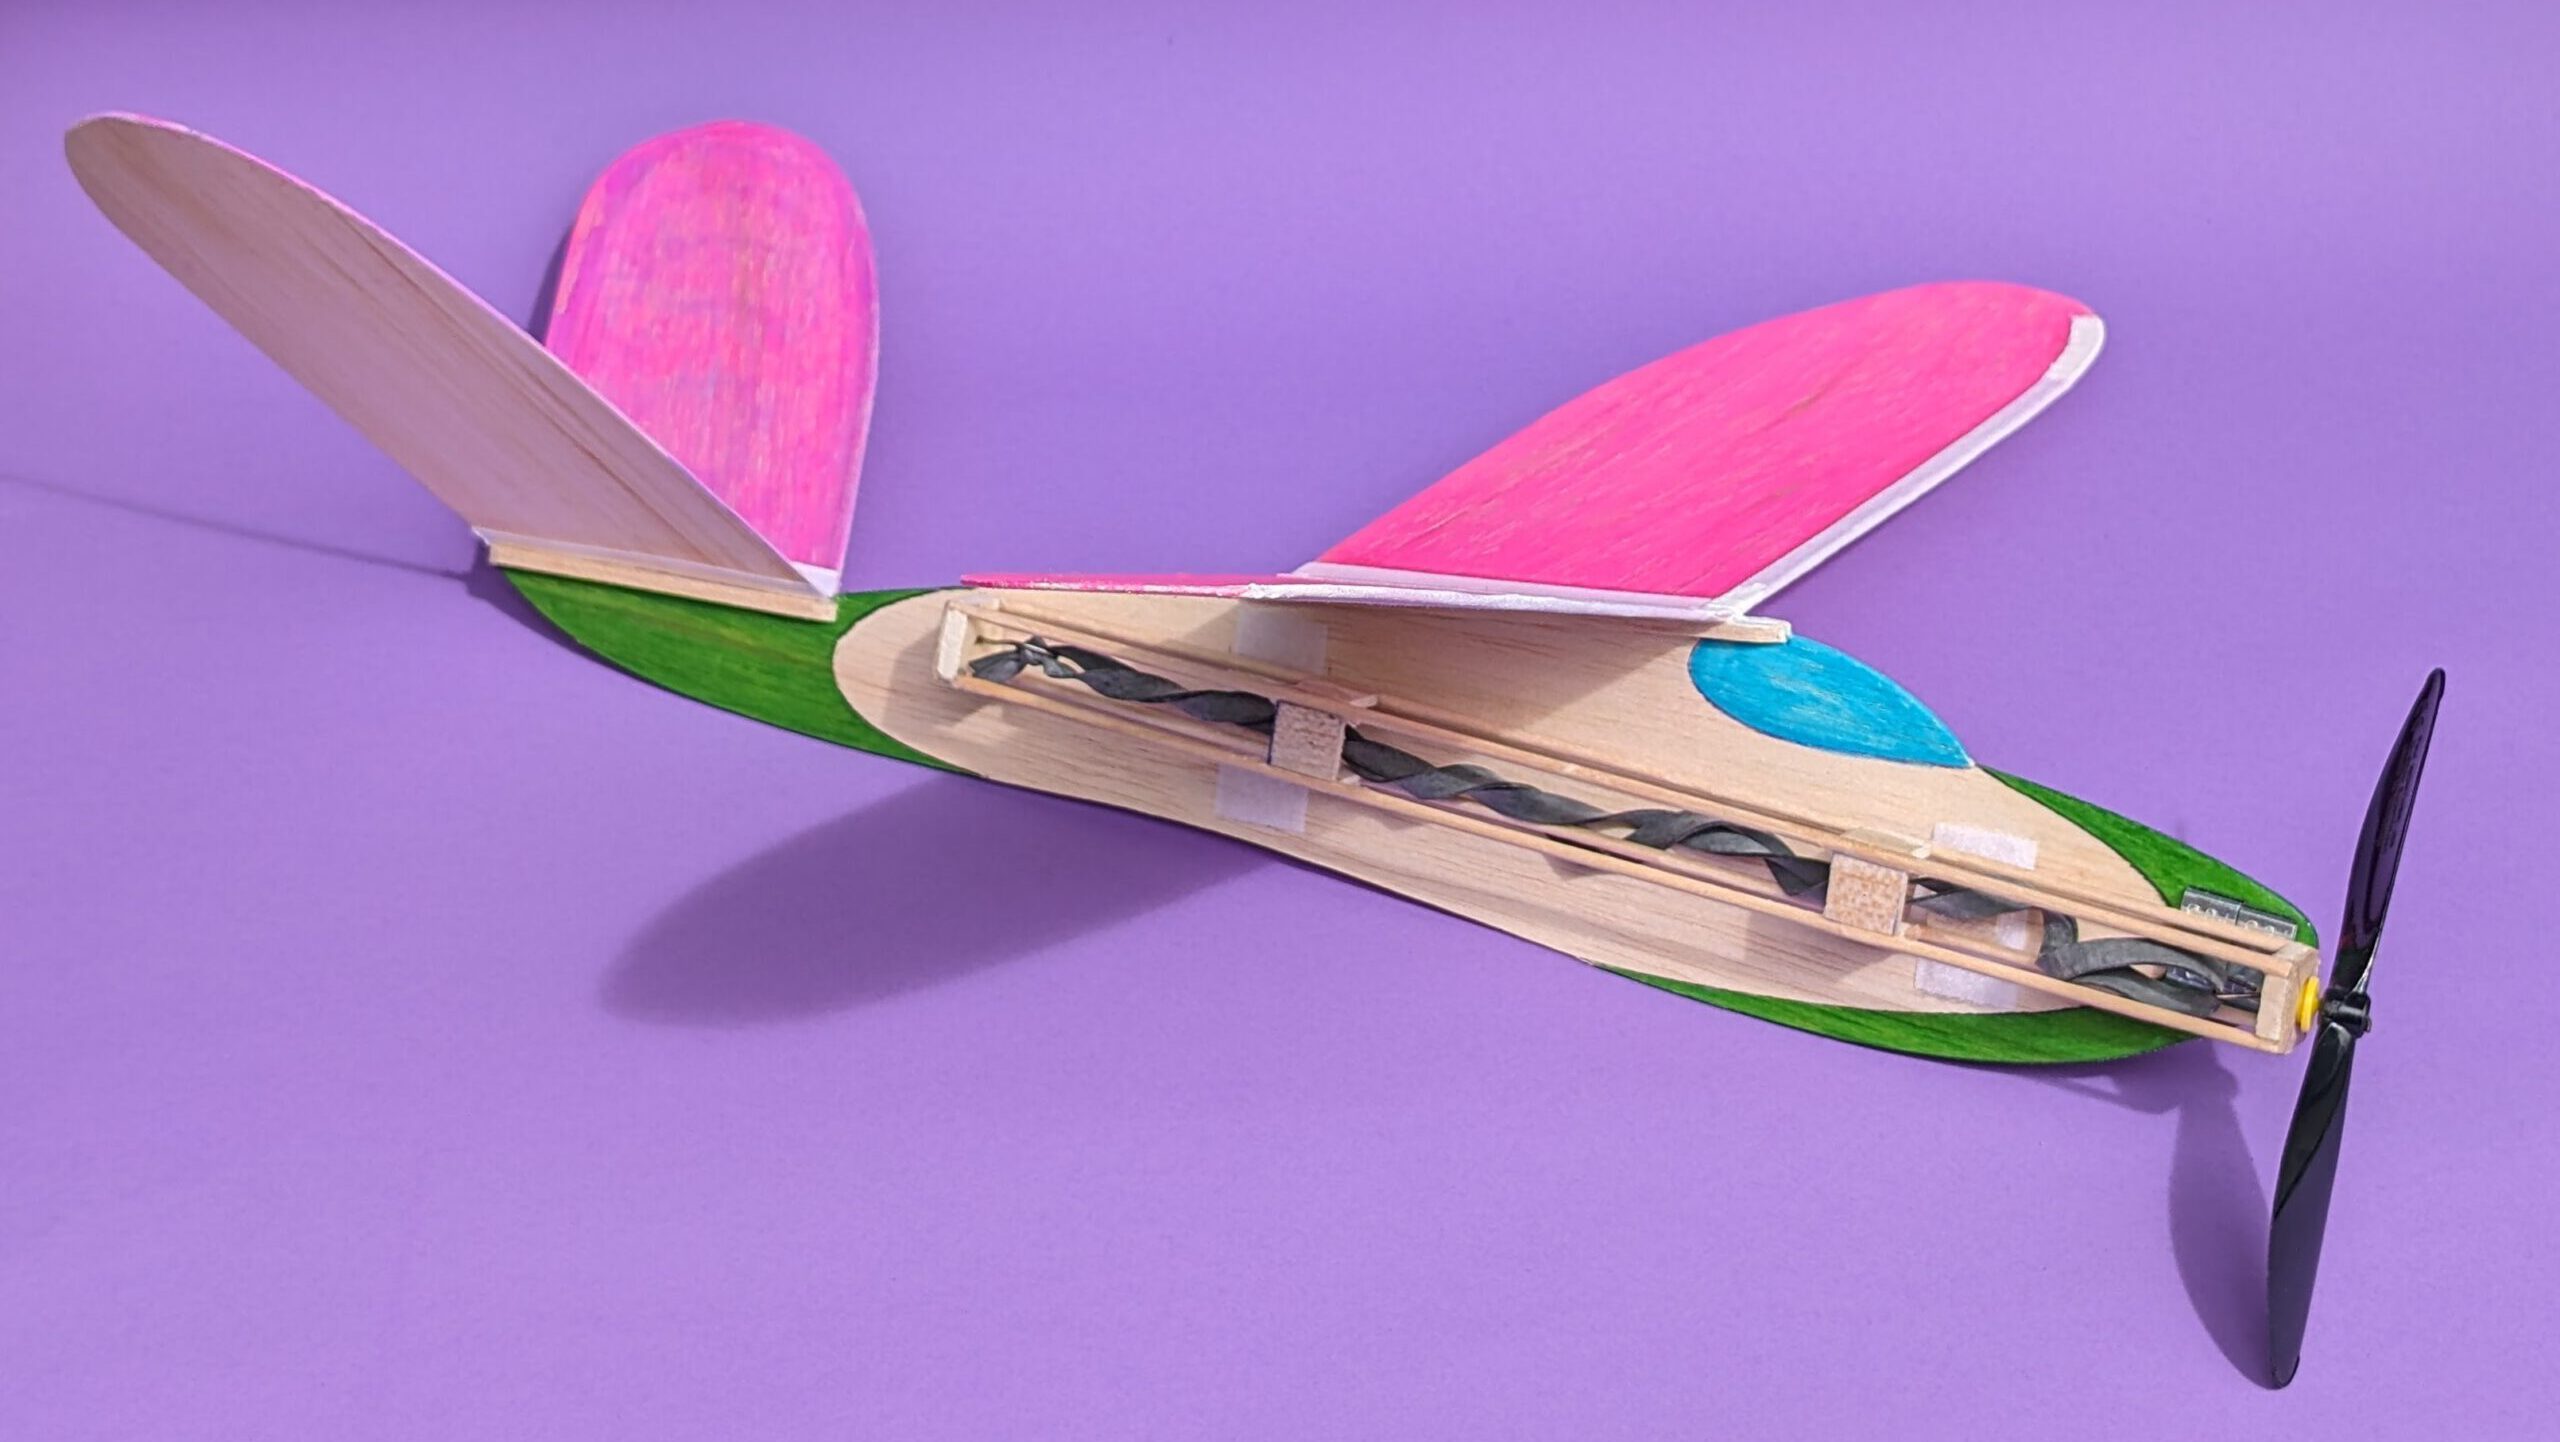
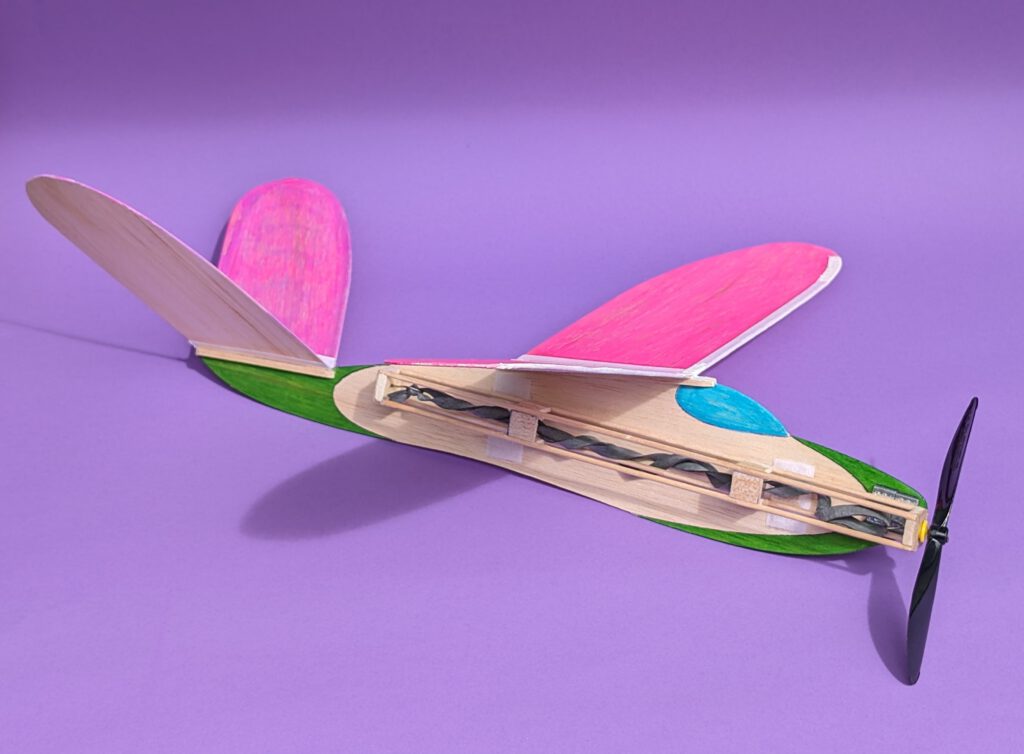
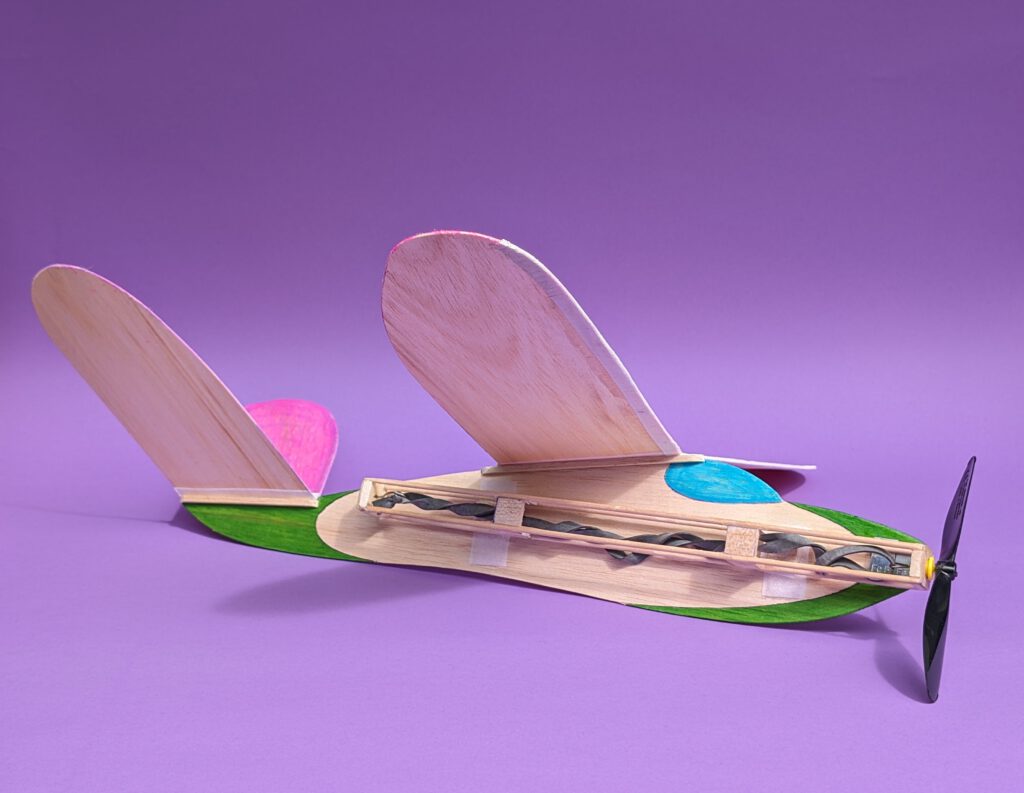
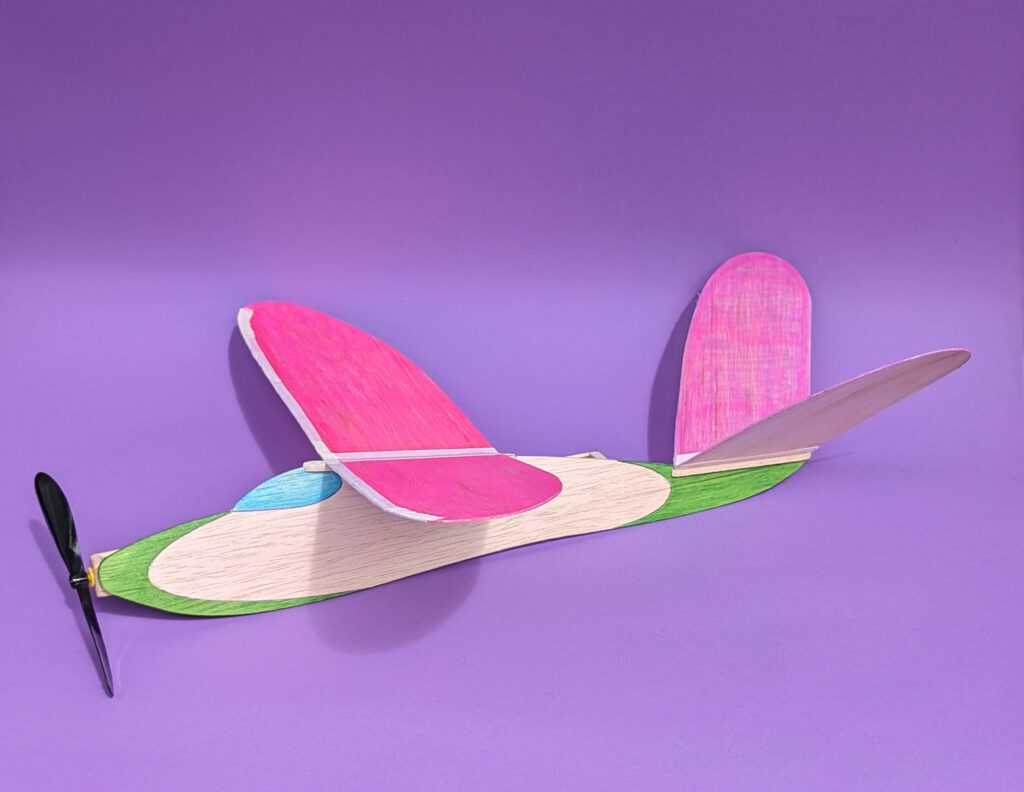
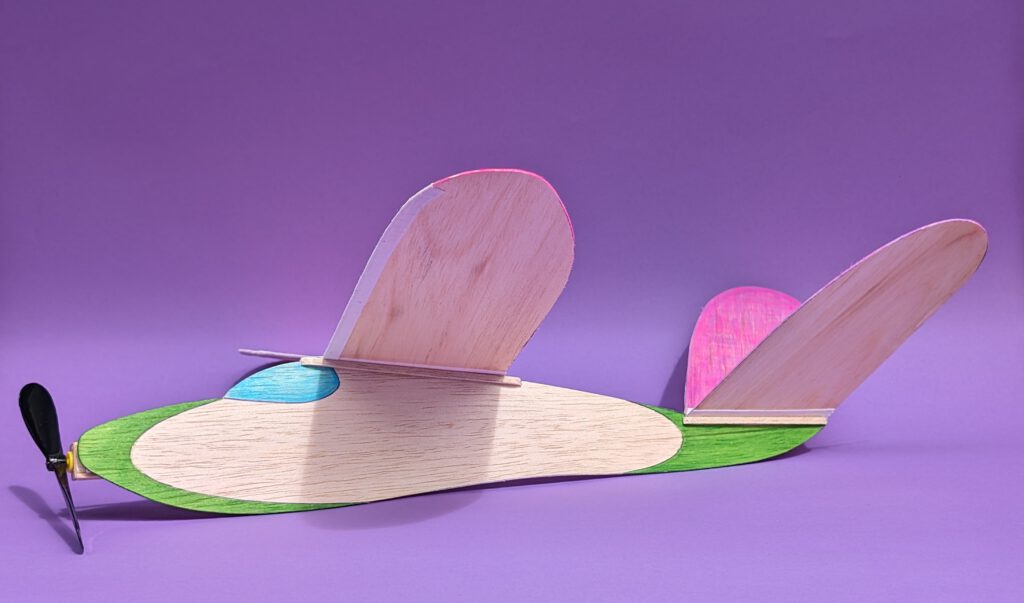
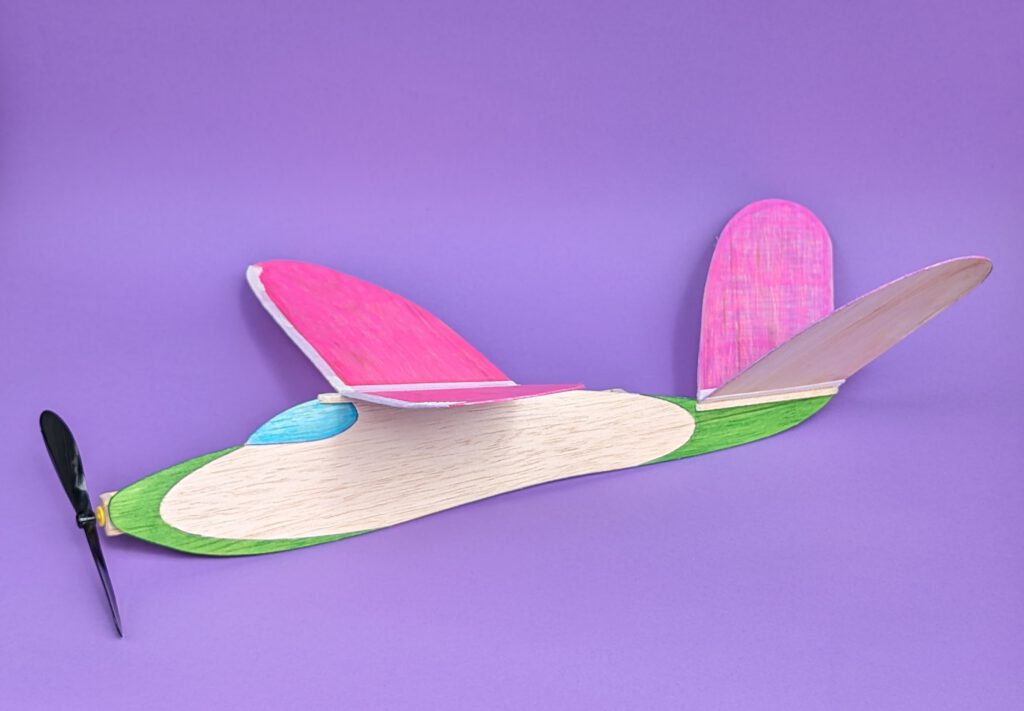
Building the balsa sheet model Borboleta maior RPU.
Materials:
Fuselage: B 2; wing: B 1 or 1.5; optional wing reinforcement: B 1; wing support: B strips 3 x 3; V-tail: hard B 1; V-tail support: B strips 3 x 3; linen band width 10 mm / ½ in; Velcro tape with adhesive backside; ballast: 10 g / 1/3 oz steel or lead.
Assembly:
Cut out balsa parts in accordance to plan. Sand well. Transfer outlines of cockpit windows, rudders, elevators, etc. from paper to wood with pen. If coloring is desired do it now.
Fuselage:
Fix fuselage with some needles on building board. Cement wing support strip and V-tail support strip in their respective places and let dry. Hold in place with needles.
Take fuselage from building board and cement wing and V-tail supports on the other side. Let dry.
Wing:
Wing consists of a right and a left wing half. Optionally reinforce both wing half leading edges with balsa strips on their underside or with linen band as to be seen on photos. Let dry. Fix right wing half on building board with needles. Underlay left wing half tip in accordance to required dihedral. Join both halves and cover wing center area with linen band. Let dry. If wing has the tendency to rest only on one side then it is too heavy on this side. To compensate the imbalance disperse an amount of white wood glue on the opposite wing half’s tip area. Do it if necessary twice until balance is obtained.
V-tail:
Fix one V-tail component on building board with needles. Use selfmade template to get the other component into given angle and cement. Visual check symmetry from all sides. Let dry.
Final Assembly:
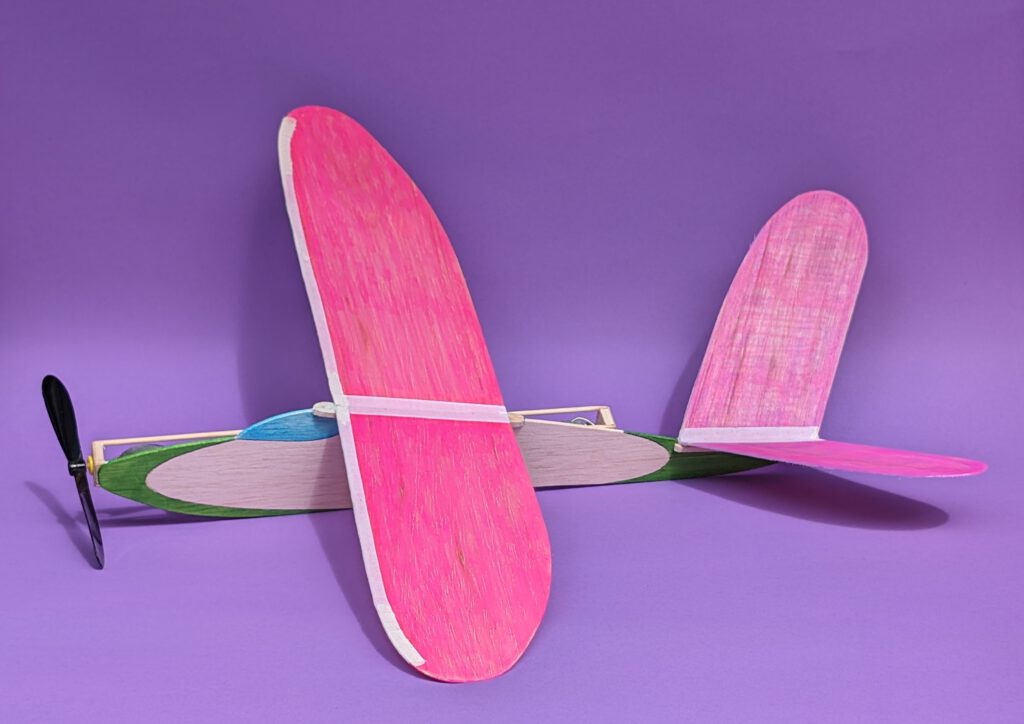
Put fuselage on so called “third hand”. Cement wing on wing supports using needles to hold in place. Doublecheck visually symmetry. Let dry.
Repeat procedure with empennage. Again check symmetry!
Stick two pieces of Velcro according to your RPU on right fuselage side.
For balancing your model properly install RPU and start testgliding over tall grass. Add ballast according to your test results. Note given position of CG on plan.
Remember correct center of gravity (CG) is essential for successful flights.
Ha mange vellykkede flyreiser! (Keni shumë fluturime të këndshme!)
Photos of the model under construction

Leave a Reply