
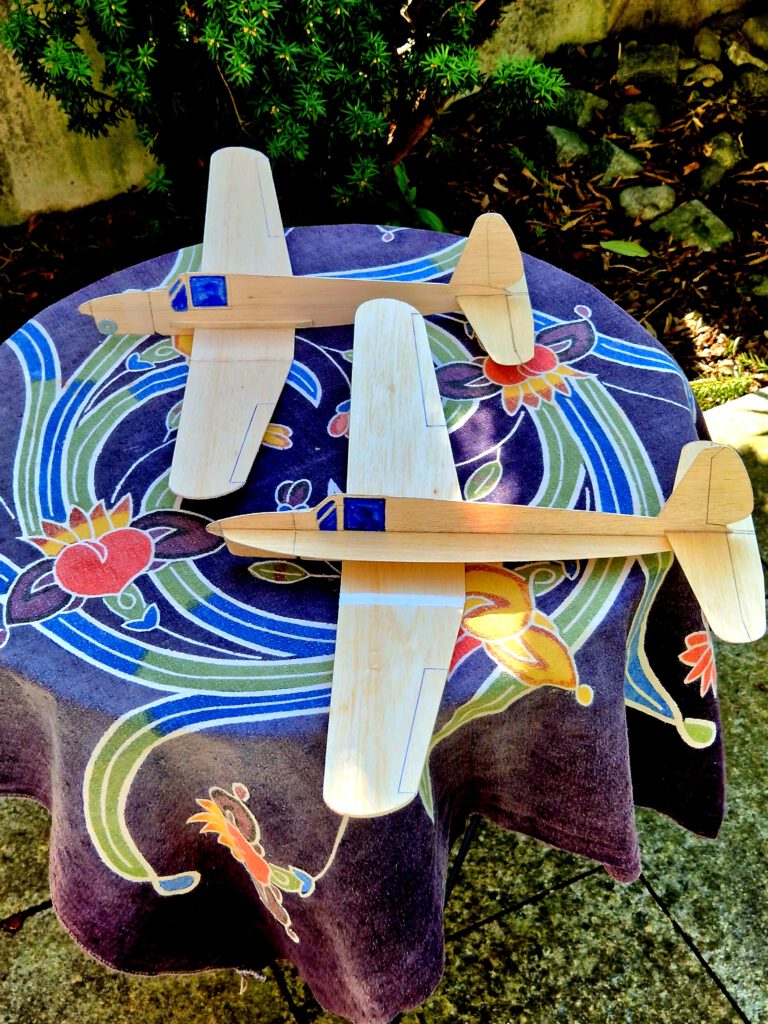
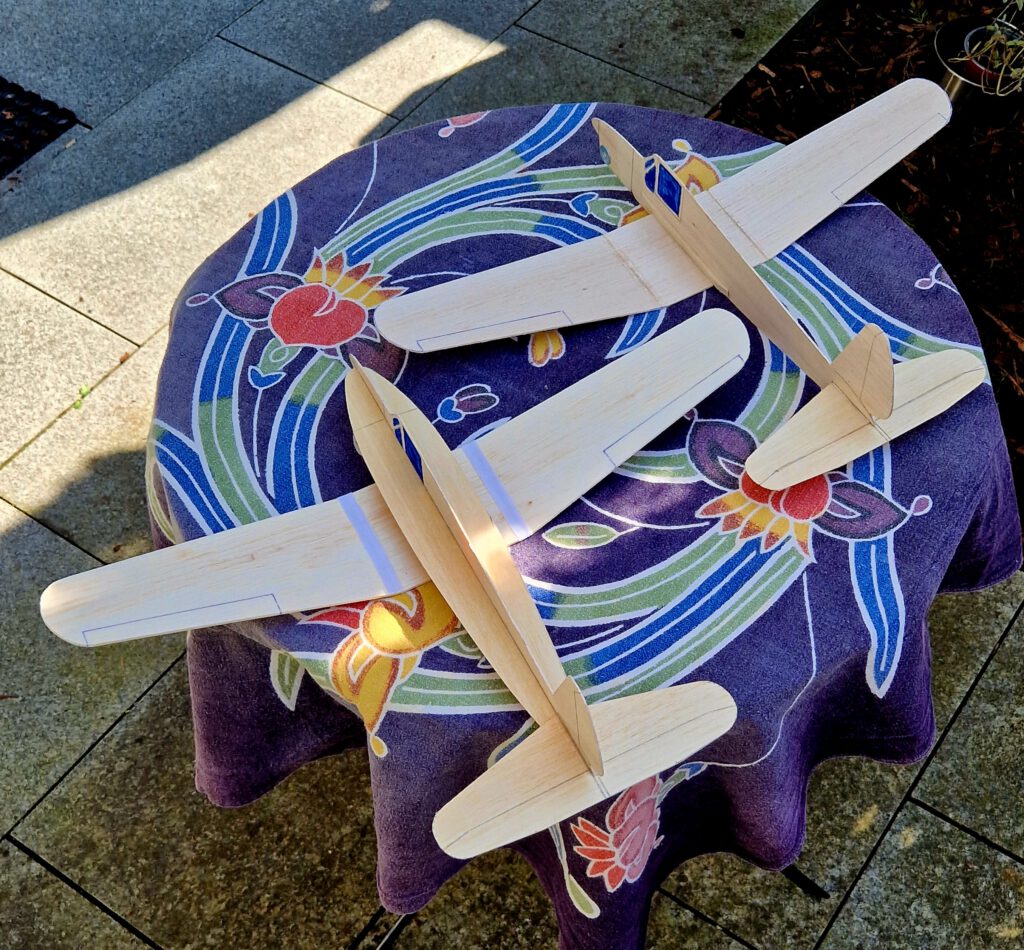
Span 49.5 cm / 19.5 in
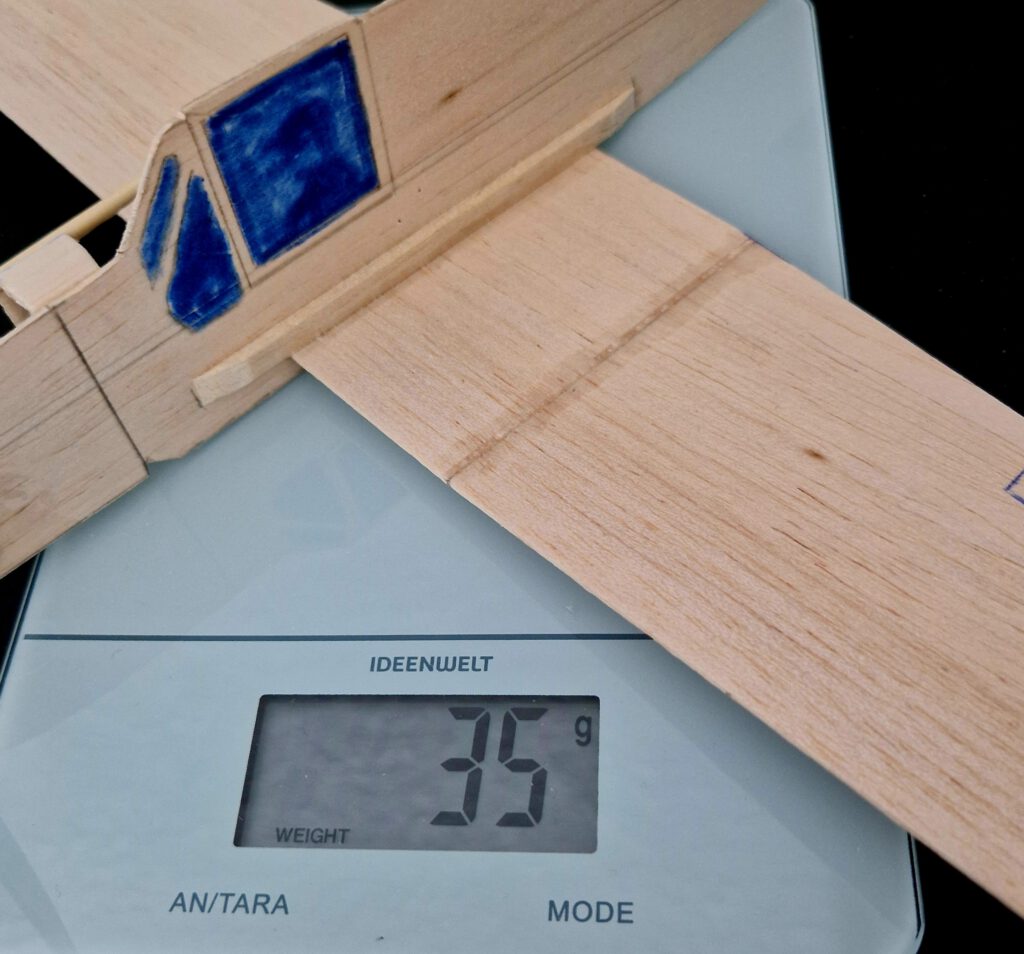
Weight 37 g / 1.3 oz ready to fly
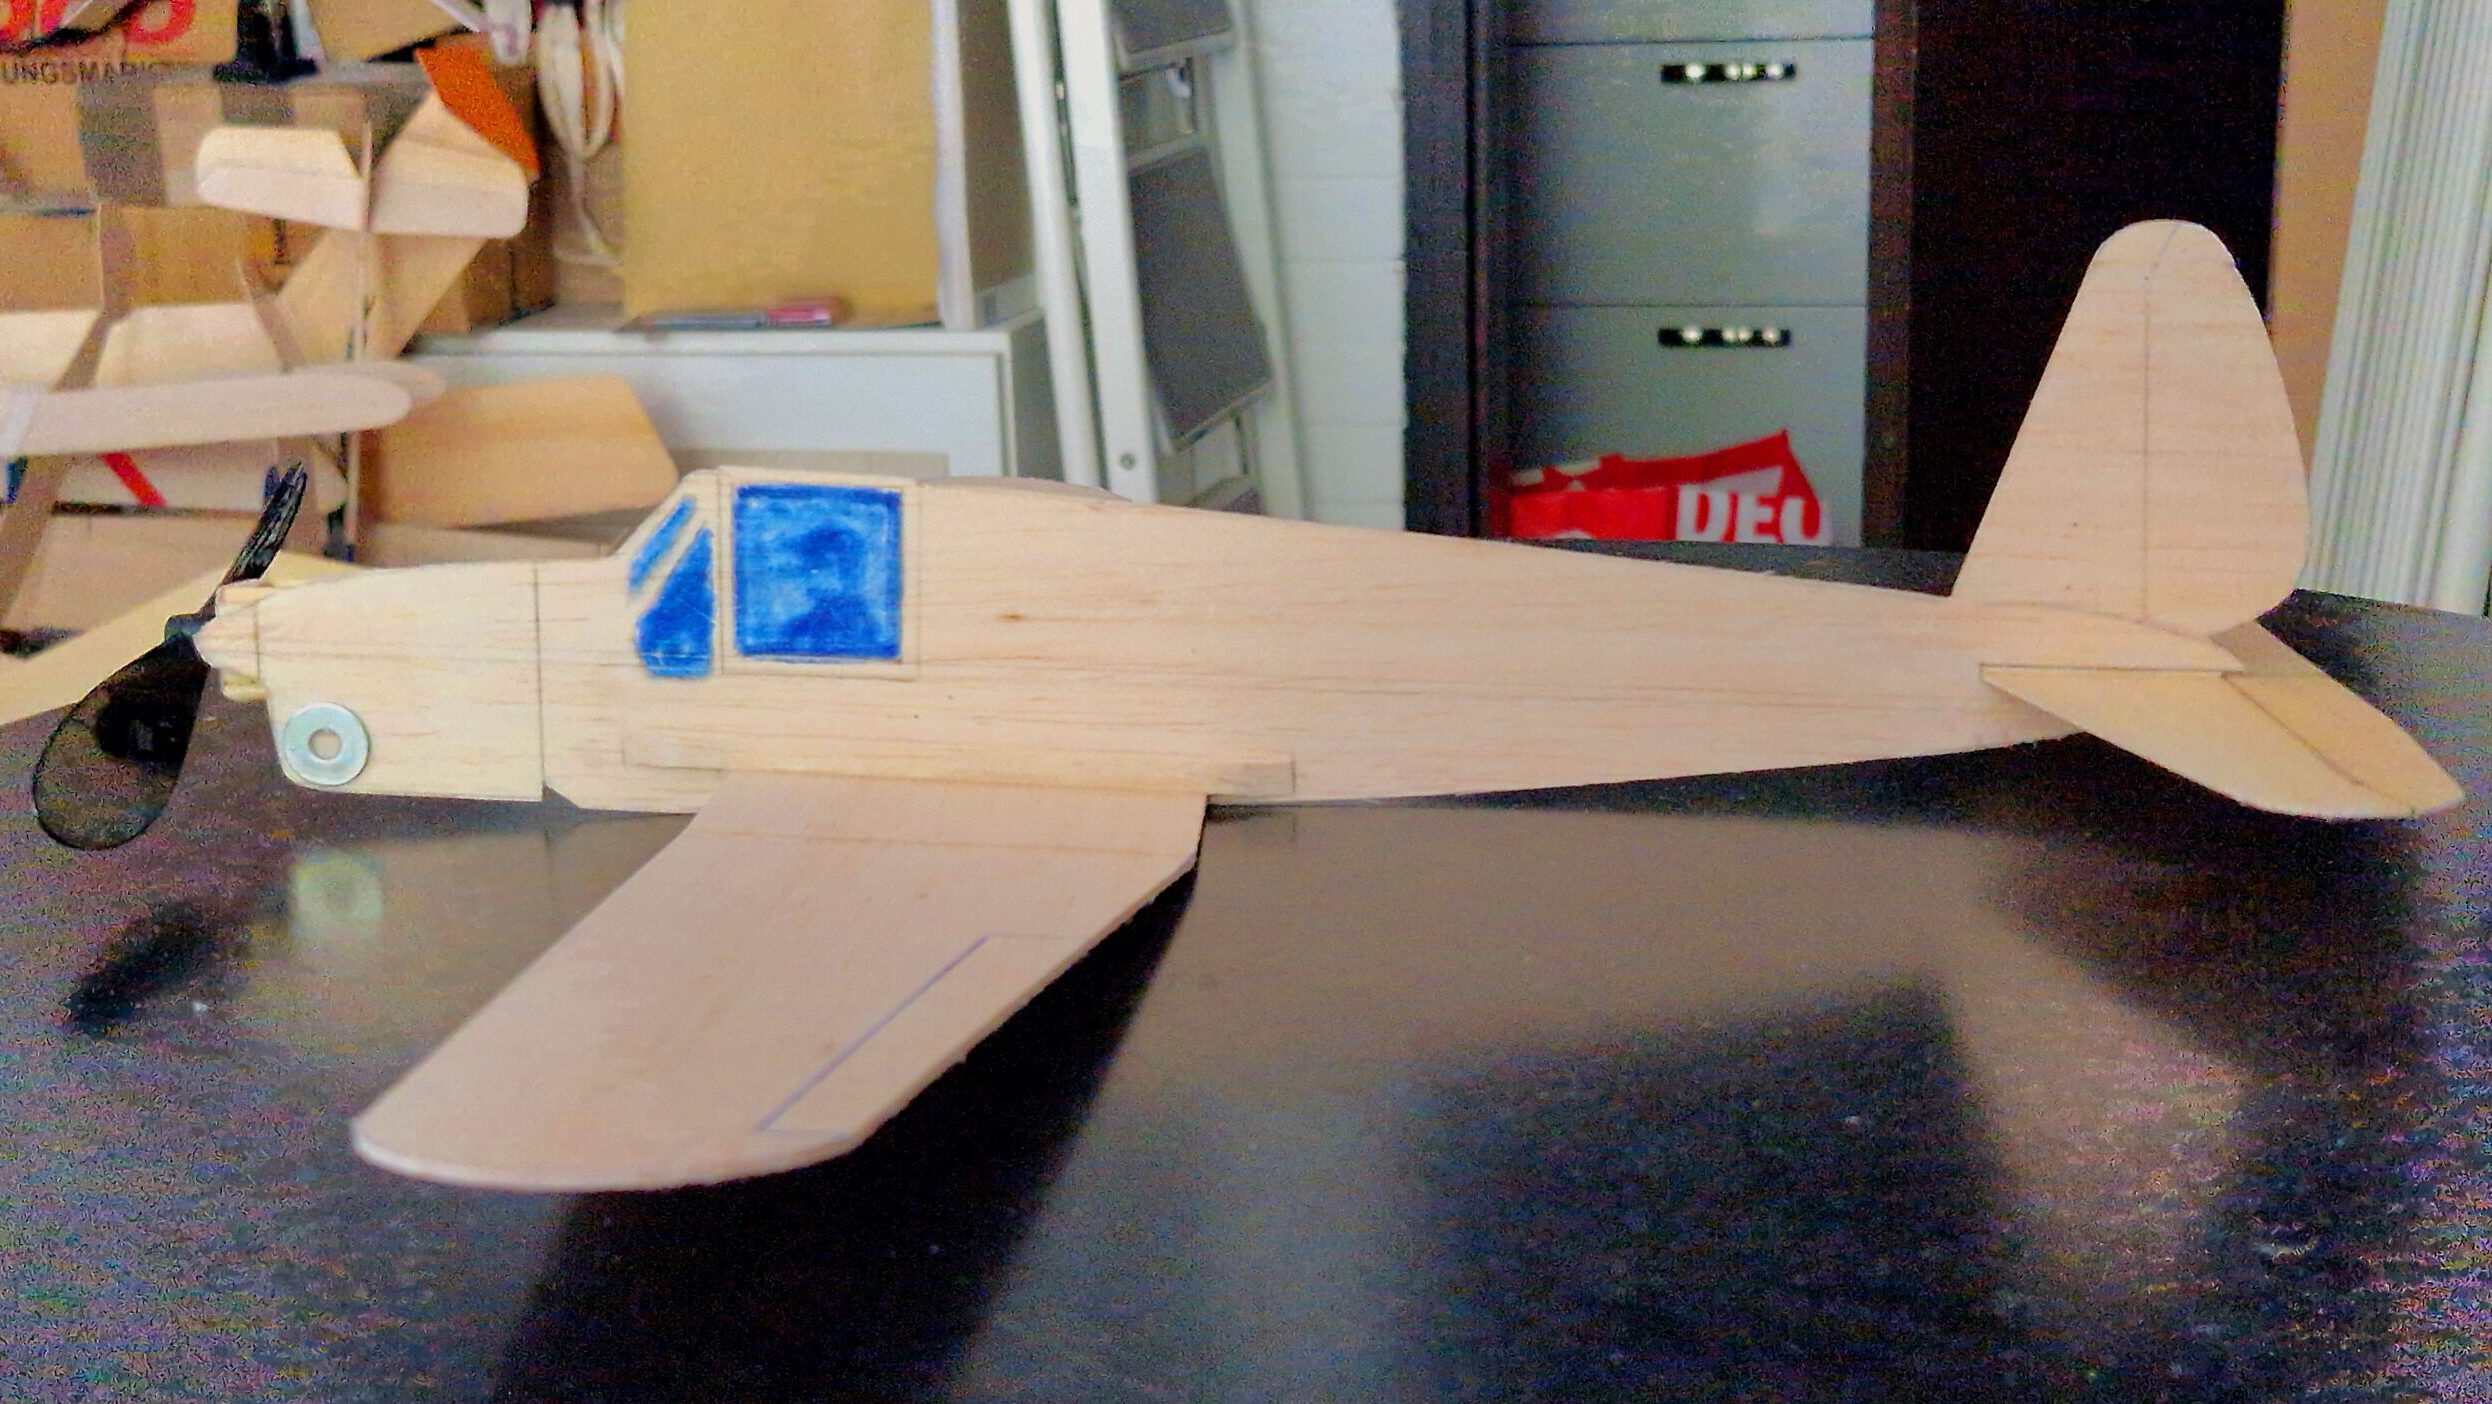
The original Ar 79 was an aerobatic two-seat trainer and touring aircraft from Germany. First flight took place in 1938 and 72 examples were built all together. One survived and is currently on display in a museum in Berlin. The Ar 79 had a retractable tailwheel undercarriage and was of mixed (material) construction. Although not many planes could be sold the airplane was considered a success as some Ar 79 set records in their class. Powerplant was a 105 hp Hirth four-cylinder piston engine. Wingspan measured 10 m / 32 ft 10 in, length 7.6 m / 24 ft 11 in and endurance was more than five hours.
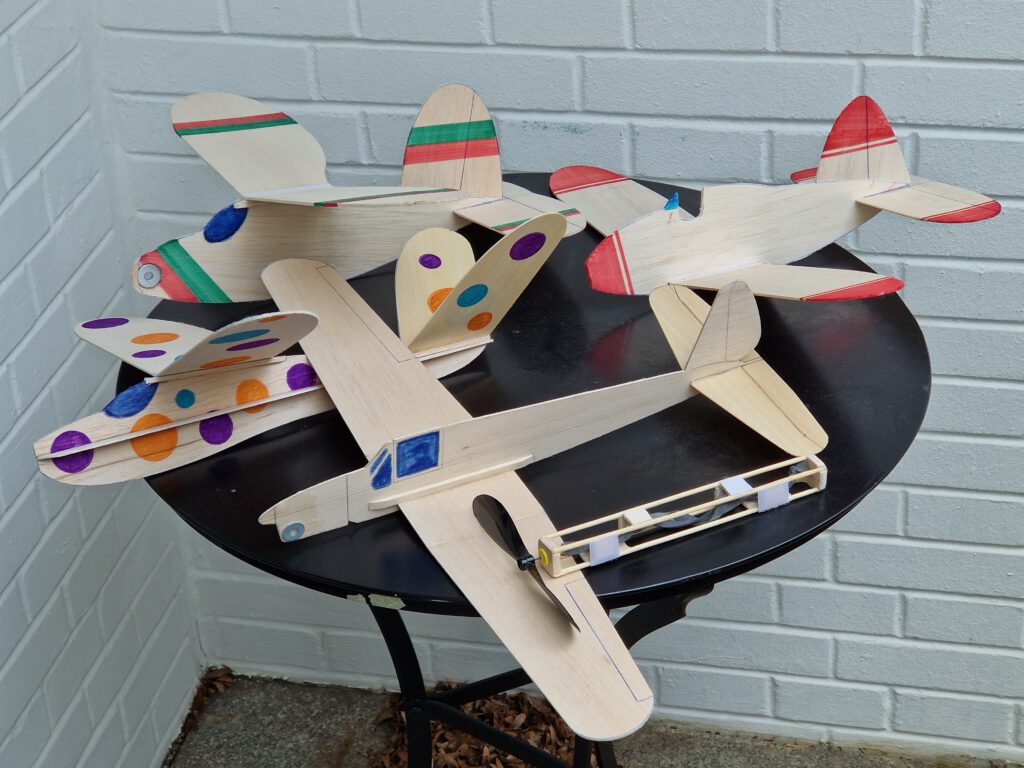
Note: You will find three versions of the Ar 79 in my plans lists: glider 1016, rubber powered 2012 and RPU (here).
What is RPU?
RPU stands for rubber power unit.
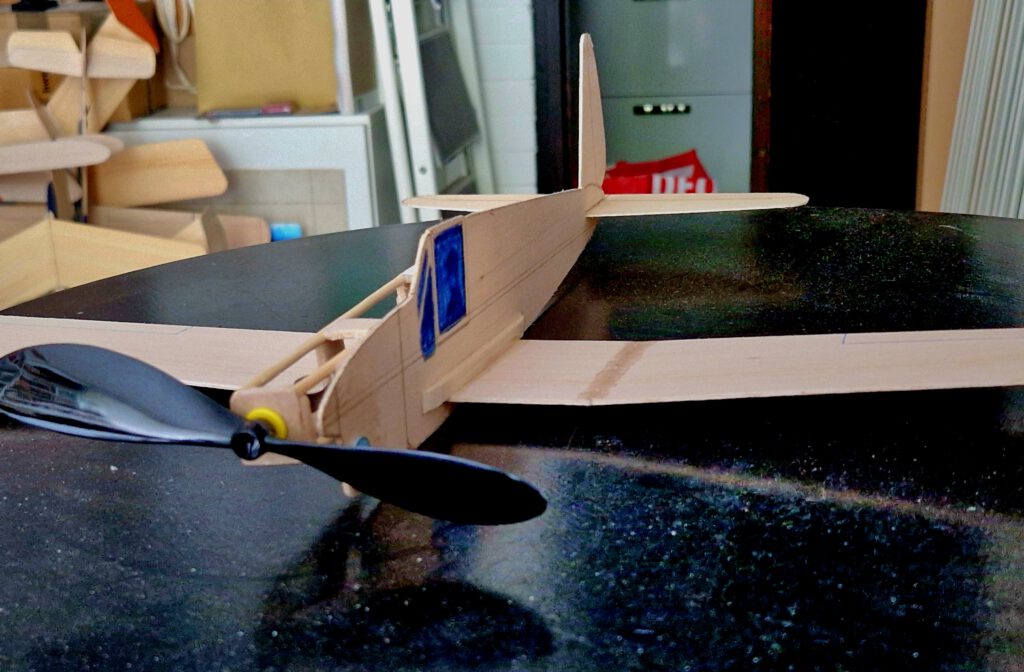
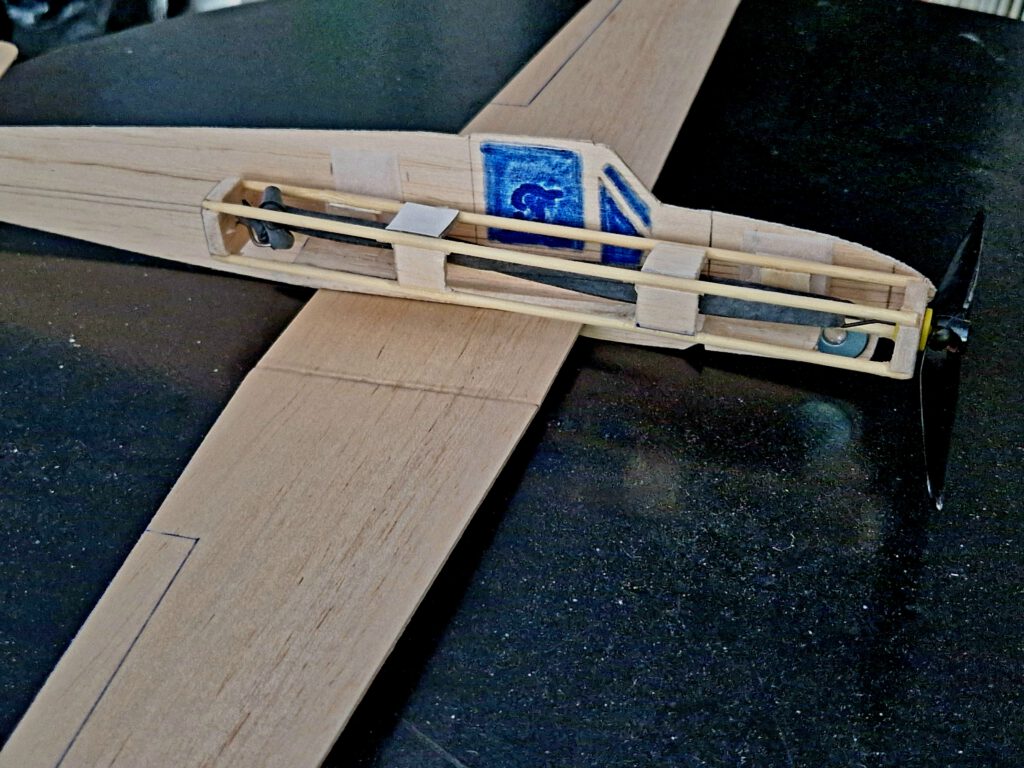
This is a device designed for the modelbuilder who likes to fly many models with one only powerunit. Main material of the RPU comes from the grocery store around the corner: four barbecue skewer chopsticks. Add to them scratch balsa, a hook made from piano wire, some black rubber and a commercial plastic airscrew. That’s all.
The unit is attachable through two pieces of Velcro tape and can thus be used for example first on a little Spitfire five minutes later on a Mitsubishi Zero and ten minutes later on a Macchi Folgore of the same configuration. You build only one RPU and use it on as many modelplanes as you wish.
Models with RPU use the same asymmetrical principle as is known from No-cal models. From the one side they look handsome as from the other the power unit disturbs the harmonic view considerably.
Generally there is no great difference between the flight performances of a balsa sheet profile model with built-in rubber motor and a model flying on a RPU.
Why not try both principles? Among the plans range of beginner.zone you will find models of both categories. Sit down, build, fly, compare!
I developed and tested three different types of RPUs.
- The one for small models of 30 cm / 11.8 in to 40 cm / 15.75 in wingspan is the RPU 20 (lenghth 20 cm / 7.9 in).
- The one for medium sized models with a span of 40 cm / 15.75 in to 60 cm / 23.6 in is the RPU 30 (length 30 cm / 11.8 in).
- The one for larger models of up to 80 cm / 31.5 in wingspan is the RPU 40 (length 40 cm / 15.75 in).
- The RPU 40 is made from slightly different material. Instead of the skewer chopsticks it uses two strips of bamboo wooden sticks (400 x 9 x 3 mm). The rest is identical.
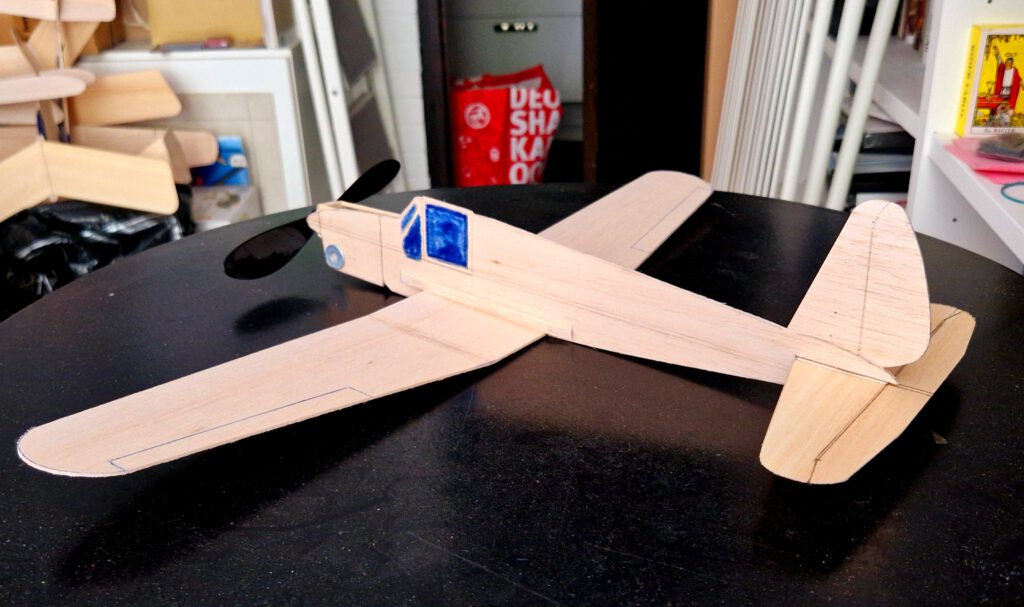
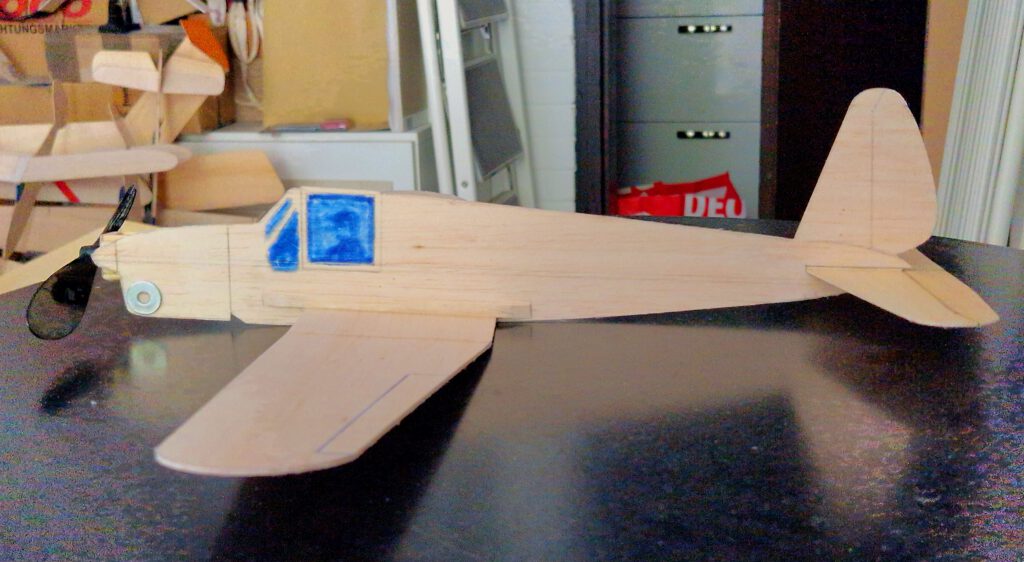
Building the sheet balsa model Arado Ar 79 RPU.
Materials:
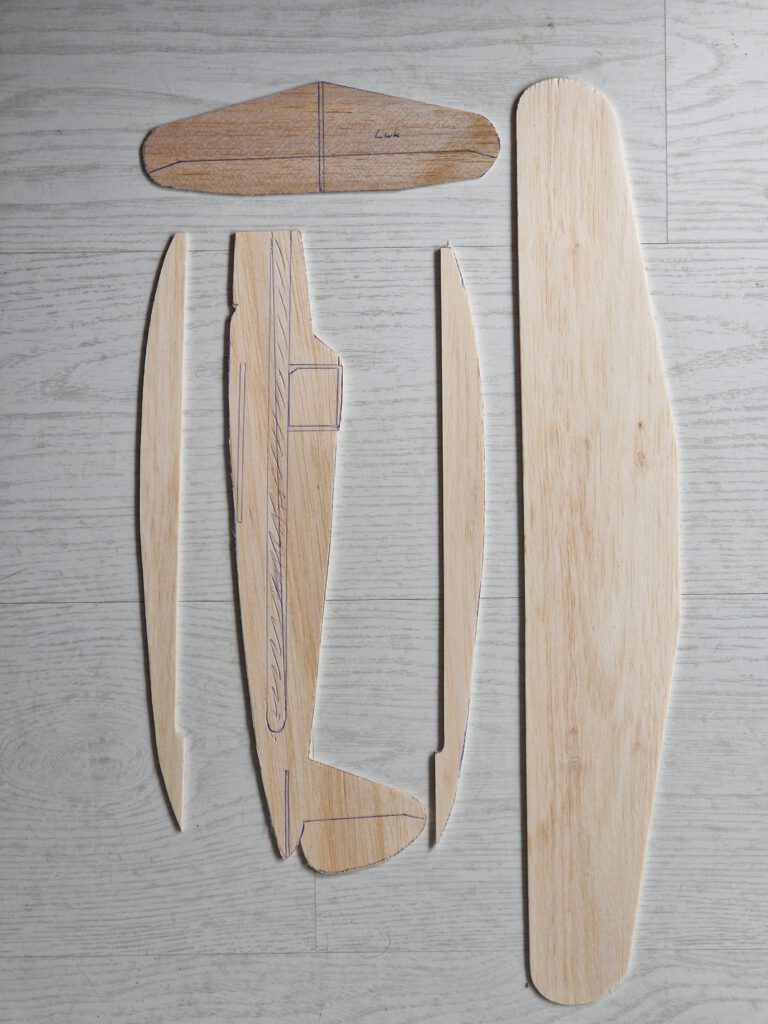
Fuselage: hard B 1.5 or B 2 (fuselage and fin are one part); wing supports: B strips 3 x 5; wings: hard B 1.5; horizontal stabilizer: B 0.8; linen band width 1/3 in; ballast: 2.5 g / 1/10 oz steel or lead.
Assembly:
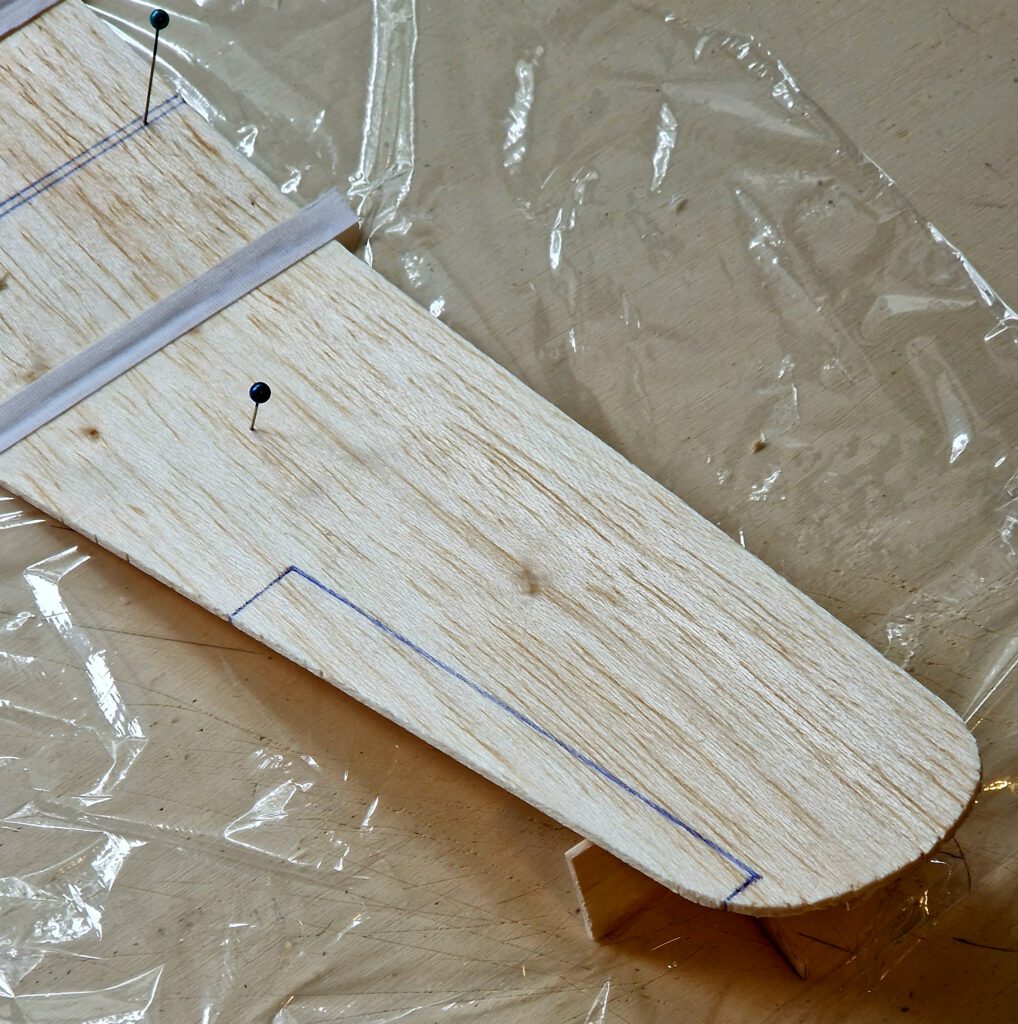
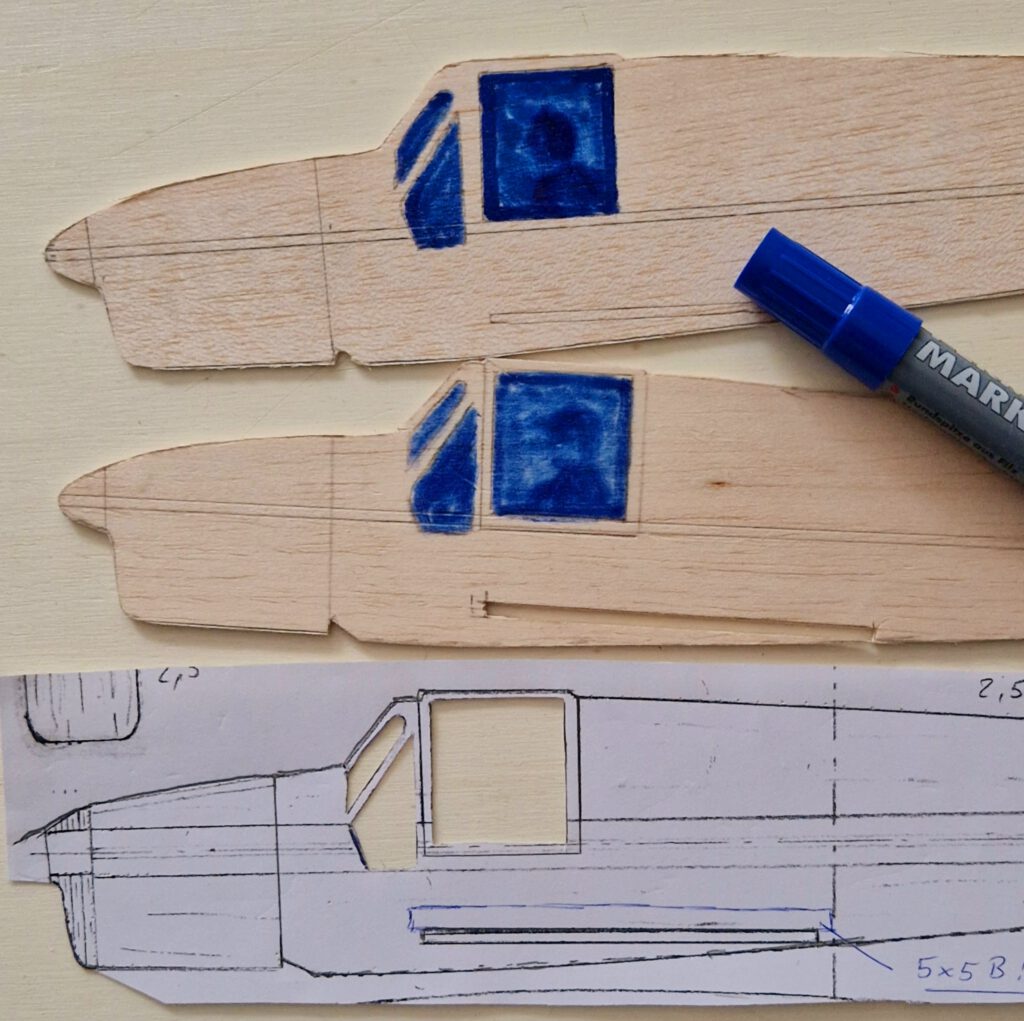
Cut out balsa parts in accordance to plan. Cut slots for wing and horizontal stabilizer into fuselage. Sand well. Transfer outlines of cabin windows, rudders, elevators, flaps etc. from paper to wood with pen (photo).
Wing:
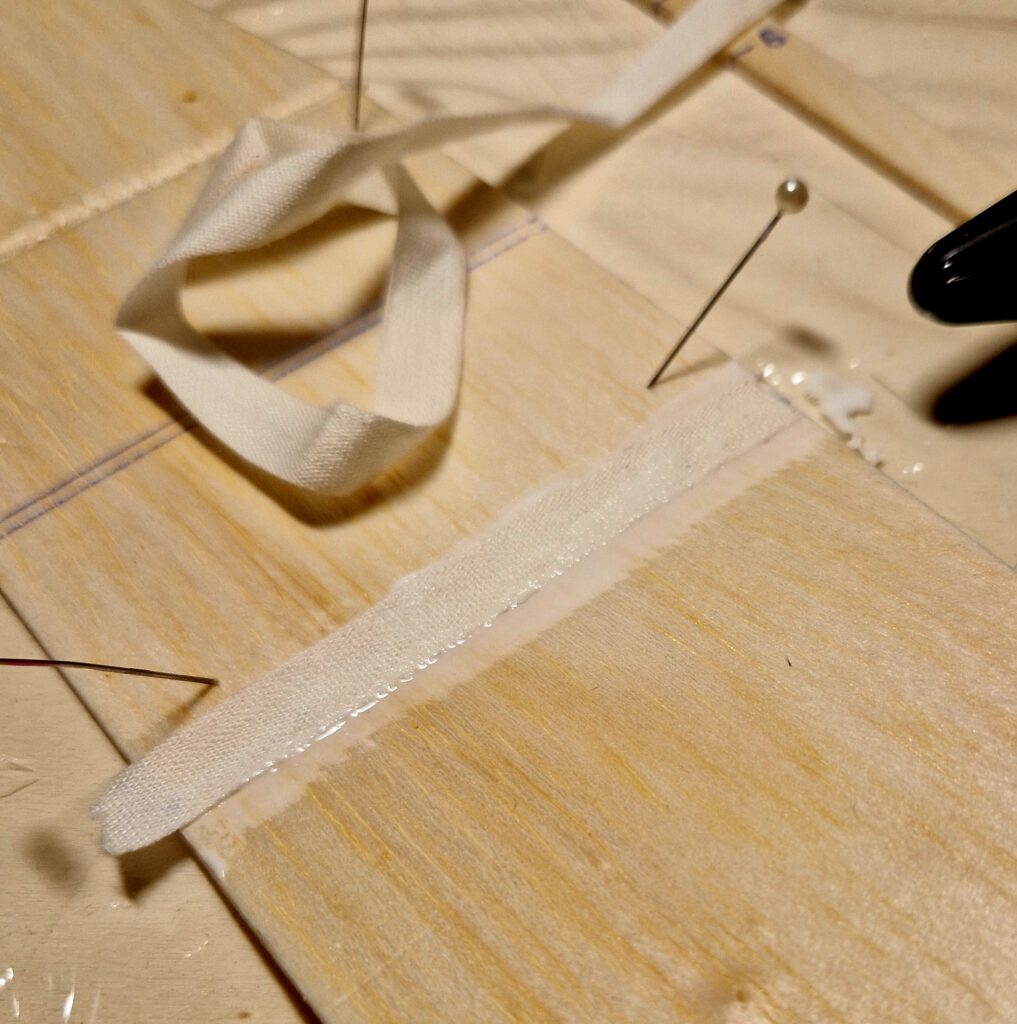
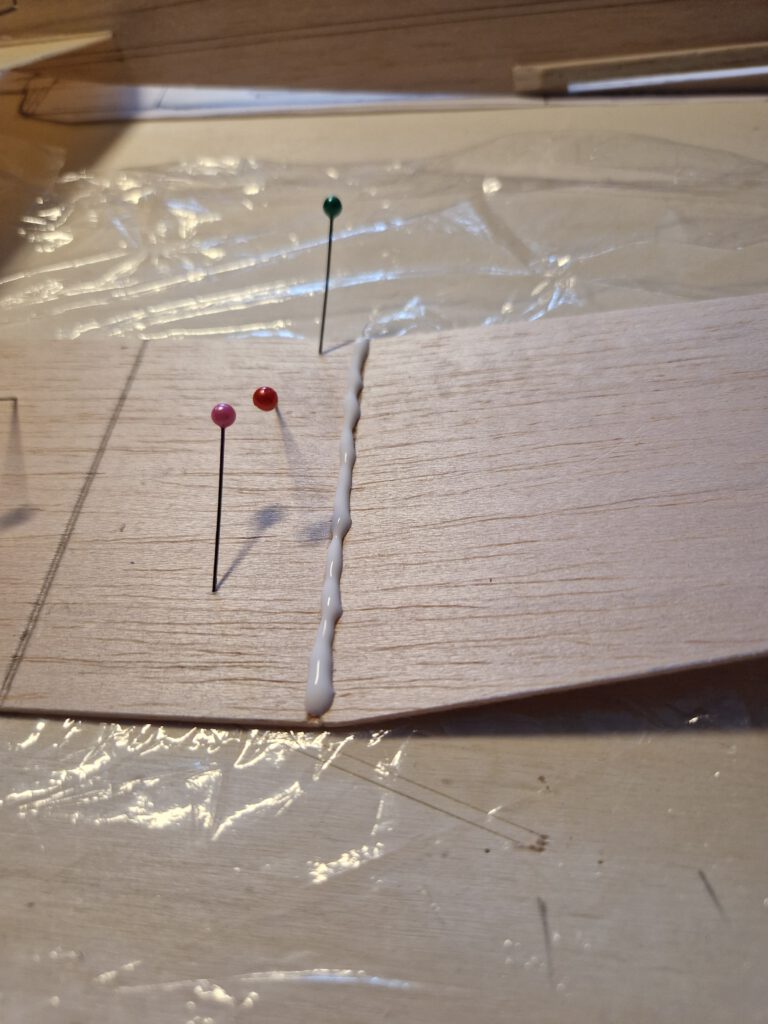
Wing consists of one part. Center section remains flat but wing outer sections have to be lifted to obtain the necessary dihedral. Mark positions where wing outer sections have to be cut off from center section with pencil. Cut at this line slits using a knife or a saw (photo). Fix wing center section on building board with needles and crack or break left wing outer section on slit line upward. Underlay wing tip in accordance to required dihedral (photo). Fill slit amply with cement and cover slit area with linen band (photo). Let dry. Repeat this procedure for the other wing half. Set aside and let dry.
Fuselage:
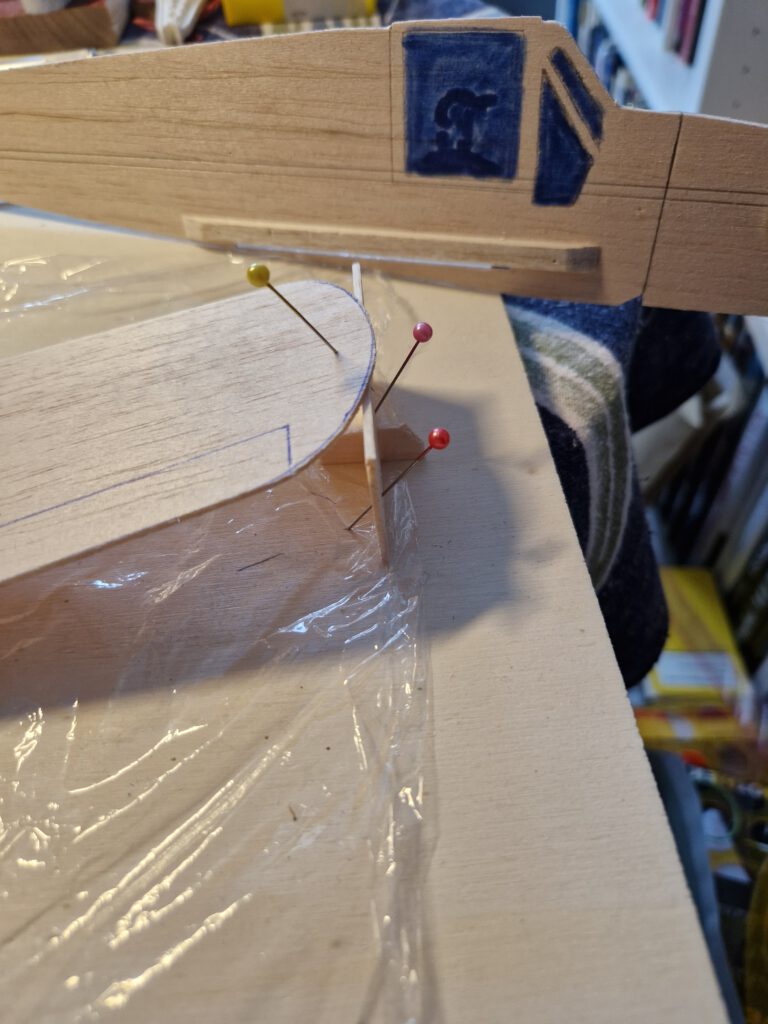
Cement wing support on left side into position (photo). Turn fuselage around and repeat this procedure on right side.
Cement horizontal stab into position using needles. Visual check twice that symmetry is obtained. Let dry.
Final Assembly:
Slide wing into fuselage slot and cement it to the wing supports. Use needles to hold in place. Doublecheck visually symmetry. Put aside and let dry.
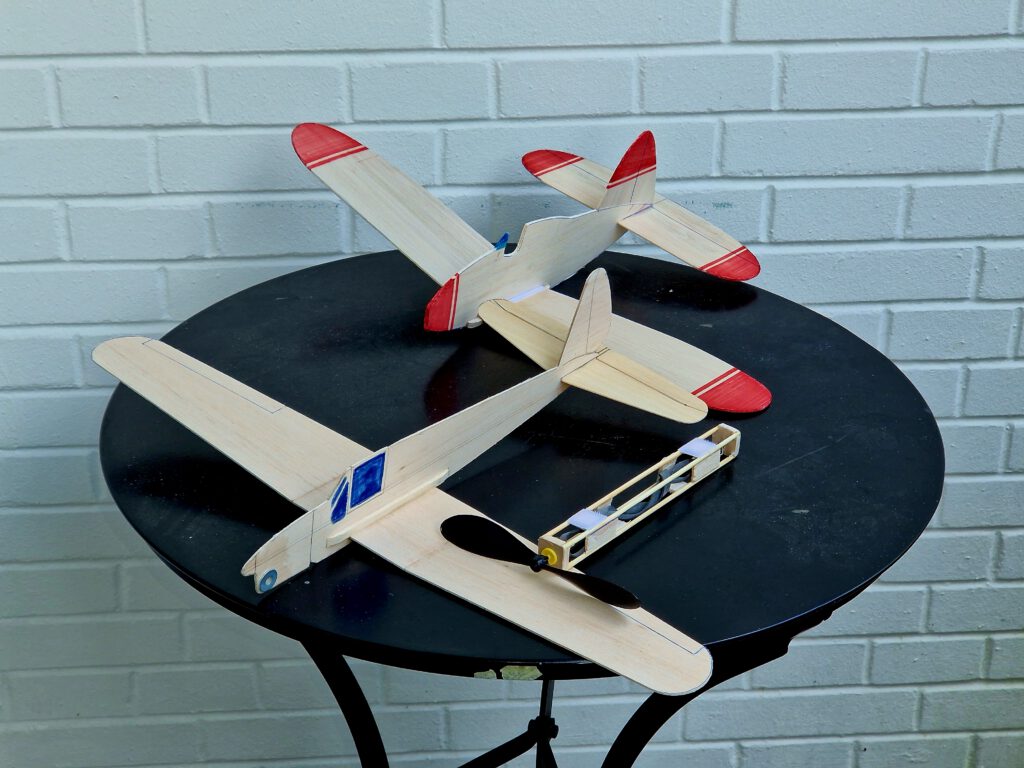
Stick two pieces of Velcro according to your RPU on right fuselage side.
For balancing your model properly install RPU and start testgliding over tall grass. Add ballast according to your test results. Note given position of CG on plan.
Remember correct center of gravity (CG) is essential for successful flights.

ڪيتريون ئي ڪامياب پروازون! (Size bol başarılı uçuşlar diliyorum!)

Leave a Reply