
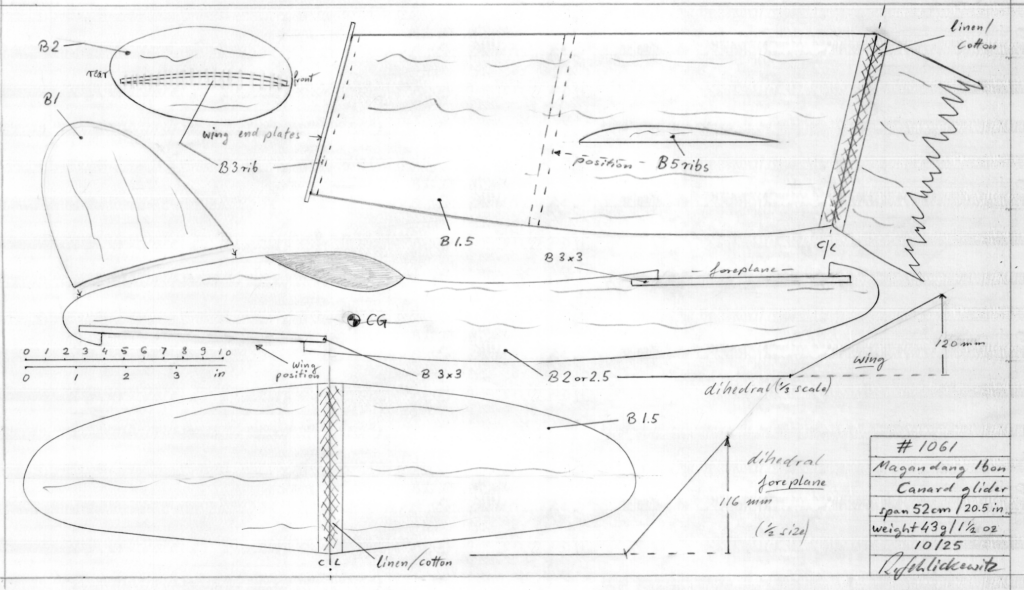
Span 52 cm / 20.5 in
Weight 43 g / 1 ½ oz
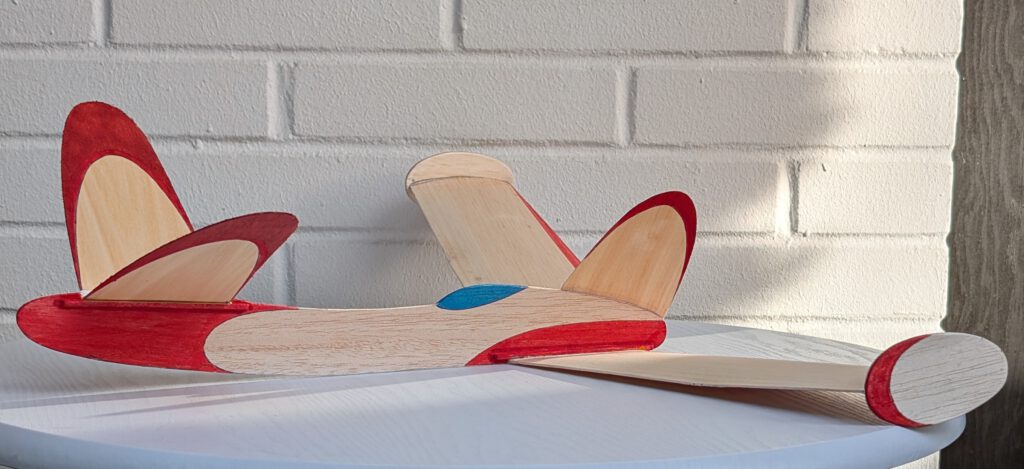
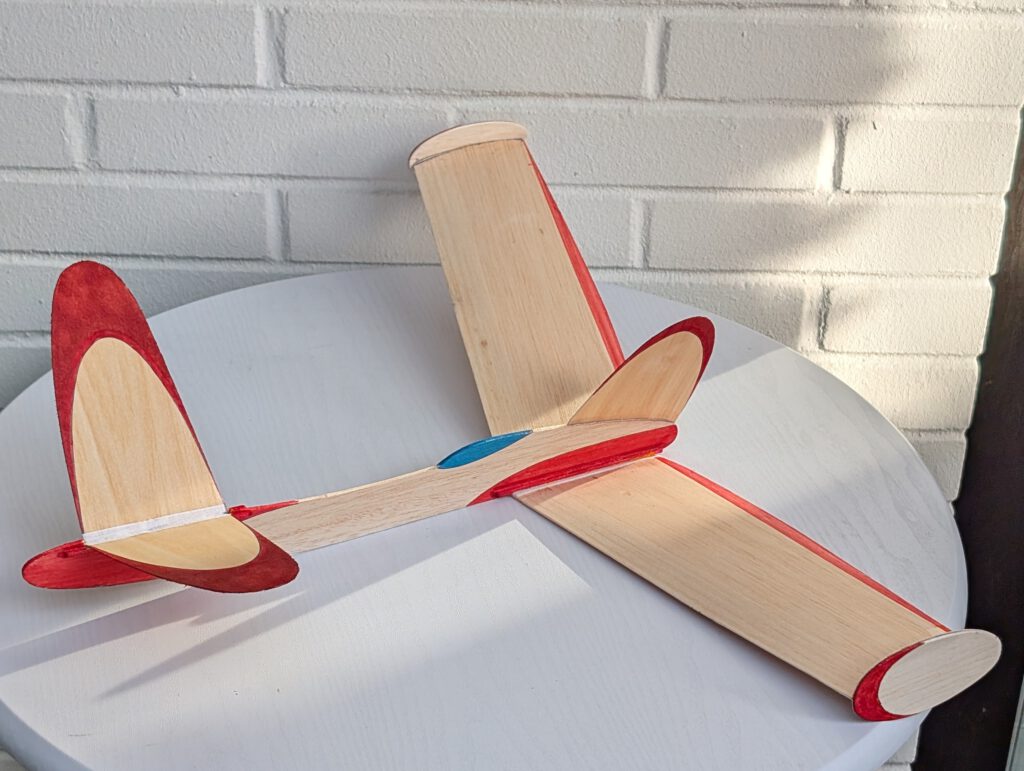
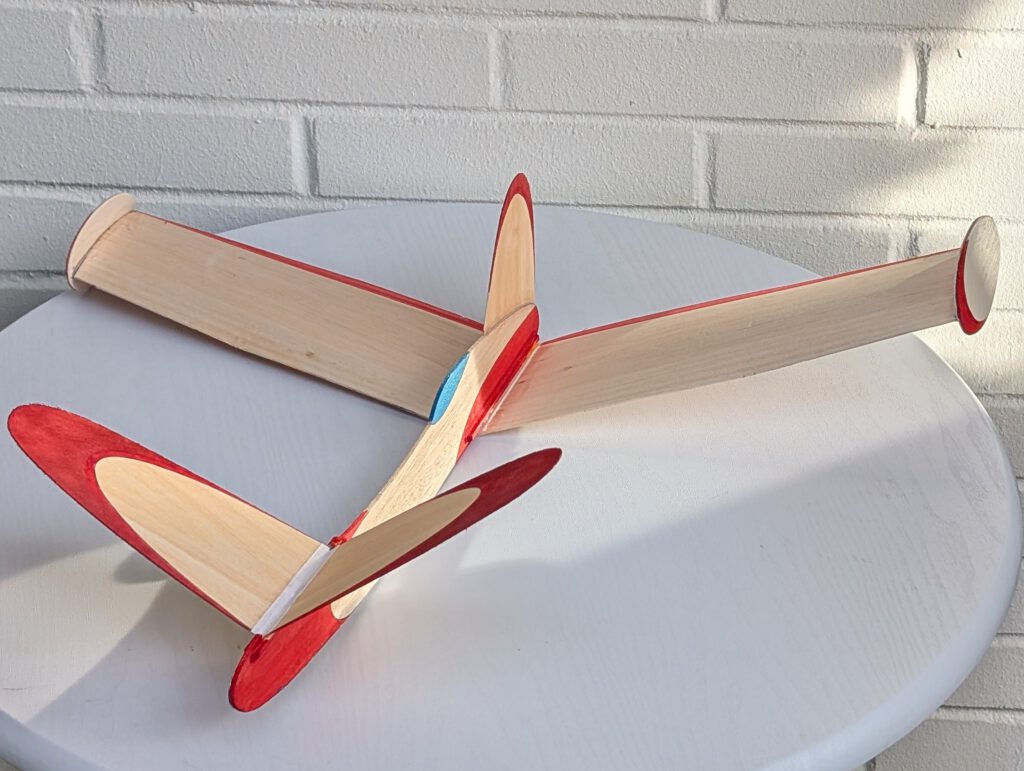

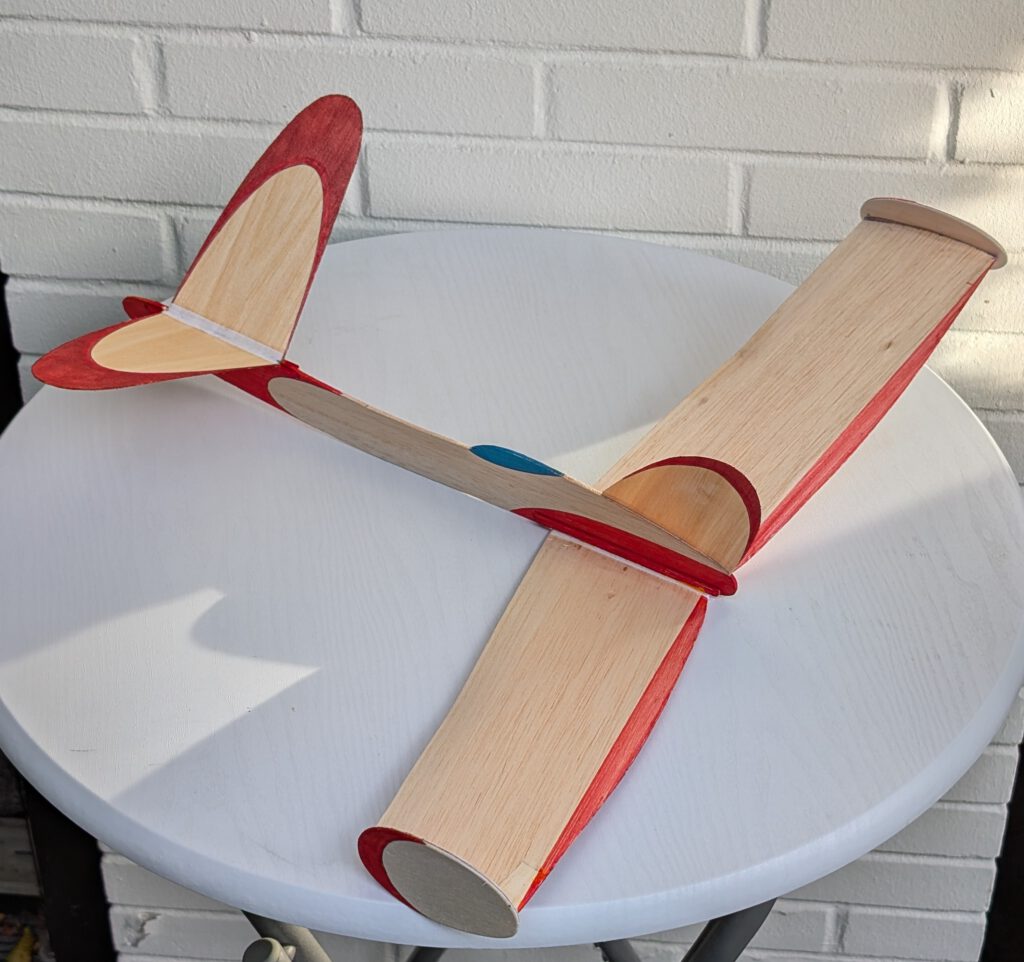
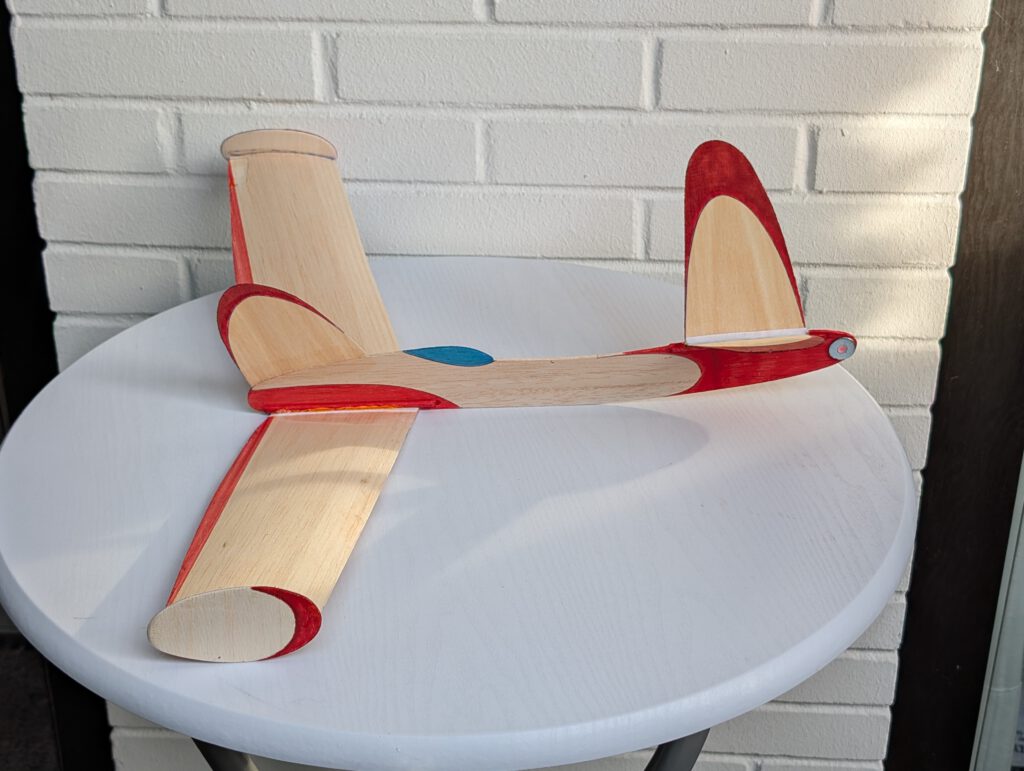
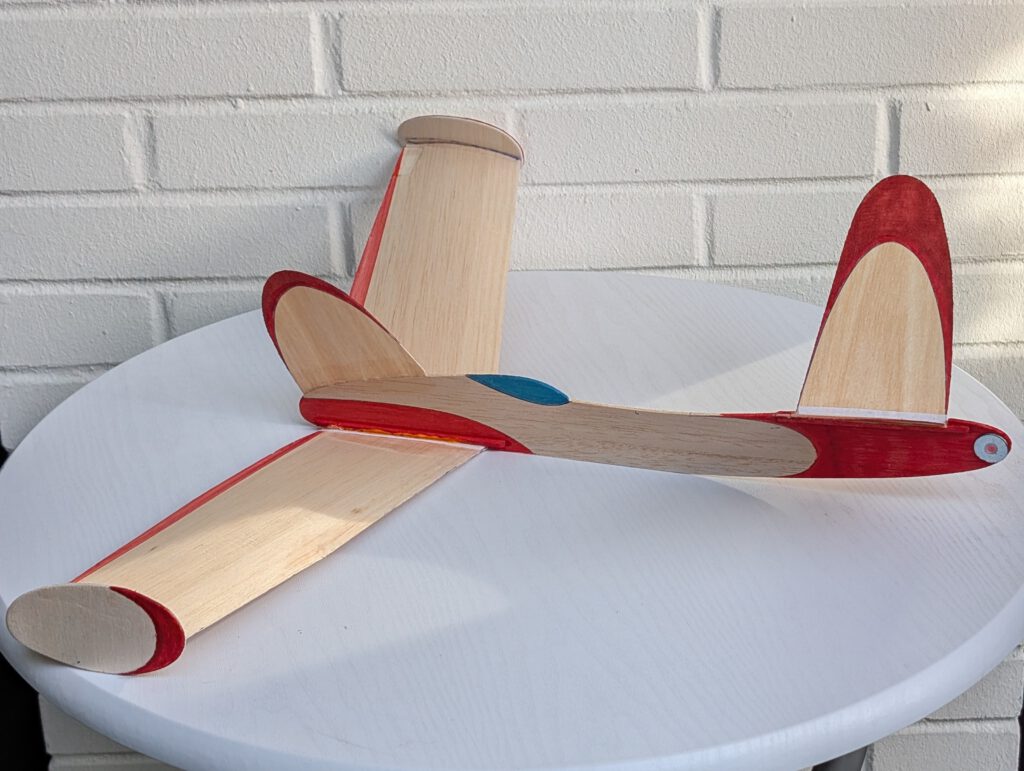
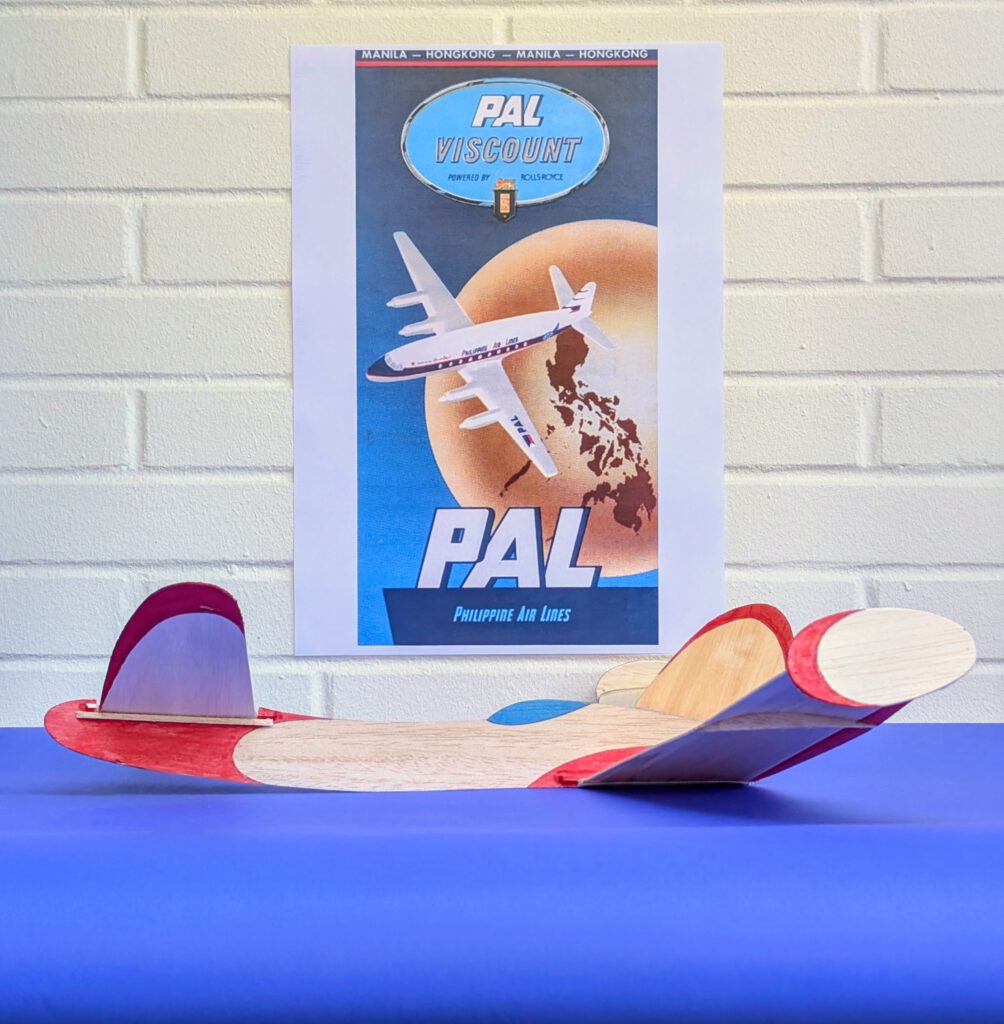
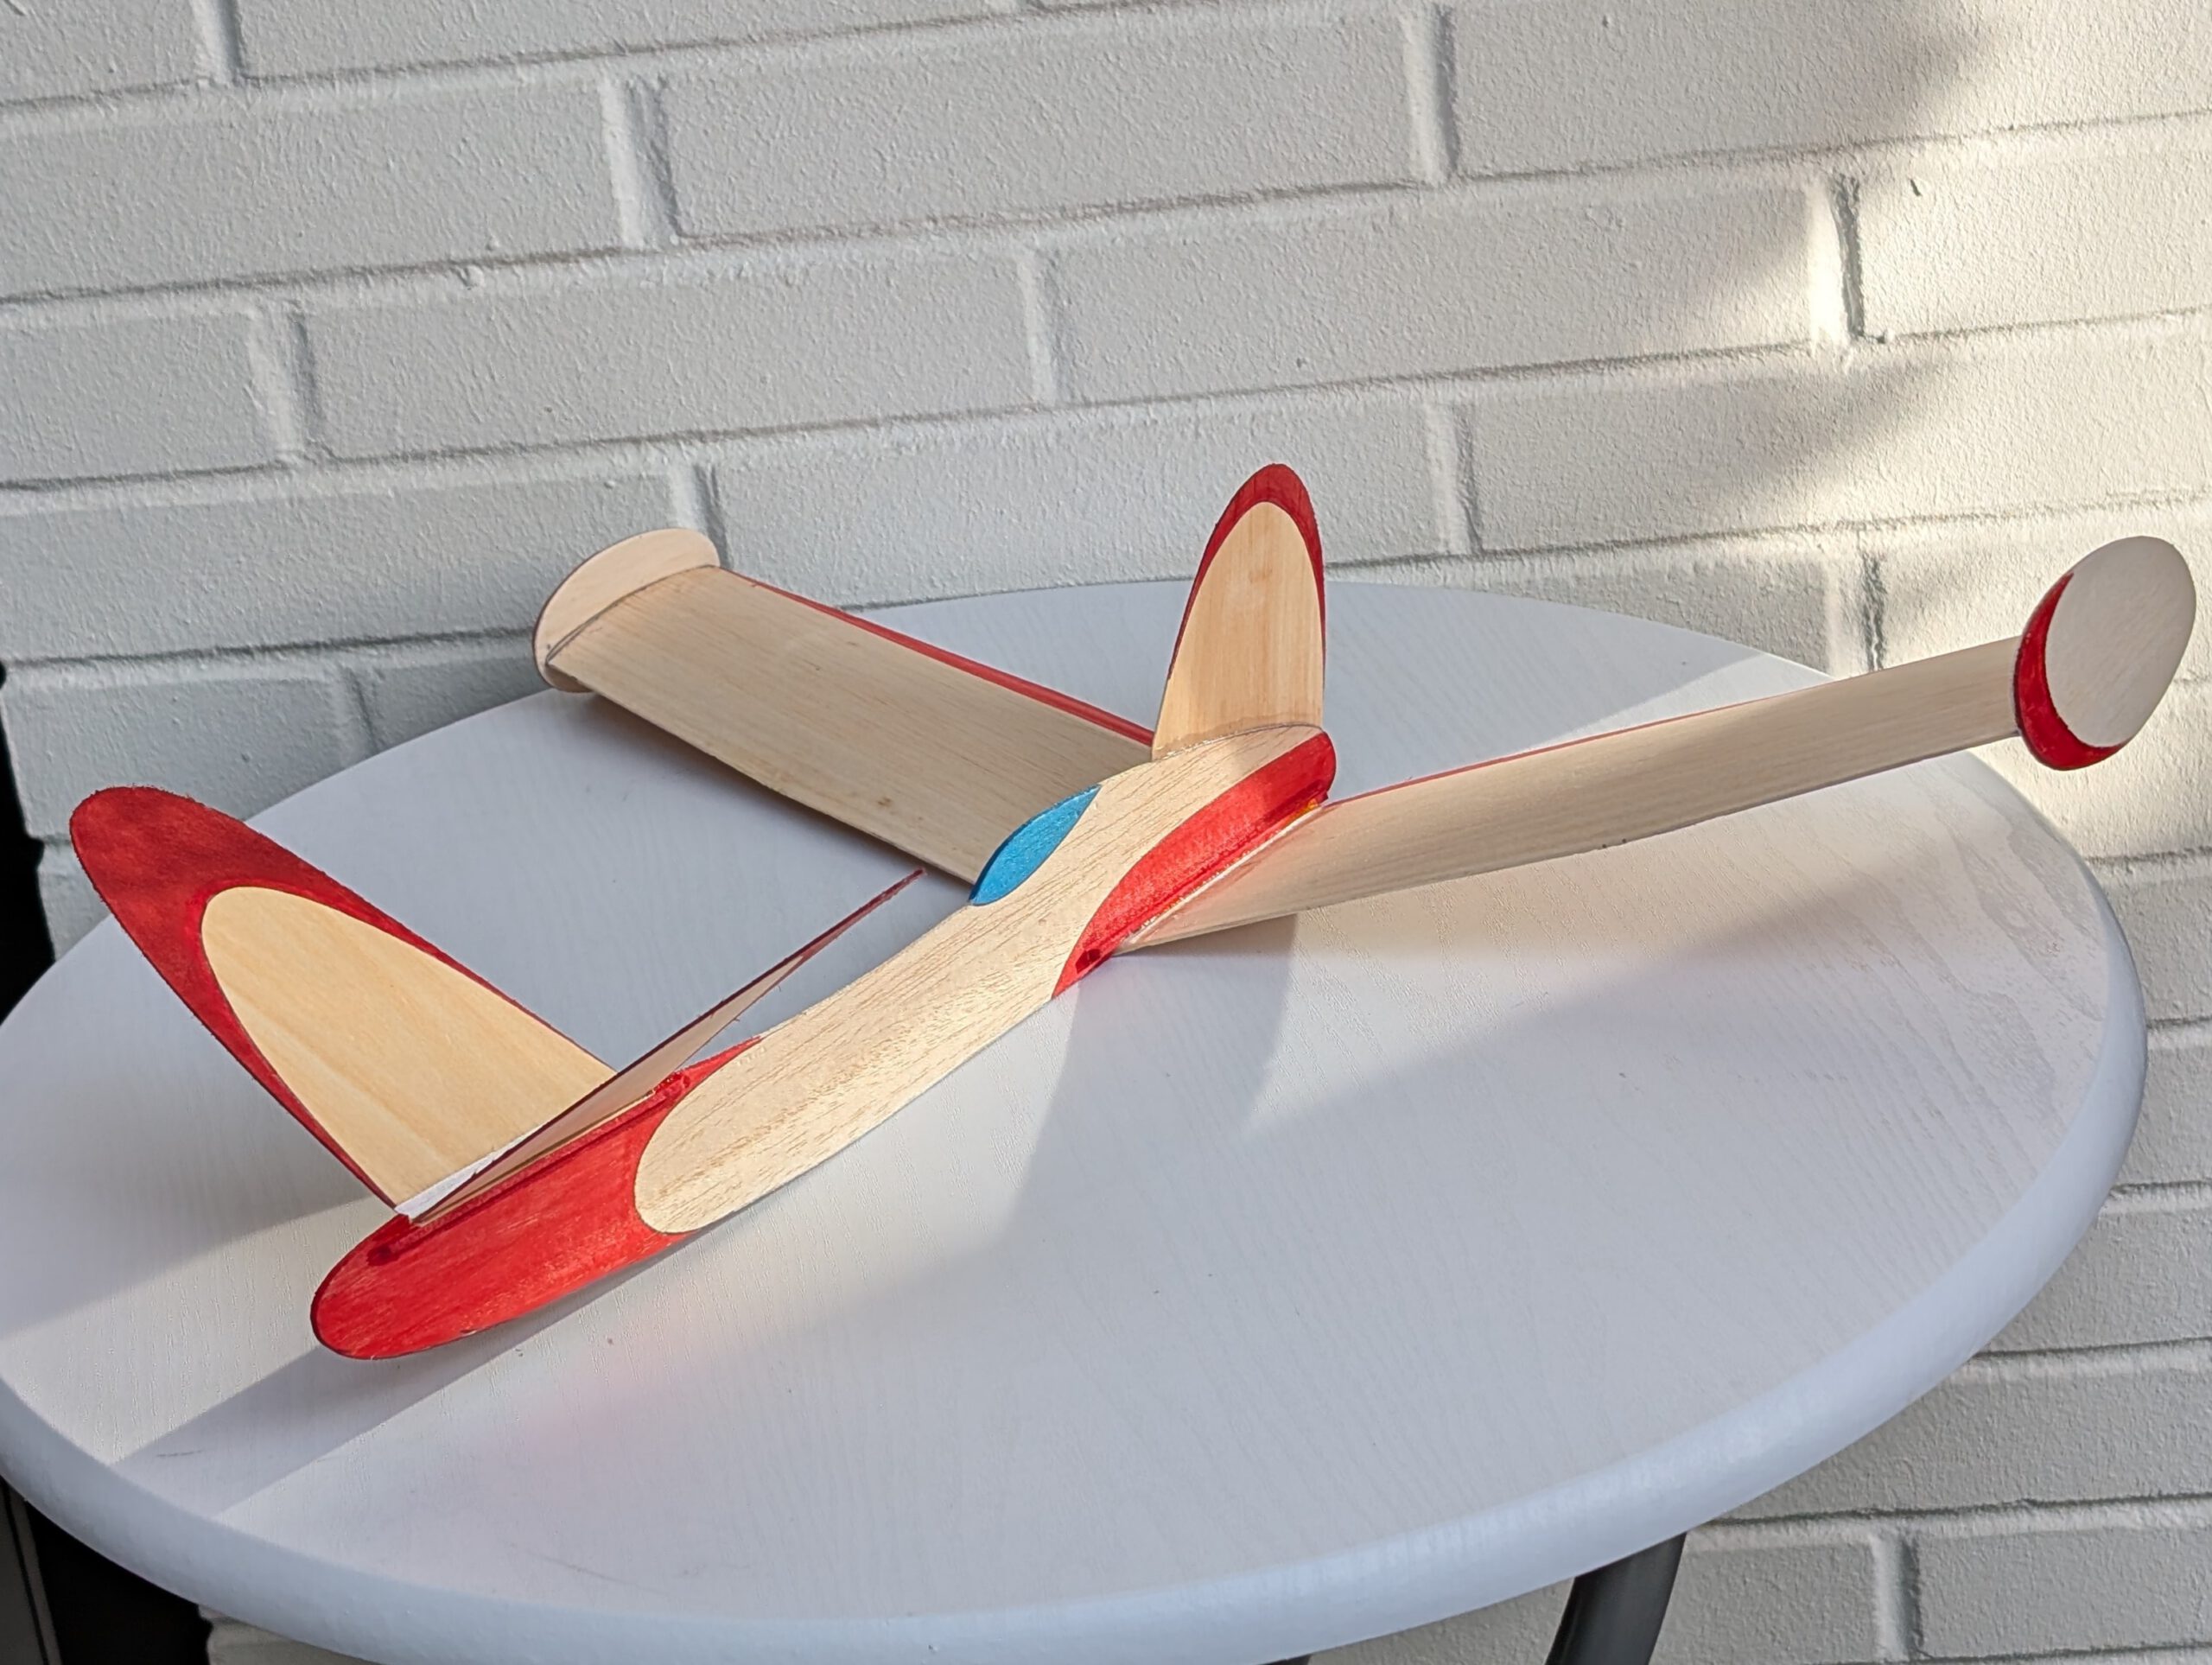
The concept:
• Canard glider
• Profiled wings
• Not suited as a first model
• Intended as a slope soarer
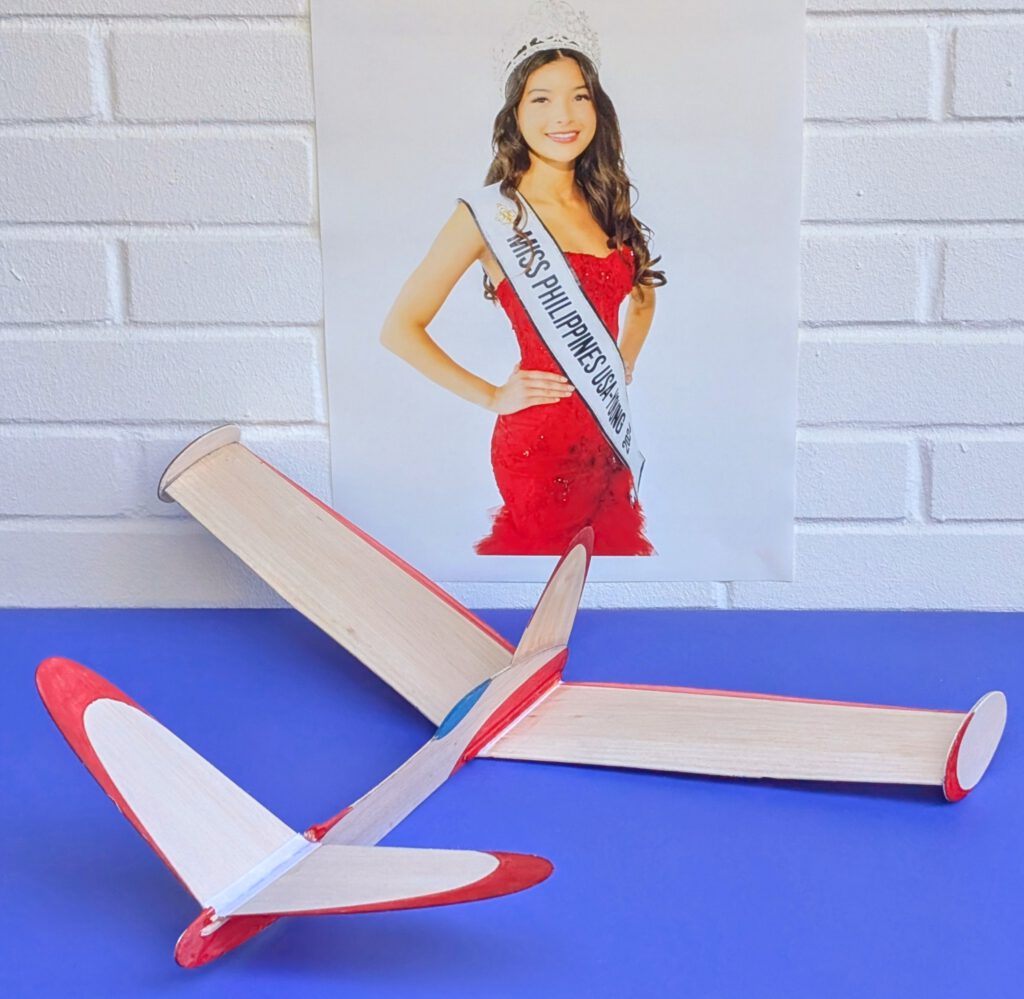
Name is Tagalog (Philippines) and means: awesome.
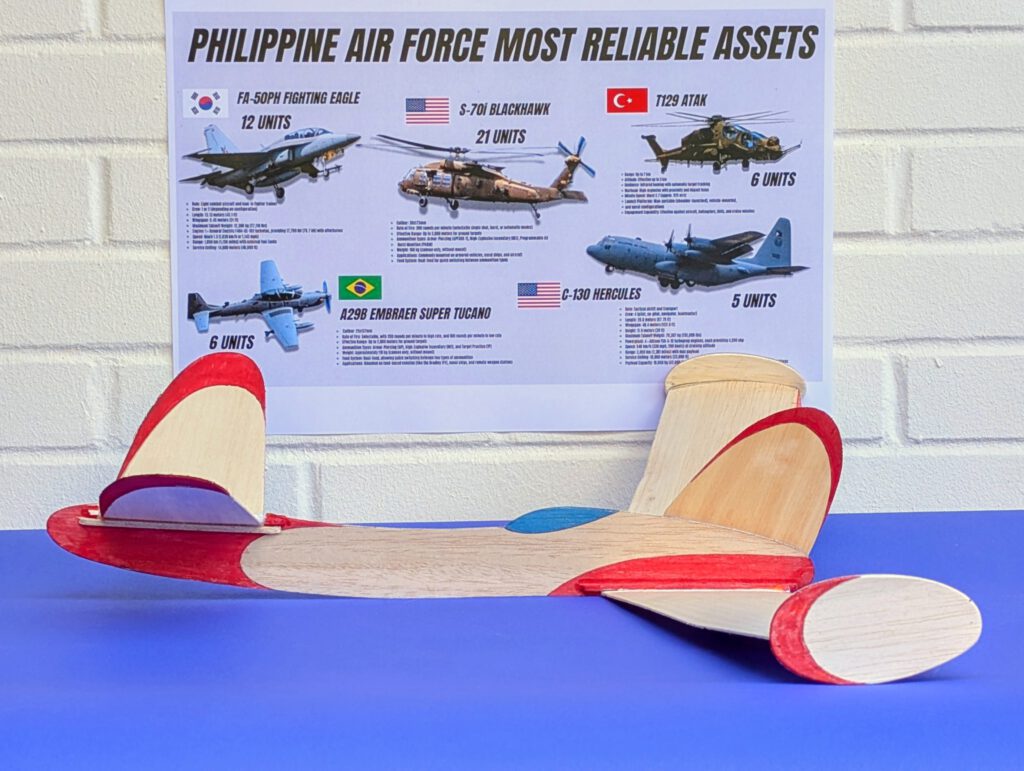
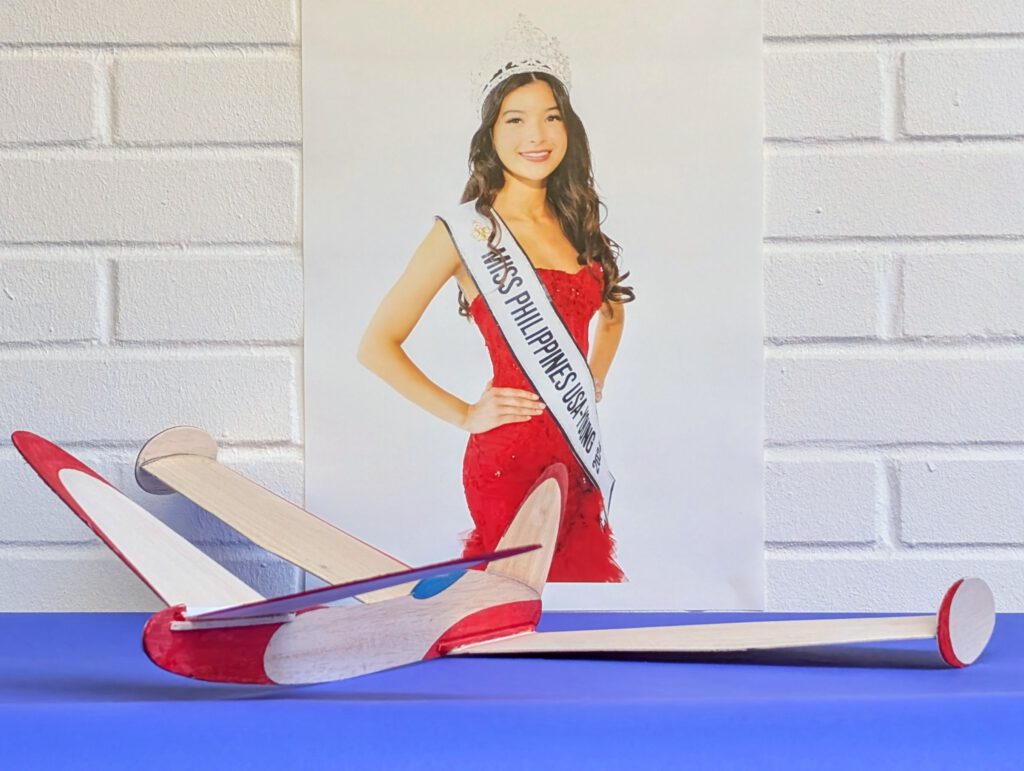
More than 7000 islands make this hotspot for biodiversity and tropical beaches called the Philippines. Population figures range around 115 million. People on the islands are known for their hospitality and deeply religious, family oriented culture. English is not only widely spoken, it is an official language especially in business and education alongside Filipino/Tagalog. The complex history of the Philippines features a mix of Malayo-Polynesian roots, Spanish colonial influence, and an American impact. The nation is diverse indeed as there are more than 150 different languages spoken across the islands. Agriculture, electronics manufacturing, and tourism are essential for the Philippines economy.
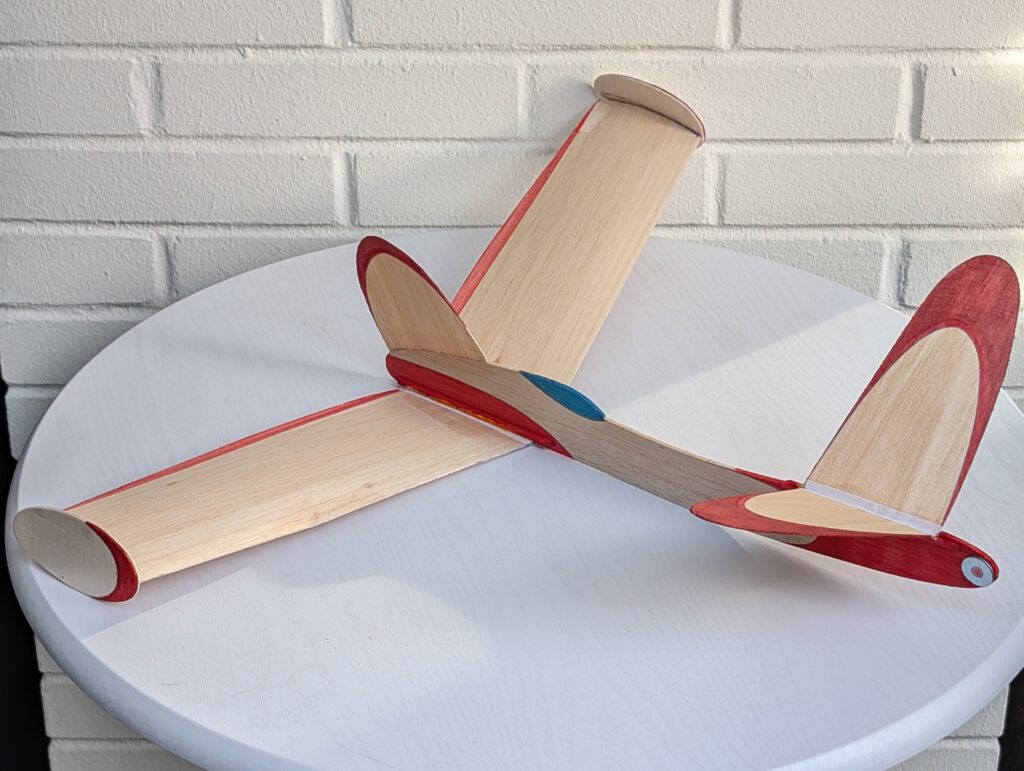
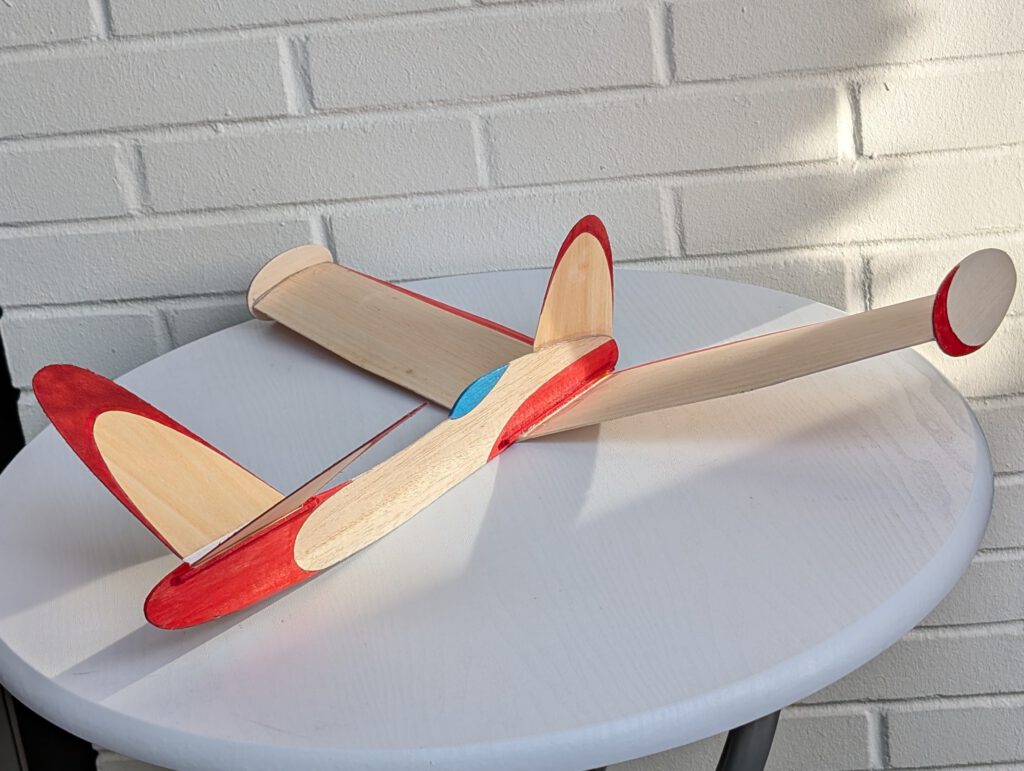
Building the balsa model Magandang Ibon glider
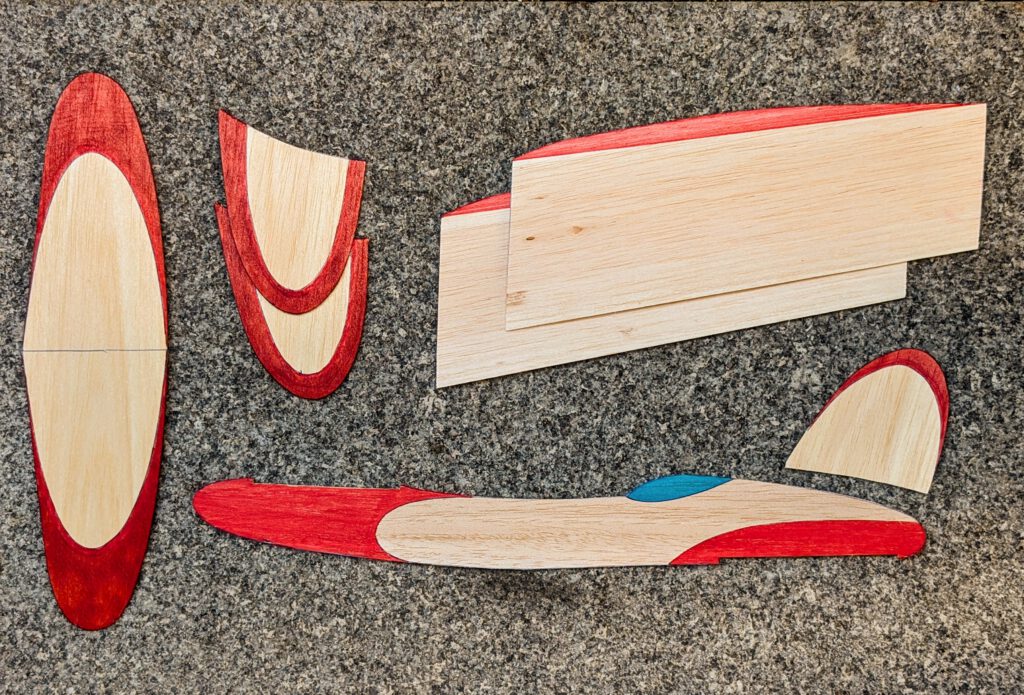
Materials
Fuselage: stiff B 2 or 2.5; wing: B 1.5; wing supports: B strips 3 x 3; mid wing ribs B 5; wing end plates: B 2; wing end plate ribs: B 3; foreplane: B 1.5; foreplane supports: B strips 3 x 3; linen band width 12 mm / ½ in; ballast: small piece of scrap metal or lead.
Assembly
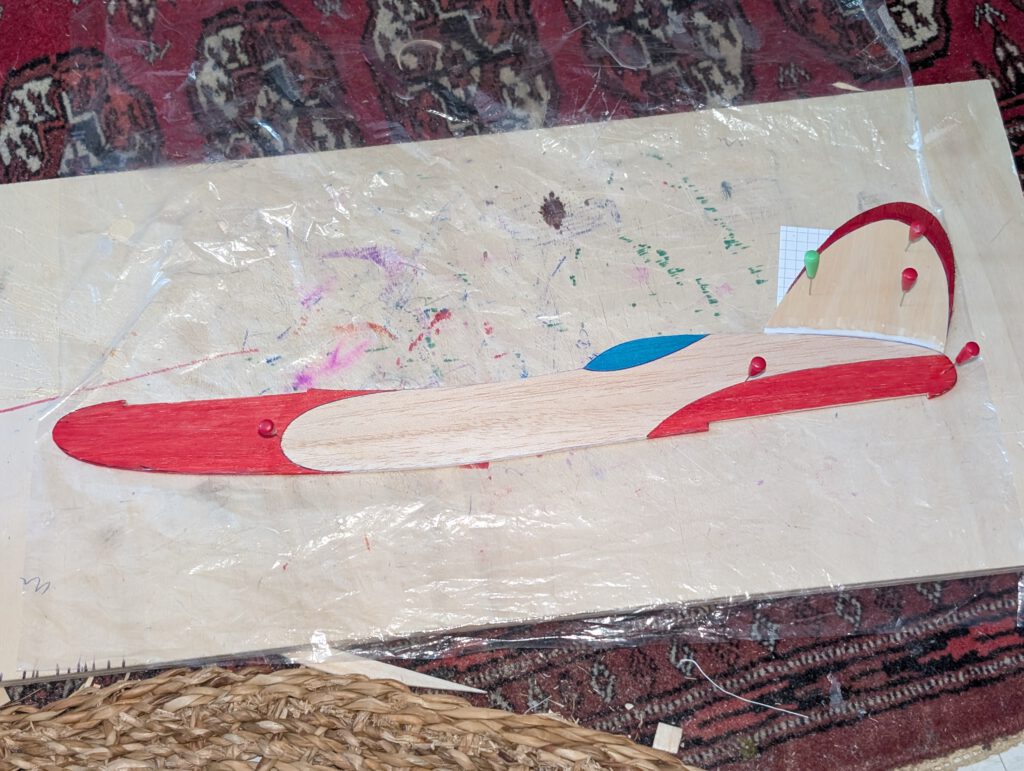
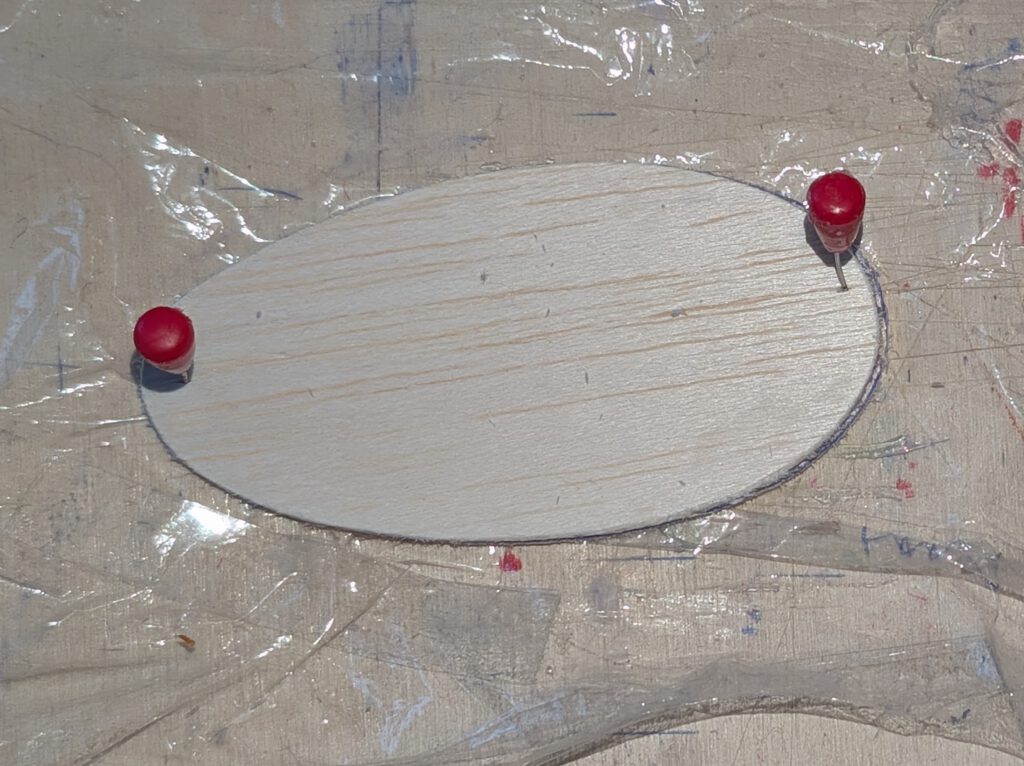
Cut out balsa parts in accordance to plan. Sand well (photo). Transfer outlines of cockpit from paper to wood with pen. Cut out all necessary slots. Paint your model at this stage (photo).
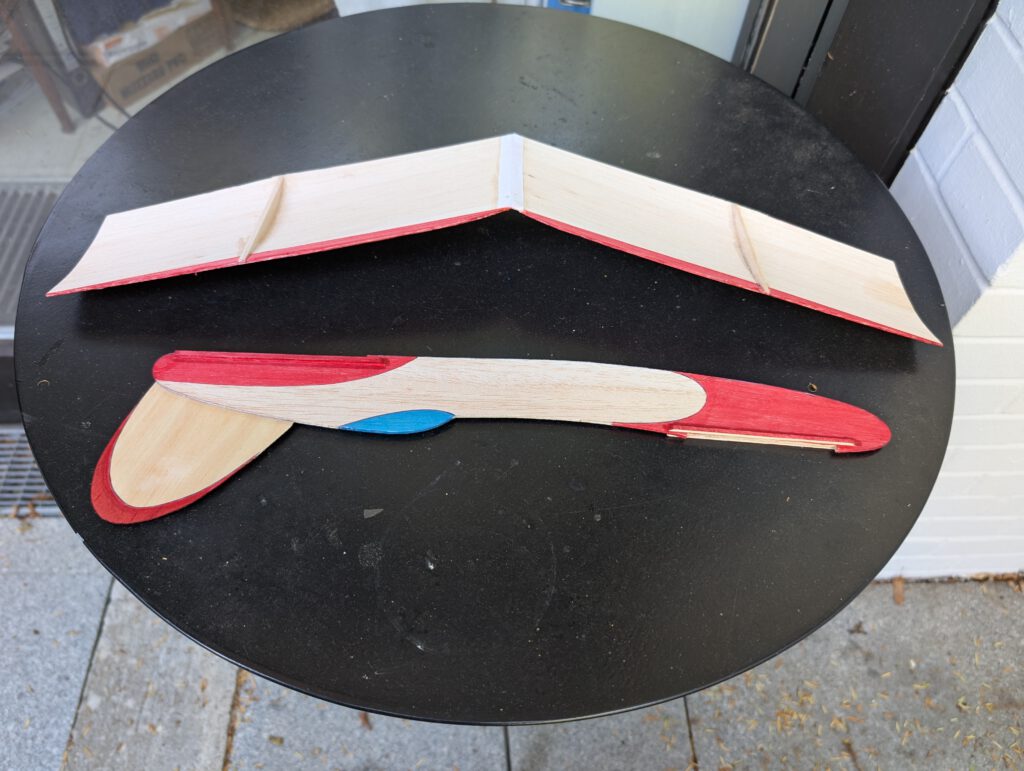
Wing:
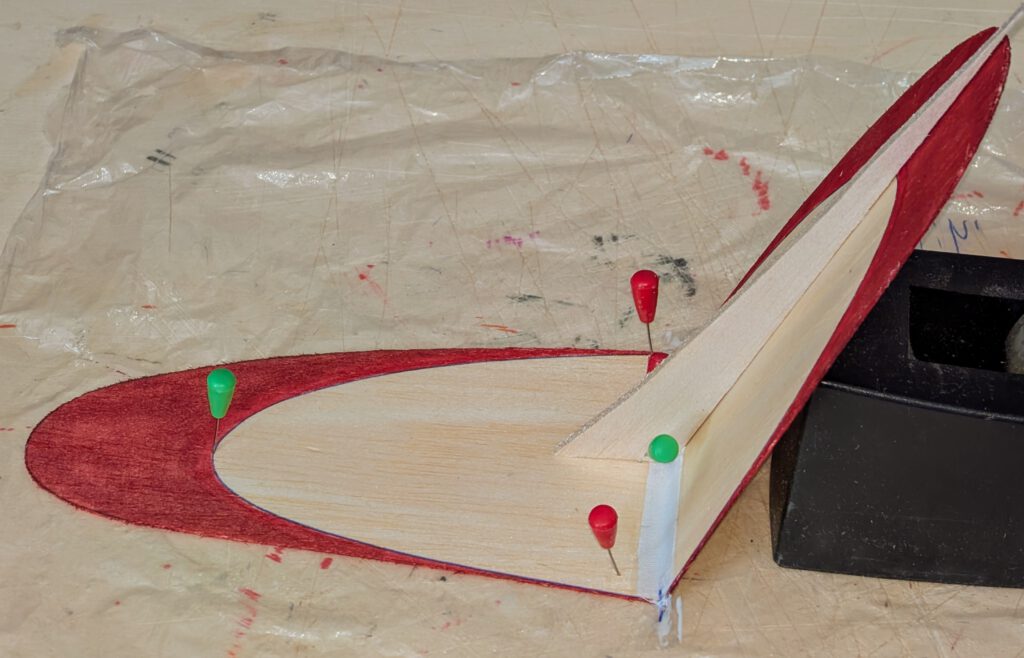
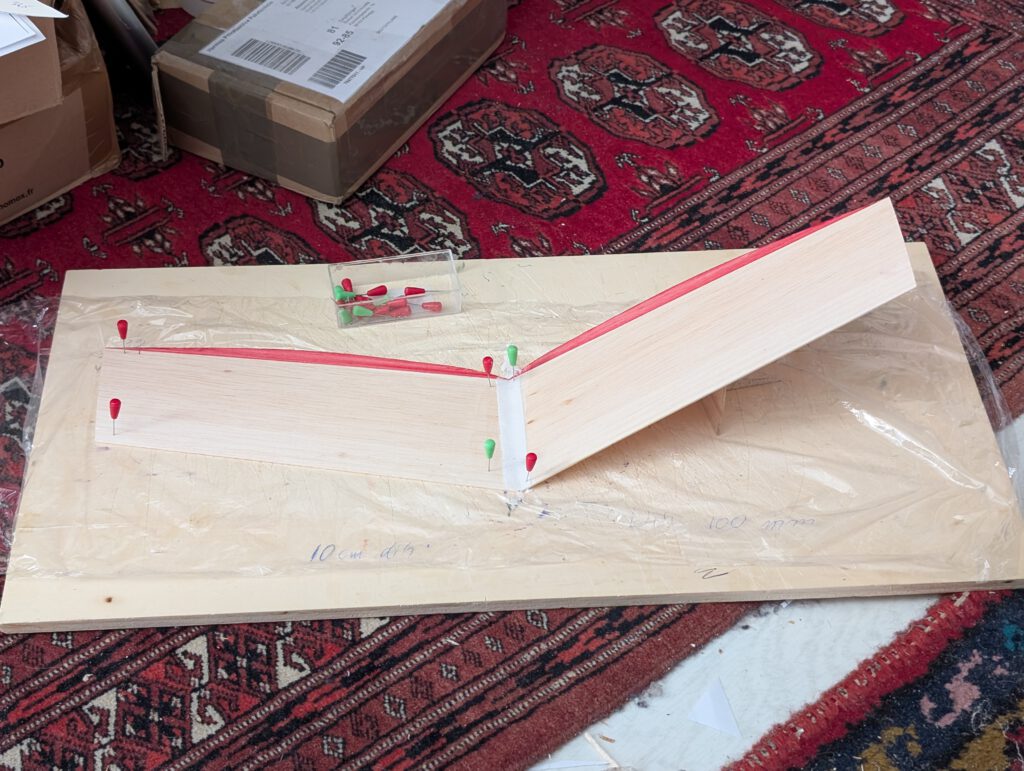
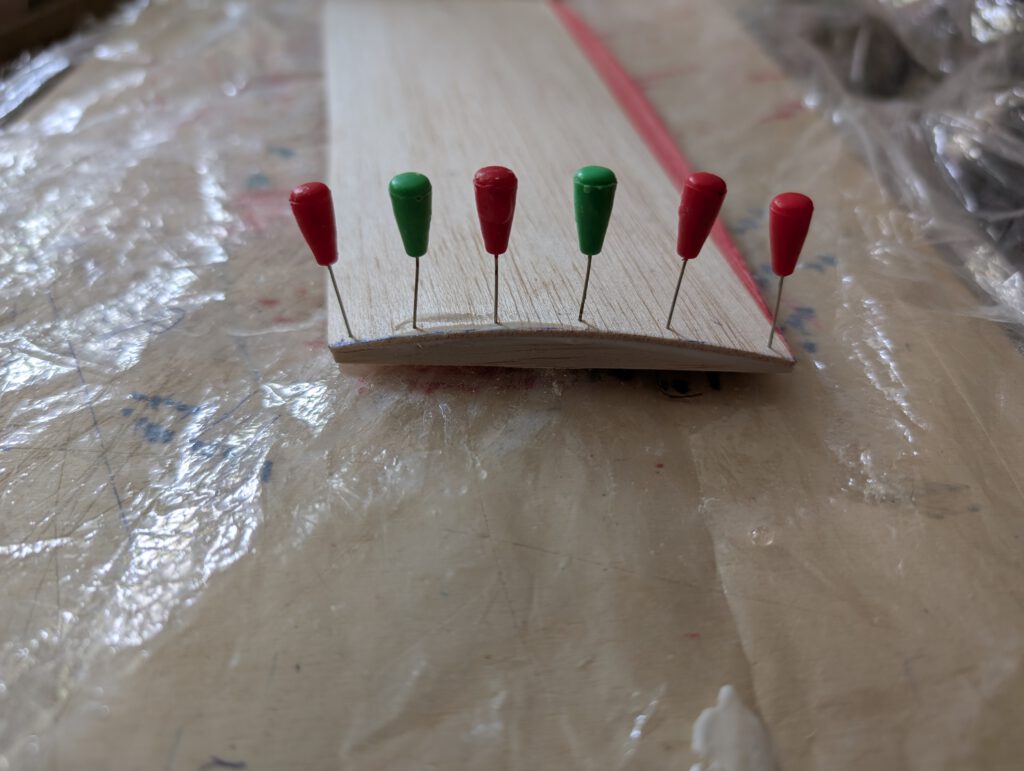
Wing consists of a right and a left wing-half. Fix one half on building board with pins. Cement corresponding half by paying attention to dihedral given in plan. When dry reinforce center area with linen band (photo) and again let dry. Cement mid wing ribs and let dry. Cement end plate ribs to wing tips using pins to hold in place (photo) and let dry. Sand wing tips and cement end plates. Let dry.
If wing has the tendency to rest only on one side, then it is too heavy on this side. To compensate the imbalance, disperse a small amount of white wood glue on the opposite wing tip area underside and let dry. Do it, if necessary, twice until balance is obtained.
Fin:
It can be useful to make a half inch wide (12 mm) by two inches high (50 mm) vertical rudder into the fin (not shown on plan or photo). It is for compensating possible irregularities if your model should not fly straight ahead. Use linen band on one side to cement rudder to fin. It should at the end be free to move but not flutter.
Fuselage:
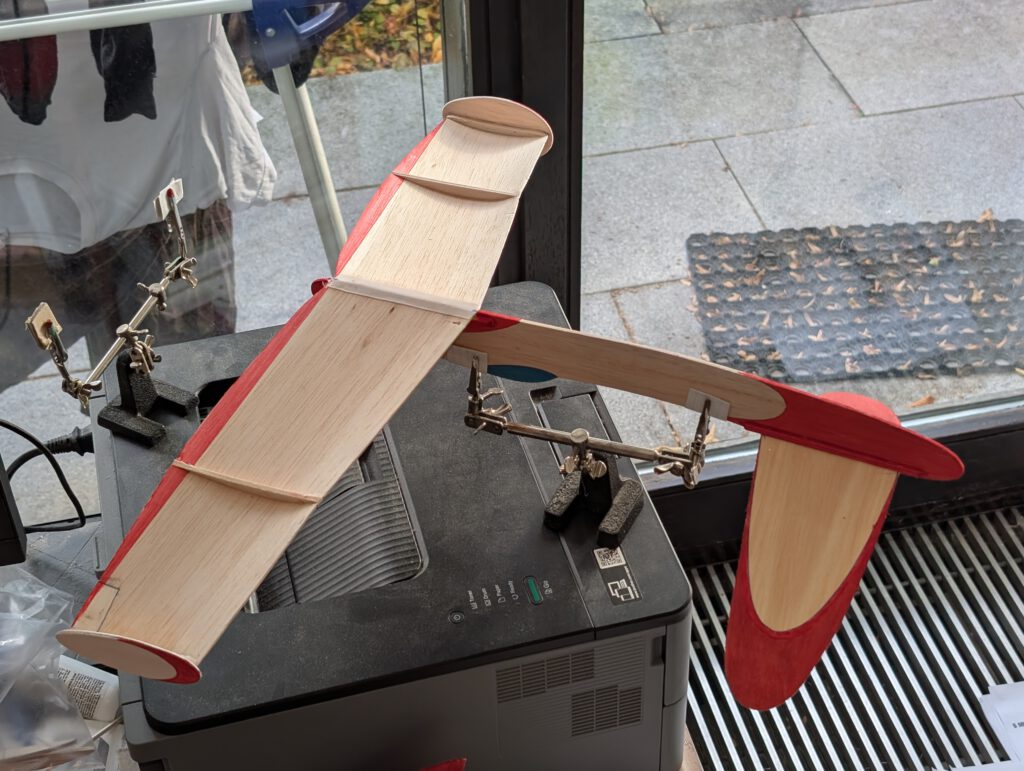
Cement fin to fuselage using pins to hold in place (photo). Visual check symmetry from all sides. Let dry.
Cement wing support strips and foreplane support strips into their given places. Hold with clamps or clothespins or with modelling pins. Let dry.
Foreplane:
Build foreplane the same way as you have built the wing with dihedral as shown on plan. A template as shown on photo might be useful. Let dry.
Final Assembly:
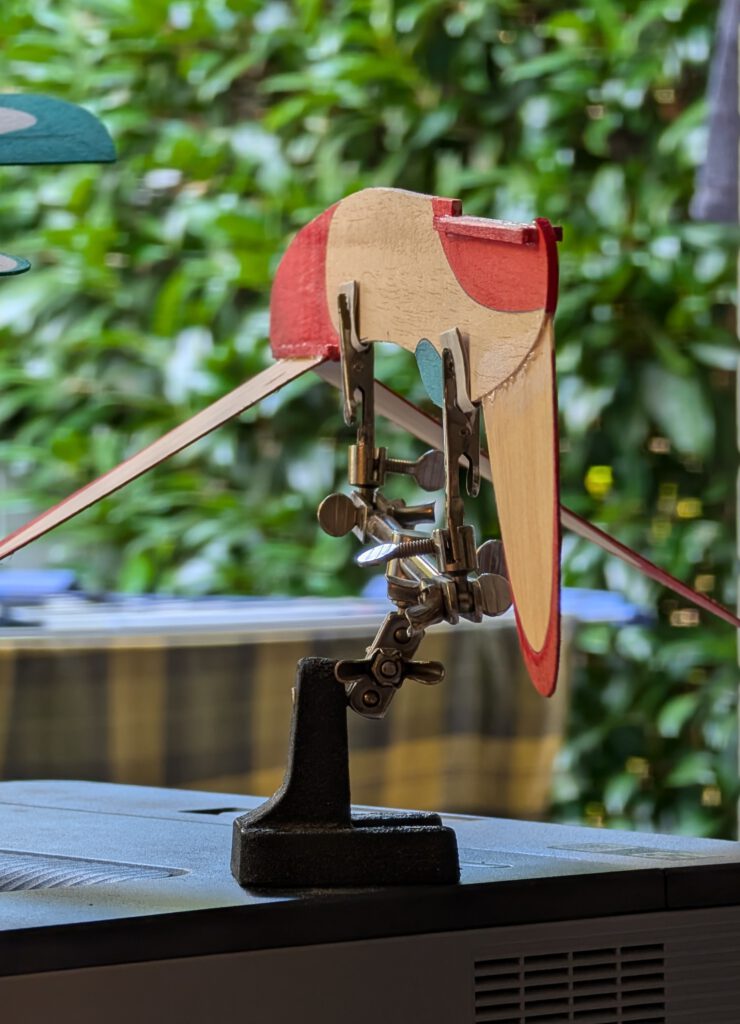
Fix fuselage on so called third hand. Cement foreplane into its place using pins to hold. Visual check symmetry from all sides. Let dry.
Turn fuselage upside down and fix it again on third hand (photo). Cement wing on wing supports using pins to hold in place. Doublecheck visually symmetry. Let dry.
Remember correct center of gravity (CG) is essential for successful flights.
Make your first test glides over tall grass.
Palju edukaid lende! (Many pleasant flights!)

Leave a Reply