
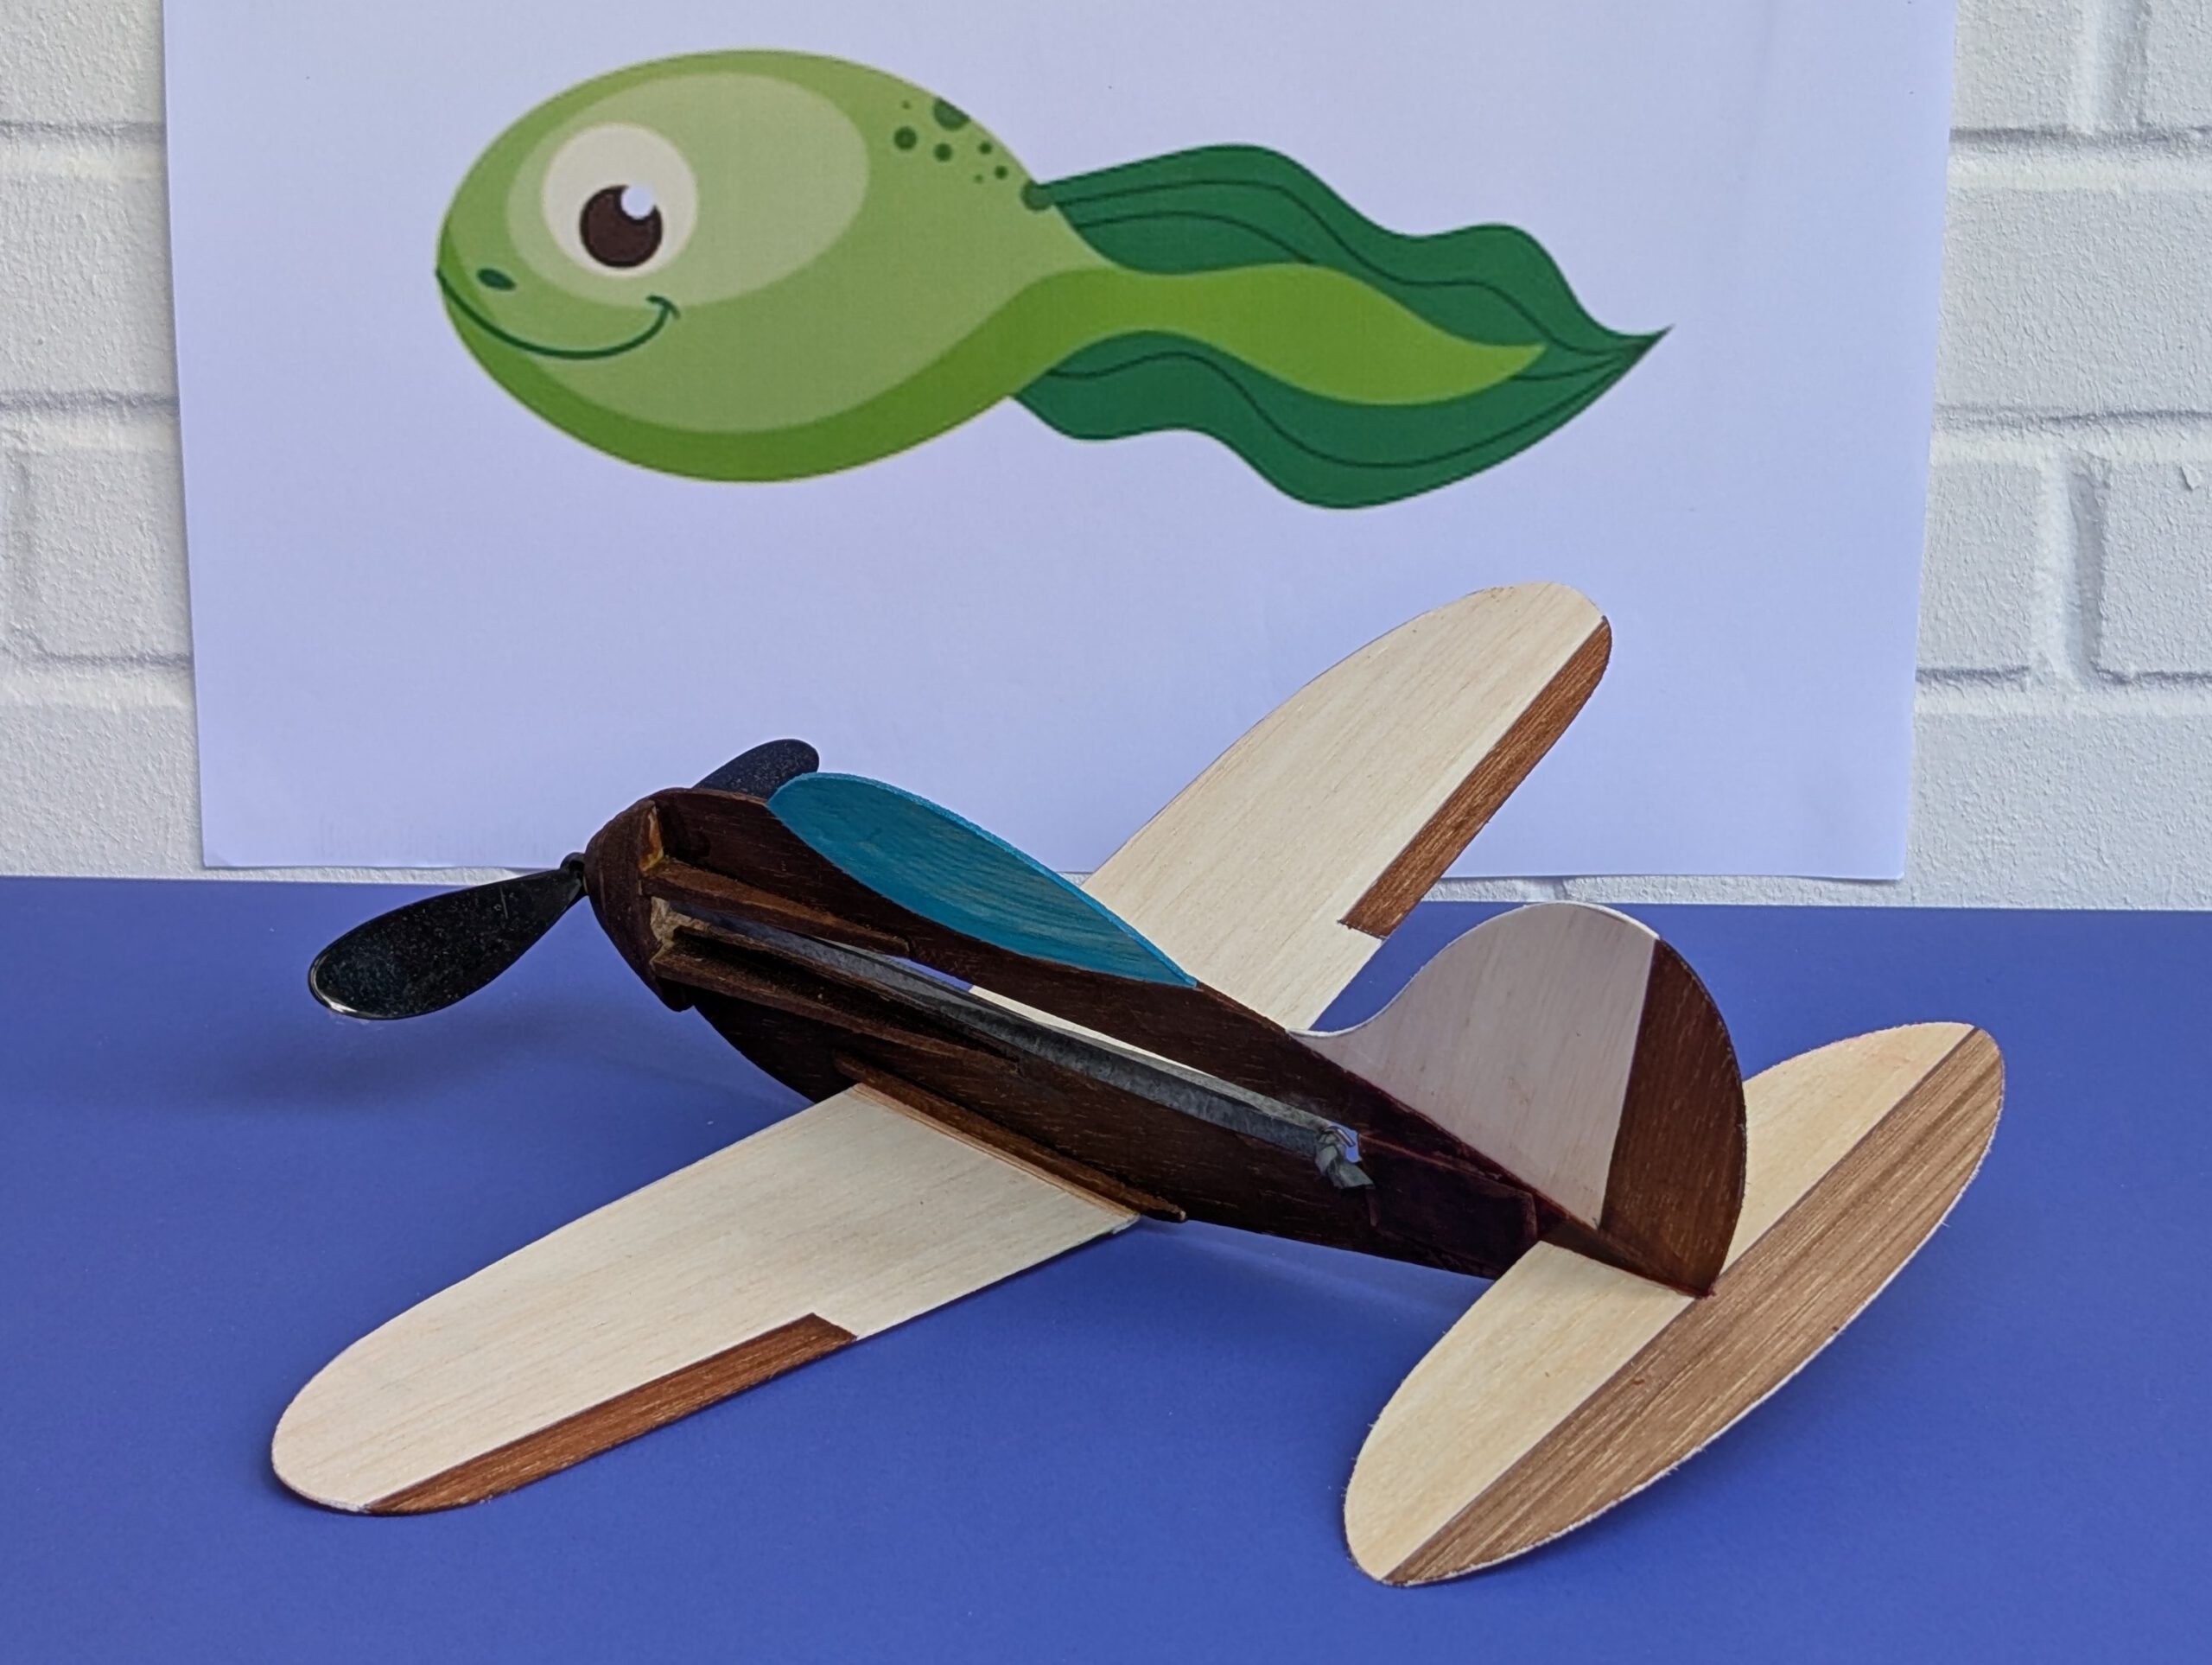
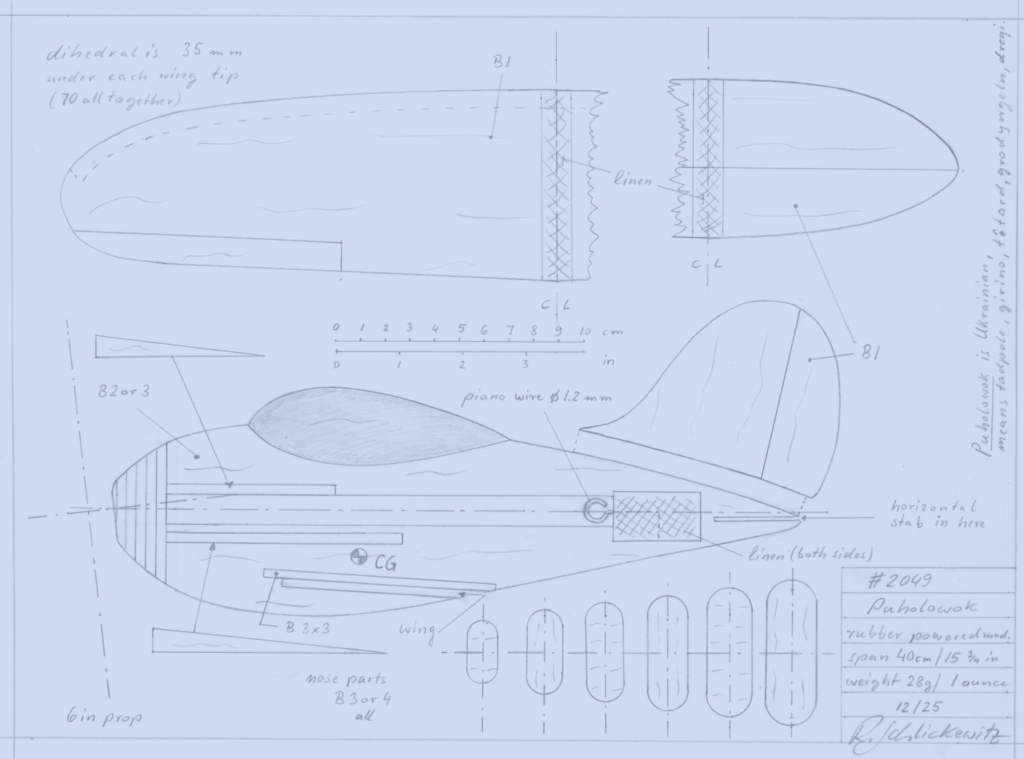
Span 40 cm / 15 ¾ in
Weight 28 g / 1 oz
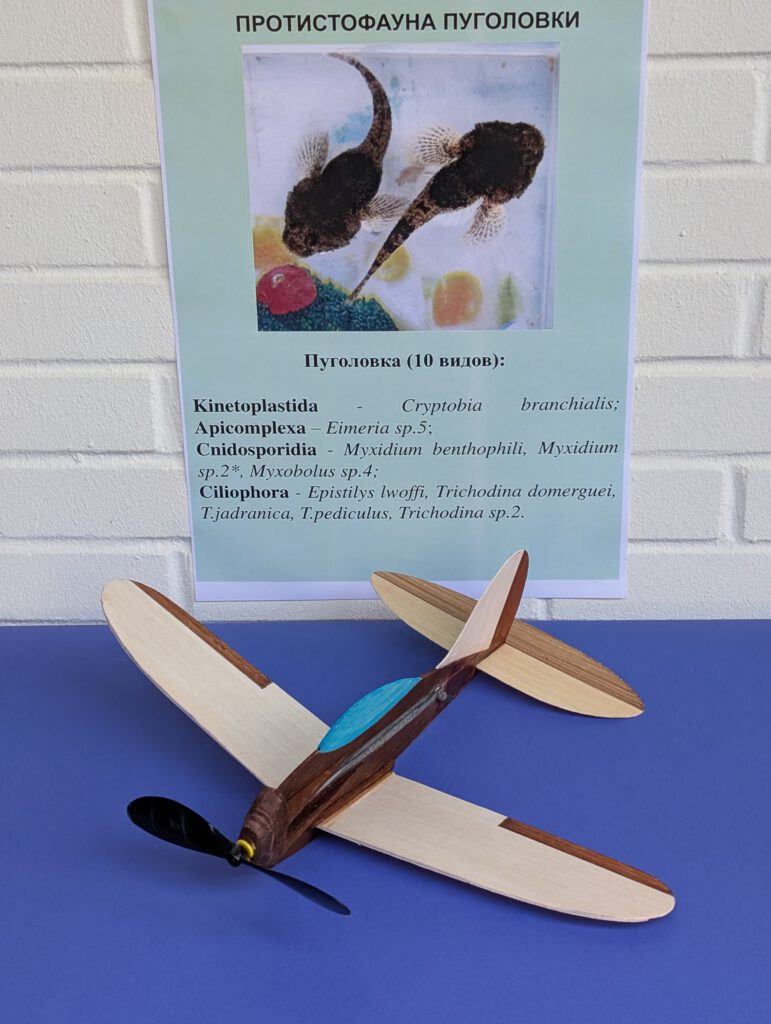
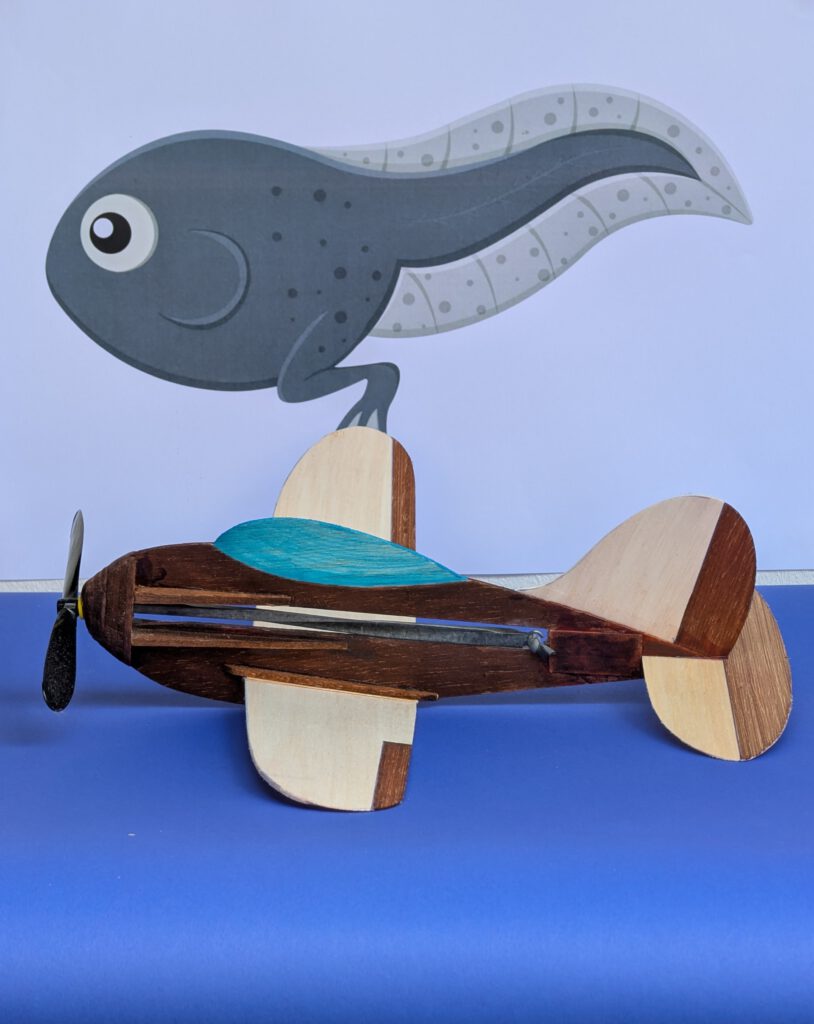
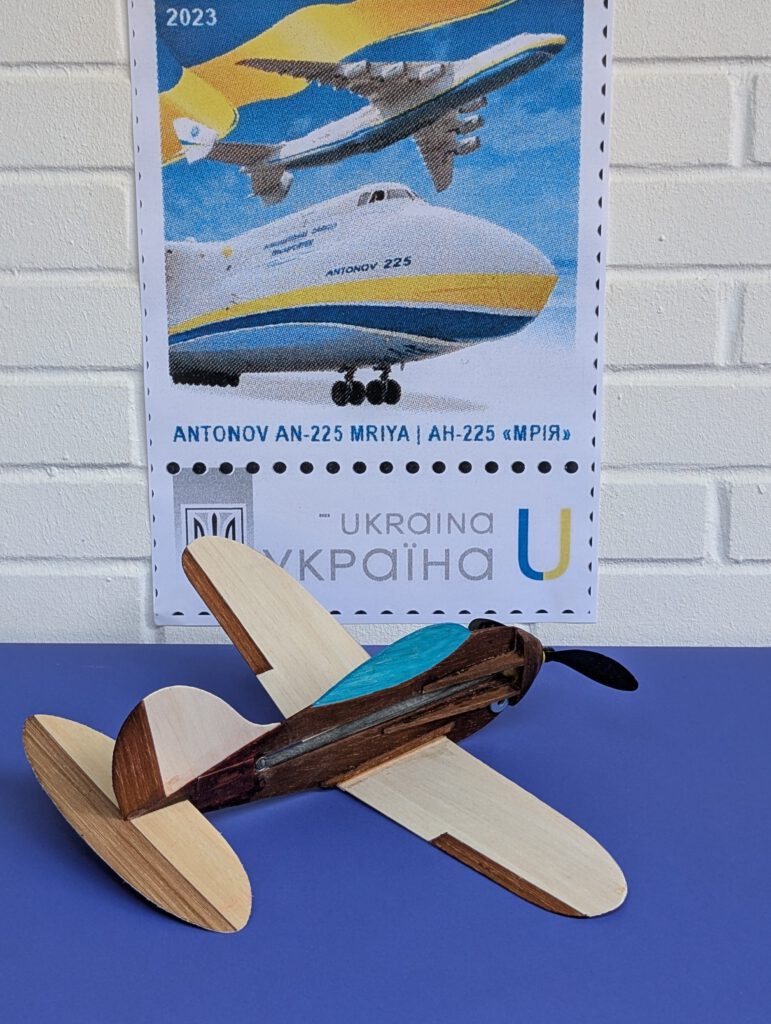
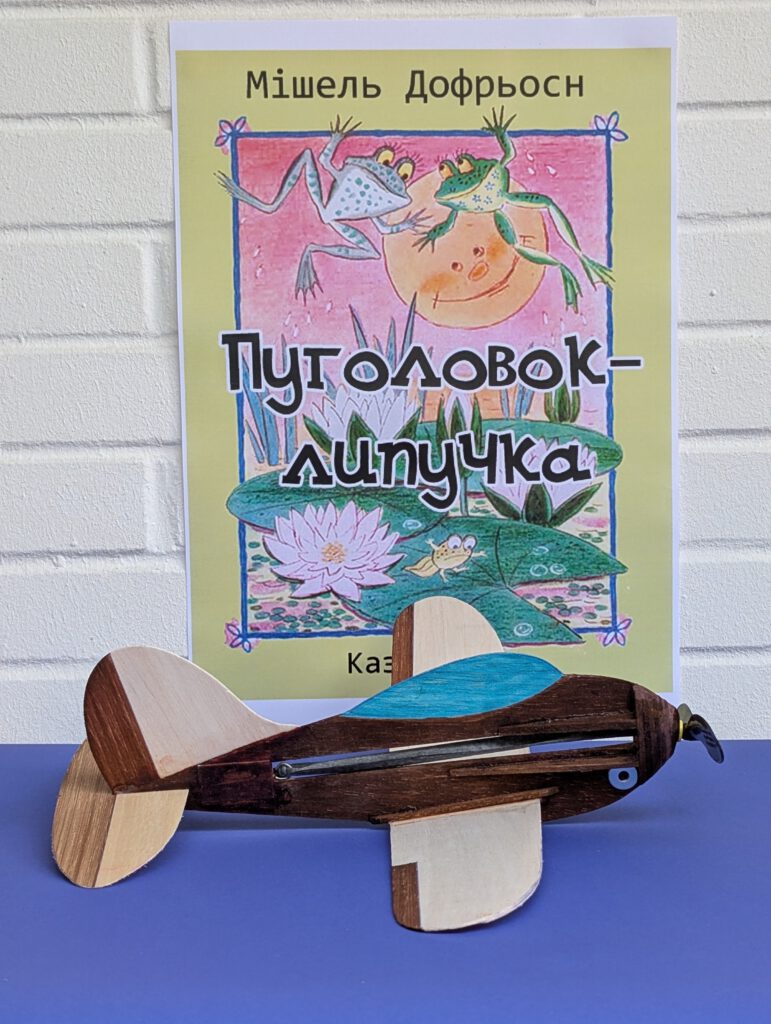
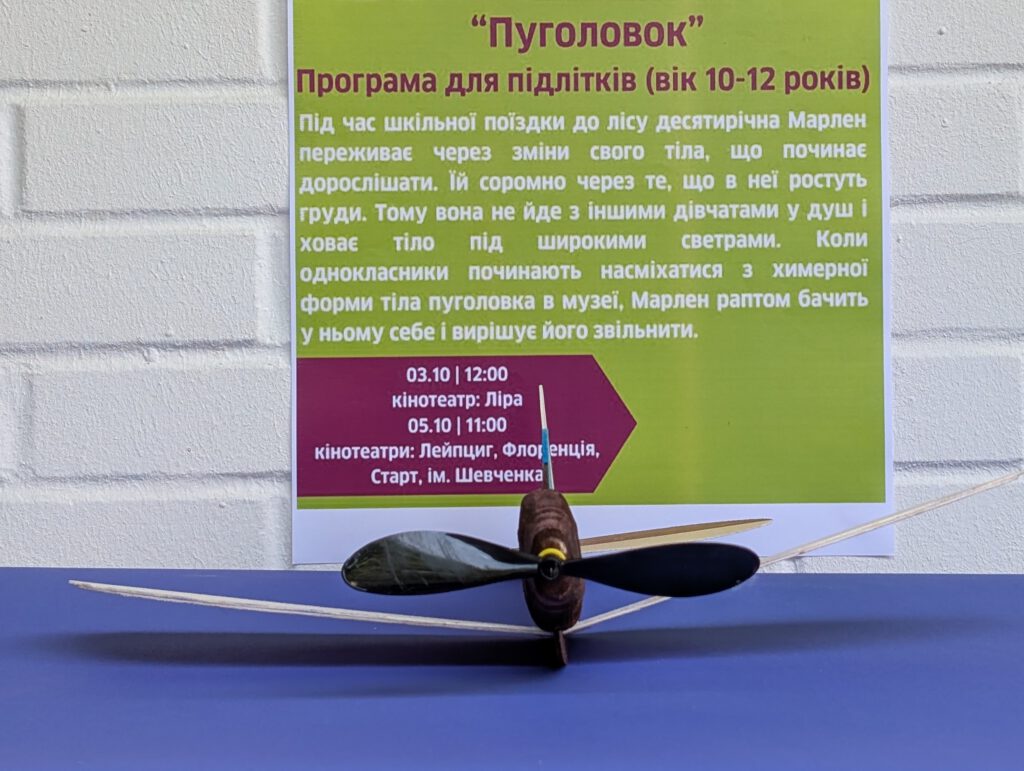
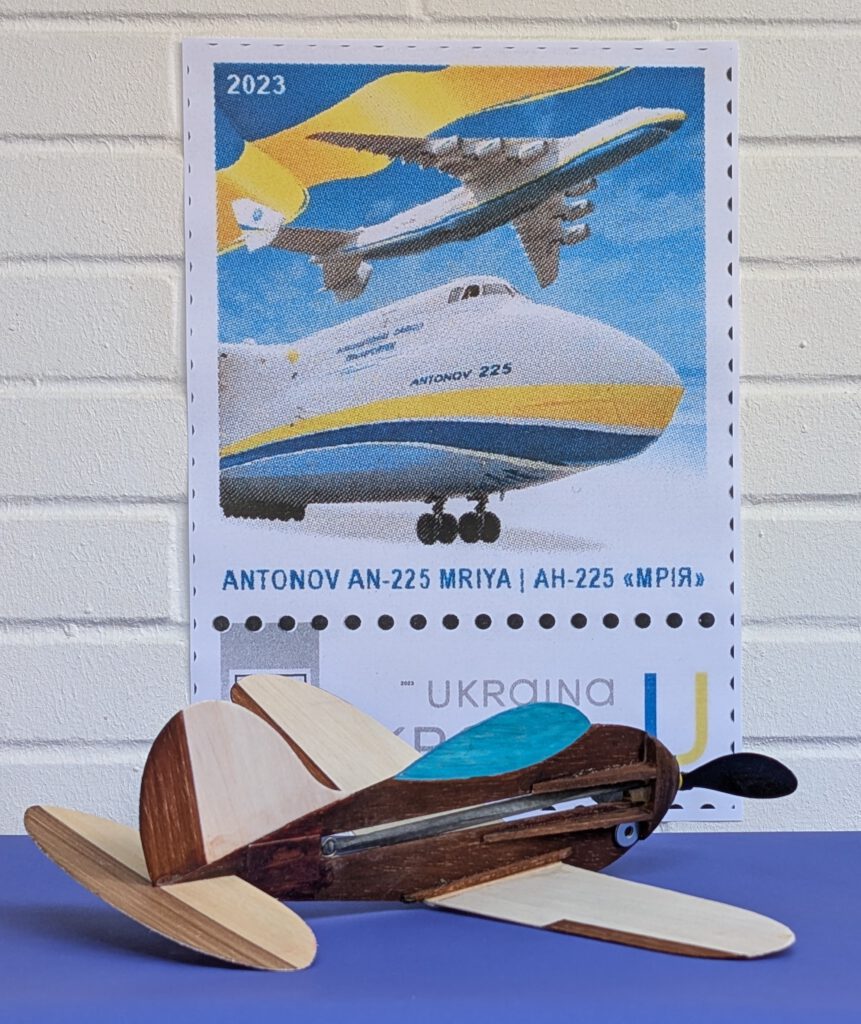
Concept
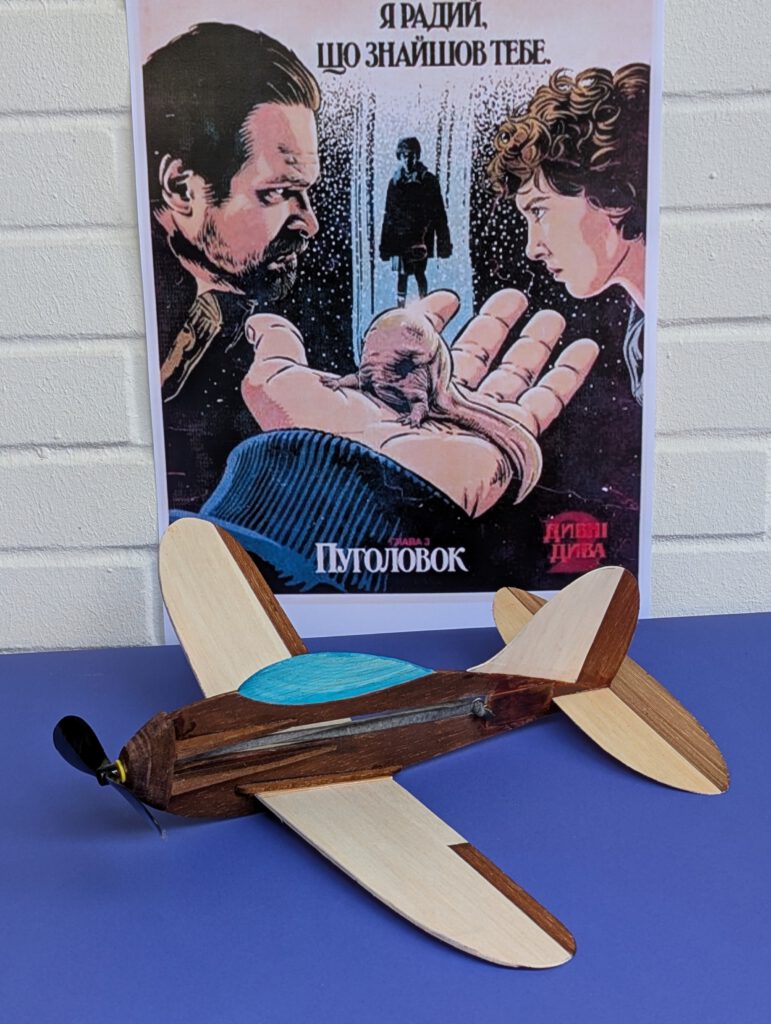
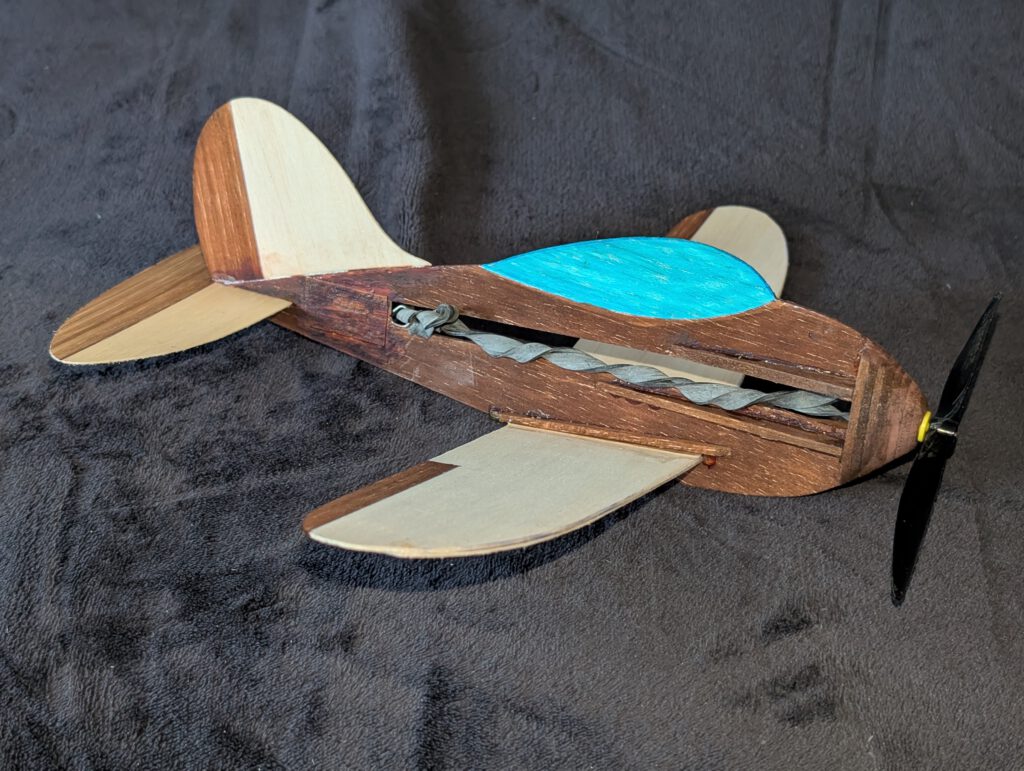
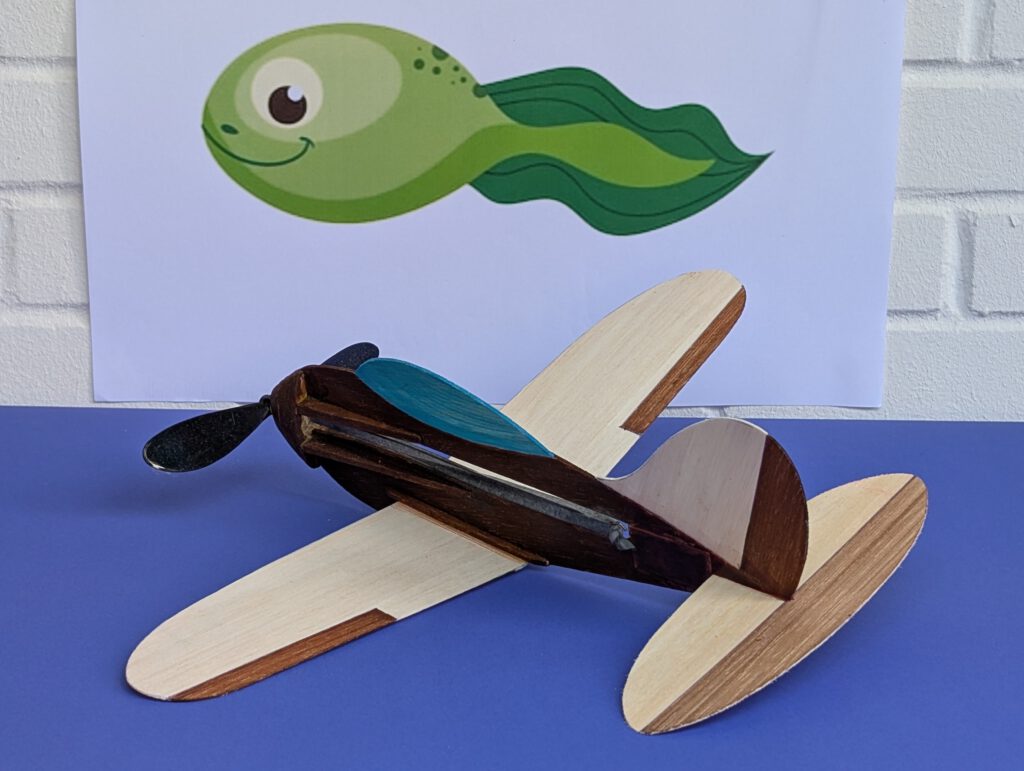
• Unusual outlines
• Low-wing monoplane
• Easy to build
• Not too many parts
• Good performance
• 6 in-airscrew
Name
Puholowok (пуголовок) is the Ukrainian word for capgròs/ tadpole/têtard/girino/kikkervisje/kijanka/pulec/grodyngel/mormoloc/rumpetroll/головастик/
Γυρίνος/iribaş/punoglavac/ebihal/zapaburua/gërvishtja/kulles/sammakonpoikanen/pollywog…
Some of my ancestors came from Ukrainian lands.
Building the rubber powered balsa profile-fuselage model Puholowok.
Materials
Fuselage: B 3; fuselage nose parts (rounded): B 3 or 4; fuselage nose parts (strips): B 3 or 4; rubber hook: piano wire 1.2 mm diameter; wings: B 1 or 1.5; wing supports: B 3 x 3 strips; horizontal stabilizer: stiff B 1; fin: stiff B 1; linen band width 12 mm / ½ in; ballast: small piece of scrap metal or lead; one commercial airscrew 6 in diameter; black rubber.
Assembly
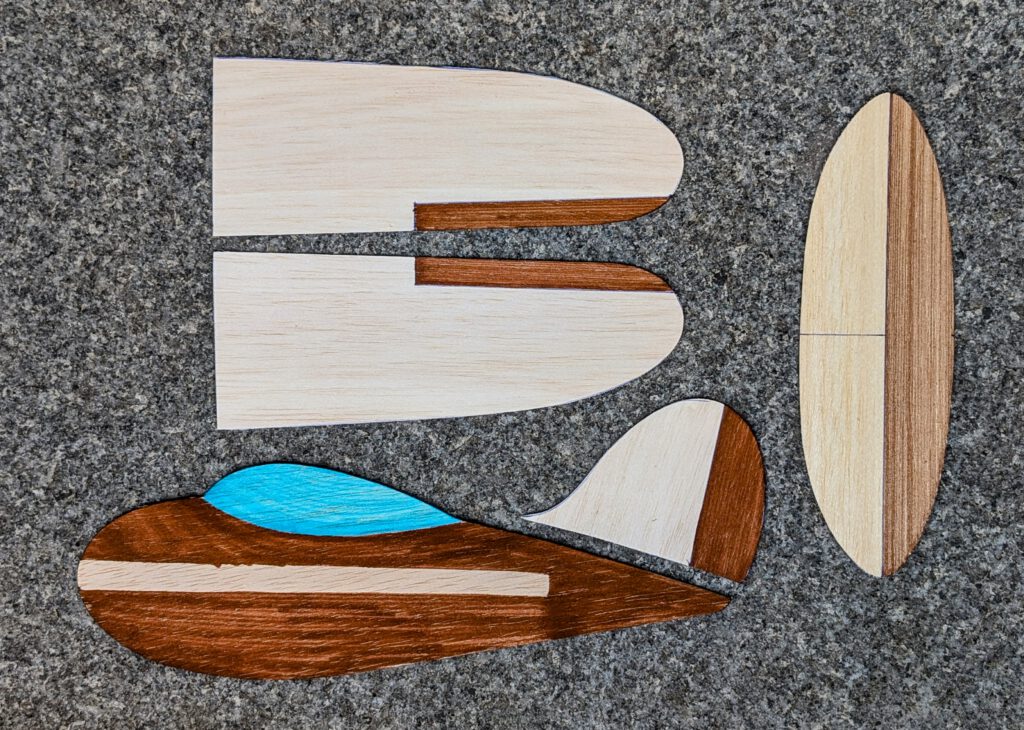
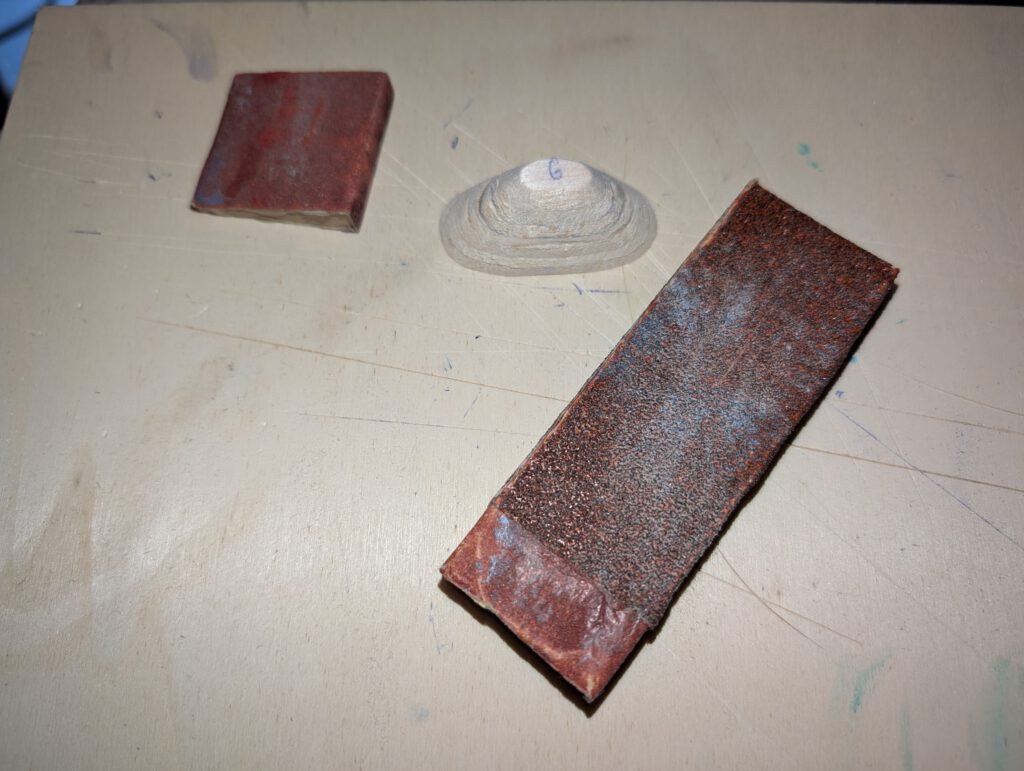
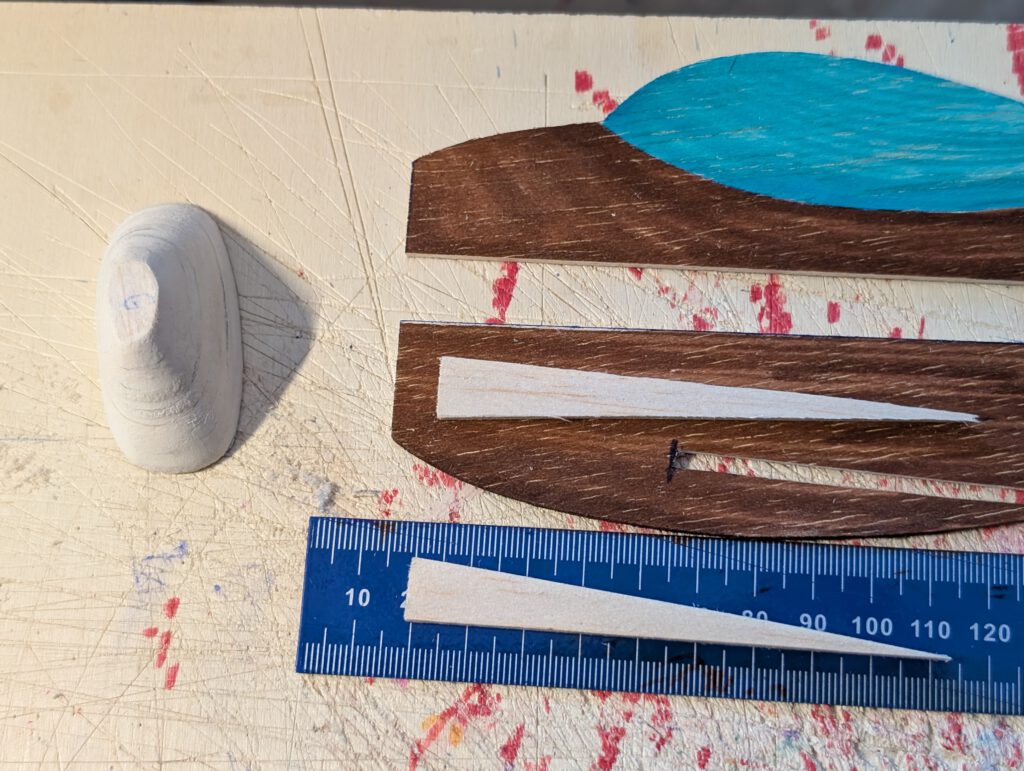
Cut out balsa parts in accordance to plan. Sand well (photo). Apply colors now, if desired.
Wing:
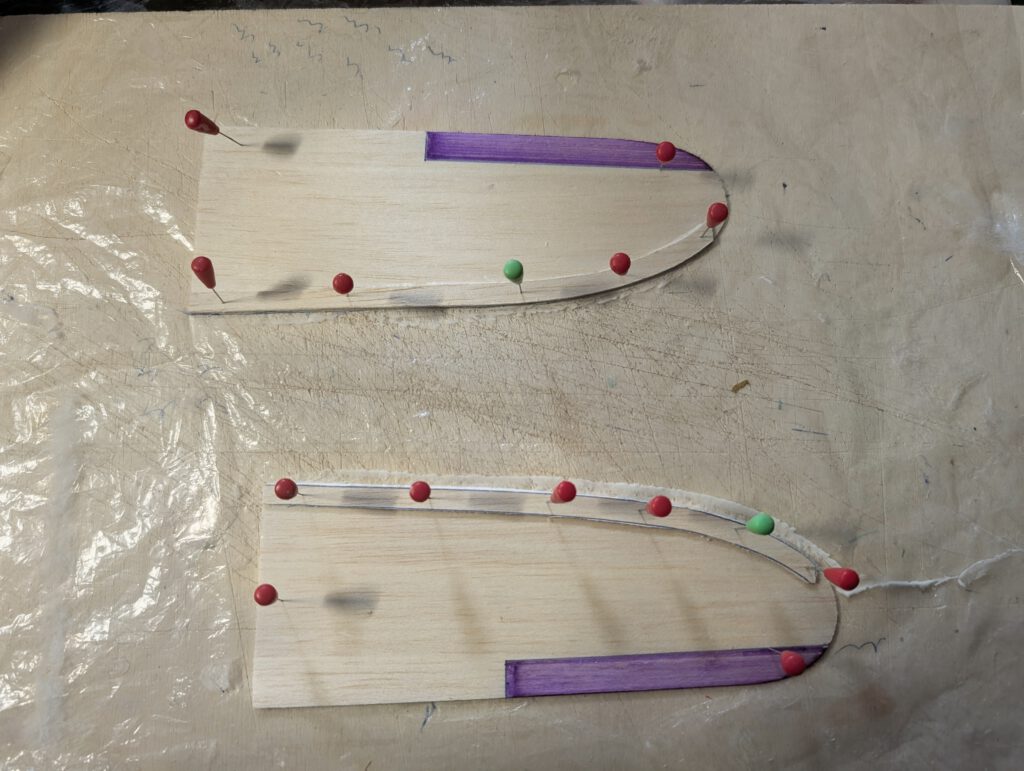
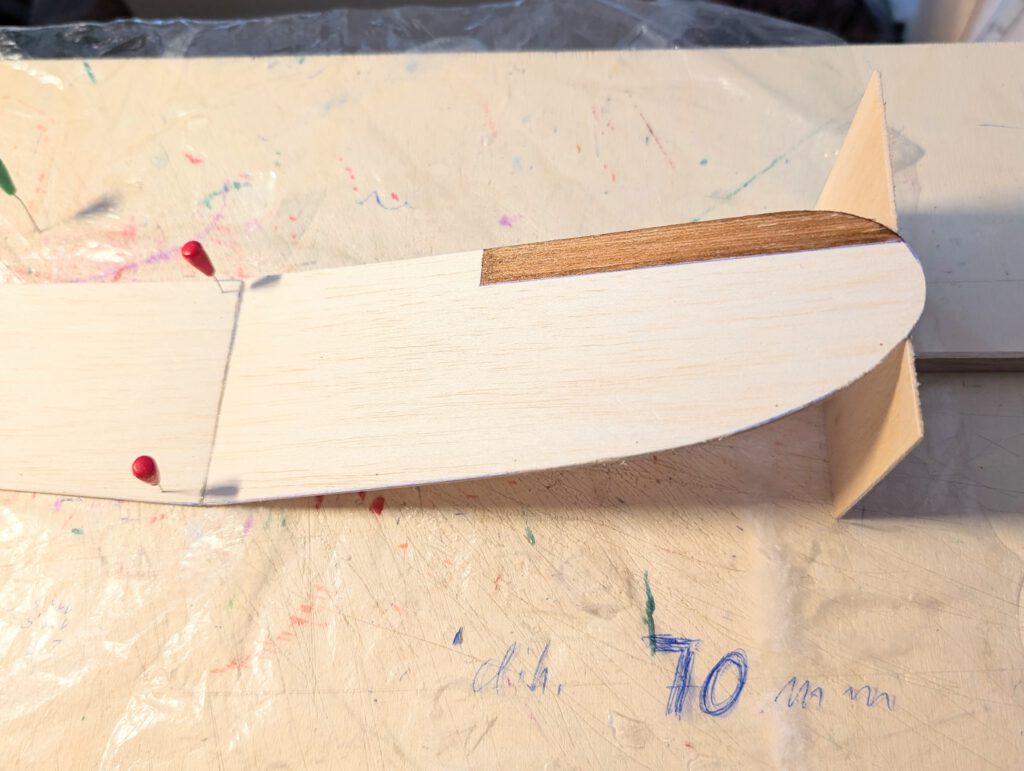
Pin one wing half on building board (photo). Underlay the other wing half’s tip at the indicated spot and at given dihedral. Cement both halves using linen to cover joining area
When dry check equilibrium. If there is a weight difference on one wing half, disperse a small amount of white glue near the tip of the other wing half’s underside and disperse it well. Do this if necessary twice until equilibrium is reached. Put aside and let dry.
Fuselage:
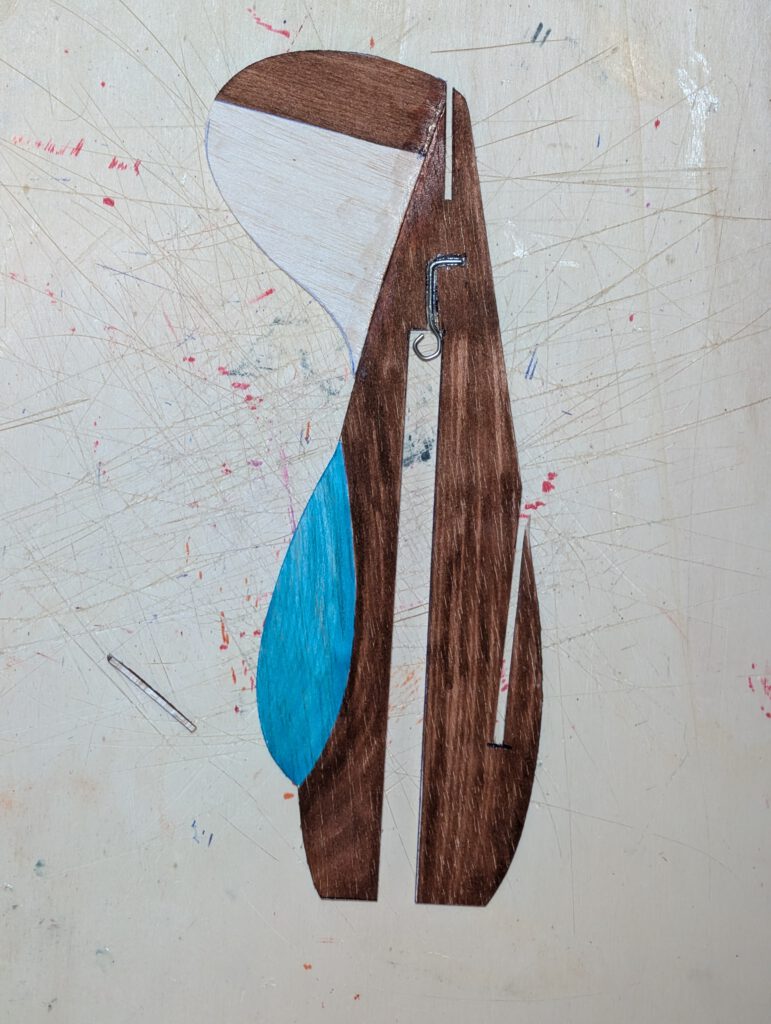
Bend as shown on plan piano wire into given hook shape. Carve out with knife and round file seat for rubber hook on left or right side of fuselage. Cement hook in place and cover hook area with linen band as seen on photos. Let dry.
Cement fin on fuselage and let dry.
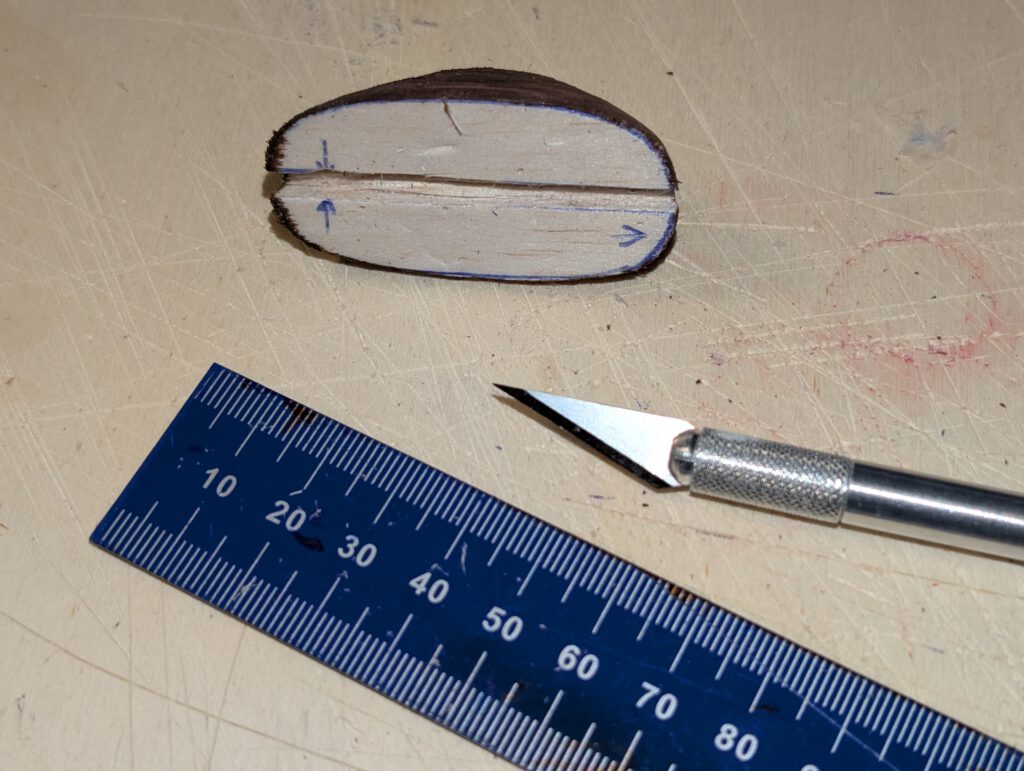
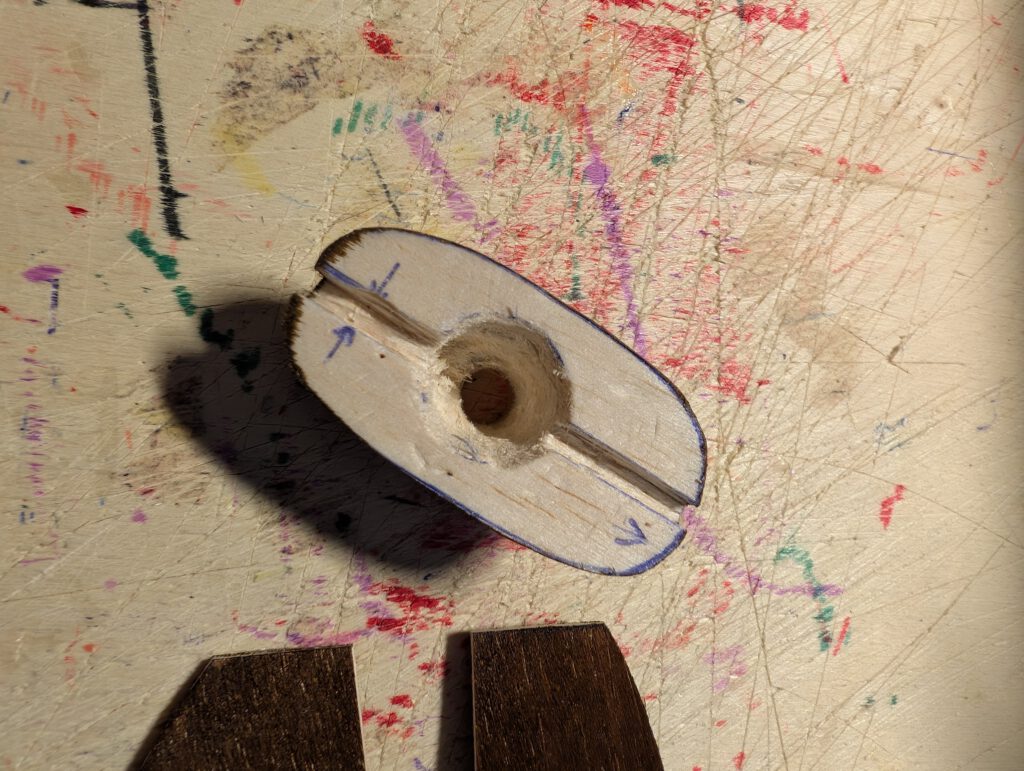
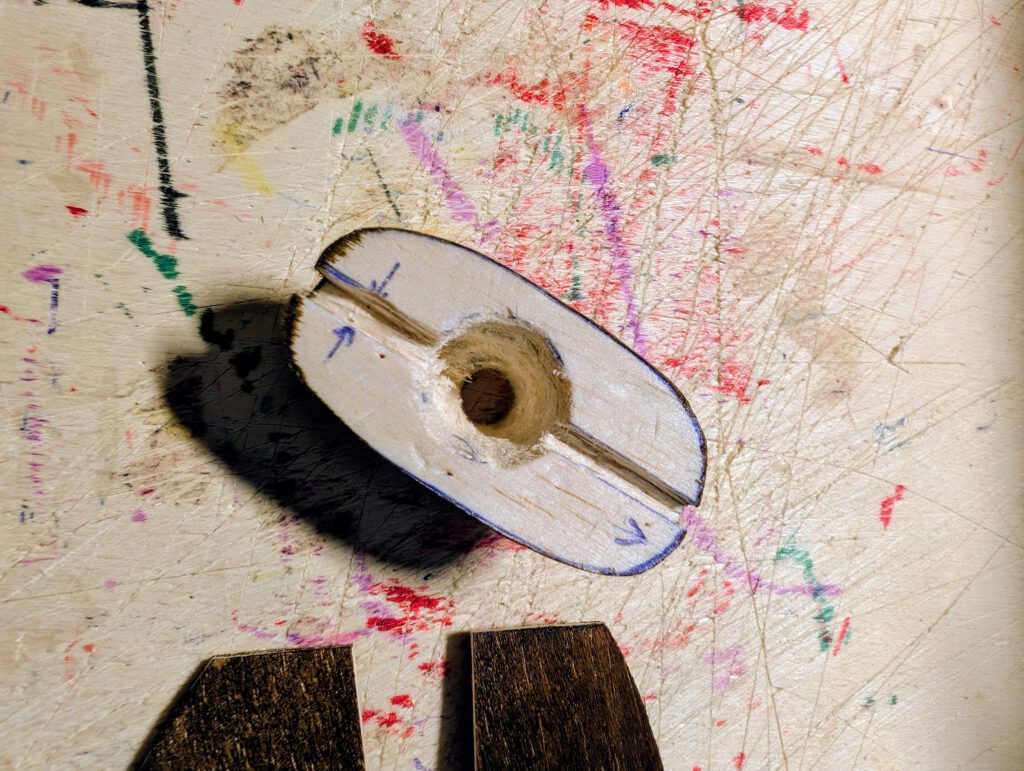
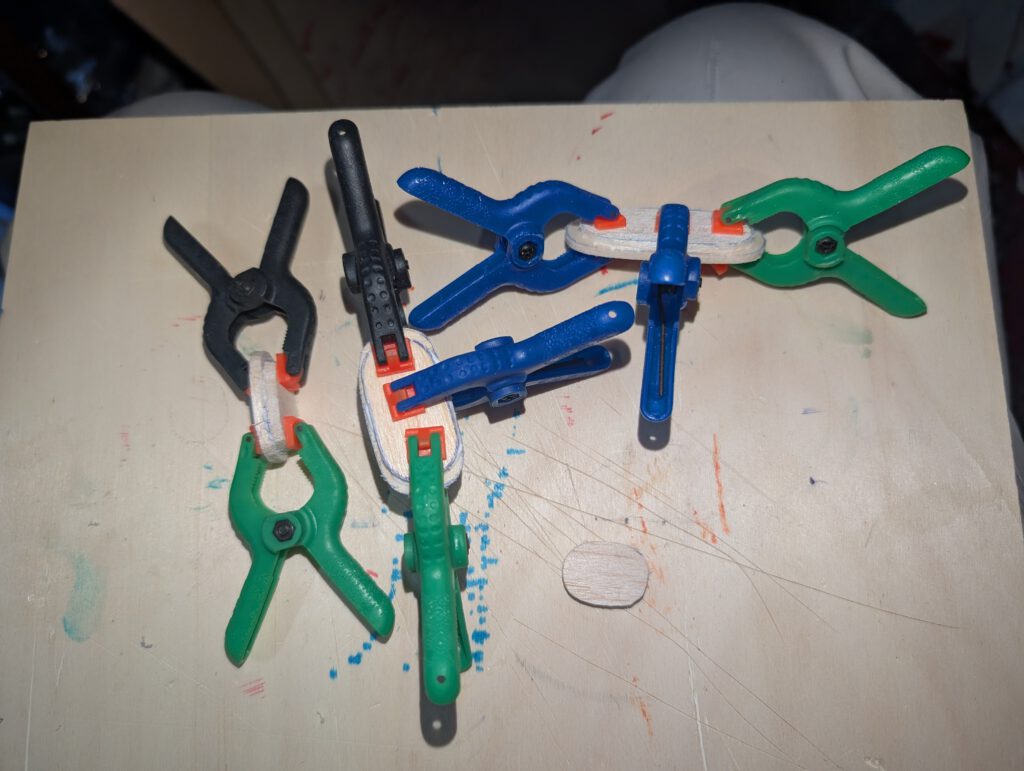
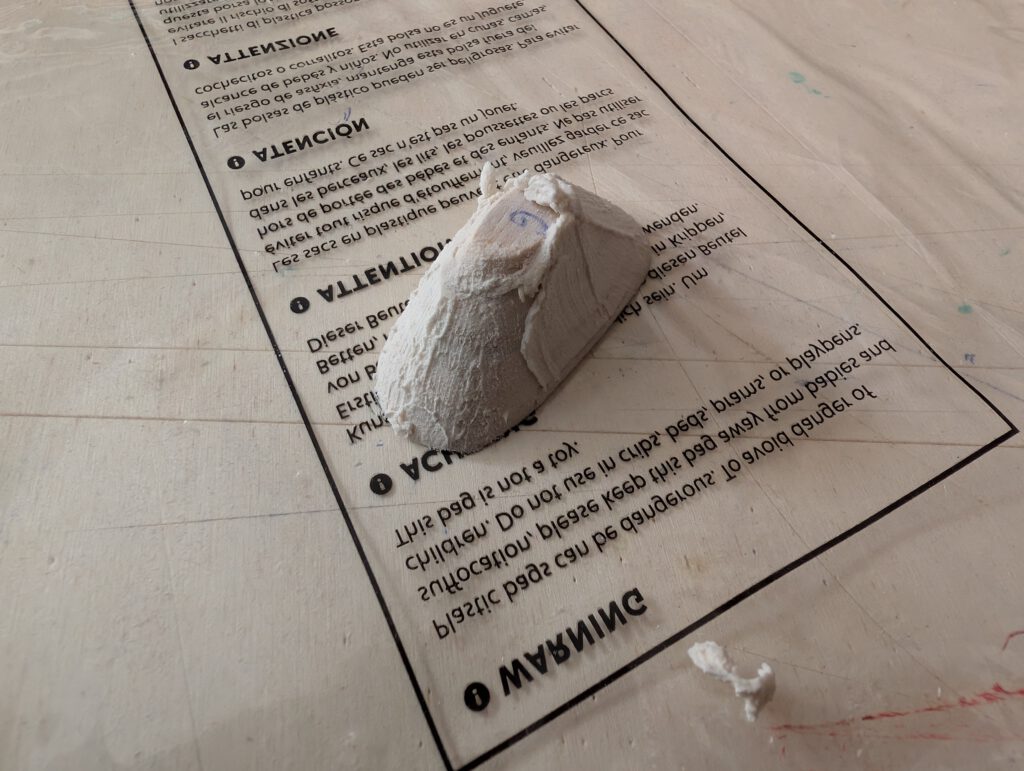
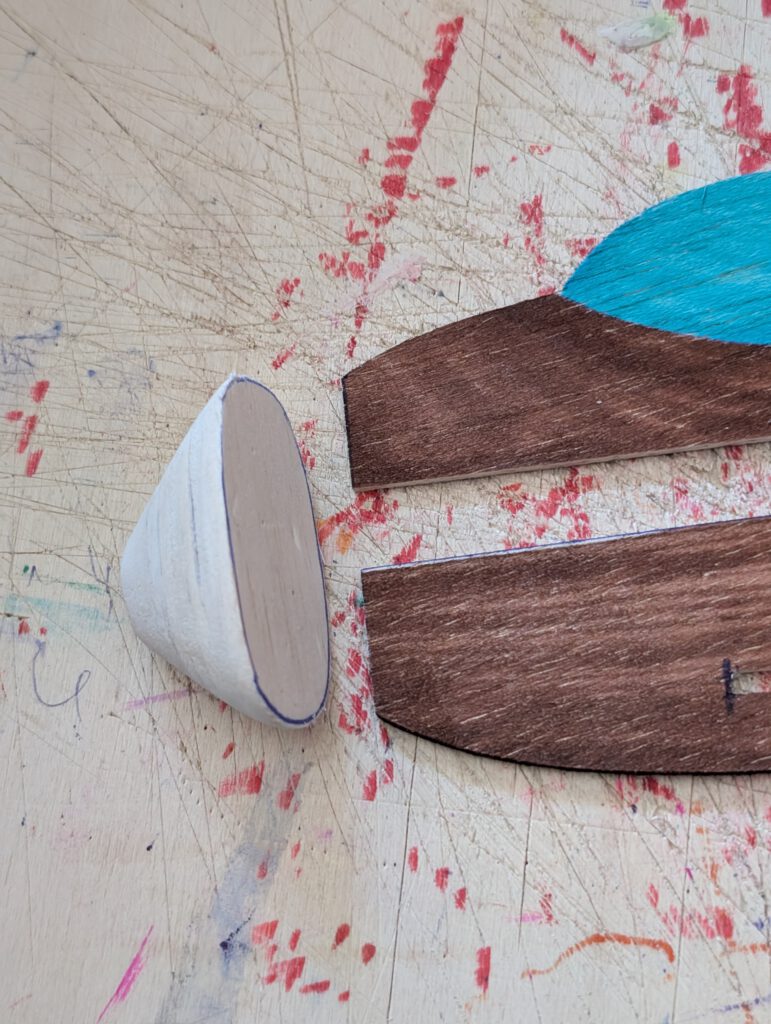
Cement B 3 rounded nose parts one on the other as shown on plan and let dry. Sand well then treat this part with balsa putty. When dry sand again. May be this procedure has to be repeated. When the nose part is smooth you can start to carve out opening which will hold prop-bearing. Start from behind and don’t do it in a hurry. A little electric drill machine can be useful.
Cement nose on fuselage according to plan and photos. When dry add elongated B 3additional fuselage side stiffeners, two on each side, as shown on plan.
Empennage:
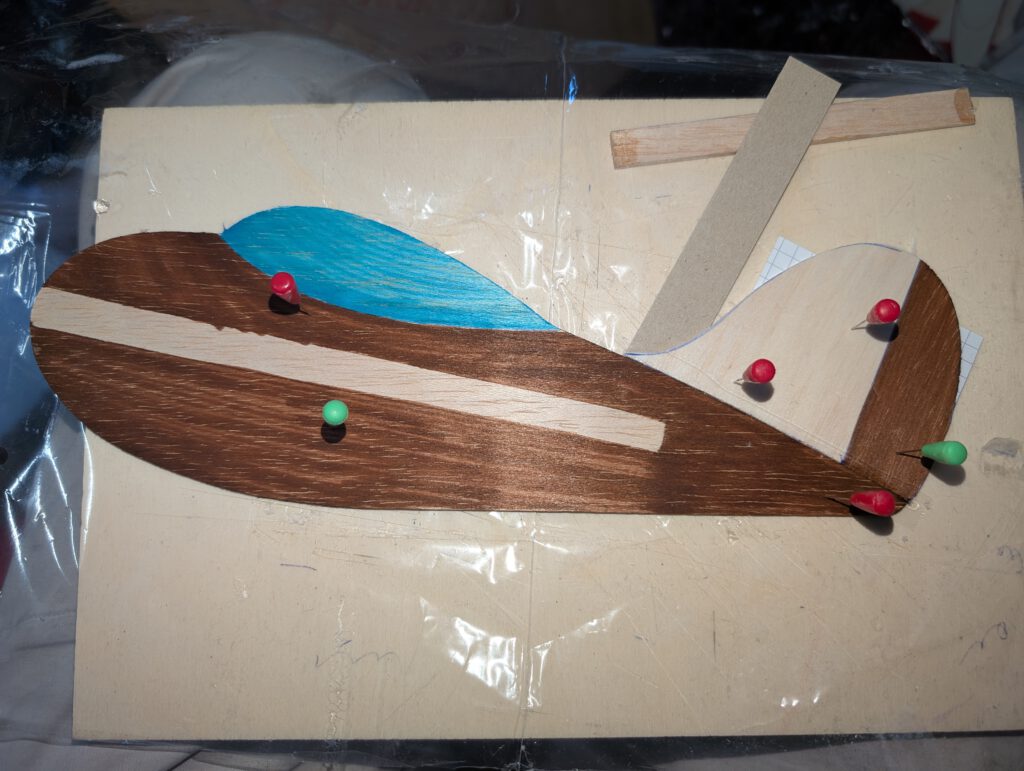
Cement left horizontal stab half to the right-one half and cover joining area with linen band as shown on plan.
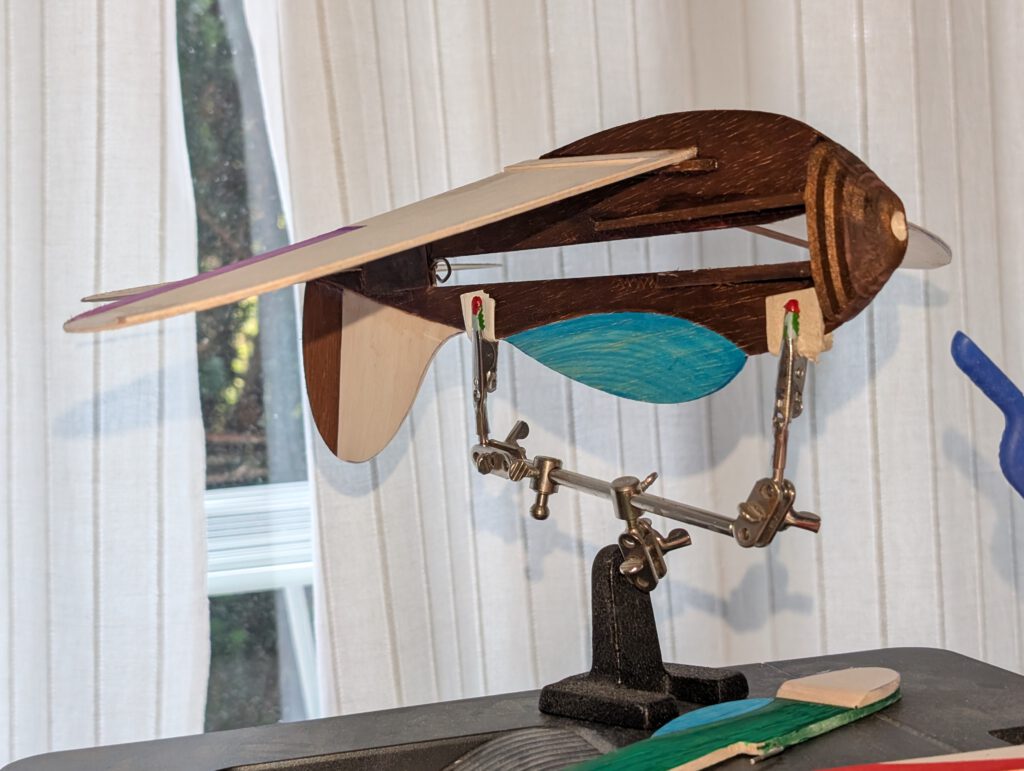
Fix fuselage on third hand. Insert horizontal stab into its slot in fuselage and cement. Hold with pins and check symmetry from all sides (photo). Let dry.
Final Assembly:
Turn fuselage upside down and fix it on third hand.
Insert wing into its slot in fuselage and cement. Hold with pins and let dry. Watch symmetry!
A piece of lead or scrap metal may be used to balance model properly.
Remember correct center of gravity (CG) is essential for successful flights.
Palju edukaid lende! (सुखदउड़ानेंहों!)
Leave a Reply