
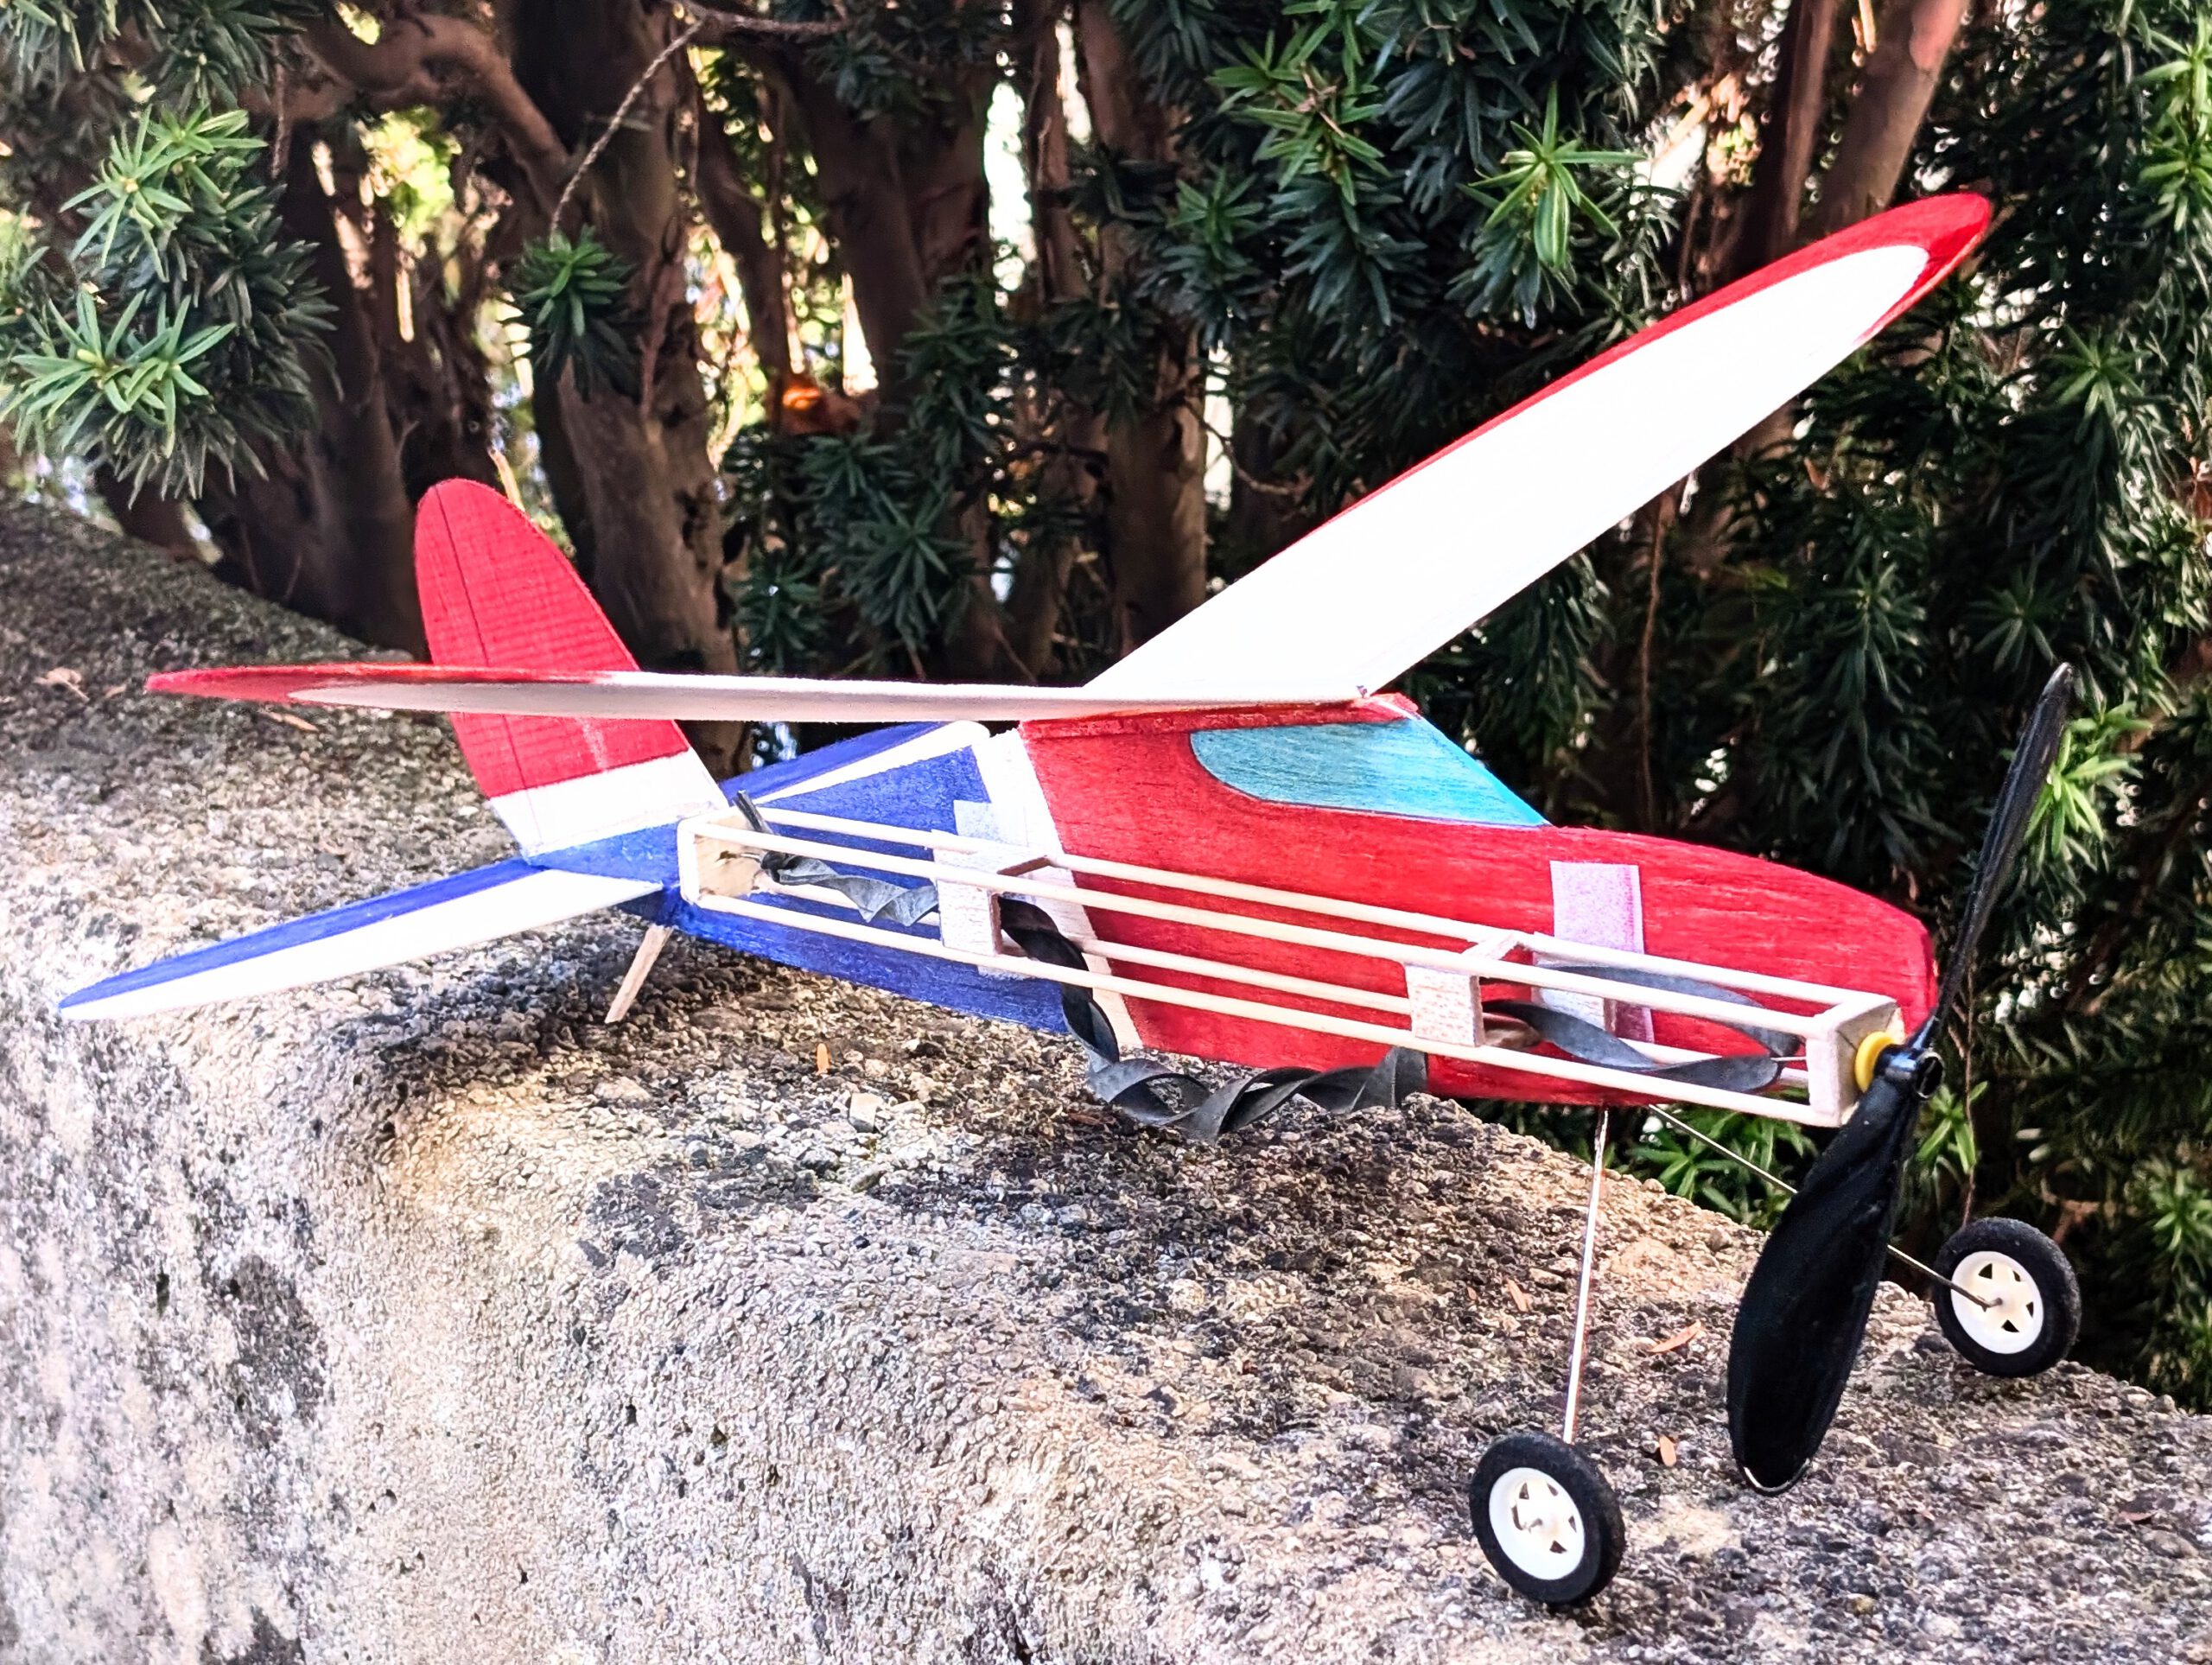
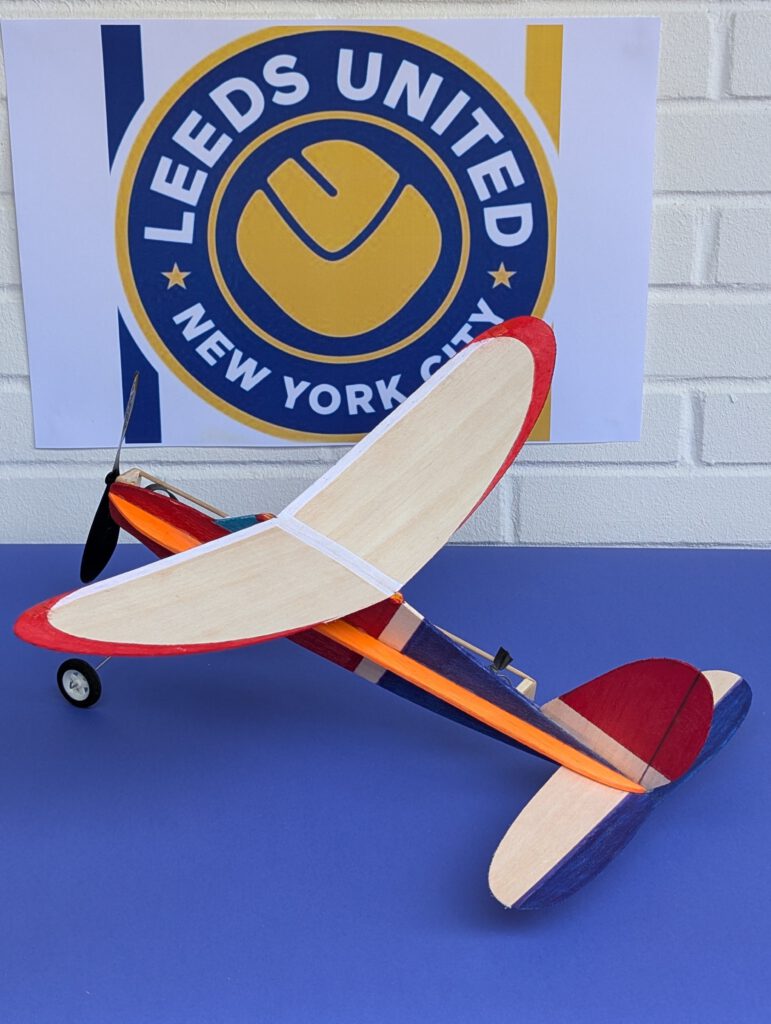
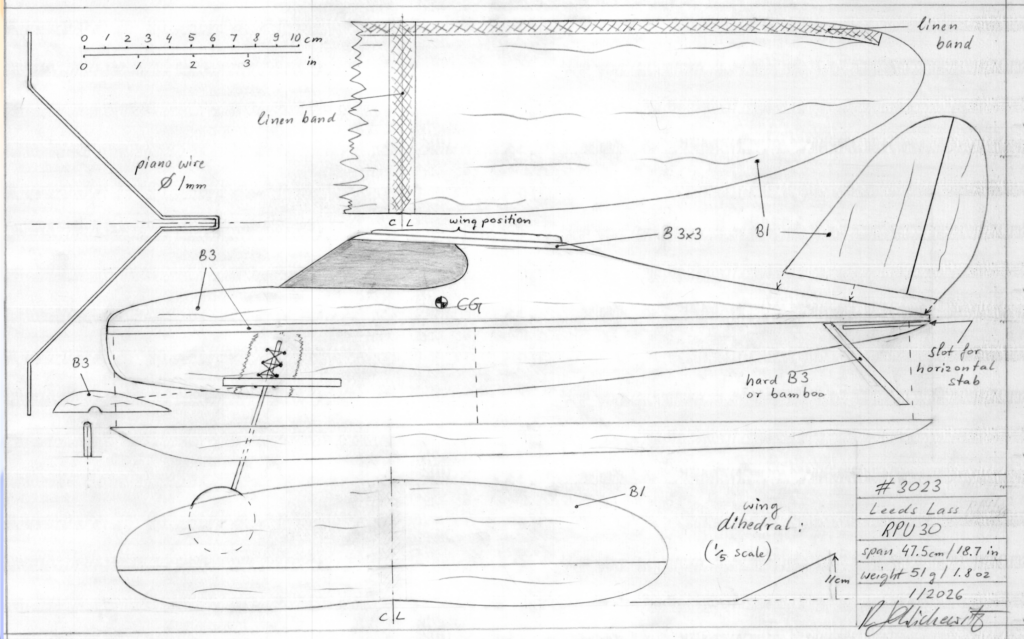
Span 47.5 cm / 18.7 in
Weight 51 g / 1.8 oz ready to fly
Concept
- High-wing monoplane
- Landing Gear
- For RPU 30
- Easy to build
- Good performance
- Few parts
Name of the plane
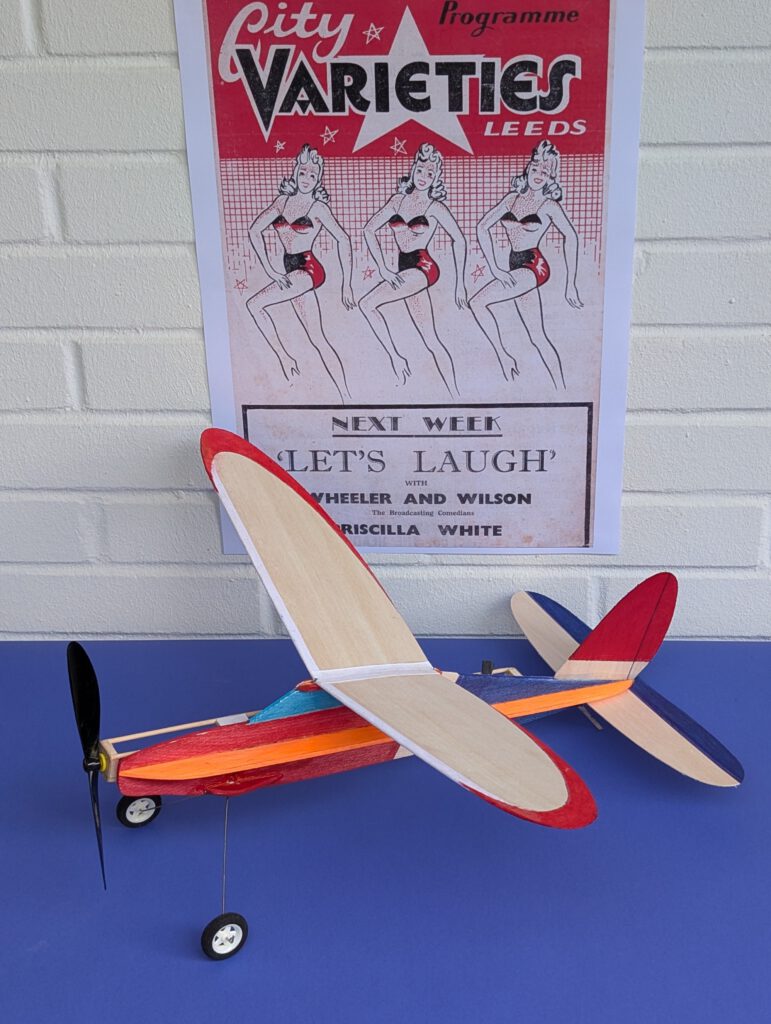
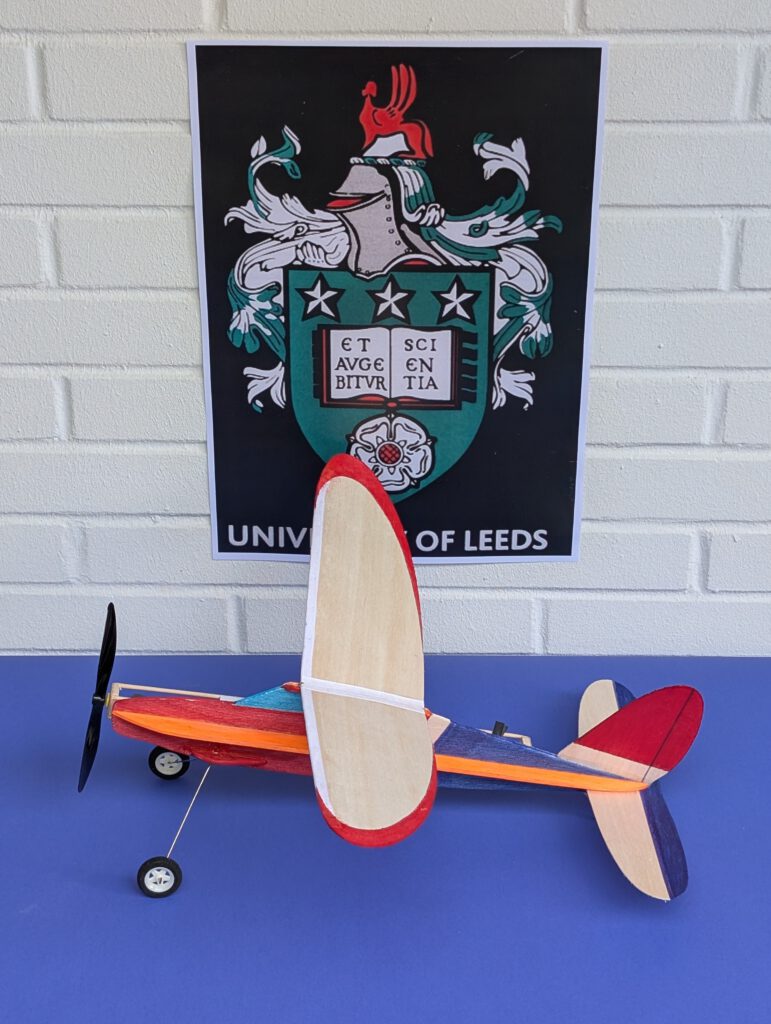
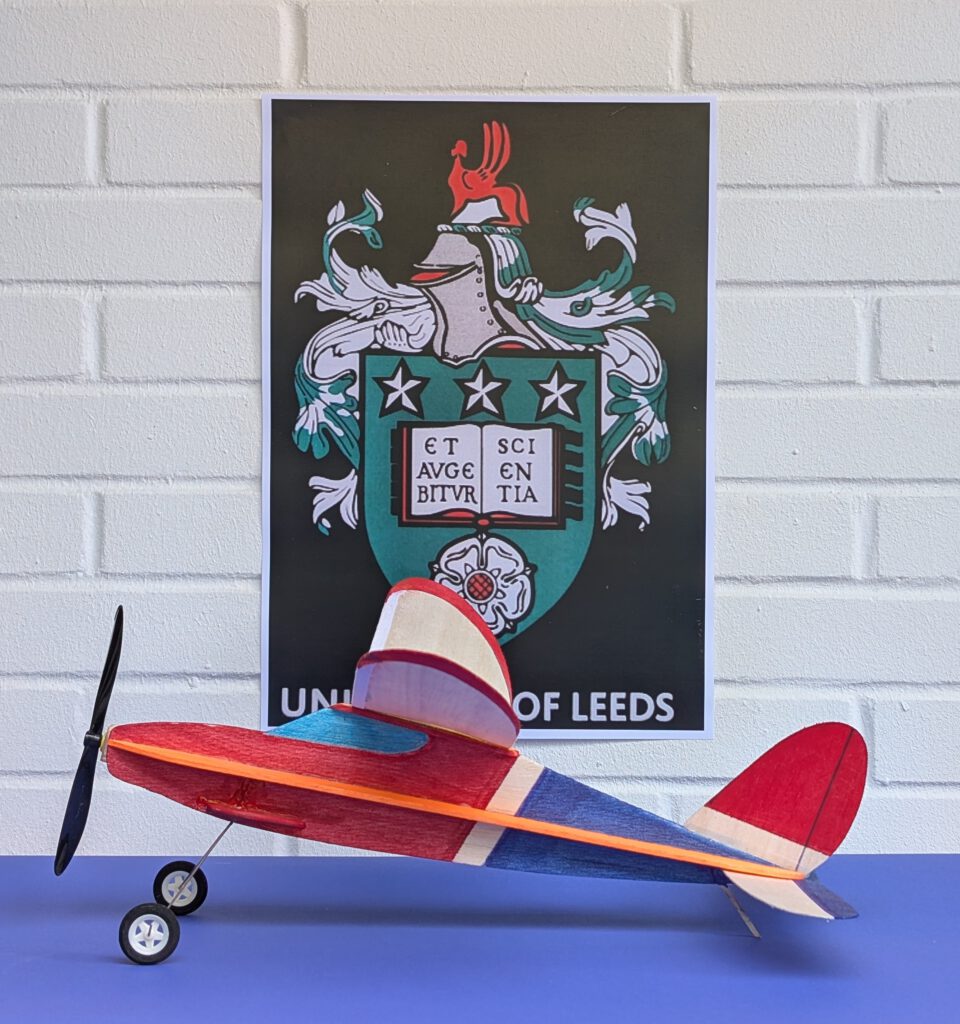
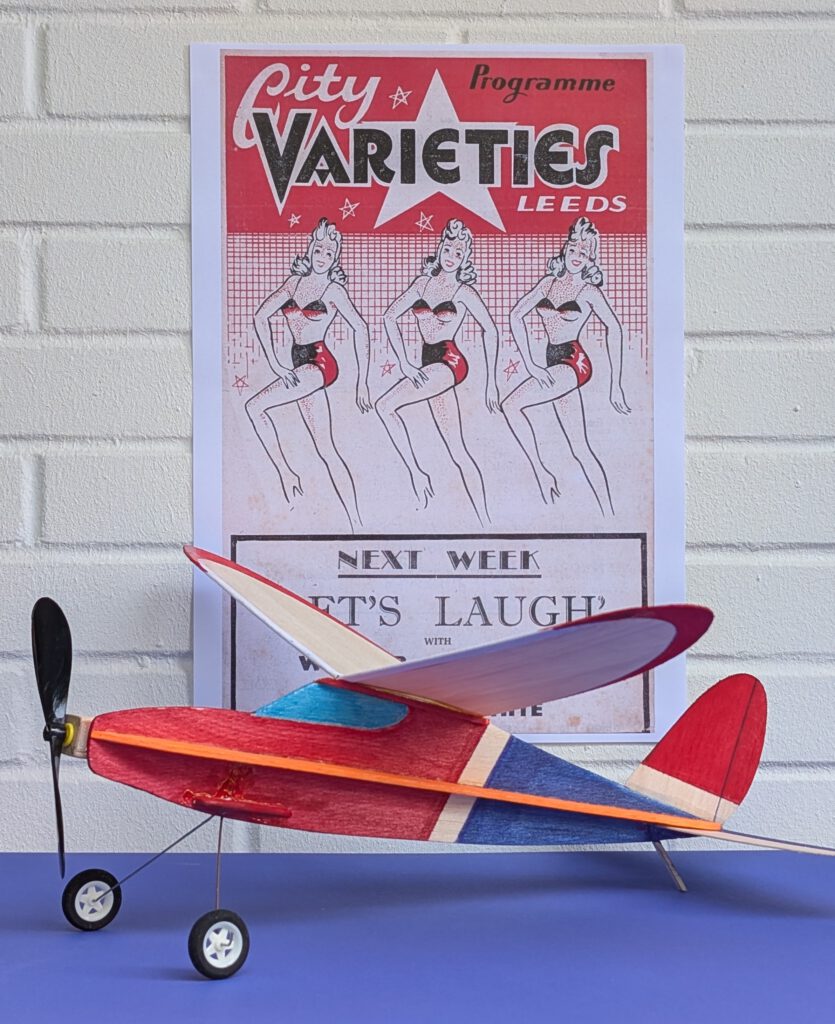
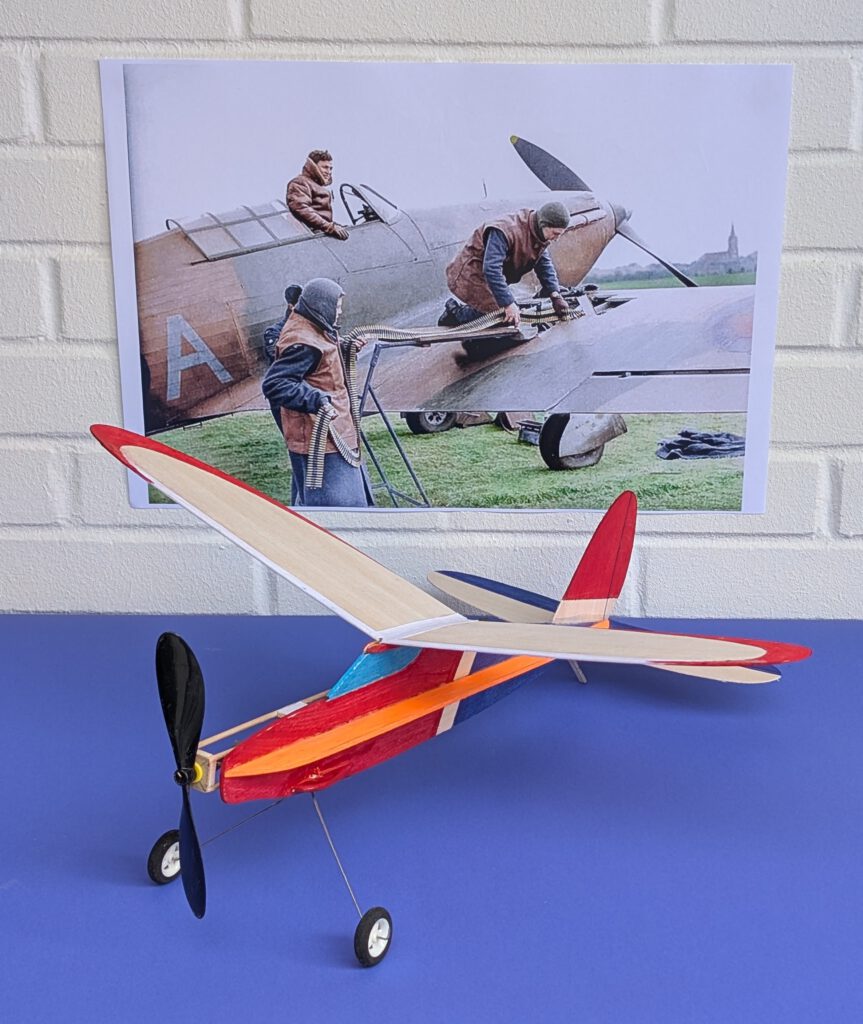
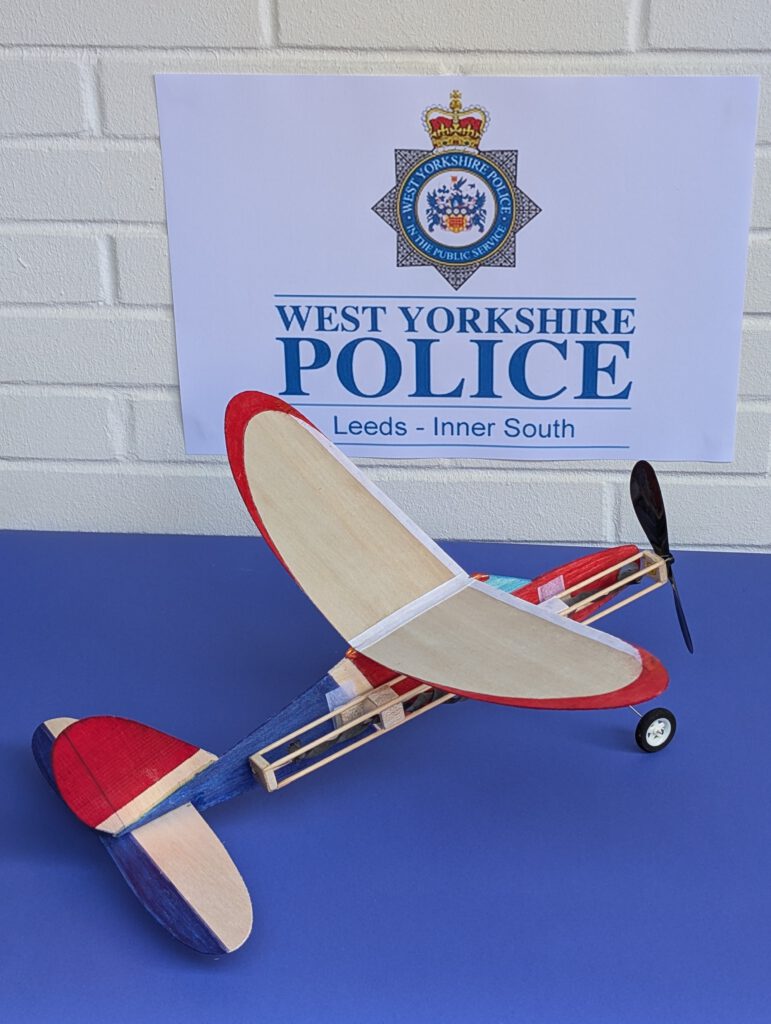
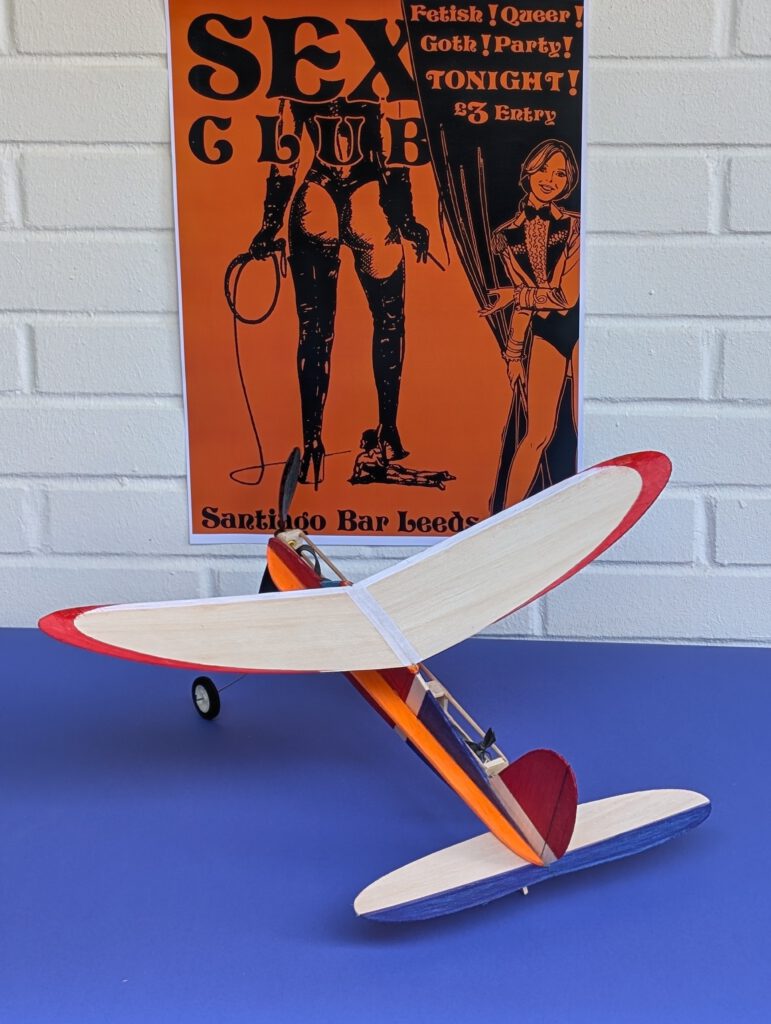
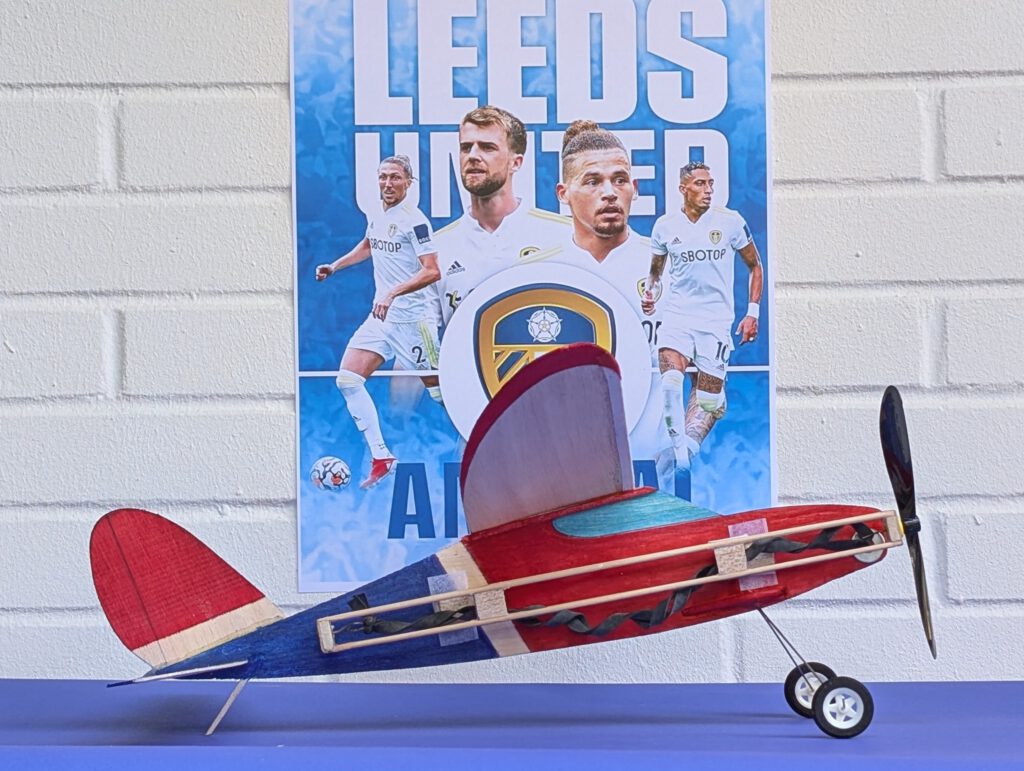
Leeds is a great place. Nice people. Best Bengali food. A far above average university (Russell group member). Victorian atmosphere. Fascinating night life (!). Royal Armouries Museum. Not too far away from the Yorkshire Dales National Park. Key Hurricane Squadrons and activity outside of Leeds at the time of the Battle of Britain (RAF Church Fenton, RAF Dalton). Lots of sport.
I came to Britain, when I was thirteen. I instantly felt at home and still love the UK very much.
What is RPU?
RPU stands for rubber power unit.
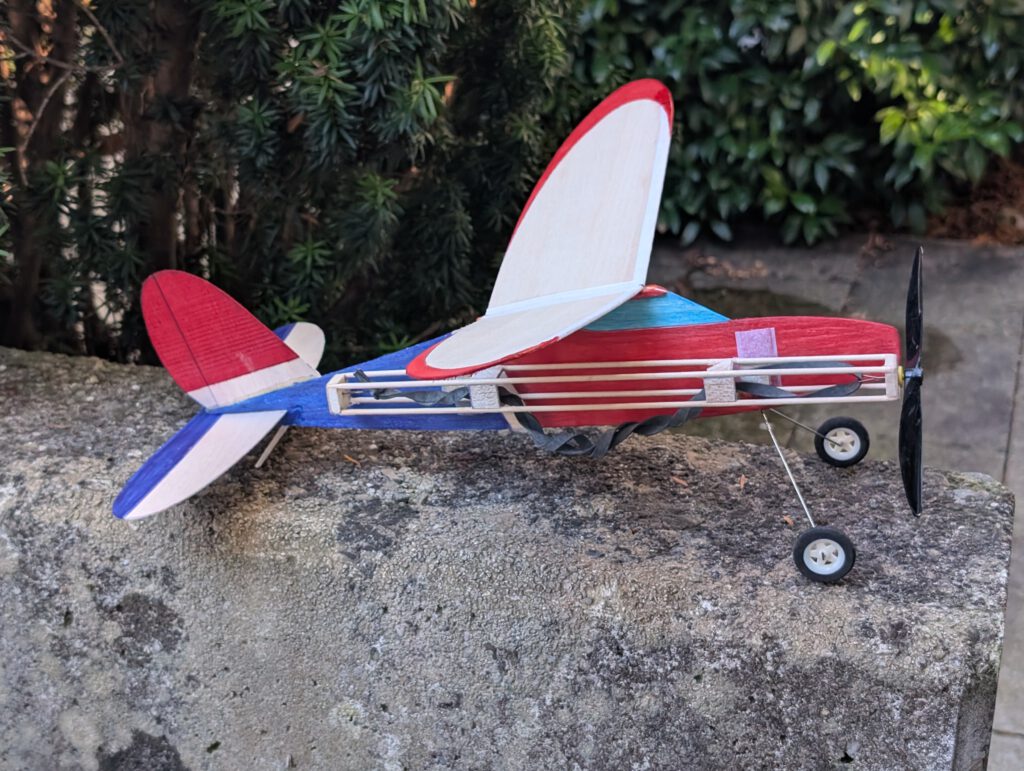
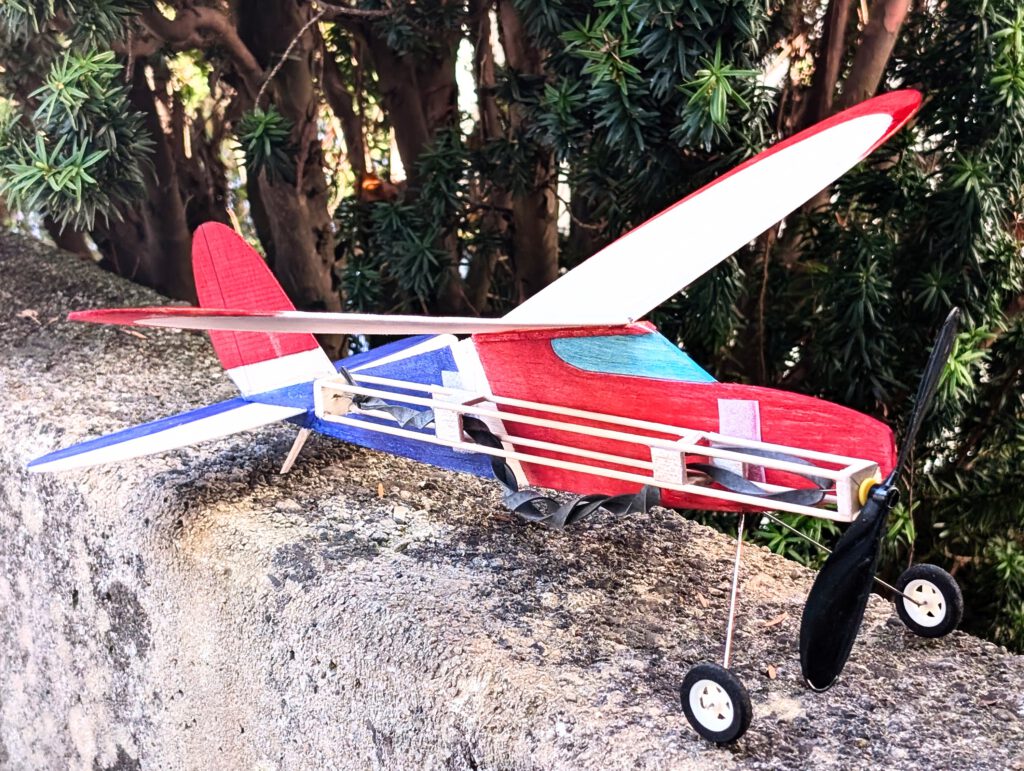
This is a device designed for the model builder who likes to fly many models with one only power unit. Main material of the RPU comes from the grocery store around the corner: four barbecue skewer chopsticks. Add to them scratch balsa, a hook made from piano wire, some black rubber and a commercial plastic airscrew. That’s all.
The unit is attachable through two pieces of Velcro tape and can thus be used for example first on a little Spitfire five minutes later on a Mitsubishi Zero and ten minutes later on a Macchi Folgore of the same configuration. You build only one RPU and use it on as many model planes as you wish.
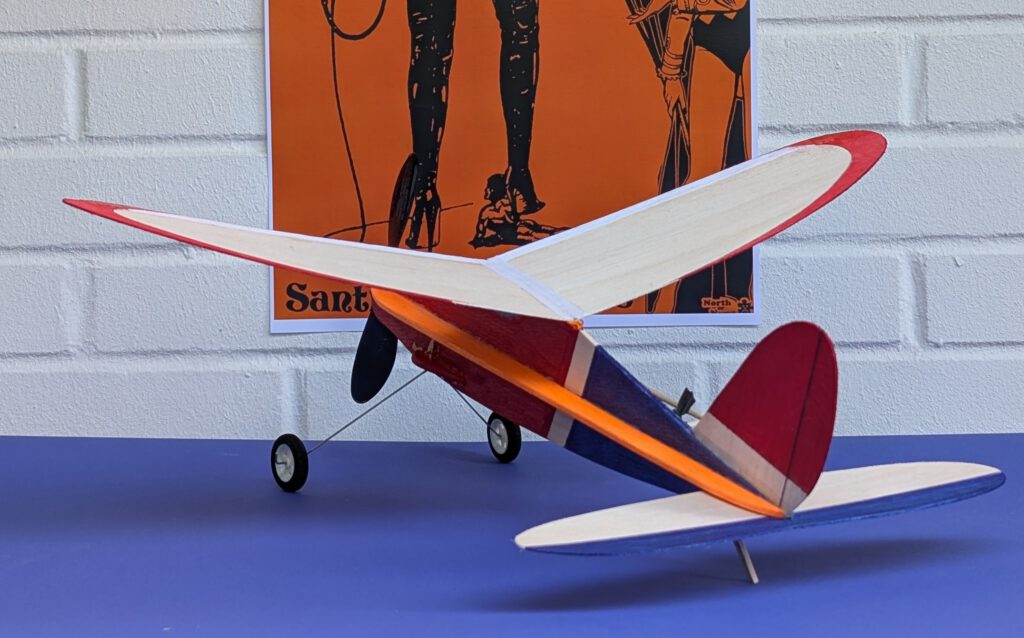
Models with RPU use the same asymmetrical principle as is known from No-cal models. From the one side they look handsome as from the other the power unit disturbs the harmonic view considerably.
Generally there is no great difference between the flight performances of a balsa sheet profile model with built-in rubber motor and a model flying on a RPU.
Why not try both principles? Among the plans range of beginner.zone you will find models of both categories. Sit down, build, fly, compare!
I developed and tested three different types of RPUs.
- The one for small models of 30 cm / 11.8 in to 40 cm / 15.75 in wingspan is the RPU 20 (lenghth 20 cm / 7.9 in).
- The one for medium sized models with a span of 40 cm / 15.75 in to 60 cm / 23.6 in is the RPU 30 (length 30 cm / 11.8 in).
- The one for larger models of up to 80 cm / 31.5 in wingspan is the RPU 40 (length 40 cm / 15.75 in).
- The RPU 40 is made from slightly different material. Instead of the skewer chopsticks it uses two strips of bamboo wooden sticks (400 x 9 x 3 mm). The rest is identical.
Building the balsa sheet model Leeds Lass RPU 30
Materials:
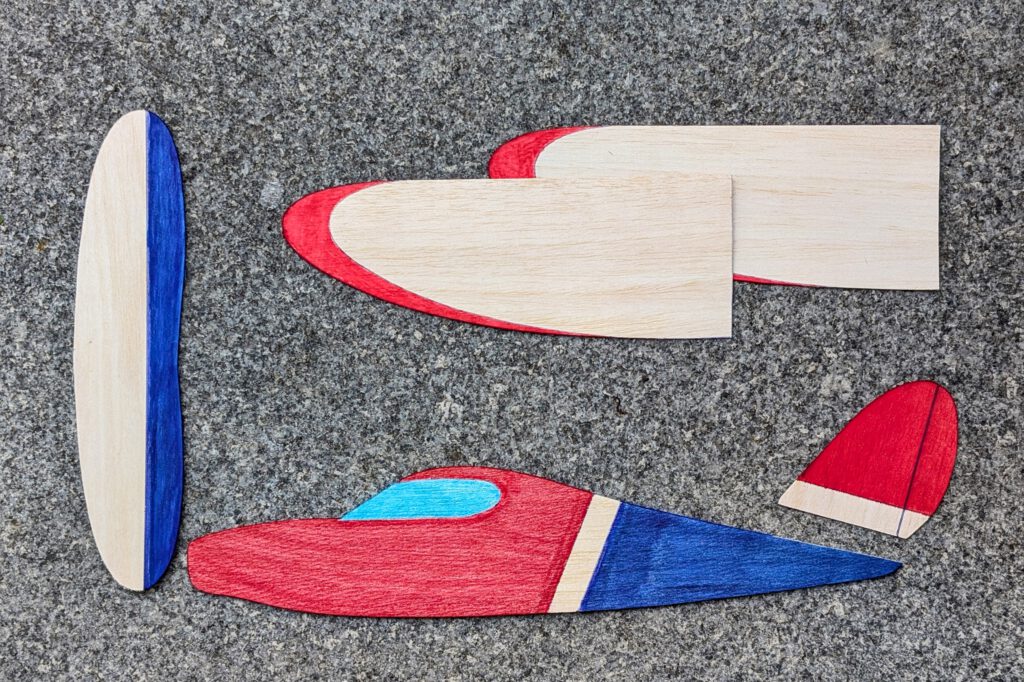
Fuselage: B 3; fuselage side stiffener: B 3; undercarriage attachment support: B 3; wing: B 1 or soft B 2; wing support: B strips 3 x 3; fin: hard B 1; horizontal stabilizer: B 1 or 1.5; tail skid: hard B 3 or bamboo; landing gear: piano wire 1 mm diameter and commercial light weight wheels diameter 25 mm / 1 in or alternatively a commercial model landing gear with wheel diameter 25 mm / 1 in; linen band width 10 or 12 mm / ½ in; thread; Velcro tape with adhesive backside; ballast: steel or lead.
Assembly:
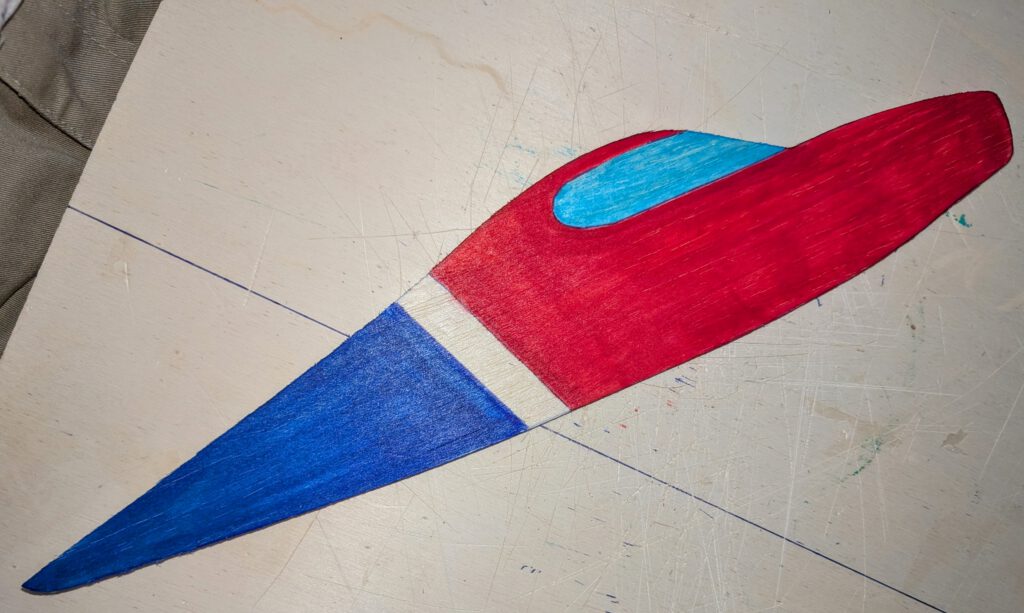
Cut out balsa parts in accordance to plan. Make slot for horizontal stabilizer into rear end of fuselage part. Sand well. If coloring is desired, do it now. Bend landing gear wire according to plan. Use two needle-nose pliers (long-nose pliers).
Fuselage:
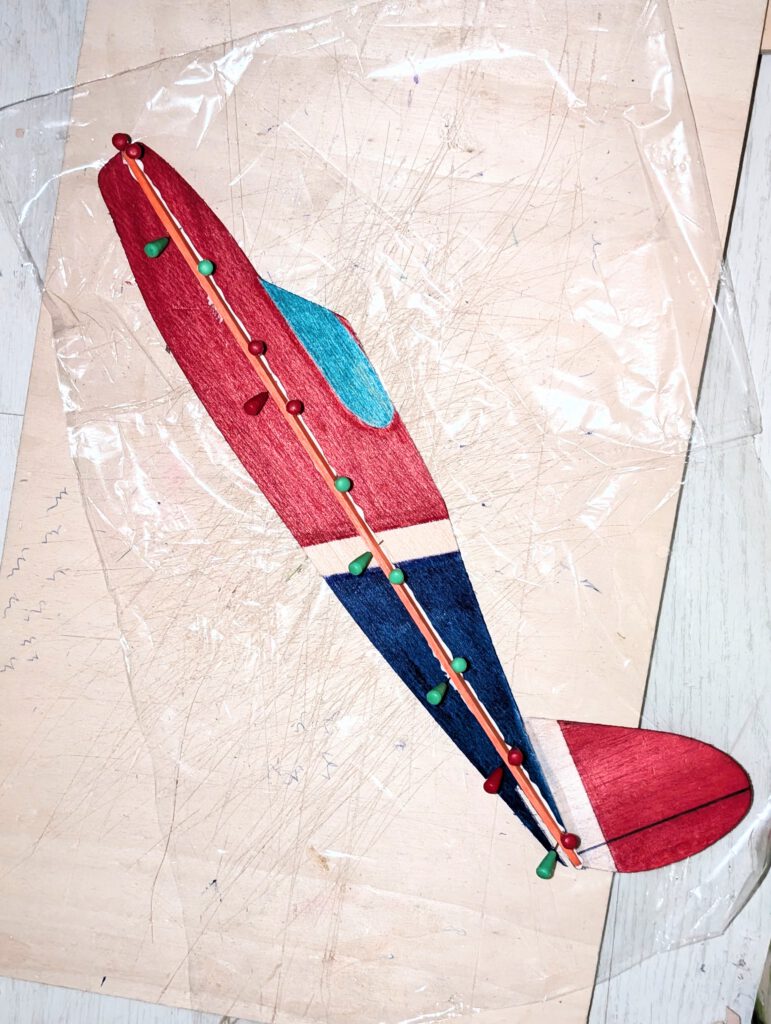
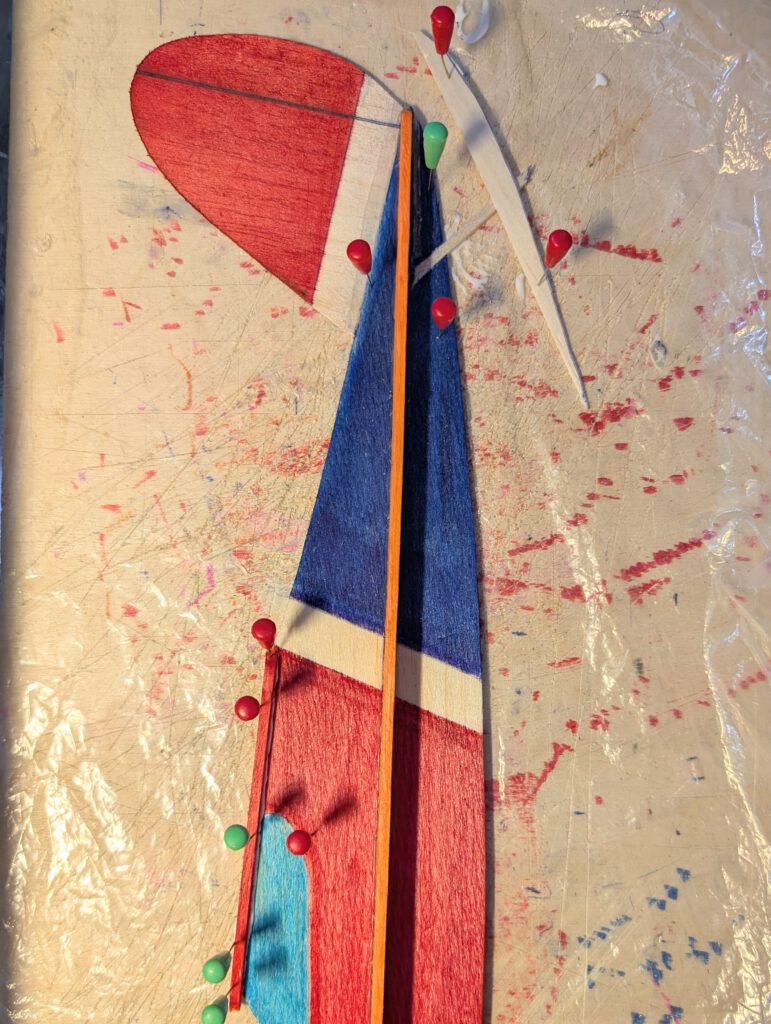
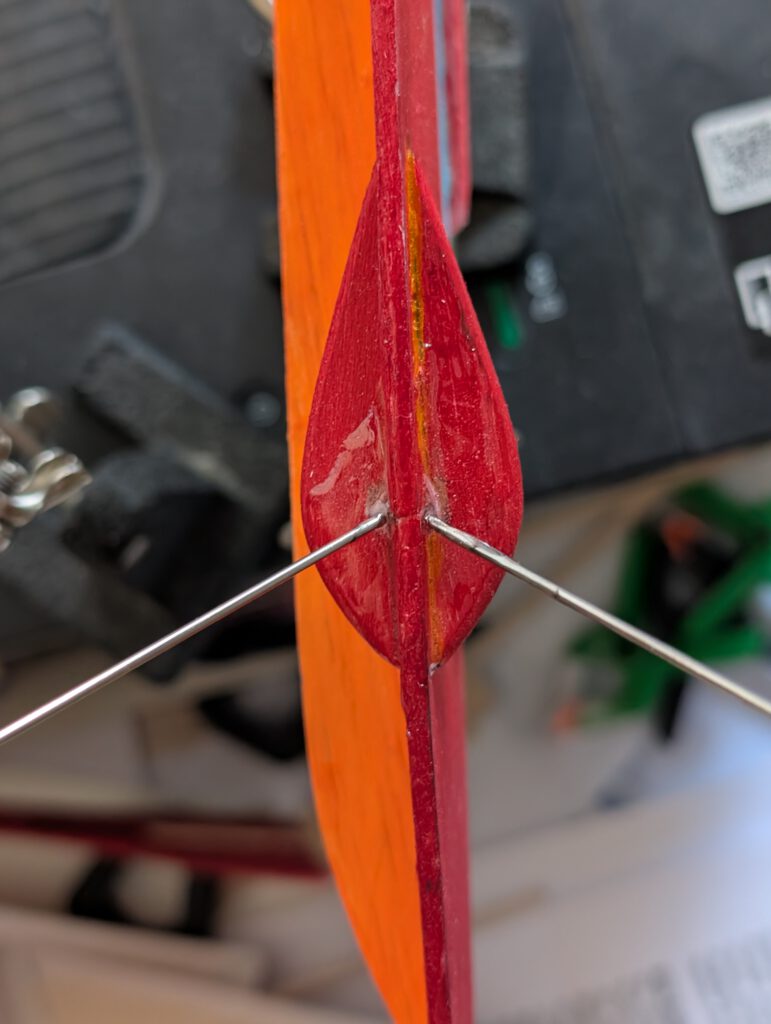
Fix fuselage part on building board and cement fin on it (photo). Use pins. Visually check symmetry as both parts must be 100 percent in line. Let dry.
Make slot for tail skid and cement it into place. Let dry.
Cement fuselage side stiffener on left fuselage side, use pins and watch for 90 ° angle. Let dry.
Cement wing support strips at given places on both sides of the fuselage holding them with needles or clamps.
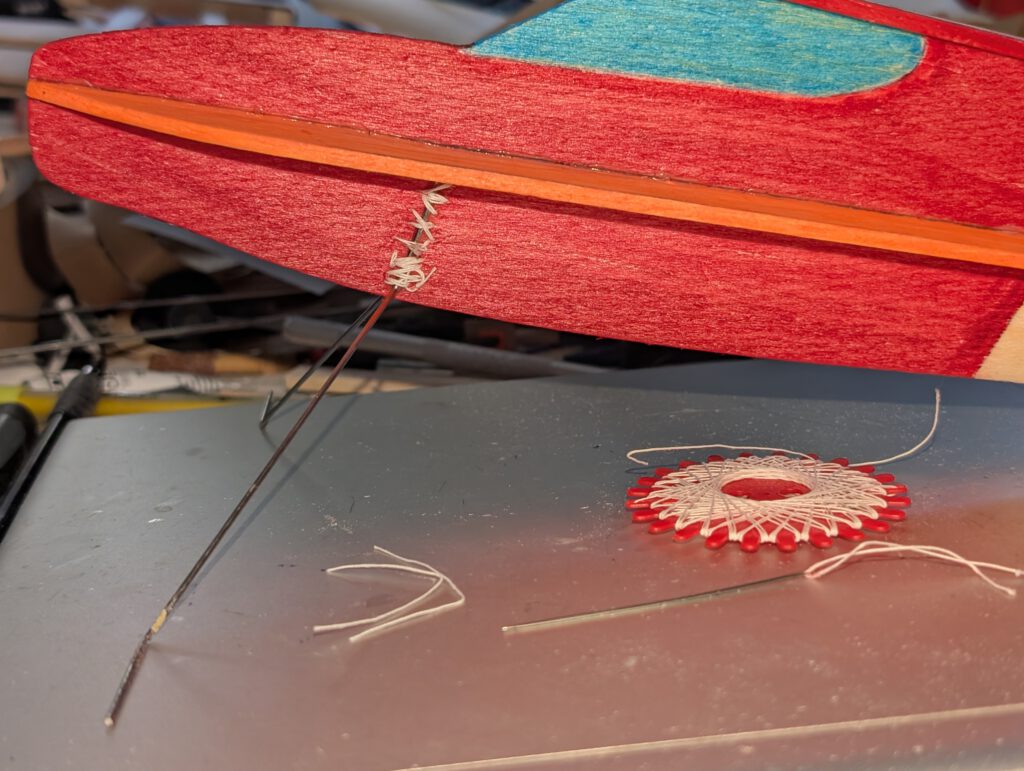
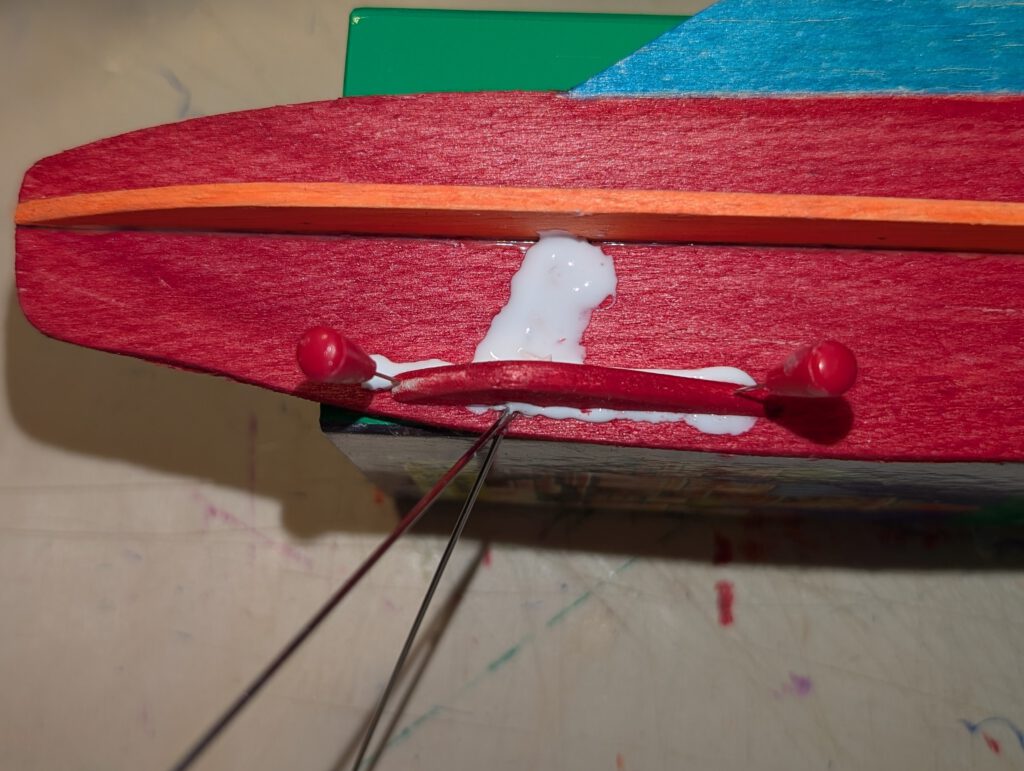
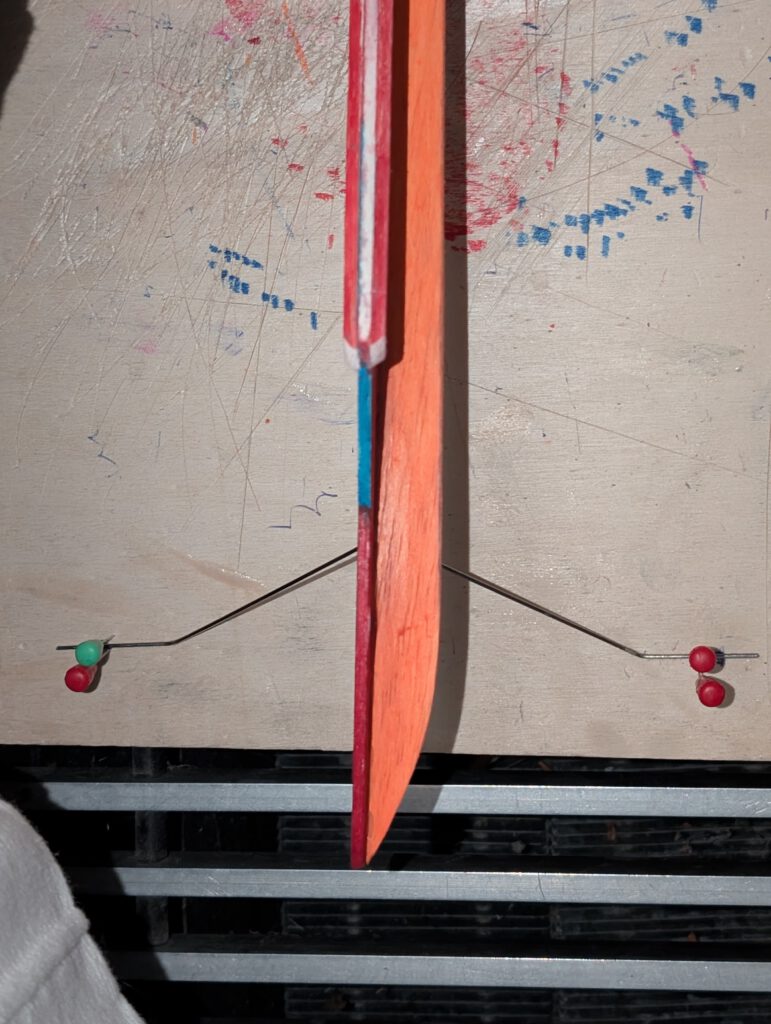
Mark position of landing gear on fuselage. Strengthen area around it with multiple layers of cement or with one layer of epoxy. When absolutely dry drill hole where landing gear wire will be inserted and drill the thread holes as shown on plan.
Insert landing gear wire and sew it tightly with needle and thread to fuselage.
Cement balsa undercarriage attachment support in its place and let dry. Apply a new layer of glue or epoxy on thread and gear wire after having checked diligently symmetry. Let dry.
Wing:
Wing consists of a right and a left wing half.
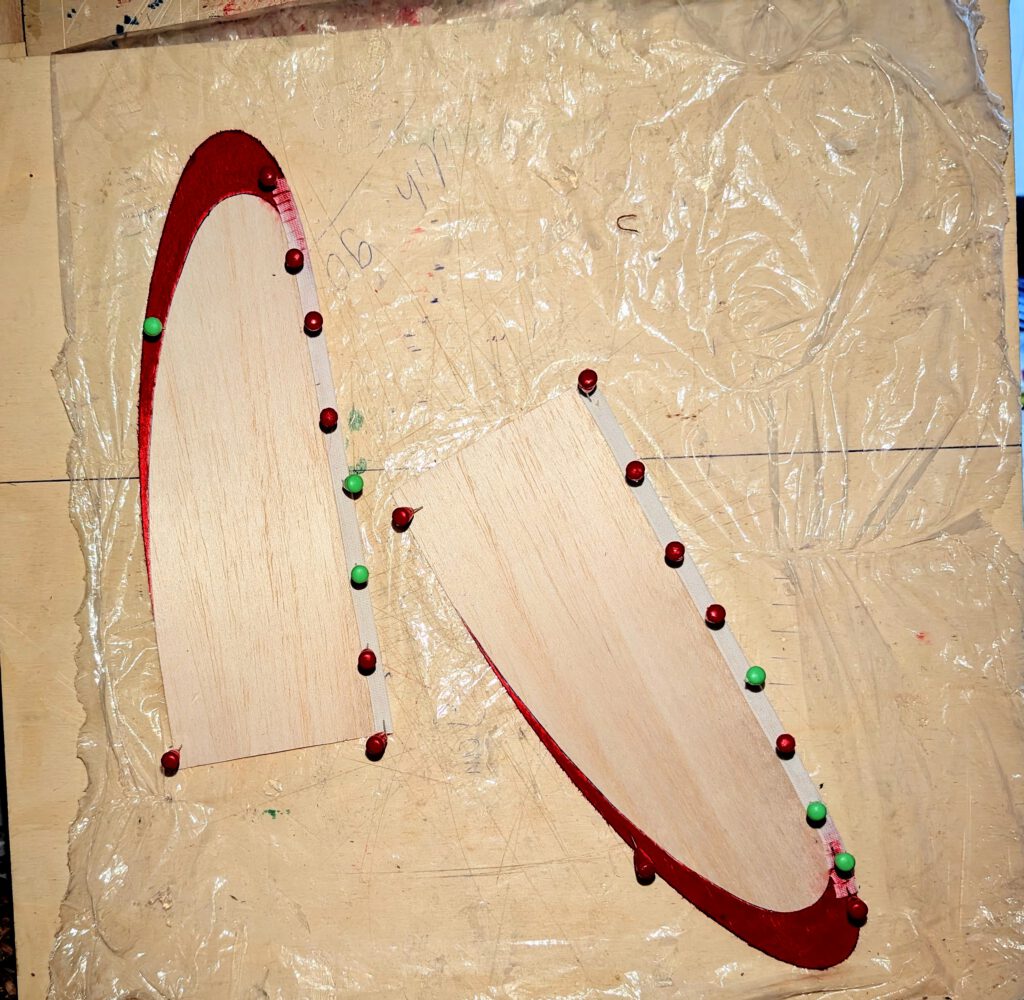
Reinforce leading edges of both wing halves with linen band (photo) and let dry.
Fix one wing half with pins on building board and underlay wing tip of corresponding wing half according to given dihedral.
Join both halves and cover wing center area with linen band (photo). Let dry. If wing has the tendency to rest only on one side then it is too heavy on this side. To compensate the imbalance disperse an amount of white wood glue on the opposite wing half’s tip area underside. Do it if necessary twice until balance is obtained.
Final Assembly:
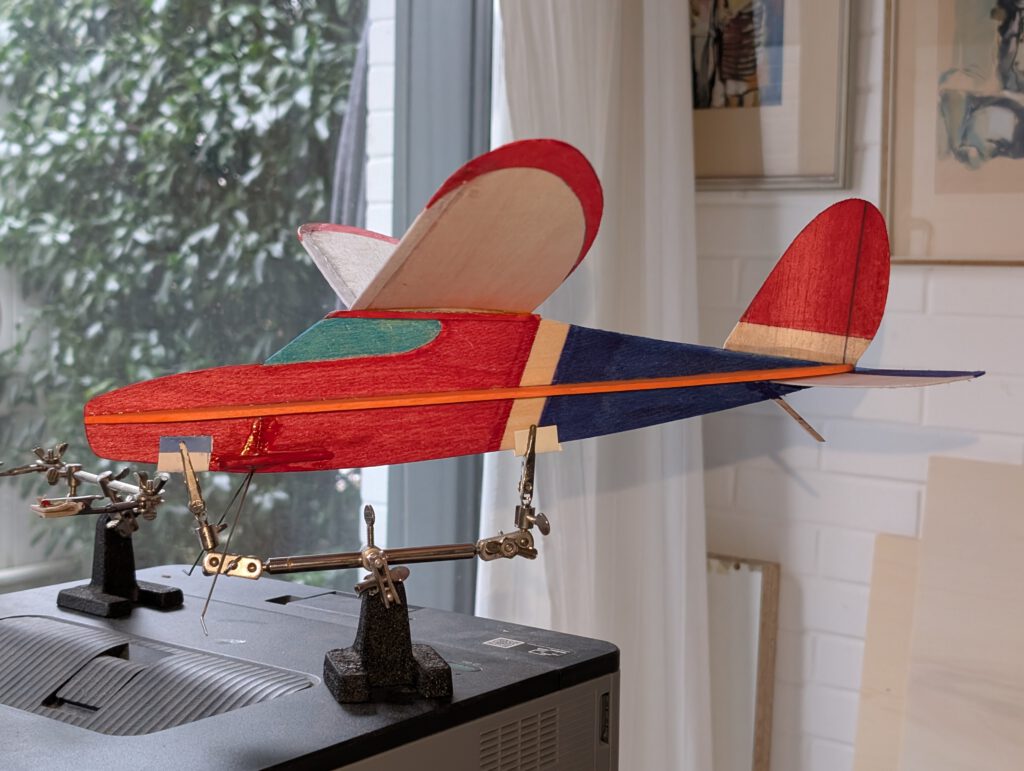
Put fuselage on third hand.
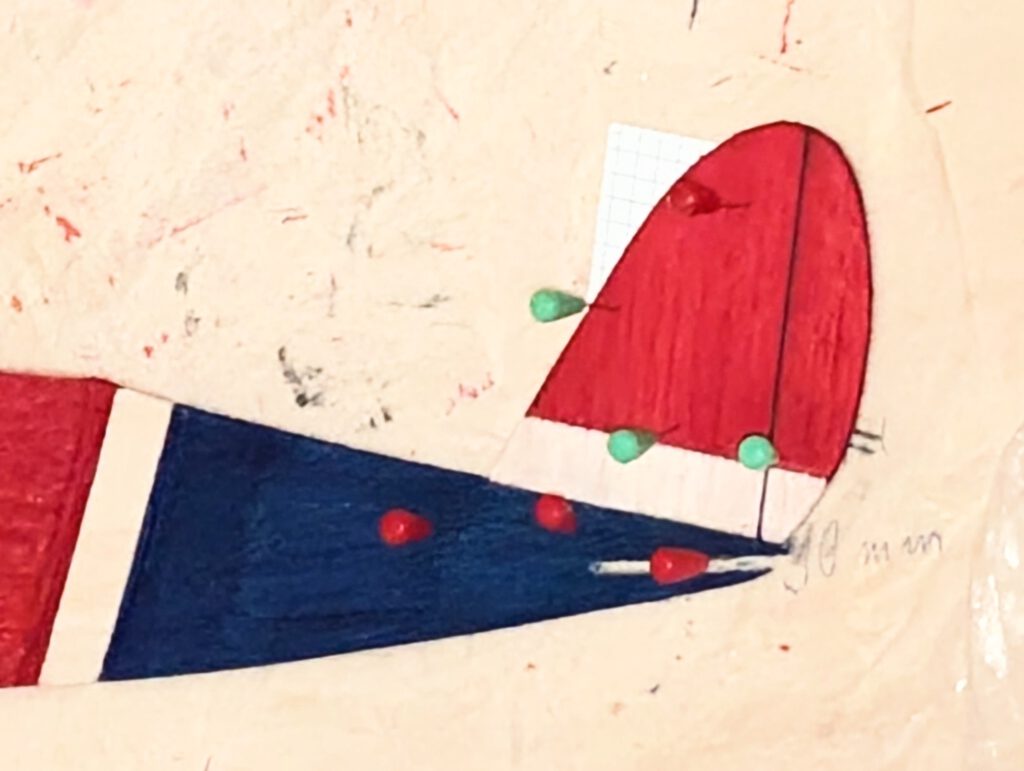
Insert horizontal stabilizer into fuselage slot and cement it (photo). Check symmetry and let dry.
Cement wing on wing supports using pins to hold in place. Again doublecheck visually symmetry. Let dry.
Stick two pieces of Velcro according to your RPU on right fuselage side.
Attach wheels on lg wire.
For balancing your model properly install RPU with airscrew and start test gliding over tall grass. Add ballast according to your test results. Note given position of CG on plan.
Remember correct center of gravity (CG) is essential for successful flights.
Note: Assembling this model has cost you much more effort and time as previous models. Proper landing gear installation is indeed a complex issue for a beginner. But building and flying this model in comparison to a simpler design will very well tell you the difference. Be sure!
¡Muchos vuelos agradables! (çok keyifli uçuşlar!)
Leave a Reply